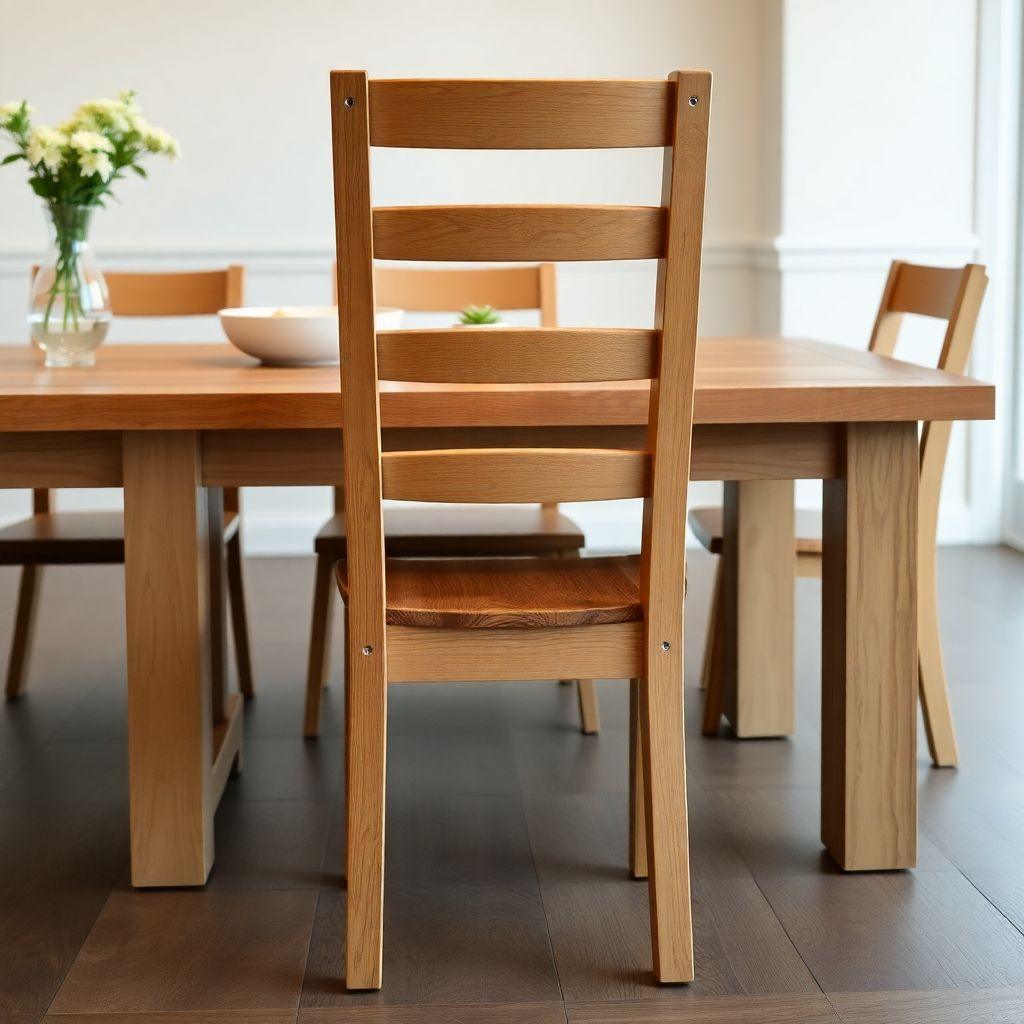
A dining chair is one of the hardest pieces of furniture a home shop can build, and that is exactly why it is worth doing. It carries a moving load, gets dragged across the floor, and takes a beating every single day. Get the joinery and the geometry right and it will outlast the table. Get them wrong and it will loosen inside a year.
This guide walks through building a solid oak ladder-back dining chair from raw stock to finished seat. You will mill your own parts, cut the rear leg rake that gives the chair its comfort, and cut real mortise-and-tenon joints that hold up under dynamic load. Expect to spend around $45 to $70 in oak per chair and roughly 8 to 12 hours of shop time for your first one. This is an intermediate build. If you are still working on your first stool, start with the easier projects in our chair and stool plans hub and come back to this one.
Seat Height and Ergonomics: Get This Right Before You Cut
Looking for more chair ideas?
This guide is part of our complete chair and stool plans series — compare all options by skill level, cost, and build time.
Want 16,000+ woodworking plans?
Ted’s Woodworking has step-by-step plans for every skill level. Browse Ted’s plans.
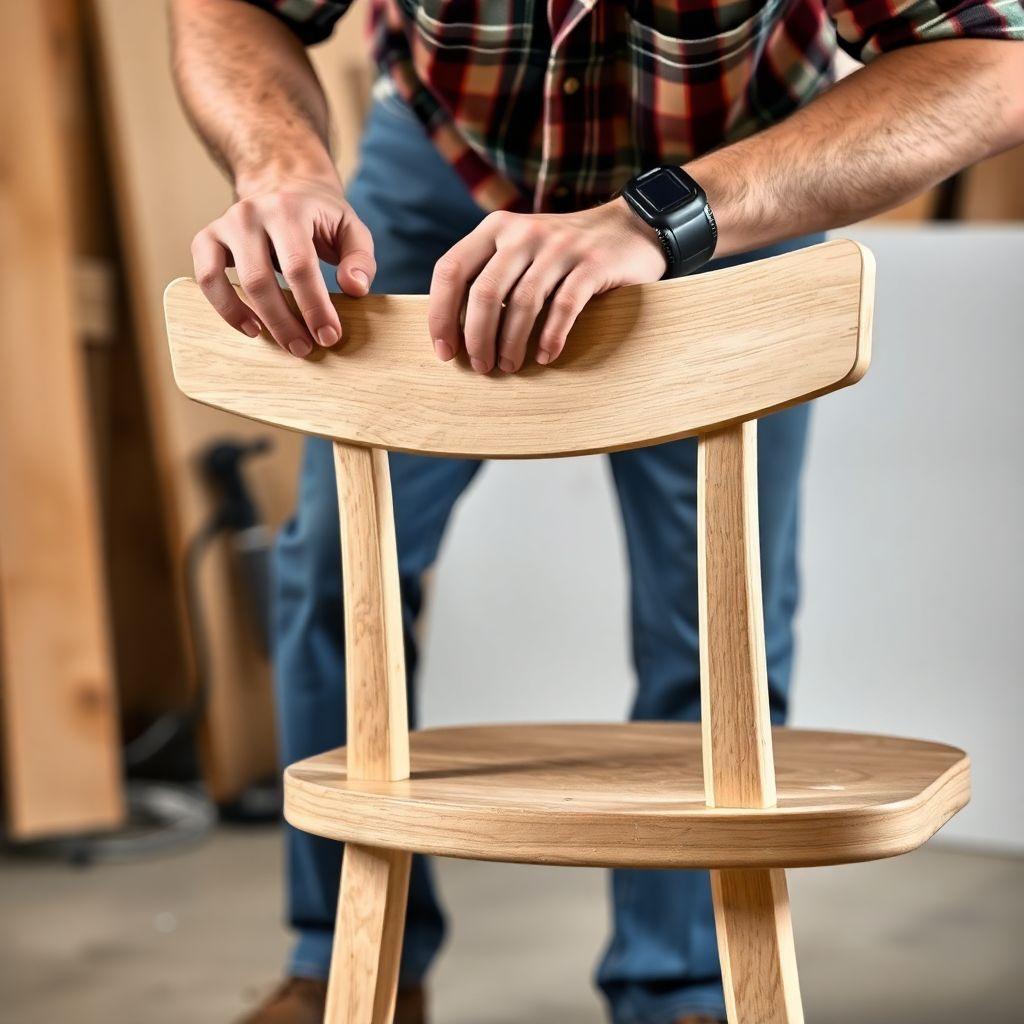
The single most common mistake in a shop-built dining chair is the wrong seat height. The standard finished seat height for a dining chair is 17 to 19 inches from the floor, and 18 inches is the sweet spot for a standard 30-inch dining table. That 18-inch number is not arbitrary. It leaves roughly 11 to 12 inches of clearance between the seat and the underside of the tabletop, which is what your thighs need.
Go lower and your knees end up at table level, which is uncomfortable and makes it hard to pull the chair in. Go higher and the table edge cuts into your legs. Before you cut a single leg to length, confirm the height of the table the chair will live at. If the table is taller or shorter than a standard 30 inches, adjust the seat height to keep that 11 to 12 inch clearance.
Two more numbers matter. Seat depth should land around 16 to 17 inches so the front edge does not press behind the knee, and the seat should sit level or tilt back no more than 1 to 2 degrees. This build targets an 18-inch seat height, which is why the front legs are cut to 18 inches with the seat rails set to place the seat surface at that mark.
Wood Selection: Why Hardwood Is Non-Negotiable
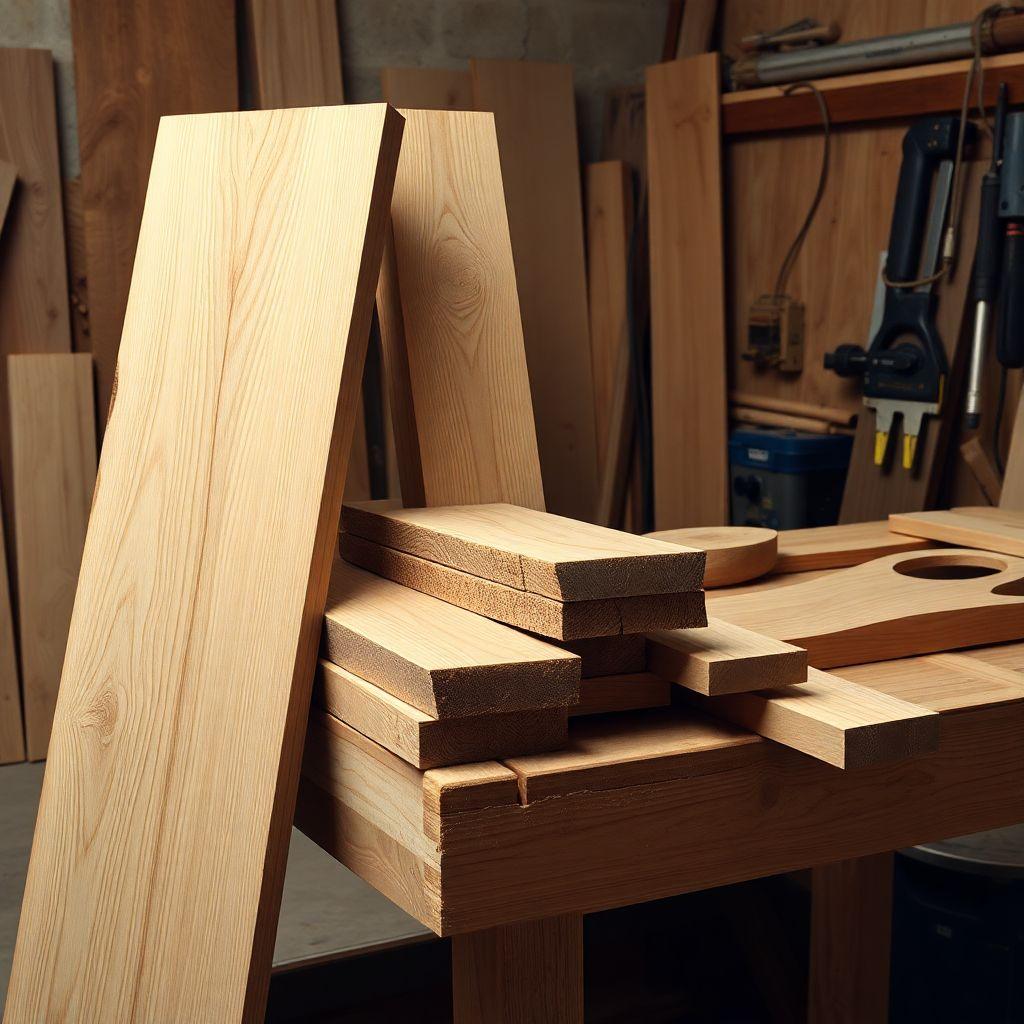
Dining chairs see the most stress of any piece of furniture in the house. Every time someone sits down, leans back, or scoots the chair in, the joints absorb a shock load. Softwood cannot take it. Pine legs will crush at the mortises, split along the grain, and work loose. Do not use pine, fir, or any construction-grade softwood for the legs of a chair you actually plan to sit in.
Here is the practical hierarchy:
- Budget: poplar. It is a true hardwood, machines cleanly, and takes paint well. It is softer than oak, so it is best if you plan to paint the chair rather than leave it natural.
- Standard: red or white oak, or hard maple. This is the right choice for most builders. Oak is strong, widely available, affordable, and forgiving in the joint. This plan is written for oak.
- Premium: walnut. Beautiful, strong, and expensive. Save it for when your joinery is dialed in.
Whatever you choose, the legs must be hardwood. You can sometimes get away with a plywood seat panel, but never with softwood legs. The legs are where the chair lives or dies.
Materials and Cut List
This is a simple four-leg ladder-back chair. The cut list below is for one chair in oak. Dimensions are the final milled size unless noted. The rear legs are cut oversized in length because the rake angle is trimmed off both ends.
| Part | Qty | Dimensions | Notes |
|---|---|---|---|
| Rear legs | 2 | 1-3/4″ x 1-3/4″ x 36″ | Cut before angle cuts |
| Front legs | 2 | 1-3/4″ x 1-3/4″ x 18″ | |
| Side seat rails | 2 | 3/4″ x 3″ x 15″ | |
| Front seat rail | 1 | 3/4″ x 3″ x 16-1/2″ | |
| Back seat rail | 1 | 3/4″ x 3″ x 16-1/2″ | |
| Back slats (ladder rungs) | 2 | 3/4″ x 2-1/2″ x 16″ | |
| Top back rail | 1 | 3/4″ x 3″ x 17″ | |
| Seat | 1 | 16″ x 16″ x 3/4″ | Oak plywood or solid oak glue-up |
Add wood glue, and either figure-8 fasteners or slotted screws if you use a solid wood seat. Buy roughly 10 to 12 board feet of 4/4 and 8/4 oak per chair to allow for milling waste and defect cutoffs.
Tools Required
You do not need a full cabinet shop, but you do need the ability to cut accurate joinery.
- Table saw or track saw for ripping stock
- Miter saw or crosscut sled for length cuts and the rake angle
- Jointer and planer, or a hand plane and patience, to mill stock flat and square
- Mortiser, plunge router with edge guide, or drill and chisel for mortises
- Router table or tenoning jig for tenons, or a dado stack
- Router with a flush-trim bit for the curved splat template (optional back style)
- Clamps: at least four bar or pipe clamps long enough to span the seat
- Square, marking gauge, tape measure, and a bevel gauge for the rake angle
Step 1: Mill the Stock and Cut Parts
Start by milling all your stock flat, square, and to final thickness before you cut anything to length. Chairs are unforgiving of twisted or out-of-square parts because errors compound across every joint.
Joint one face and one edge, then plane to thickness and rip to width. Bring the leg blanks to 1-3/4 inches square and the rail stock to 3/4 inch thick. Crosscut the front legs to 18 inches and leave the rear legs long at 36 inches for now. Cut all four seat rails, the two back slats, and the top back rail to the lengths in the cut list. Label every part with a pencil as you go, marking which face is the outside. You will thank yourself at glue-up.
Step 2: Cut the Rear Leg Rake
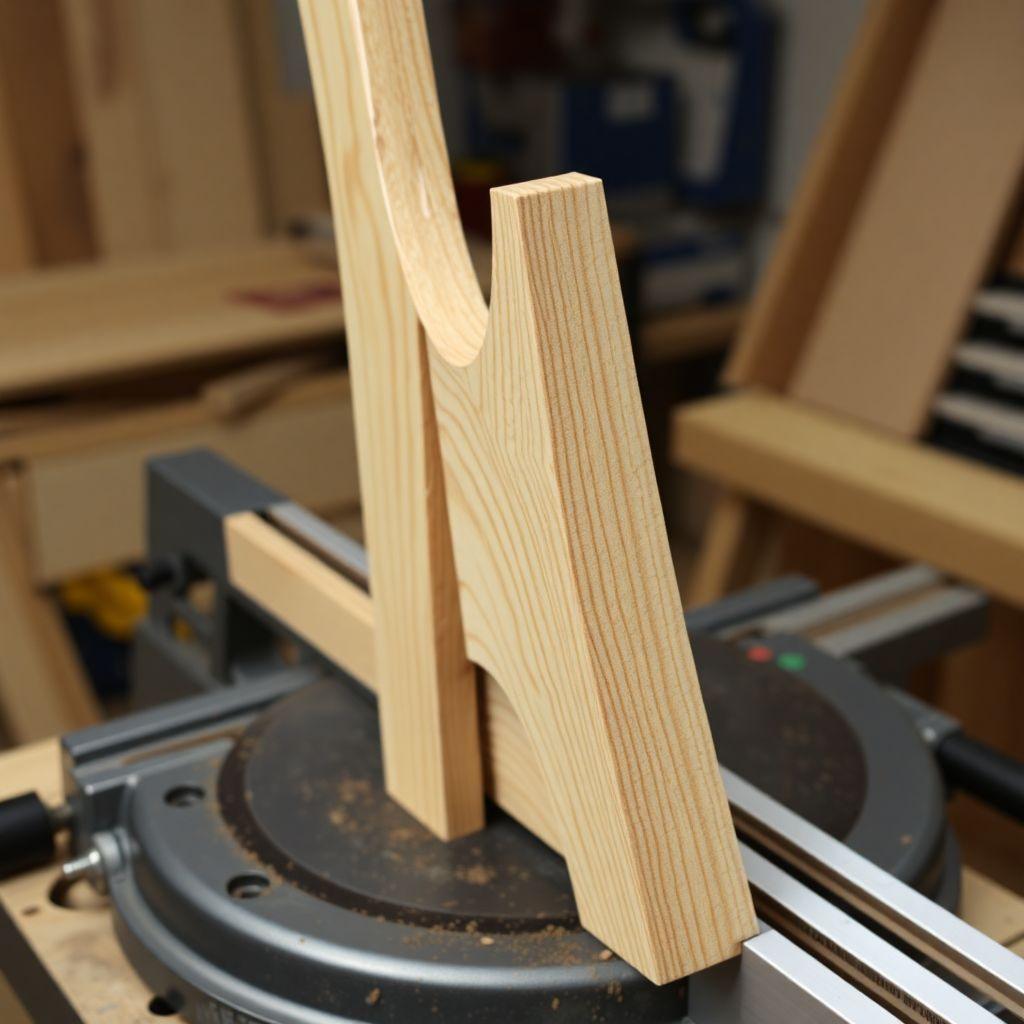
The rear legs rake back 5 to 8 degrees. This is what gives a dining chair its sit-back comfort and keeps the sitter from feeling perched forward. This build uses a 6-degree rake, a good balance of comfort and stability.
This is not a straight cut. The rake means the bottom of the rear leg angles forward and the top angles back, so both ends get an angled cut and the seat rail mortises are cut relative to the angled leg, not the square blank. The cleanest way to cut the angle is on a miter saw with the blade set to 6 degrees, or with a simple angled jig on a crosscut sled that cradles the leg at 6 degrees while you make a square cut.
Set your bevel gauge to 6 degrees and mark the reference line on each leg before you cut. Cut both rear legs identically. Test the angle by standing the leg on your bench and confirming the rake leans back the way it should. A reversed angle here means a chair that dumps you forward, so double-check orientation before committing.
Step 3: Cut the Mortises and Tenons
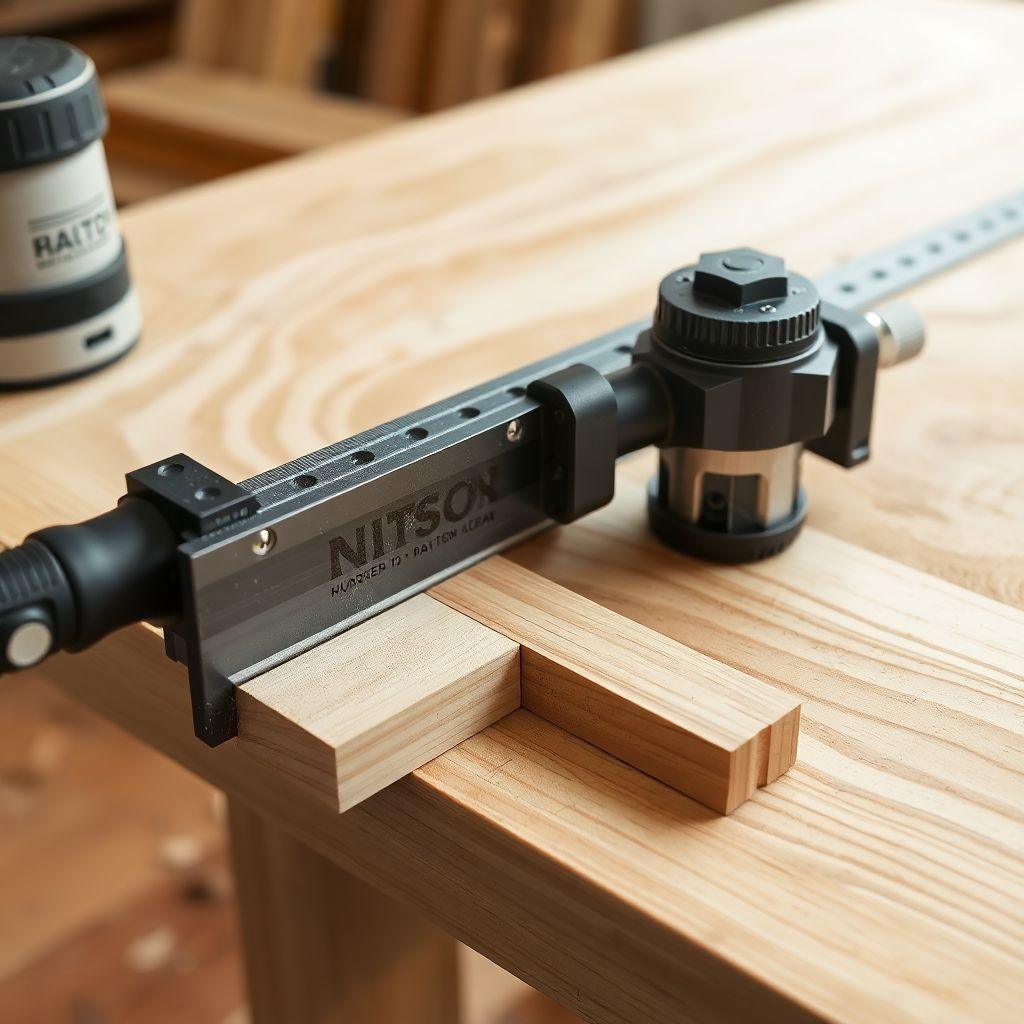
Every load-bearing connection on this chair is a mortise and tenon. This is not optional. Glued butt joints fail under the rocking, dynamic load a chair sees, and pocket screws alone are not strong enough to hold a chair joint together for the long haul. Mortise-and-tenon, or a loose tenon such as a Domino, is the minimum acceptable joinery for a dining chair.
Cut mortises 1 inch deep and centered on the leg faces where each seat rail meets a leg. Size the mortises to match a 1/4 to 3/8 inch thick tenon. Then cut matching tenons on both ends of all four seat rails, on the ends of the two back slats, and on the ends of the top back rail. A tenon roughly 1 inch long, 1/4 to 3/8 inch thick, with 3/8 inch shoulders top and bottom, is a solid proportion for this stock.
Cut the mortises first, then cut the tenons to fit them. It is far easier to shave a tenon to fit an existing mortise than the reverse. Aim for a fit that slides home with firm hand pressure, no hammer required and no gaps at the shoulders.
Step 4: Dry-Fit and Adjust
Assemble the entire chair without glue. Fit the front legs to the front rail, the rear legs to the back rail and slats, then join the two assemblies with the side rails. Clamp it up gently and set it on a flat surface.
Check three things. First, does it sit flat with no rock? A rock means a rail is out of square or a tenon shoulder is not seating. Second, is the seat opening square when measured corner to corner? The two diagonals should match. Third, does the rear leg rake look right from the side? Now is the time to pare a tenon shoulder or trim a mortise. Do not proceed to glue until the dry fit is clean, because glue does not fix a bad joint, it locks it in.
Step 5: Glue Up the Chair
Chair glue-ups move fast, so rehearse the sequence dry and have every clamp open and ready before you spread a drop. Work in sub-assemblies to keep it manageable.
Glue the back assembly first: rear legs, back seat rail, back slats, and top back rail. Clamp it, check the diagonals for square, and set it aside. Next glue the front assembly: front legs and front seat rail. Once both are cured or at least clamped and stable, join them with the two side rails in a final glue-up. Apply glue to the mortise walls and the tenon cheeks, not a flood, and clamp across each joint. Wipe every squeeze-out bead with a damp rag immediately, because dried glue in an oak pore will show through the finish. Check for square one more time and let it cure overnight before removing clamps.
Step 6: Attach the Seat
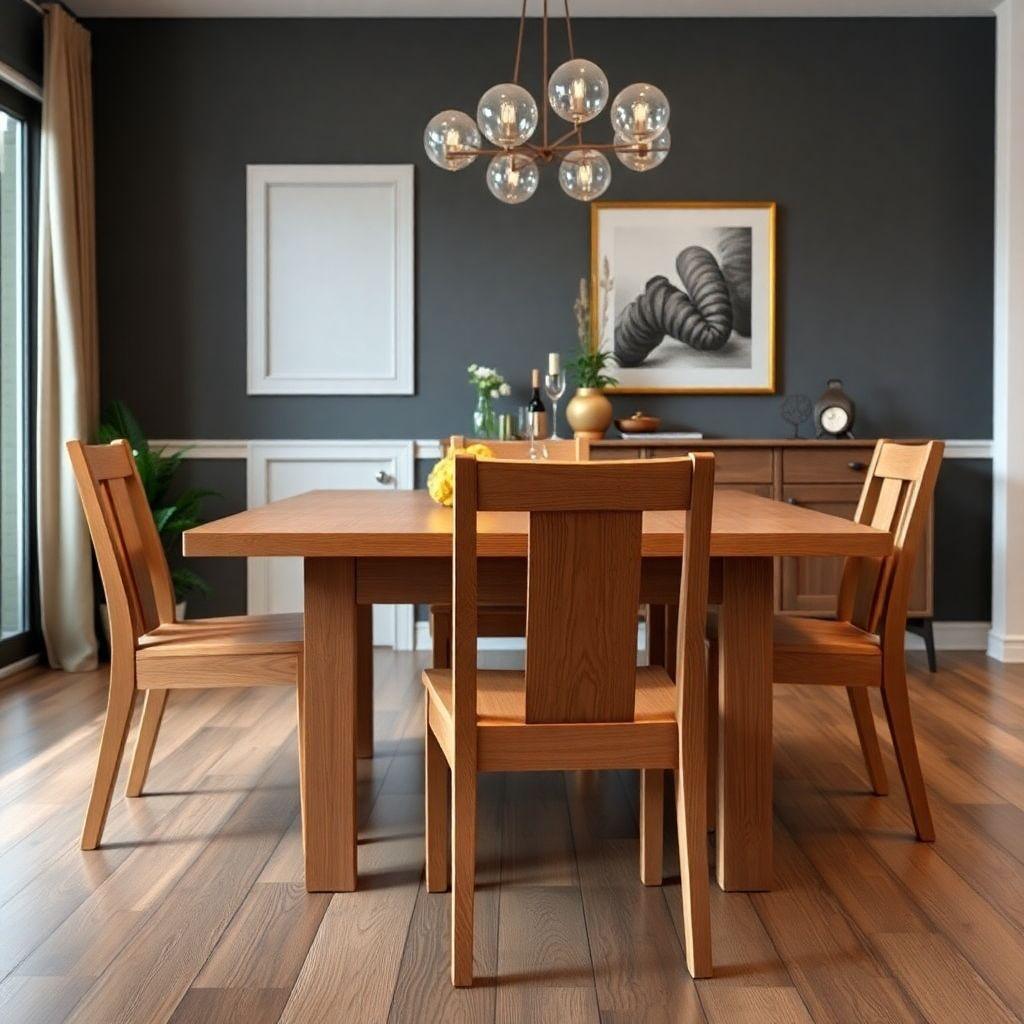
How you attach the seat depends on what it is made of, and this is where a lot of first chairs go wrong.
A plywood seat is dimensionally stable and can be glued and screwed solidly to the rails. A solid wood seat cannot. Solid oak expands and contracts across its width with the seasons, and if you fasten it solid it will either crack or push the joints apart. A solid wood seat must be allowed to float. Attach it with figure-8 fasteners that pivot, or with screws through slotted or oversized holes in the rails, so the panel can move while staying tight.
Set the seat so its top surface lands at 18 inches from the floor. Round or chamfer the front edge slightly so it does not dig into the back of the leg. Then finish the chair. An oil finish or a wipe-on poly both hold up well on a dining chair and are easy to refresh later.
Looking for more chair and stool ideas?
This guide is part of our complete chair and stool plans series — 6 types compared by skill, cost, and build time.
Want 16,000+ woodworking plans?
Ted’s Woodworking has step-by-step plans for every skill level. Browse Ted’s plans.
FAQ
Is a dining chair too hard for an intermediate woodworker?
No, but it will stretch you. If you can cut an accurate mortise and tenon and mill stock square, you can build this chair. The two skills that trip people up are the rear leg rake angle and the discipline to dry-fit before glue. Build one, learn from it, and the next three in the set go much faster.
How do I make a dining chair pattern for the curved back splat?
Start with a full-size pattern. Either print a 1:1 template of the curve or enlarge a gridded drawing onto paper, then transfer that shape to a piece of 1/4-inch hardboard and cut and sand it to a clean, fair curve. That hardboard piece becomes your template. Trace it onto your splat blank, rough-cut close to the line at the bandsaw, then mount the template to the blank and run a router with a flush-trim bit to make the splat exactly match the template. The template also lets you make every splat in a matching set identical.
Why can’t I just use pocket screws or glue for the joints?
Because a chair is a dynamic load, not a static one. Every lean-back and scoot loads the joints in shear and racking. Pocket screws pull out and glued butt joints starve and crack under that repeated stress. Mortise-and-tenon distributes the load across a large glued surface and mechanically locks the parts, which is why it has been the chair joint of choice for centuries.
What wood should I avoid?
Avoid pine, fir, spruce, and cedar for the legs and rails. They are softwoods that crush and split at the joints. Poplar is the softest wood acceptable here and only really for painted chairs. For a natural finish, use oak, maple, or walnut.
Do I really need to angle the rear legs?
If you want the chair to be comfortable, yes. A chair with vertical rear legs feels like a stool with a backrest and pushes you forward. The 5 to 8 degree rake lets you lean back and puts the backrest where your spine wants it. It is the difference between a chair people fight over and one nobody chooses.
How long will an oak chair like this last?
With sound mortise-and-tenon joints and a floating or plywood seat done right, decades. The joinery is the whole game. A well-built oak dining chair routinely outlasts the person who built it and gets handed down. That is the payoff for doing the joints properly the first time.
Related Articles

“DIY woodworking enthusiast who started with zero experience and a YouTube tutorial.
I build simple, practical projects for my home and share free plans
so other beginners can skip the guesswork.If I can build it, you can too.”