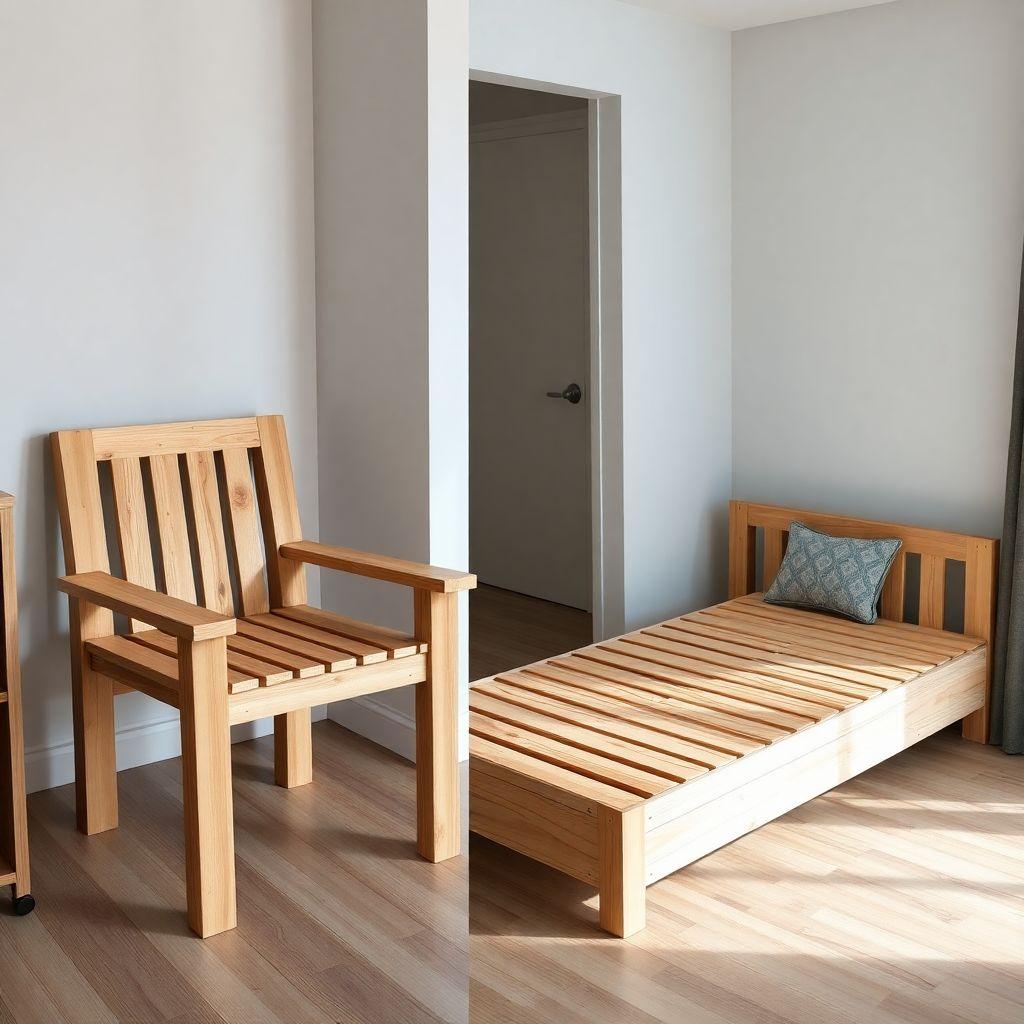
Chairs that make into beds solve a real problem in a small apartment: you need a place for a guest to sleep, but you do not have room for a permanent bed or a bulky pull-out sofa. This plan walks you through building a slatted hardwood chair with a hinged back that folds flat into a narrow daybed, roughly 24 inches wide by 72 inches long when open. It is simple, all wood, and needs no metal futon frame.
Expect to spend about $90 to $140 in hardwood and hardware, and a full weekend of shop time if you are an intermediate builder comfortable with pocket screws and a piano hinge. This guide is part of our chair and stool plans series, so if you are still deciding what to build, start there.
The key thing to understand up front: this is a real bed, not a decorative fold-down. That means the joinery and slat sizing have to carry adult body weight without sagging. We designed the whole thing backward from a proper 72-inch sleeping length, and we will flag the load-bearing details as we go.
How the Chair-to-Bed Conversion Works
Looking for more chair ideas?
This guide is part of our complete chair and stool plans series — compare all options by skill level, cost, and build time.
Want 16,000+ woodworking plans?
Ted’s Woodworking has step-by-step plans for every skill level. Browse Ted’s plans.
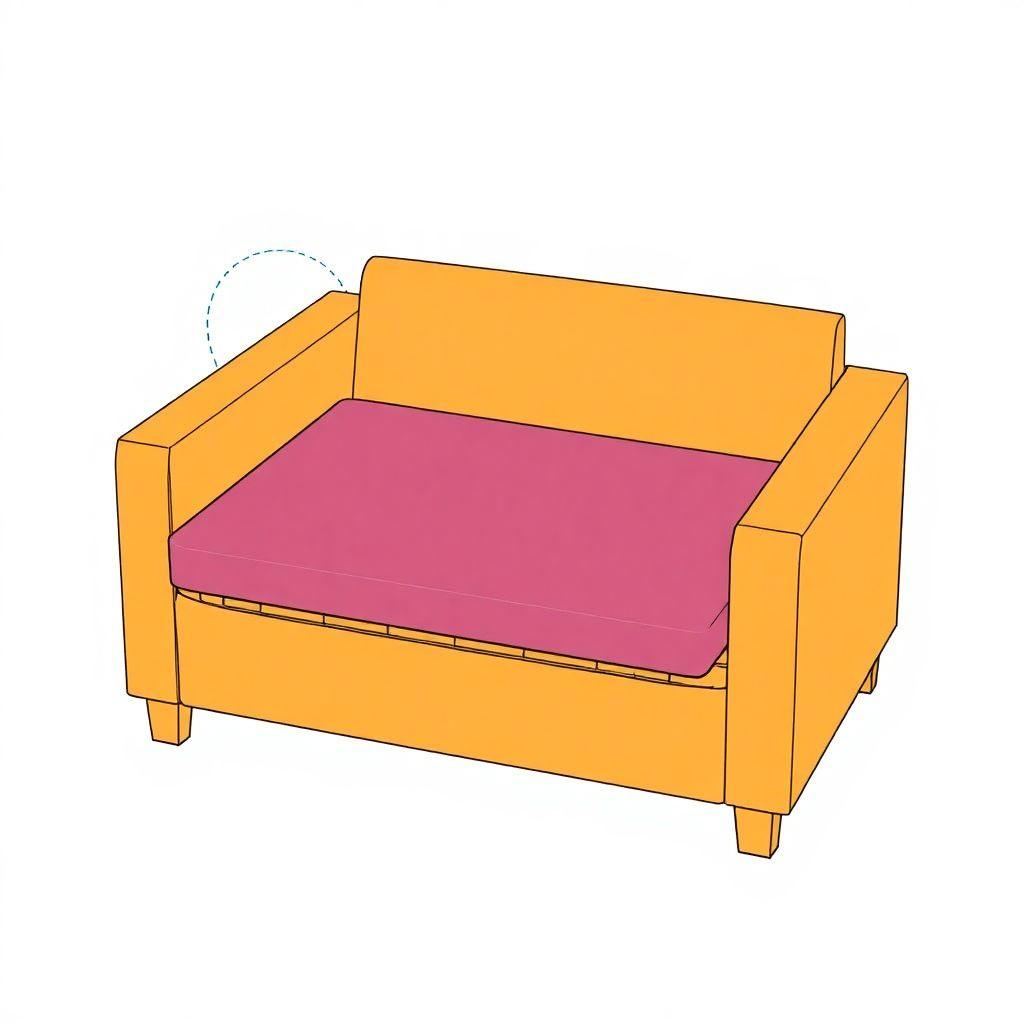
The design is two rigid wood frames joined by a continuous hinge. In chair mode, the seat frame sits horizontal on four legs and the back frame stands upright behind it, locked in place. To convert, you release the lock, swing the back frame down and away from the seat, and it drops until it is level with the seat. Now the seat and the former back sit end to end in one flat plane, giving you a continuous sleeping deck.
The geometry only works if you plan the lengths first. The total flat length is seat depth plus back height. We use a 24-inch seat and a 48-inch back, which gives 72 inches, the minimum comfortable sleeping length for an adult. If you shorten the back to make the chair look more compact, you lose bed length, so do not cut those back rails short.
When the back folds down, its outboard end is unsupported. That is why the conversion includes a drop-down center support leg or a folding bracket that swings under the back section to hold it level. Without support at the fold, the far end of the bed hinges toward the floor the moment someone sits on it.
Materials and Cut List
All frame stock is hardwood (maple, oak, or poplar work well). Do not substitute soft pine for the side rails; the span and load will let it flex. If pine is all you can get, step up to 1-1/4 inch by 2 inch pine for the rails and add the center support leg.
Cut list (finished chair: 24 inches wide, 72 inches total length when flat):
| Qty | Part | Dimensions | Length |
|---|---|---|---|
| 2 | Seat side rails | 1-1/2″ x 3″ hardwood | 24″ |
| 2 | Seat front/back rails | 1-1/2″ x 3″ hardwood | 21″ |
| 2 | Back side rails | 1-1/2″ x 3″ hardwood | 48″ |
| 2 | Back cross rails | 1-1/2″ x 3″ hardwood | 21″ |
| 4 | Legs | 1-1/2″ x 1-1/2″ hardwood | 16″ |
| 10 | Seat slats | 3/4″ x 2-1/2″ hardwood | 22-1/2″ |
| 14 | Back slats | 3/4″ x 2-1/2″ hardwood | 22-1/2″ |
| 1 | Piano hinge (continuous) | 24″ long | – |
| 2 | Folding leg brackets (table-leg style) | – | – |
Hardware and consumables:
- 2-1/2 inch pocket screws for the frame joinery
- 1-1/4 inch wood screws for the slats
- Wood glue
- Screws sized to the piano hinge (usually included)
- Sandpaper (120 and 220 grit)
- Finish of your choice (wipe-on poly or hardwax oil)
A quick note on slat count and spacing. Fourteen back slats and ten seat slats at 22-1/2 inches each, laid across the 24-inch frames, give you close spacing (roughly 3/4 inch gaps). Tight spacing matters here. Slats set at the usual 1-1/2 inch furniture spacing will deflect noticeably under body weight on a bed. Use 3/4 inch hardwood slats minimum and keep the gaps small.
Tools Required
- Pocket hole jig (Kreg or similar)
- Drill/driver
- Circular saw or miter saw
- Tape measure and square
- Clamps (at least four)
- Screwdriver for hinge screws
- Sander or sanding block
Nothing exotic. The only specialty item is the pocket hole jig, and it is what makes the frame joinery strong enough without cutting mortises.
Step 1: Build the Seat Frame
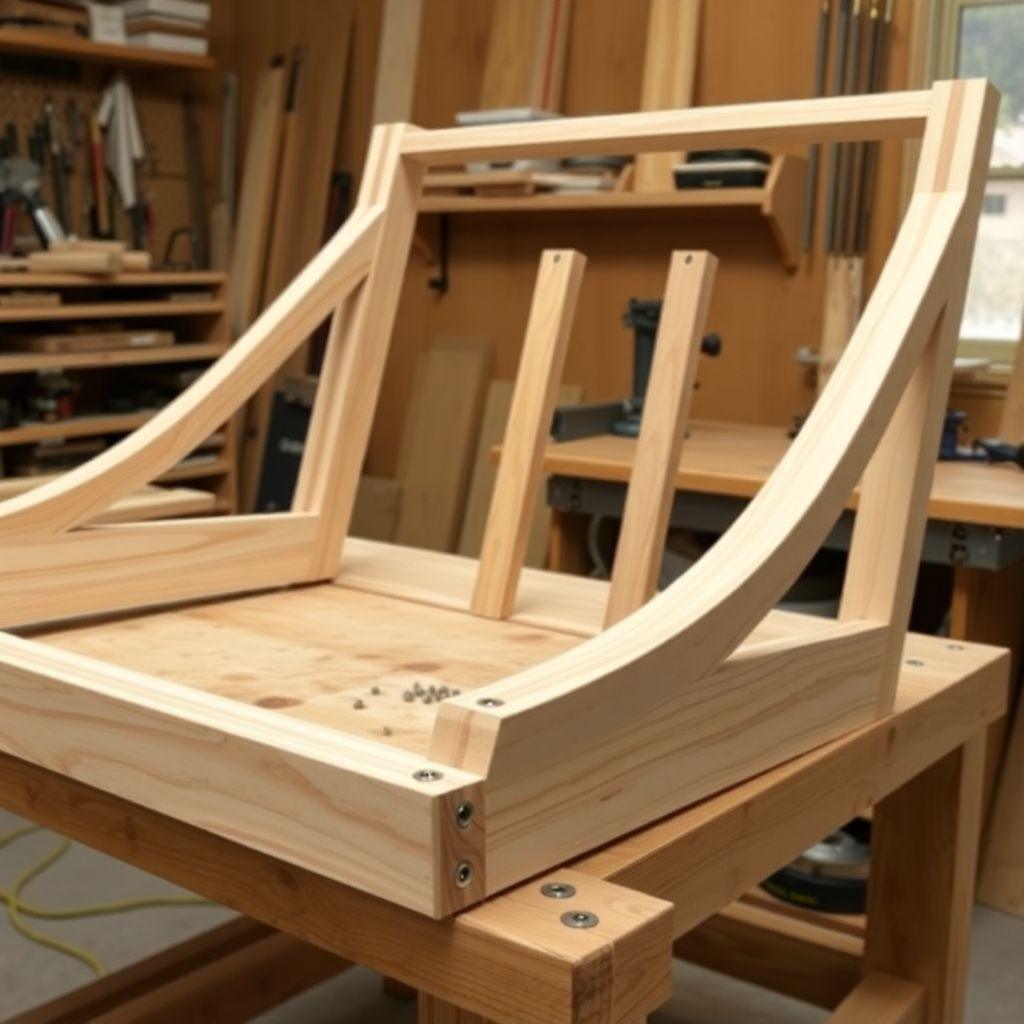
Start with the seat because everything references it. Take the two 24-inch seat side rails and the two 21-inch front/back rails. Drill two pocket holes in each end of the 21-inch rails.
Lay the four pieces into a rectangle: the 21-inch rails fit between the 24-inch side rails, giving an outside width of 24 inches. Apply glue to the joints, clamp square, and drive 2-1/2 inch pocket screws. Check for square by measuring both diagonals; they should match.
Now attach the legs. Each 16-inch leg mounts to an inside corner of the seat frame. Sixteen inches is standard seat height. Glue and screw each leg into the corner using pocket screws through the rails into the leg, two screws per face so each leg gets four screws total. The legs are load-bearing, so do not rely on a single screw. Let the glue cure before moving on.
Step 2: Build the Back Frame (Bed Extension)
The back frame is the same construction, just longer. Take the two 48-inch back side rails and the two 21-inch back cross rails. Drill pocket holes in the ends of the cross rails and assemble them into a rectangle the same 24-inch outside width as the seat. Put one cross rail at each end.
Because this frame doubles as half the bed deck, it carries the same load as the seat, so build it just as solidly. Glue every joint, clamp square, check the diagonals. This frame has no legs; it is supported by the hinge on one end and the folding bracket on the other.
Set the two frames side by side on the bench with the ends that will meet aligned. The seat frame’s back rail and the back frame’s bottom cross rail should sit flush against each other. This is the hinge line.
Step 3: Install the Piano Hinge
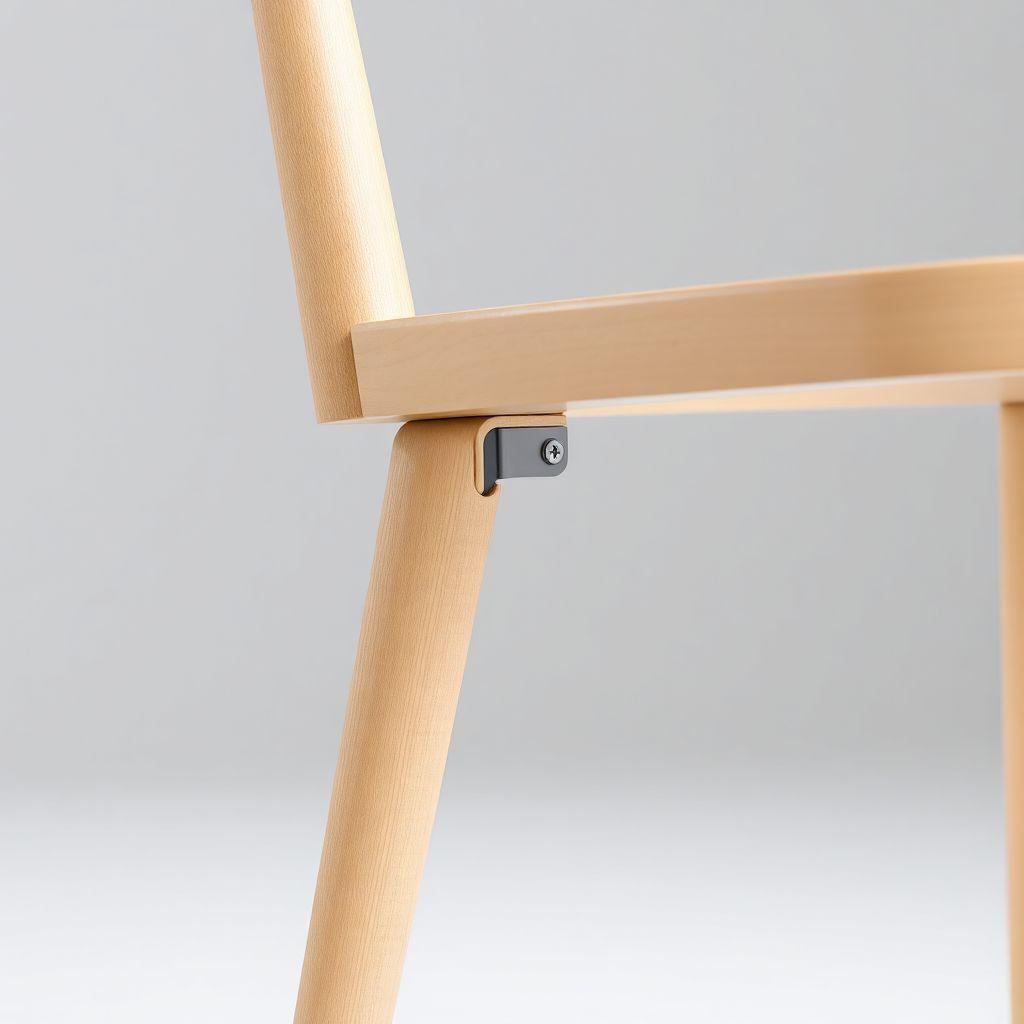
The hinge is the single most important piece of hardware, so use a continuous piano hinge, not a pair of barrel hinges. A 24-inch piano hinge spreads the load across the full width of the joint, which is exactly what you want under body weight. Barrel hinges work only if they are perfectly aligned and rated for the load, and any misalignment causes binding or racking. If you have only barrel hinges, use at least three and shim them into perfect coplanar alignment. We recommend the piano hinge.
Position the seat frame and back frame end to end, top faces up, with the joining rails butted together. The hinge sits on top, bridging the seam, with the barrel of the hinge centered exactly on the gap. Center it so that when the back folds down flat, the top surfaces sit level in one plane.
Mark and pre-drill every screw hole. Pre-drilling keeps the hinge from wandering and prevents splitting the hardwood. Drive the screws, working from the center outward on each leaf so the hinge stays straight. When you are done, fold the back up and down a few times. It should swing freely and, when open, lie dead flat with the seat.
Step 4: Add the Slats
Slats go on last so the hinge is already set and you can lay them across the seam cleanly. You have 10 seat slats and 14 back slats, all 22-1/2 inches long and 3/4 inch thick.
Lay slats across the width of each frame, resting on the side rails. Space them evenly, roughly 3/4 inch apart. Keep two things in mind at the hinge line. First, leave a small gap at the seam so the two nearest slats do not collide when the back folds up into chair mode. Second, do not bridge a single slat across the hinge; that would lock the fold.
Fix each slat with glue and two 1-1/4 inch screws per end, into the side rails. Countersink the screws so nothing snags a mattress or skin. Once all slats are down, press on the middle of each frame. If a slat flexes more than slightly, your spacing is too wide or the stock is too thin. Add an extra slat rather than living with a bouncy deck.
Step 5: Install the Locking Leg Bracket
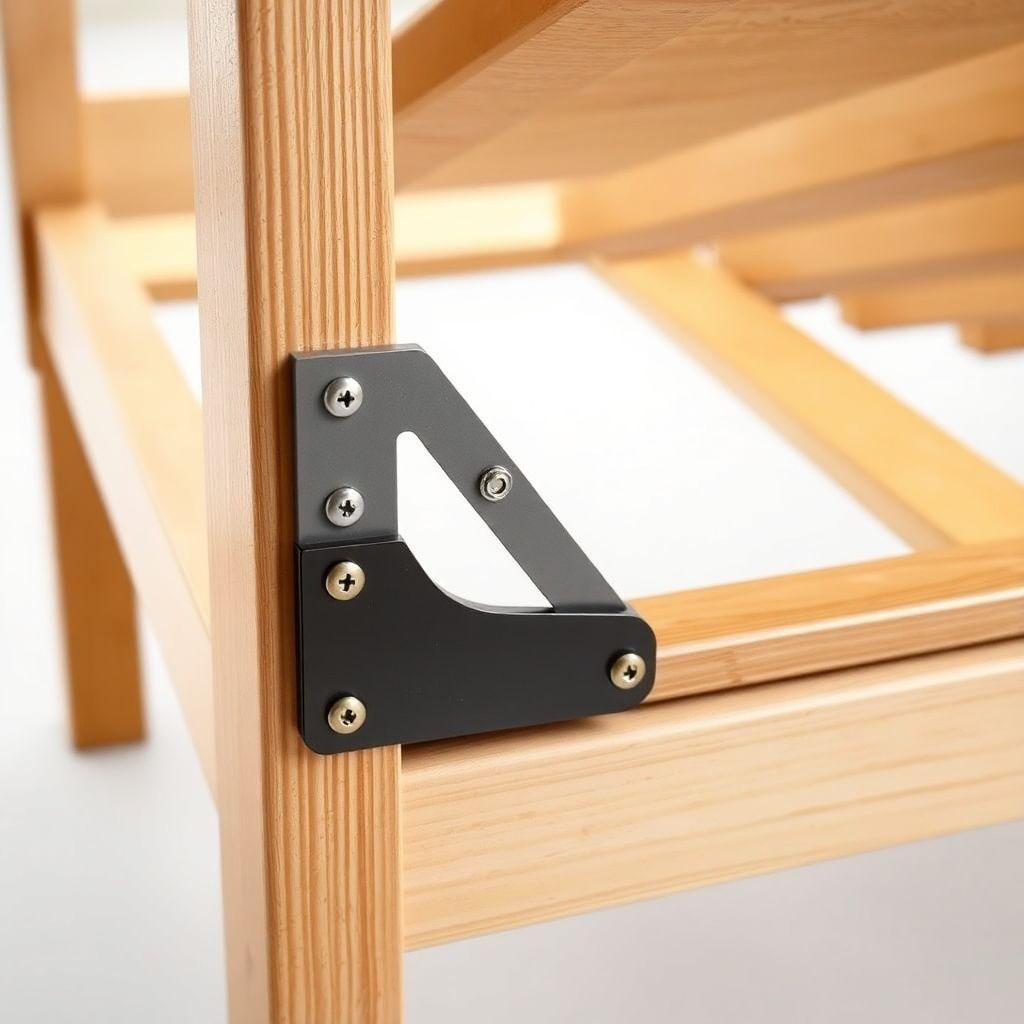
The bracket does two jobs: in chair mode it locks the back frame upright so it does not collapse when someone leans back, and in bed mode it swings down to support the far end of the back frame at seat height.
Use table-style folding leg brackets, the kind sold for drop-leaf tables and RV furniture. Mount one bracket to each back side rail, positioned so that when it is deployed it holds the back frame level with the seat, 16 inches off the floor, matching the seat legs. The bracket legs become the two rear legs of the bed.
For chair mode, add a simple stop or the bracket’s built-in lock so the back stays upright at the seat-back angle you want, around 100 to 105 degrees. Without a positive lock at this point, the back is free to swing and will drop the instant weight goes against it. Test the lock hard before you trust it with a guest. Sit down and lean back with full weight; the back must not creep or fold.
Step 6: Add the Cushion (Optional)
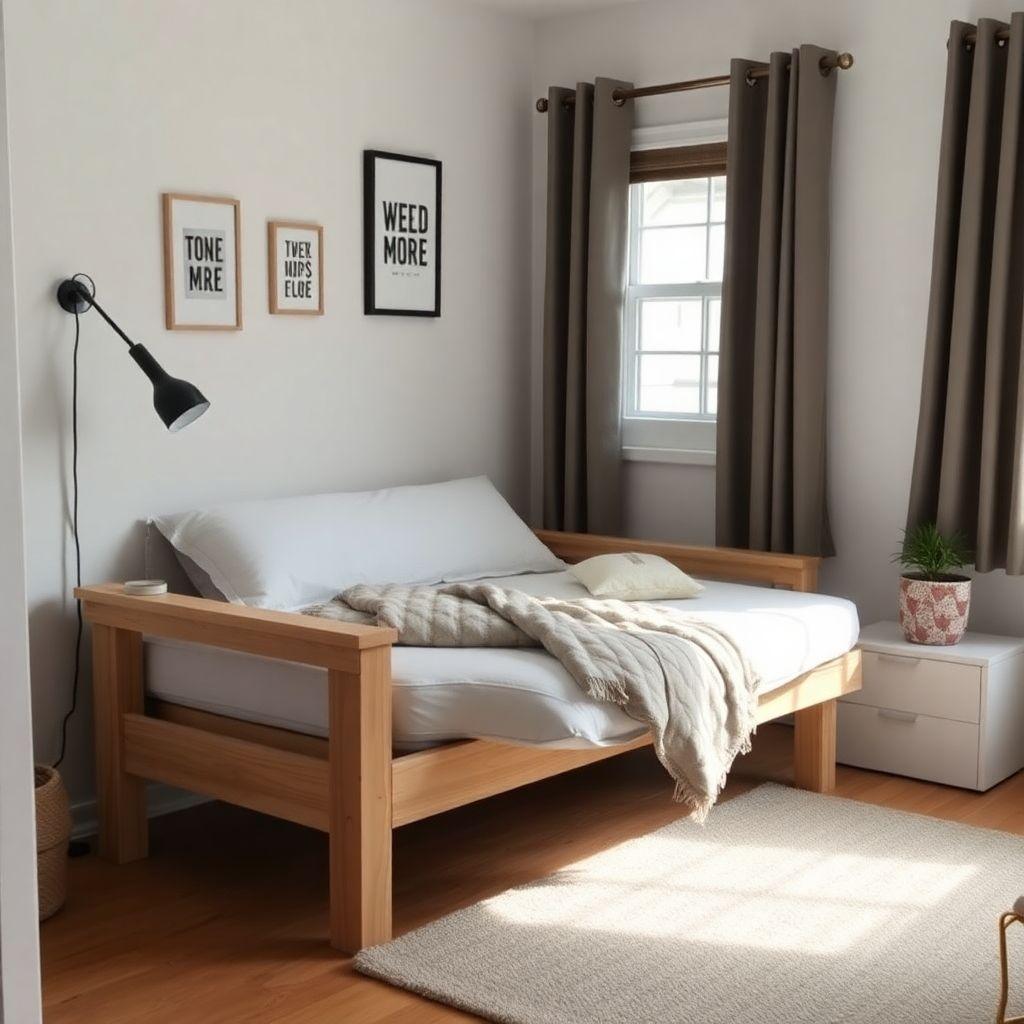
Bare slats are usable but firm. A thin cushion turns it into a real bed. Use 2-inch upholstery foam cut to the deck size (24 inches by 72 inches, or two pieces split at the fold line so the cushion folds with the frame).
For a fixed cushion, wrap the foam in batting and fabric and staple the fabric to the underside of a thin plywood base, then set it on the slats. For a removable, washable cover, sew a simple box cushion cover with a zipper along one long edge. Cut a top panel, a bottom panel, and a boxing strip 2 inches wide to match the foam thickness, sew them into a sleeve, install the zipper, and slide the foam in. Splitting the cushion into two pieces at the fold line keeps it from bunching when the chair is upright and lets you fold the whole unit without fighting the foam.
Looking for more chair and stool ideas?
This guide is part of our complete chair and stool plans series — 6 types compared by skill, cost, and build time.
Want 16,000+ woodworking plans?
Ted’s Woodworking has step-by-step plans for every skill level. Browse Ted’s plans.
FAQ
How much weight can this chair-bed hold?
Built as specified with 1-1/2 inch hardwood side rails, glued pocket-screw joinery, and closely spaced 3/4 inch slats, the frame carries a typical adult of 180 to 250 pounds across the 24-inch span. The load-bearing weak points are the side rails and the hinge, which is why we call for a continuous piano hinge rather than a few small hinges. Do not build the rails from thin pine.
Can I use regular door hinges instead of a piano hinge?
Not recommended. A continuous piano hinge distributes body weight across the whole 24-inch joint. Butt hinges or a couple of barrel hinges concentrate the load at a few points and are prone to racking and misalignment. If you must use barrel hinges, use at least three and shim them into perfect coplanar alignment so the deck folds flat.
Why does the back fold flat instead of the seat?
The back is the longer frame at 48 inches, so folding it down extends the 24-inch seat out to the full 72-inch sleeping length. Folding the seat instead would not give you enough length. Designing backward from 72 inches is the whole point: seat depth plus back height must equal a real bed length.
What keeps the back from collapsing when I lean on it in chair mode?
The folding leg brackets include a lock, or you add a simple stop, that holds the back upright at roughly 100 to 105 degrees. Test it under full weight before use. Without a positive lock, leaning back will fold the chair.
Do I need the center support leg?
If you build the frames from proper 1-1/2 inch hardwood, the folding leg brackets under the back frame do the supporting job. If you substitute pine or widen your slat spacing, add a drop-down center support leg at the fold line to stop the deck from sagging in the middle.
How small a space does this fit?
In chair mode it has a normal chair footprint, roughly 24 inches wide and 24 inches deep. Folded out to a bed it needs 24 by 72 inches of clear floor. That makes it a good fit for a home office, nursery, or guest corner where a full sofa bed will not go.
Related Articles

“DIY woodworking enthusiast who started with zero experience and a YouTube tutorial.
I build simple, practical projects for my home and share free plans
so other beginners can skip the guesswork.If I can build it, you can too.”