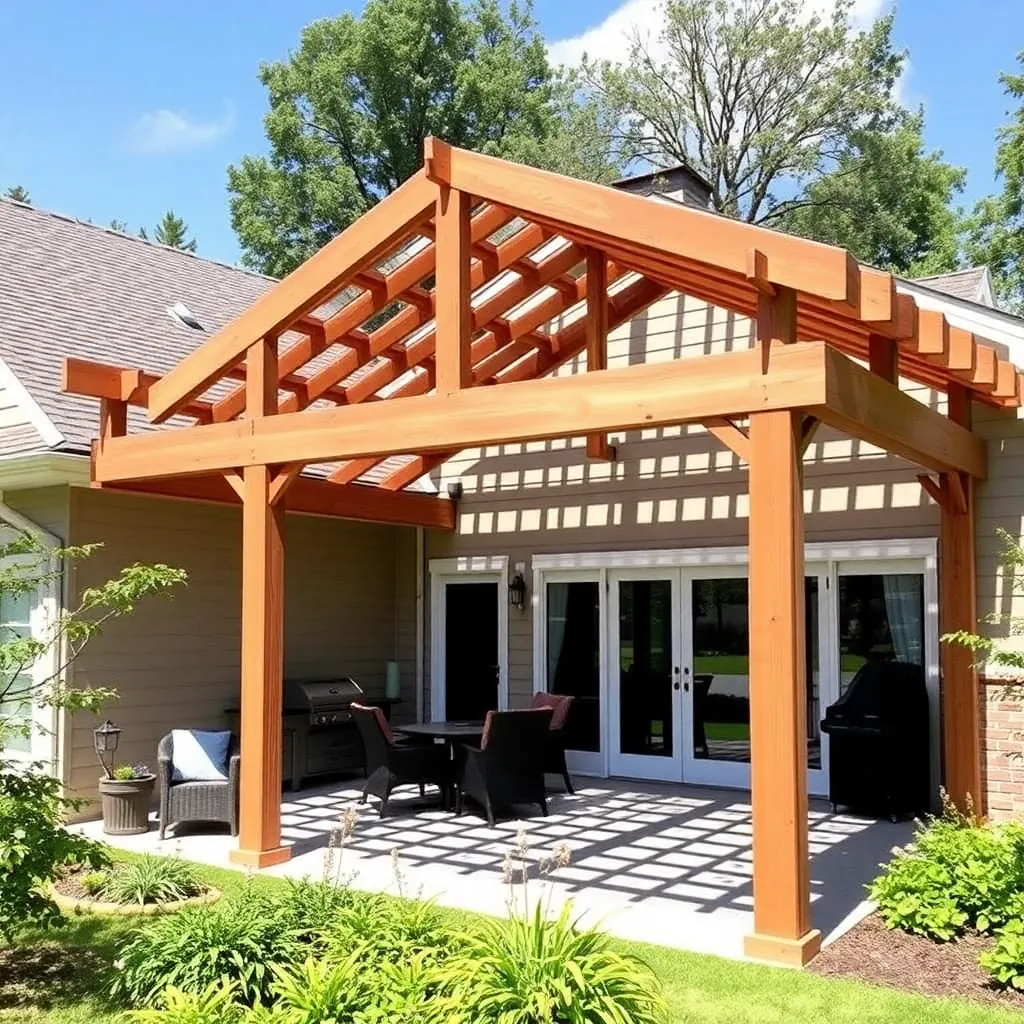
An attached pergola gives you everything a freestanding pergola does — shade, structure, outdoor room definition — but uses your house wall as one side of the frame. That means two fewer posts, a smaller material cost, and a structure that feels architecturally connected to your home rather than sitting separately in the yard.
The trade-off is complexity. Attaching anything to a house wall requires proper flashing to prevent water intrusion, a permit in most municipalities, and careful attention to how the ledger board connects to the structure behind the siding. These plans cover all of it: a 10×12 attached cedar pergola with a ledger board, two front posts, doubled beams, and rafters — the most common attached pergola configuration for a back door or sliding glass door opening.
Want 16,000+ step-by-step woodworking plans?
Ted’s Woodworking has plans for every skill level — from simple shelves to full bedroom sets. Each plan includes a cut list, material list, and detailed diagrams. Browse Ted’s plans →
Step 1: Check Permits and Assess Your Wall
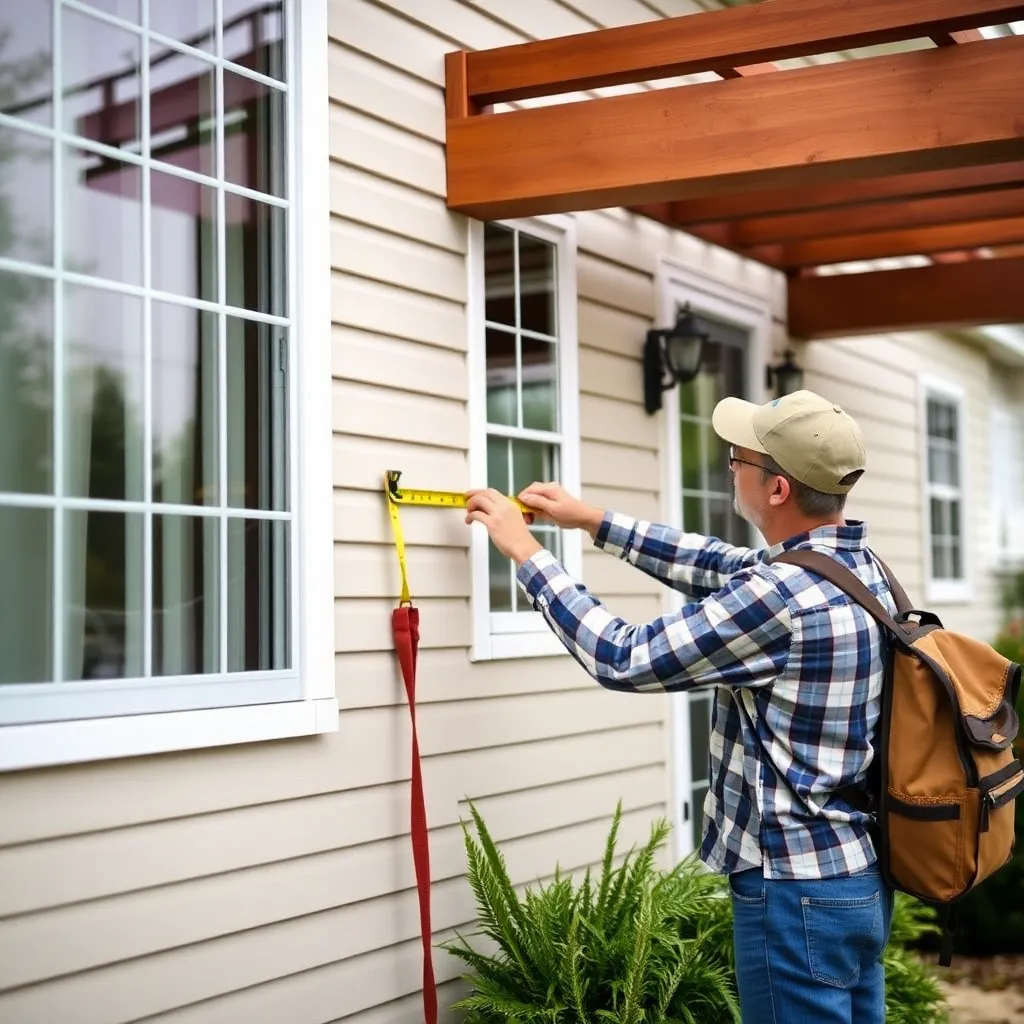
Attached pergolas almost always require a building permit because they connect to the house structure. The permit process for a simple pergola is usually straightforward — a site plan, a materials list, and a structural sketch — and takes 1–3 weeks in most jurisdictions. Budget $75–200 for the permit fee.
Assess your wall type before planning anything else. The ledger board — the horizontal board that replaces the back two posts — must connect into solid framing, not just siding or sheathing. Common wall situations:
- Wood frame house with wood siding: Easiest. Remove a strip of siding where the ledger will sit, attach ledger to rim joist or wall studs with lag screws, flash with metal Z-flashing.
- Wood frame house with stucco: Requires cutting a clean line in the stucco, installing a standoff ledger (spacers keep the ledger 1″ from the wall for drainage), and using a flexible flashing membrane behind the ledger.
- Brick or masonry wall: Use threaded masonry anchors or structural screws rated for masonry. No siding removal needed, but flashing still required at the top of the ledger.
- EIFS (synthetic stucco): Most complex — EIFS must not be penetrated without special through-wall flashing. Consult a contractor or building inspector before proceeding.
Find the rim joist. On a wood-frame house, the rim joist (the horizontal framing member at the floor level) is the ideal ledger attachment point — it’s solid wood you can lag into with confidence. Measure from your finished floor level to locate it on the exterior wall.
Step 2: Materials and Cut List
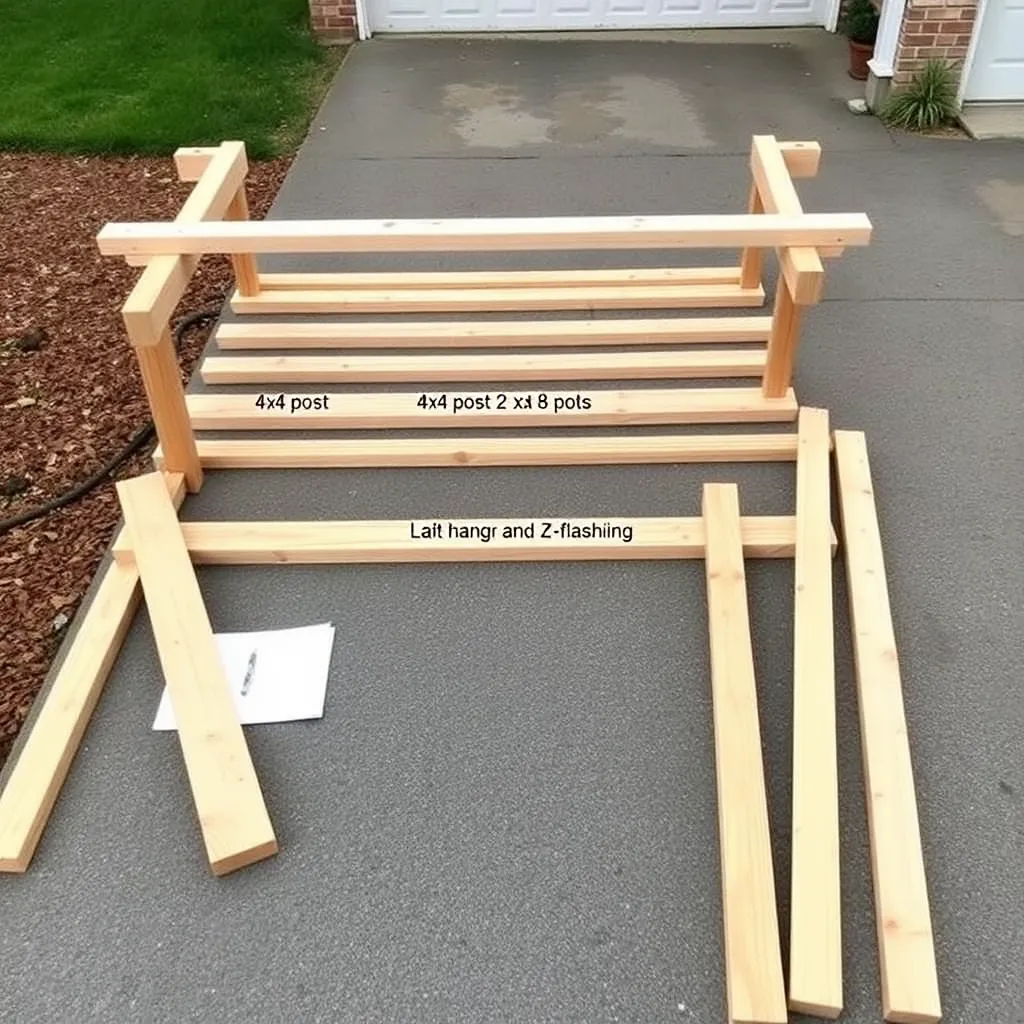
This design builds a 10-foot-deep × 12-foot-wide attached pergola. The 12-foot width matches a standard sliding glass door plus a generous walkway on each side.
| Part | Qty | Size | Notes |
|---|---|---|---|
| Ledger board | 1 | 12′ × 2×8 cedar | Attached to house wall |
| Front posts | 2 | 10′ × 4×4 cedar | Set in post bases |
| Front beam | 2 | 12′ × 2×8 cedar | Doubled, face-nailed together |
| Rafters | 5 | 10′ × 2×6 cedar | Span house to front beam |
| Purlins | 7 | 12′ × 2×4 cedar | Perpendicular to rafters |
| Post bases | 2 | 4×4 post base | Simpson Strong-Tie ABA44 |
| Rafter hangers | 10 | Joist hanger 2×6 | Simpson LUS26 or equivalent |
| Lag screws (ledger) | 12 | ½” × 4″ | Into rim joist every 16″ |
| Lag screws (beam) | 8 | ½” × 3½” | Beam-to-post connections |
| Z-flashing | 1 | 12′ length | Aluminum, above ledger |
| Structural screws | 1 box | 3″ exterior | General assembly |
| Concrete | 2 bags | 60 lb fast-set | One per front post hole |
Total estimated material cost: $280–380 depending on region and lumber grade.
Step 3: Install the Ledger Board
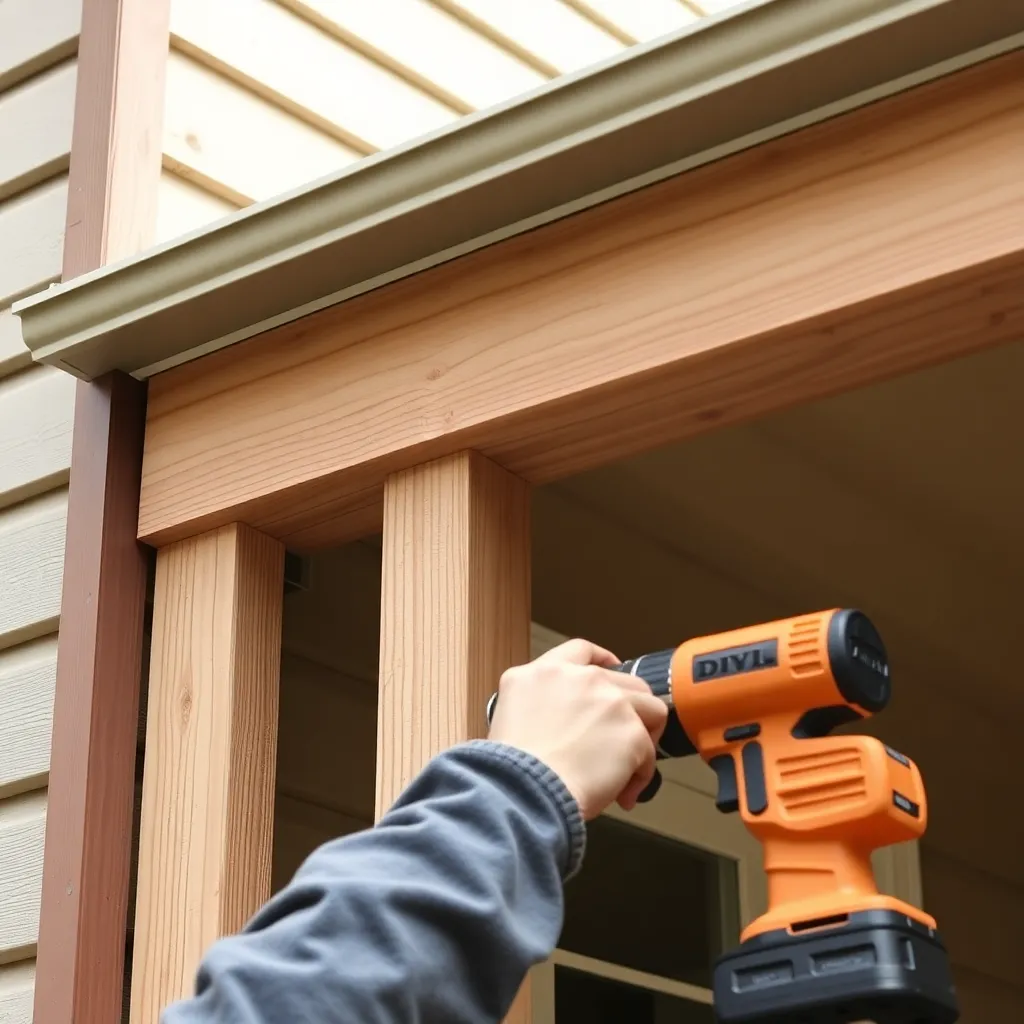
The ledger installation is the most critical step in the entire build. A properly flashed ledger keeps water out of your wall for decades. A poorly flashed one causes rot and mold behind the siding within a few years.
Remove siding at the ledger location. Mark the ledger position on the wall — the top of the ledger should sit at the same height as where the rafters will meet the house, accounting for the rafter depth below. Snap a chalk line at the top and bottom of the ledger and cut the siding cleanly with a circular saw set to the siding depth (score the cut first with a utility knife to prevent blowout on lap siding). Remove the siding in a strip 1 inch taller than the ledger board — the extra inch is for the Z-flashing to slide behind.
Install the Z-flashing first. Slide the top leg of the Z-flashing behind the siding above the cut, bending it over the top edge of the ledger location. The Z-flashing creates a waterproof drip edge that directs any water that gets behind the siding out and over the ledger rather than into the wall. Fasten the top leg with roofing nails or screws into the sheathing.
Position the ledger board. Set the ledger board against the wall in the flashing channel, with the top of the board sitting just below the Z-flashing drip edge. Level the board carefully — this is the reference surface that determines whether all your rafters are level. Tack it in place temporarily with two screws while you check level.
Lag into the rim joist. Drive ½” × 4″ lag screws through the ledger and sheathing into the rim joist every 16 inches. Pre-drill with a ½” bit to prevent splitting. Stagger the lag screws slightly above and below center on the ledger face so they don’t all line up with the same grain line in the rim joist. A properly lagged 2×8 ledger into a sound rim joist supports far more load than a pergola will ever impose.
Seal around the lags. Squirt a small bead of polyurethane caulk around each lag screw head where it enters the wood. Water that gets past the flashing should not be able to follow a lag screw into the wall cavity.
Step 4: Set the Front Posts
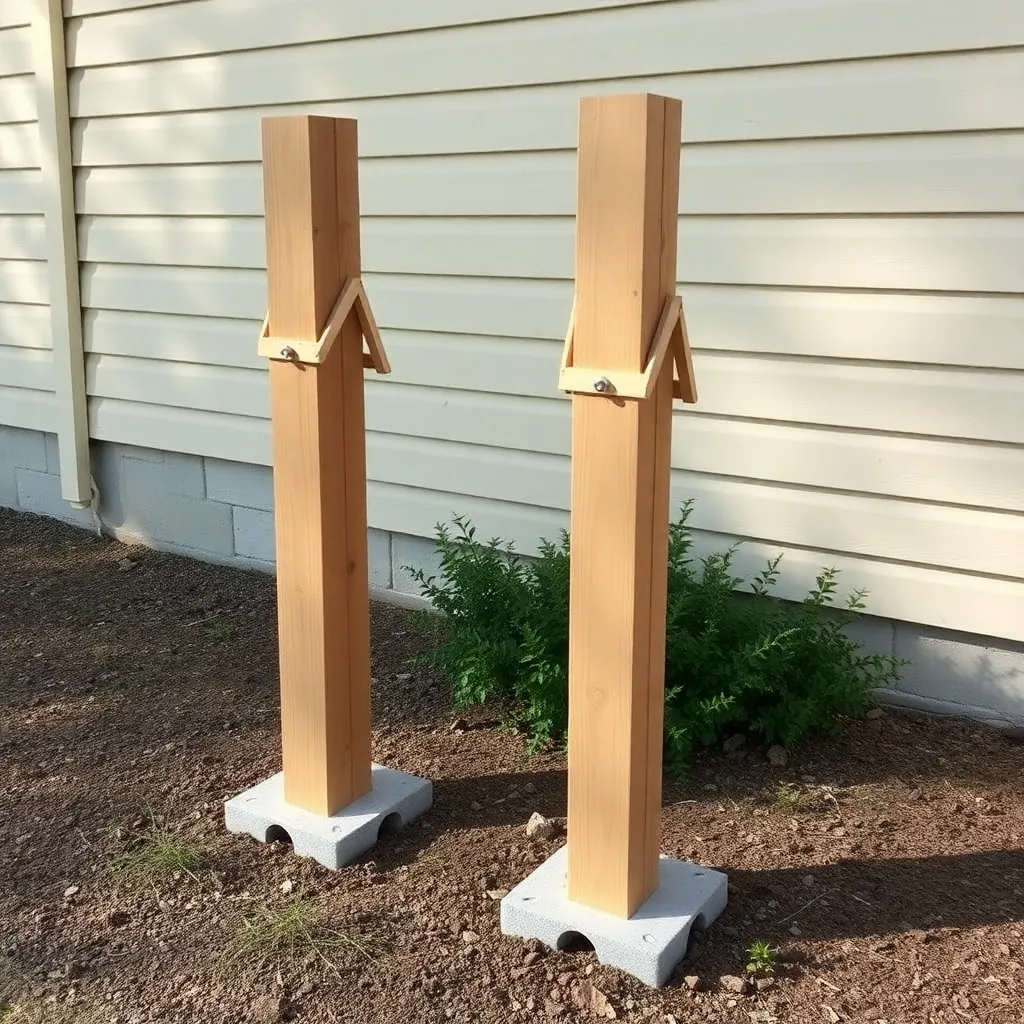
With the ledger installed, the two front posts define the pergola footprint. They sit 10 feet out from the house wall (matching the rafter span) and 12 feet apart, aligned with the ends of the ledger.
Establish post locations. Measure 10 feet from the house wall at both ends of the ledger and mark the post locations on the ground. Drop a plumb bob from the ledger ends to confirm the posts align directly with the ledger board ends. The two posts and the ledger form a perfect rectangle — check by measuring the diagonal between the far post corner and the opposite ledger end; both diagonals should be equal.
Dig and set post holes. Dig 24-inch deep holes (or to local frost depth) at each post location. Pour fast-set concrete, let cure 24–48 hours, then attach post base connectors. Stand the 4×4 posts in the bases, plumb in both directions, and brace with temporary diagonal 2×4s staked to the ground.
Cut posts to height. The top of the front posts must match the ledger height exactly for the beams and rafters to sit level. Measure the ledger height from the ground at the house wall, then transfer that measurement to the post locations. Mark the cut line on each post (accounting for any slope in the ground) and trim the tops with a circular saw. Re-check height against the ledger with a long level or a string line before removing the temporary braces.
Step 5: Install the Front Beam
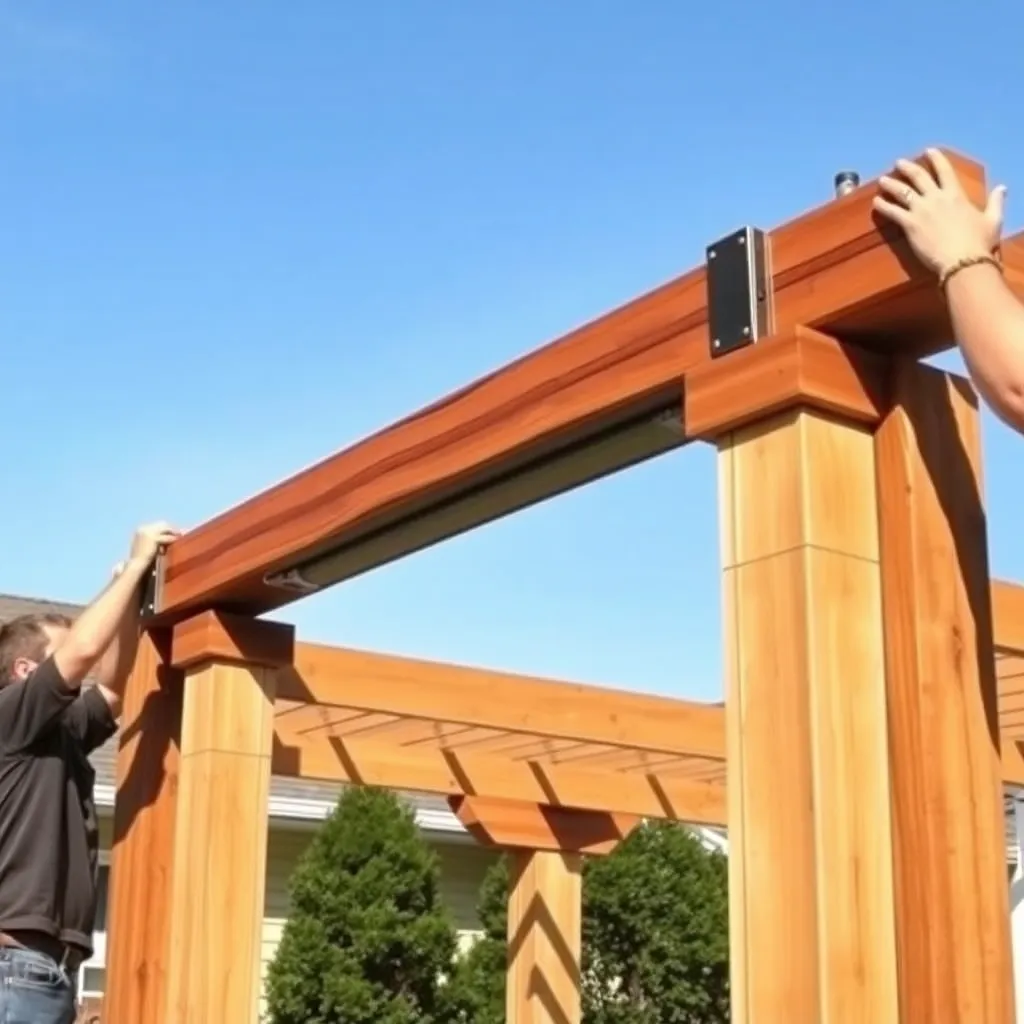
The front beam runs across the tops of the two front posts, parallel to the ledger. Like the freestanding pergola design, this is a doubled 2×8 — two boards face-nailed together — that carries the rafter load across the 12-foot span.
Assemble the beam on the ground. Face-nail two 12-foot 2×8 boards together with 3″ structural screws every 16 inches in a staggered pattern. Cut the decorative 45-degree tail profiles on both ends of the assembled beam.
Install post caps on the front posts. Bolt post cap connectors (Simpson BC44 or equivalent) to the tops of both front posts per the connector specifications. These caps cradle the beam and provide the structural connection — don’t skip them and rely on toenail screws alone.
Lift and set the beam. Two people, one ladder each side. Lift the doubled beam into the post caps, check that it’s centered side to side, and confirm the beam top is level with the ledger top. Fasten through the post caps with the specified hardware.
Step 6: Install Rafters With Hangers
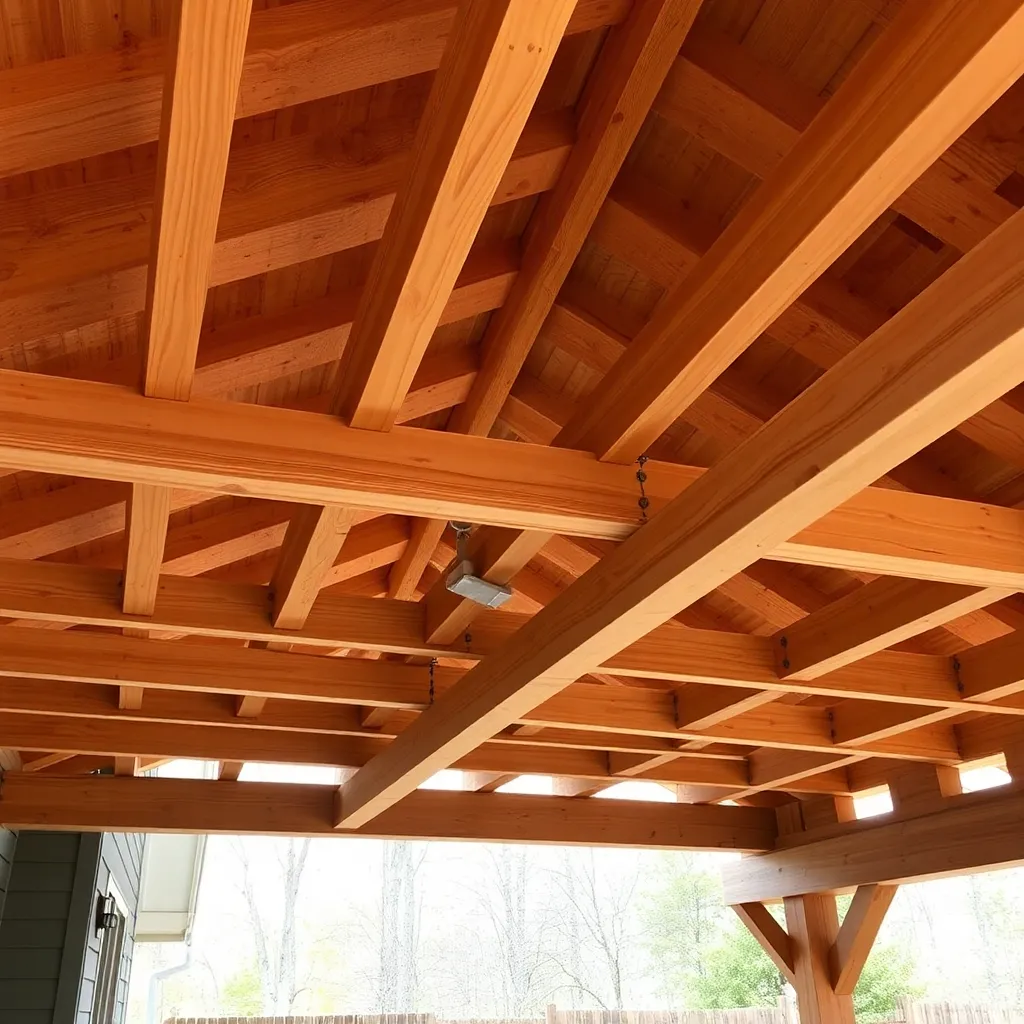
Attached pergola rafters run from the ledger on the house side to the front beam, spanning 10 feet. Using joist hangers at the ledger end gives the connection far more strength than toenailing and keeps the rafter face flush with the ledger face for a clean look.
Install rafter hangers on the ledger. Mark rafter positions on the ledger at 24 inches on center — five rafters, starting 12 inches from the ledger ends to create an overhang at the front beam. Nail or screw a joist hanger at each mark. Use hangers rated for 2×6 lumber (Simpson LUS26 or equivalent) and fasten with the hanger manufacturer’s specified nails — standard wire nails are not rated for structural hanger connections.
Cut and set the rafters. Cut all five rafters to 11 feet — 10 feet of span plus a 12-inch decorative overhang past the front beam. Cut the rafter tail profiles on the front ends (the ends that overhang the beam). Drop each rafter into its hanger at the ledger and rest the back end on the front beam. Check for level and consistent spacing, then fasten the hanger tabs, and toenail or use a connector at the beam end.
Step 7: Install Purlins and Finish
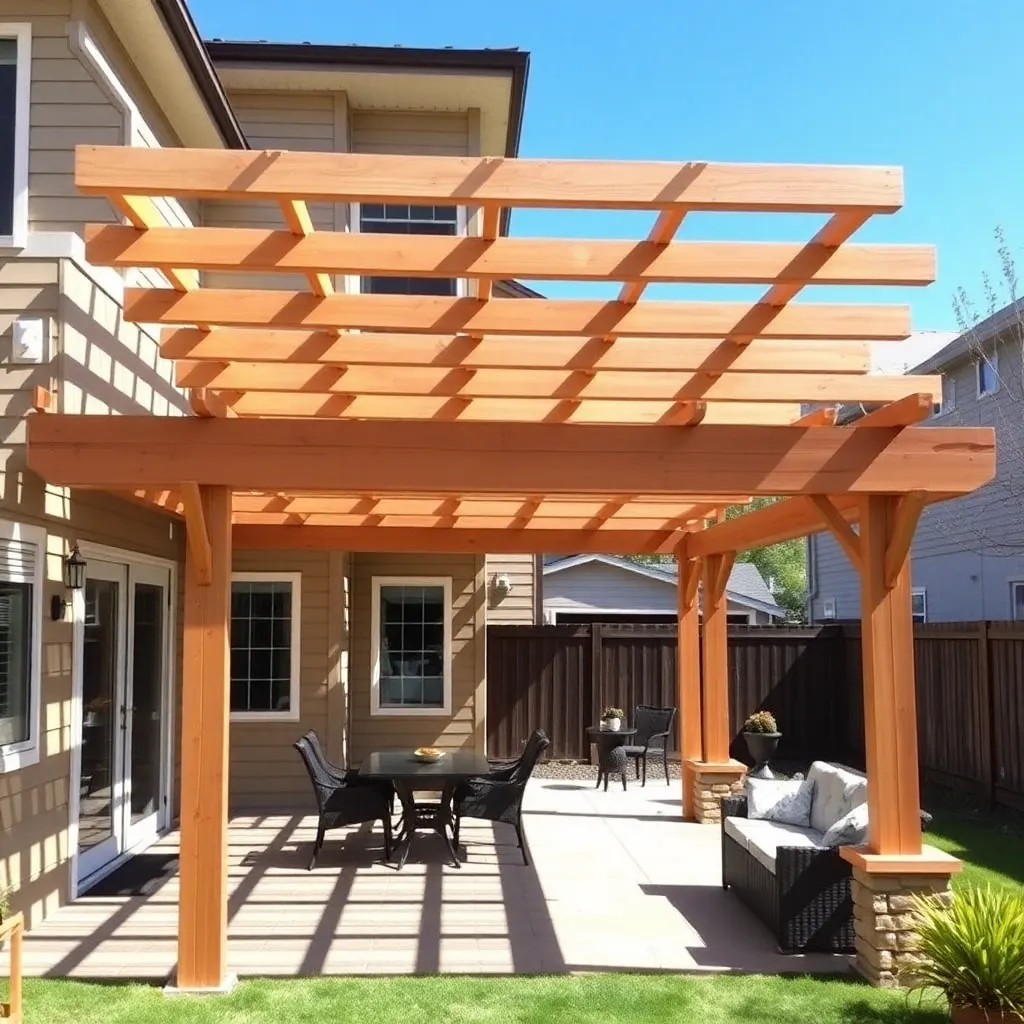
Purlins run parallel to the ledger and front beam, across the tops of the rafters, completing the roof grid. Space seven 2×4 purlins evenly across the 10-foot rafter span — roughly 16 inches on center — and fasten with two 3″ screws per rafter crossing.
Flashing final check. Before calling the build complete, stand in the doorway and look up at where the ledger meets the house wall. There should be no gap between the Z-flashing and the siding above it. If any daylight shows, press the flashing tight and seal with a bead of paintable exterior caulk along the top edge of the flashing (not the bottom — the bottom edge must stay open to drain).
Finish options: Cedar weathers naturally to silver-gray, or apply a semi-transparent exterior stain to maintain the warm cedar color. On an attached pergola, coat the ledger board especially well — it’s the piece most exposed to runoff from the house roof above.
Trim the siding. Replace the strip of siding you removed, cutting it to fit neatly against the ledger sides. Caulk all siding joints around the ledger area with a paintable exterior caulk and prime before painting to seal the cut siding edges.
For more pergola and outdoor structure builds, visit our pergola and arbor plans hub.
Want 16,000+ step-by-step woodworking plans?
Ted’s Woodworking has plans for every skill level — from simple shelves to full bedroom sets. Each plan includes a cut list, material list, and detailed diagrams. Browse Ted’s plans →
Attached Pergola Plans FAQ
Do I need a permit for an attached pergola?
In almost every jurisdiction, yes. Attached pergolas connect to the house structure, which makes them regulated additions under most building codes. The permit process is usually simple — a basic drawing and materials list — and takes 1–3 weeks. Building without a permit can cause problems when you sell your home (unpermitted additions often appear in inspections) and may void your homeowner’s insurance for related claims.
How far should an attached pergola extend from the house?
Eight to twelve feet is the most common depth range. Eight feet provides shade and defined space without feeling tunnel-like. Twelve feet gives a full outdoor room. Going beyond 12 feet without intermediate posts requires beam upsizing — at 14+ feet of rafter span, 2×8 rafters start to deflect noticeably under their own weight plus any snow load.
What is a ledger board and why is it important?
The ledger board is the horizontal board bolted to your house wall that replaces the back two posts of a freestanding pergola. It transfers the rafter loads into your house structure. Proper ledger installation — into the rim joist, with Z-flashing above — is the most important detail in an attached pergola build. A poorly installed ledger is the primary cause of water damage and structural failure in attached outdoor structures.
Can I attach a pergola to a brick house?
Yes, with masonry anchors. Brick walls require a hammer drill and carbide-tipped masonry bit to drill pilot holes, then expansion anchors or threaded masonry screws rated for the load. Flashing works slightly differently on masonry — you’ll use a continuous bead of polyurethane caulk behind the ledger (pressed against the brick) rather than Z-flashing into siding. Consult your local building department for the specific anchor spec they require.
How much does an attached pergola cost to build yourself?
Materials for a 10×12 cedar attached pergola run $280–380 — less than a freestanding pergola because you need only two posts instead of four and no concrete for the back side. Add $75–200 for the building permit. Total out-of-pocket is typically $350–580, versus $2,500–6,000 for a contractor installation.
Can I attach a pergola to a house with vinyl siding?
Yes, but vinyl siding requires more care. Cut vinyl cleanly with a utility knife or vinyl siding cutter (not a circular saw, which melts the edges). Use a vinyl-compatible flexible flashing membrane behind the ledger rather than rigid metal Z-flashing, as metal flashing can crack vinyl during temperature swings. Vinyl does not need to be primed or painted at the cuts — just caulk.
How do I keep rain from running behind the ledger?
The Z-flashing above the ledger is your primary defense. It slides behind the siding and over the ledger, creating a continuous drip edge. Secondary protection comes from polyurethane caulk around each lag screw head. Never caulk the bottom edge of the ledger or the bottom of the flashing — both must stay open to drain any water that does get in. Sealing the bottom traps water, which is far more damaging than water that drains freely.

“DIY woodworking enthusiast who started with zero experience and a YouTube tutorial.
I build simple, practical projects for my home and share free plans
so other beginners can skip the guesswork.If I can build it, you can too.”