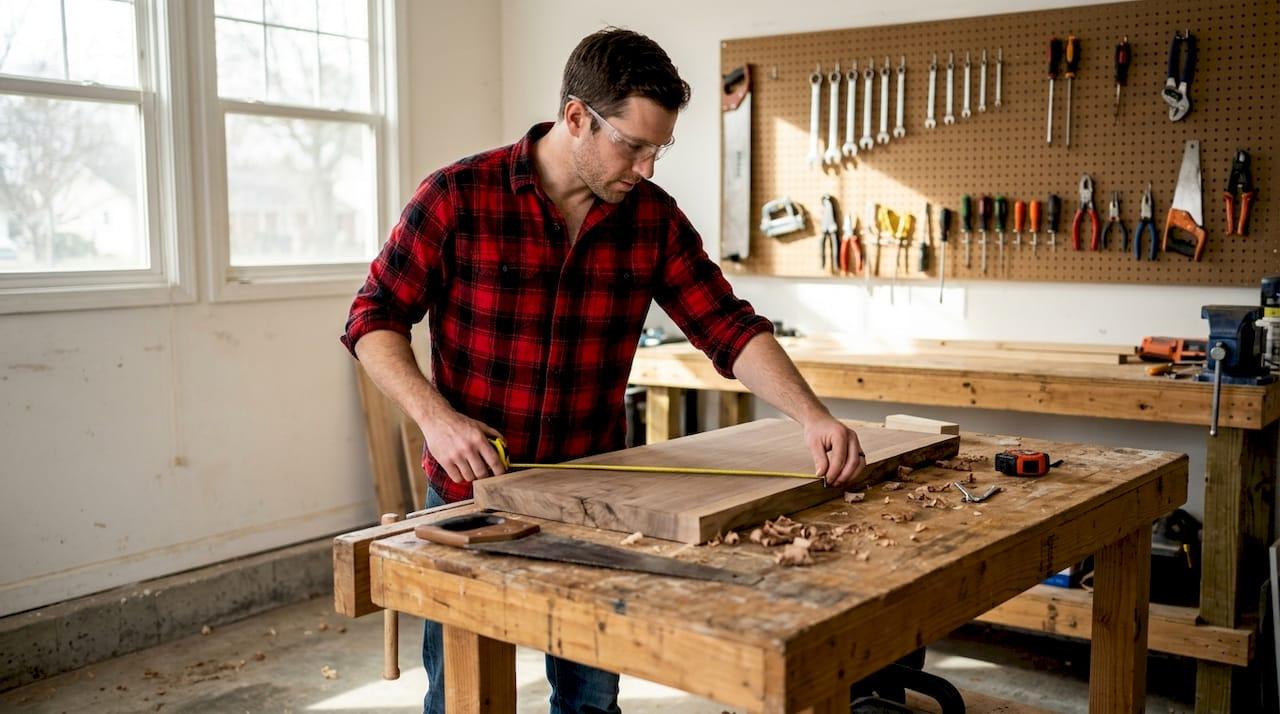
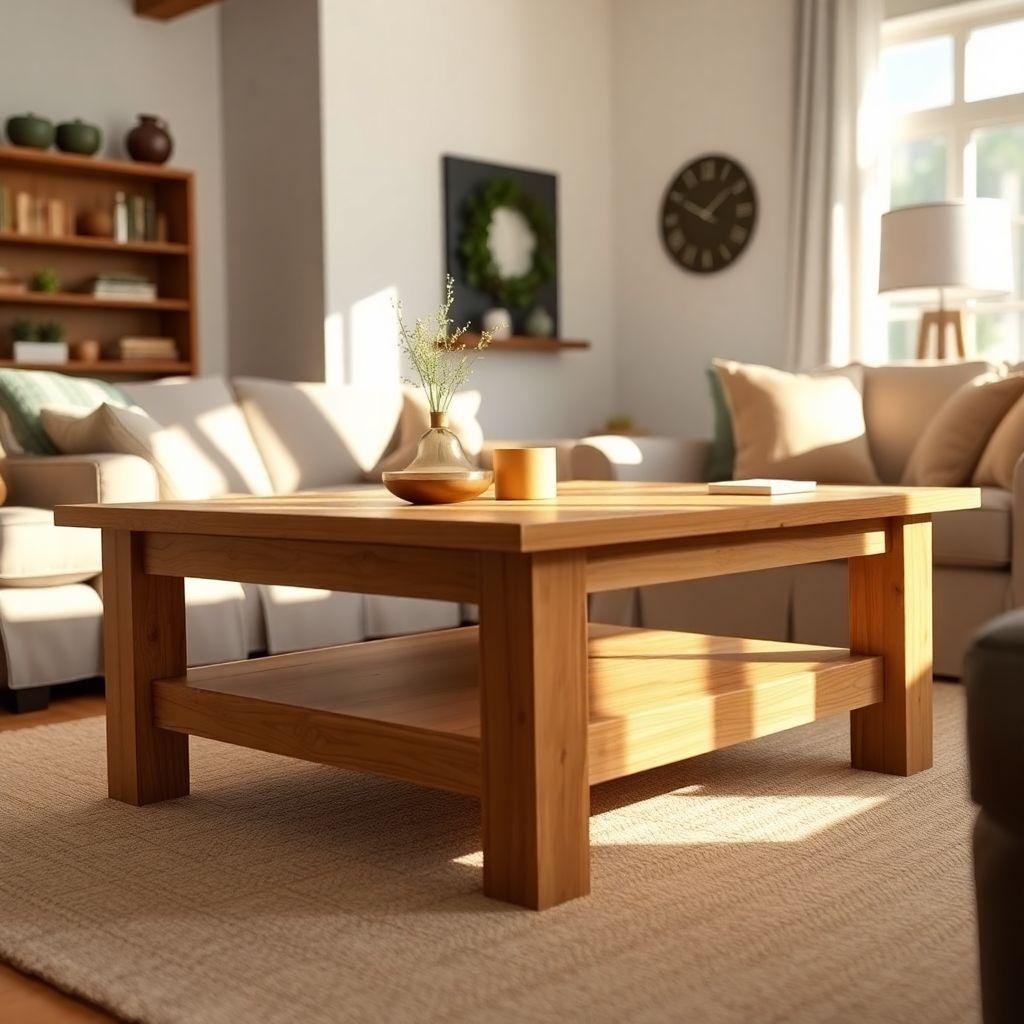
You searched for a woodwork coffee table and found ten posts telling you tables come in round, square, and live-edge shapes. None of them showed you how to actually build one. That ends here.
This is a complete step-by-step build for a standard 40 x 20 x 17 inch farmhouse-style table. You will use common 2x4s and 2x6s, joined with pocket holes, and finish the whole thing in a weekend. The only tools you need are a drill, a circular or miter saw, and a sander.
By the end, you will have the exact cut list, the precise Kreg jig settings for every joint, and an honest cost breakdown that lands between $63 and $113 in materials. You also get a pine-vs-oak-vs-walnut selector so you buy the right wood the first time.
Just as important, you get a beginner mistakes section woven into every step. Those callouts are how you avoid the cracked tops, wobbly legs, and blotchy stain that ruin most first builds. Nothing here assumes you have done this before.
If you can measure, cut a straight line, and drive a screw, you can build this table. Pine is your recommended starting wood because it is cheap, forgiving, and available at any hardware store. Learning how to build a coffee table starts with one decision: locking in your dimensions.
This guide is part of our coffee table plans series, where we compare all 6 build types by skill, cost, and time.
Start with Step 1.
Step 1: Plan Your Dimensions and Budget

Before you buy a single board, decide how big your table should be and how much you can spend. Get these two numbers right and the rest of the build goes smoothly.
Height comes first. A coffee table should sit 16 to 18 inches tall, which puts it 1 to 2 inches below your sofa cushion. Length should run about two-thirds of your sofa. A 72 inch sofa pairs with a 48 inch table, and an 84 inch sofa pairs with a 56 inch table.
Leave breathing room around it. Keep 12 to 18 inches between the table edge and the sofa so you can reach a drink without leaning. Keep 30 to 36 inches on any walking path so nobody barks a shin.
This build targets 40 x 20 x 17 inches, a versatile size that fits most living rooms. Write those three numbers down now.
Here is your material budget for a pine build:
- Pine lumber: $20 to $40
- Kreg pocket screws: $8 to $12
- Sandpaper: $5 to $8
- Wood stain: $10 to $20
- Polyurethane: $15 to $25
- Wood glue: $5 to $8
- Total: $63 to $113 (tools not included)
The four tools you need are a drill, a circular or miter saw, a sander, and a Kreg pocket hole jig. If you already own these, your cost stays inside that range.
One mistake will sabotage your table before you cut anything. Buy your lumber early and let it acclimate in the room where the table will live for 1 to 4 weeks. Wood that has not adjusted to your home’s humidity will shrink, twist, or crack after you build. You now have final dimensions and a budget. Next, pick your wood.
Step 2: Choose Your Wood and Get the Cut List
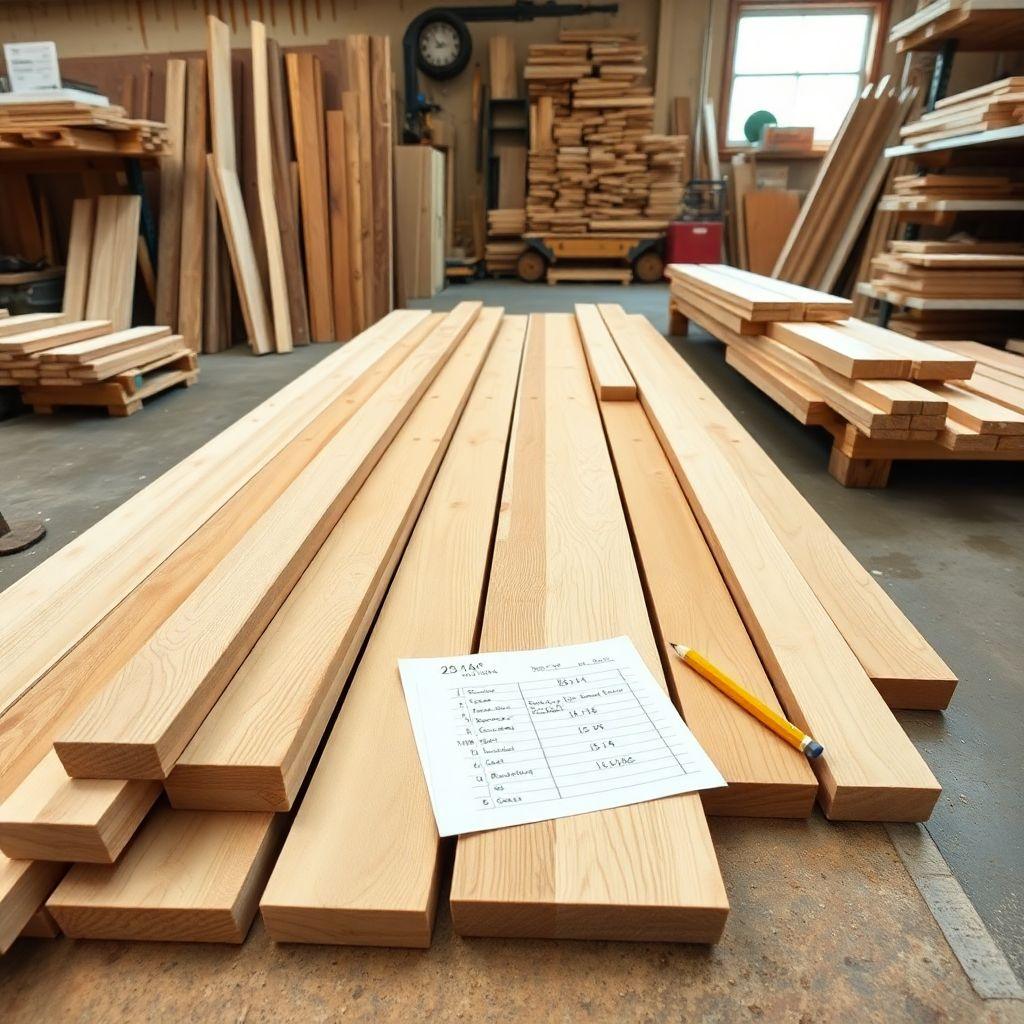
Your wood choice decides how the build feels and what it costs. Three species cover almost every beginner woodwork coffee table.
Pine is the winner for a first build. A pine 2×4 runs $3 to $6 per board, cuts like butter, and drives screws without splitting. Pine dents easily and blotches when stained, though a pre-stain conditioner fixes the blotching completely.
Oak is harder and pricier. It resists dents and takes stain beautifully, but it fights your saw and your drill. Walnut is the premium option with a rich dark tone and the highest price tag of the three.
For your first table, buy pine. It forgives mistakes and keeps your wooden coffee table plans affordable.
Here is the exact cut list for the 40 x 20 x 17 inch farmhouse build:
| Part | Quantity | Lumber | Length |
|---|---|---|---|
| Tabletop boards | 5 | 2×6 | 40 in |
| Long aprons | 2 | 2×4 | 34 in |
| Short aprons | 2 | 2×4 | 14 in |
| Legs | 4 | 4×4 or doubled 2×4 | 16.5 in |
Add it up before you shop. You need roughly five 2×6 boards for the top and three to four 2×4 boards for the aprons and legs, plus your leg stock. Print this cut list and take it to the store.
At the lumber rack, inspect every board before it goes in your cart. Sight down the length like you are aiming a rifle. Reject anything that curves, cups, or shows the “Pringles” twist, because a warped board never flattens out. You now have the right lumber and a printed cut list. Time to cut.
Step 3: Cut All Your Pieces
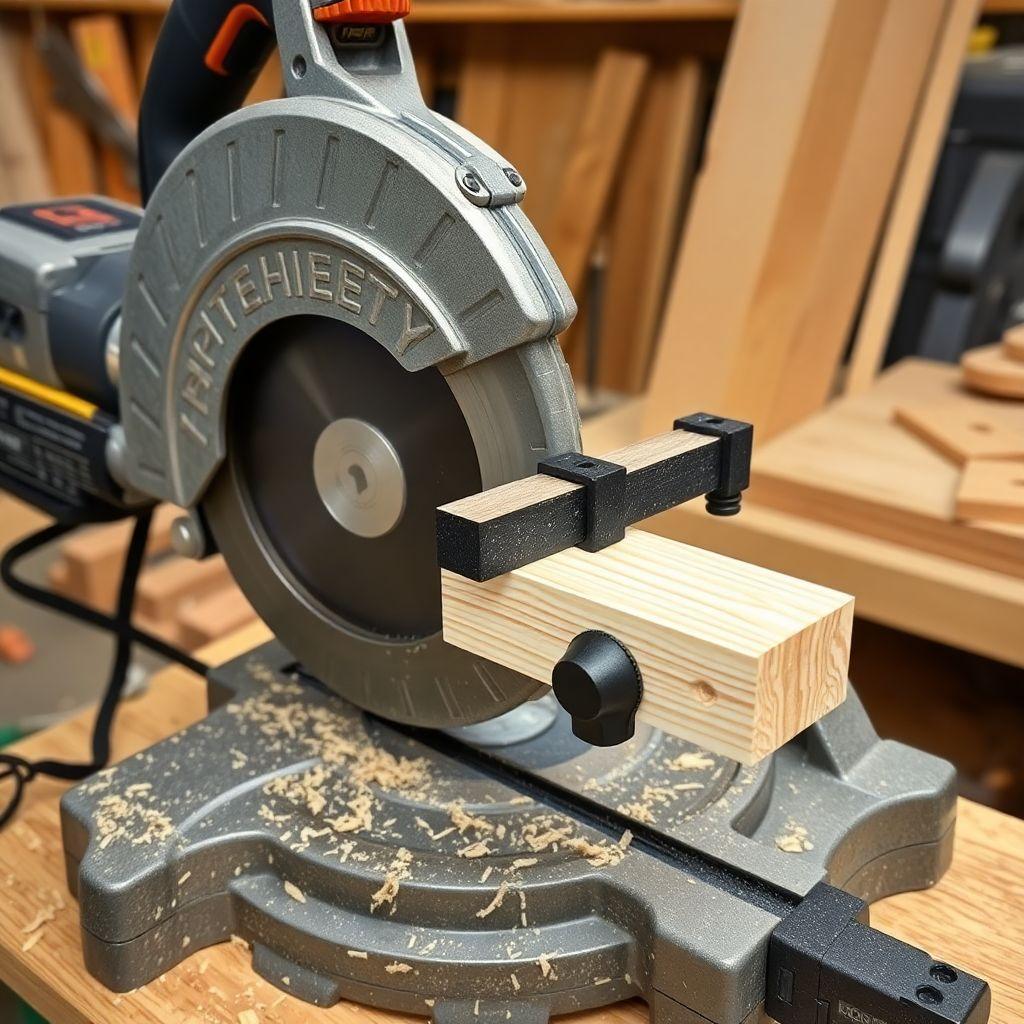
Accuracy here decides whether your table stands solid or wobbles. Cut every piece to the list, and cut matching pieces to identical lengths.
Mark each cut with a speed square so your line runs perfectly perpendicular. A crooked line means a crooked cut, and crooked cuts stack up into a lopsided table.
Use a stop block to guarantee identical parts. On a miter saw, clamp a block at your target length so every leg or apron hits the exact same measurement. On a circular saw, clamp a straightedge fence to guide the blade. Cut all four legs in one batch, then all four aprons, so matching parts come out exactly equal.
As John Builds It puts it, “scrap wood spacers are always your friend to help make sure all the spacing is even and everything is square.” Keep offcuts nearby to use as spacers during layout.
If you own a jointer and planer and your boards look twisted, joint one face flat first. As the Woodsmith Shop warns, “if you just run it through your planer you could still end up with a twisted board at the end.” A planer copies the twist unless you flatten one face first.
Label each piece with a pencil as you cut. Stack them by type: legs together, long aprons together, short aprons together, top boards together.
The rule that saves this step is old and true. Measure twice, cut once. Unequal legs are the number one cause of a wobbly table, and you cannot add wood back once it is gone. With every piece cut and labeled, drill your joints next.
Step 4: Drill Your Pocket Holes
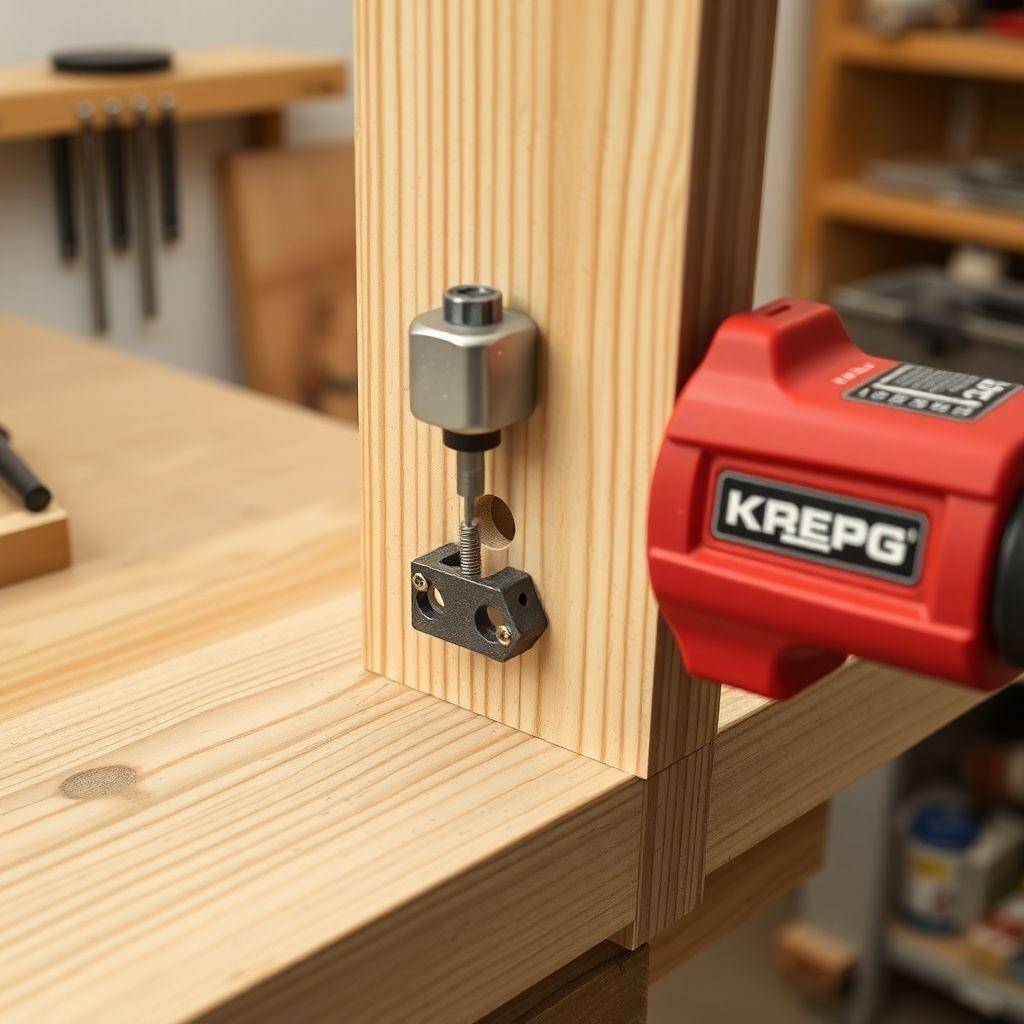
Pocket holes give you strong, hidden joints without clamps or fancy joinery. The Kreg jig makes them foolproof once you set it correctly for your lumber.
Your lumber thickness sets the jig. For 1.5 inch stock, which covers every 2×4 and 2×6 in this build, set the jig to 1.5 inches and use 2.5 inch coarse-thread screws. For 3/4 inch stock (1x boards), set the jig to 3/4 inch and use 1.25 inch screws. If you ever join a 3/4 inch board into 1.5 inch stock, use 1.5 inch screws.
Match the thread to the wood. Coarse-thread screws grip softwood like pine. Fine-thread screws suit hardwood like oak or walnut. Coarse threads in pine bite deep and hold; fine threads strip out.
Follow one absolute rule. Never drill a pocket hole into end grain, because screws driven into end grain pull out under the slightest stress.
Drill your holes where they stay hidden. On the aprons, drill the ends that screw into the legs. On the tabletop boards, drill the underside faces that join board to board. Every hole should disappear once the table is assembled.
The most common failure here is a screw-size mismatch. A screw that is too short leaves a weak joint that loosens over time. A screw that is too long blows out through the face of your wood and ruins the piece. Fine-thread screws in pine strip on the first drive. Set the jig, match the screw, and you will not see any of these problems. With holes drilled, assemble the base.
Step 5: Assemble the Base
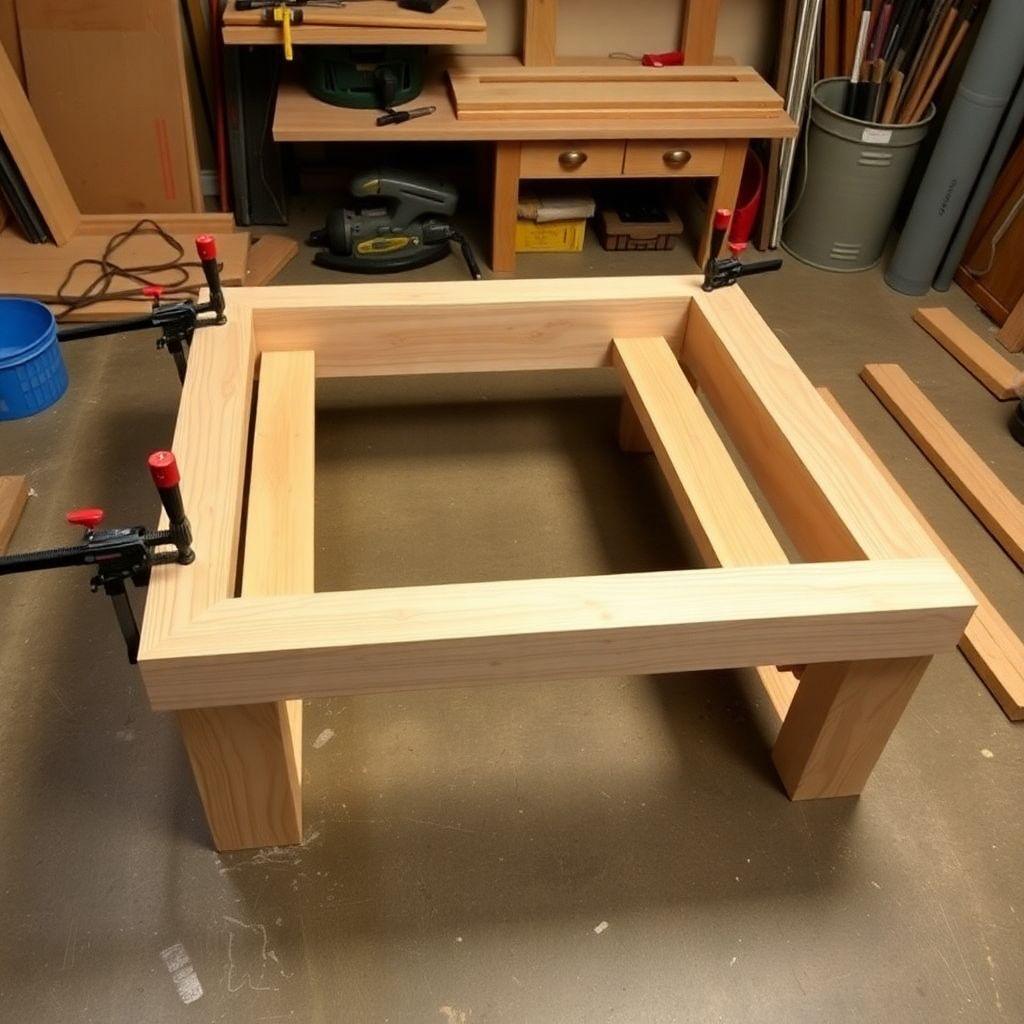
The base carries all the weight and decides whether your table stands rock-solid. Build it in two halves, then join them.
Start with the two end assemblies. Each end is a leg, a 14 inch short apron, and a second leg. Run wood glue along the joint, then drive your pocket screws to lock the short apron between the two legs. Build both ends the same way.
Connect the ends with the two 34 inch long aprons. Glue and screw one long apron between the tops of the ends, then the other. This gives you the rectangular frame that supports the tabletop.
Shanty2Chic builds bases the same way: “two side rectangular frames built first, then connected with cross members.” Keep the pocket holes facing inward and down so they stay hidden.
Check for square before the glue sets. Measure diagonally from one top corner to the opposite bottom corner, then measure the other diagonal. When both diagonals are equal, your base is square. If they differ, clamp the base and nudge it until they match.
Two mistakes wreck bases. The first is skipping the diagonal check, which leaves a racked, leaning frame you cannot fix later. The second is ignoring glue squeeze-out. Excess glue seals the wood and blocks stain, so wipe every bead immediately with a damp rag. You now have a freestanding, square, wobble-free base. Build the top next.
Step 6: Build and Attach the Tabletop (Plus Optional Shelf)
The tabletop is what people see and touch, so build it flat and attach it so it survives the seasons. Wood expands and contracts with humidity, and your attachment method has to allow that movement.
Join your five 40 inch boards edge to edge. Run glue along each mating edge, then pull the boards tight with pocket screws on the hidden underside faces. Clamp the whole panel flat while the glue dries so the top does not cup or bow.
Now the most important detail in the entire build. Attach the top to the base with figure-8 fasteners or with slotted, elongated holes drilled through the apron. These let the top slide slightly as it expands and contracts. Do not glue the top rigidly to the apron.
Want a lower shelf for books or a tray? Add 1×3 or 2×4 stretchers between the legs, positioned 4 to 6 inches off the floor. Then lay your shelf boards across the stretchers and secure them from below with pocket screws so no holes show on top.
One mistake cracks more first tables than any other. Gluing the top rigidly to the apron locks the wood in place. When humidity changes and the top tries to move, it cannot, so it splits. Let the top float and it will last for decades. Your table is now complete and ready to sand.
Step 7: Sand Everything Smooth
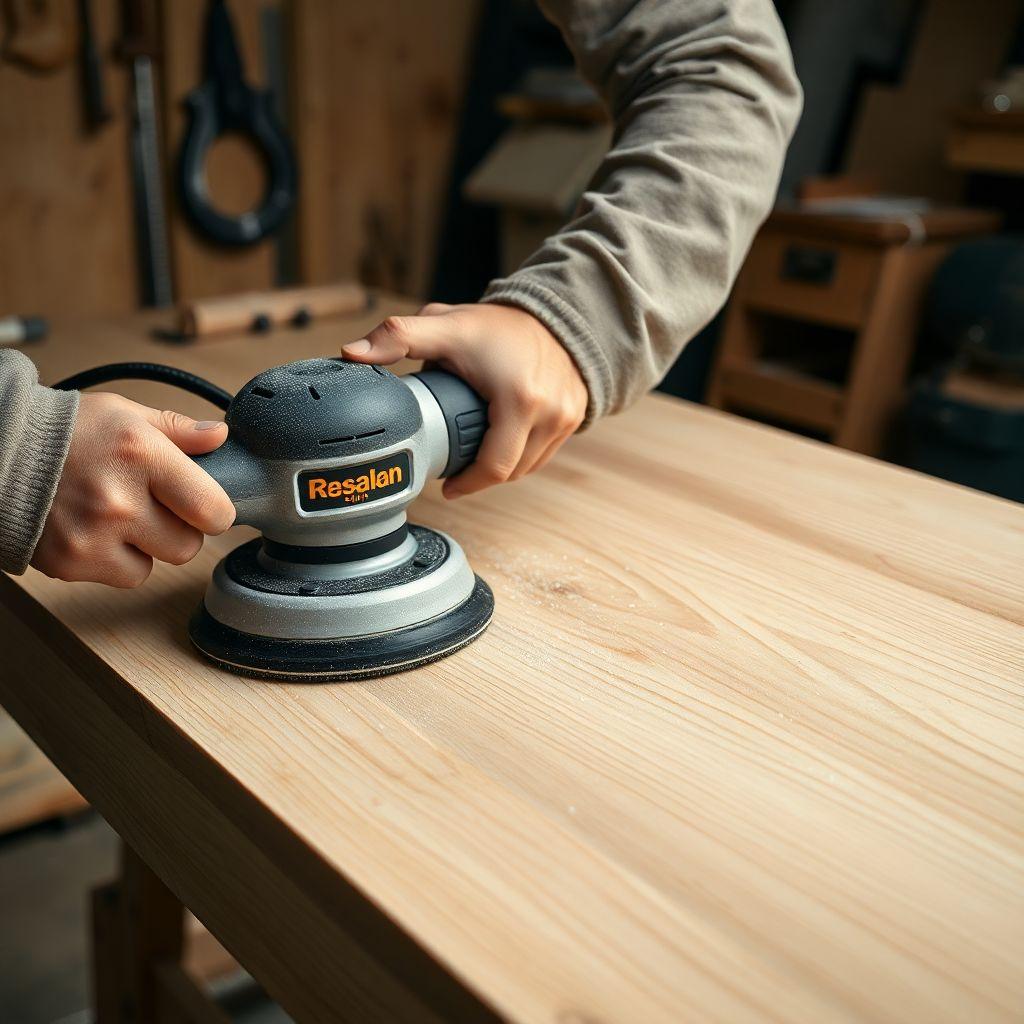
Sanding is where a rough assembly becomes a finished piece of furniture. Skip it or rush it, and every flaw shows through the stain.
Work through the grits in order. Start with 80 grit to knock down mill marks, saw lines, and glue residue. Then step up through 120, 150, 180, and finish at 220 before you apply any finish. Each grit erases the scratches left by the one before it.
Always sand with the grain, never across it. Ease the sharp top edges with a few light passes so the table feels smooth to the hand and resists chipping.
Wipe every board with a clean, dry cloth or a tack rag between grits. Dust trapped under the next grit acts like grit itself and leaves new scratches. Do a final dust wipe before you finish.
If you are staining pine, apply a pre-stain wood conditioner now, right after your final sanding. Conditioner seals the wood so it absorbs stain evenly instead of soaking it up in dark patches.
Two mistakes show up the moment you stain. Sanding across the grain leaves scratches that stay invisible on raw wood but turn dark and obvious under stain. Skipping conditioner on pine gives you a blotchy, uneven finish that no amount of extra coats can fix. Your surface is now smooth, uniform, and dust-free. Time to finish it.
Step 8: Stain and Finish Your Table
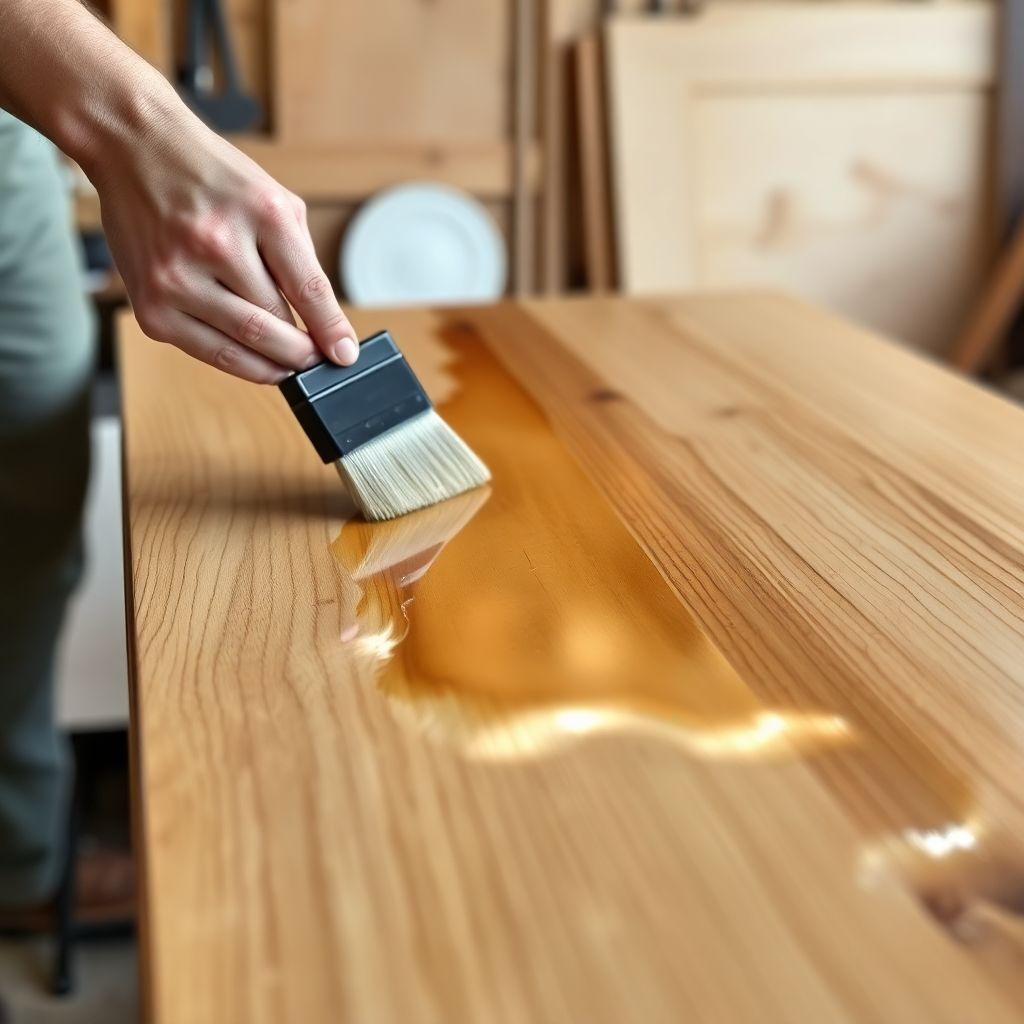
The finish protects your table and sets its final color. Take your time here, because rushing the drying is the fastest way to ruin hours of work.
Stain is optional, but it deepens the grain and unifies the color. Wipe it on with a rag, let it sit a minute or two, then wipe off all the excess. Let it dry for the full time printed on the can before you topcoat.
Choose your polyurethane by how much control you want:
- Oil-based: 3 brush coats, 24 hours between each, gives a warm amber tone and the best durability.
- Water-based: 3 to 4 coats, 2 to 4 hours between each, dries clear, and is recommended for pine because it will not yellow.
- Wipe-on: 5 to 6 coats, the easiest to apply, and leaves no brush marks.
Follow the between-coat rule exactly. Your first coat will look blotchy and uneven, and that is normal. Do not sand after coat one. Let it cure fully.
For coats two and beyond, sand lightly with 220 grit once the coat is dry. Dry poly turns to fine white powder under the sandpaper. If it gums up or rolls into little balls, it is not dry yet, so wait. Wipe the dust, then apply the next coat. Never sand the final coat.
The one mistake that ruins the finish is sanding a coat that has not fully cured. A gummy coat tears and smears instead of powdering. When you respect the drying times, you get a smooth, durable, living-room-ready table. Congratulations, you built it.
Ready to start your build? Browse free woodworking plans at realwoodworkplans.com for more step-by-step projects.
FAQ
How much does it cost to build a coffee table?
Expect $63 to $113 in materials for a pine build, with tools not included. That breaks down to $20 to $40 for lumber, $8 to $12 for pocket screws, $5 to $8 for sandpaper, $10 to $20 for stain, $15 to $25 for polyurethane, and $5 to $8 for glue. Choosing oak or walnut raises the lumber cost significantly.
What is the best wood for a beginner coffee table?
Pine is the best beginner wood. It is cheap at $3 to $6 per 2×4, cuts easily, and drives screws without splitting. Its only real drawback is that it stains blotchy, which a pre-stain conditioner solves completely. Choose oak or walnut later when you want a harder, more premium look and finish.
How long does it take to build a coffee table?
Cutting and assembly take a single weekend for most beginners. The finish adds the real time. An oil-based polyurethane needs 24 hours between each of its 3 coats, so budget several extra days of drying. Water-based poly moves faster with only 2 to 4 hours between coats.
Do I need a Kreg jig to build a coffee table?
A Kreg jig is the easiest way for a beginner to make strong, hidden joints. For this build’s 2x lumber, set the jig to 1.5 inches and use 2.5 inch coarse-thread screws. You can build without pocket holes using dowels, mortise-and-tenon, or metal brackets, but those methods are harder and slower for a first project.
Why does my coffee table wobble?
A wobble comes from unequal leg lengths or an out-of-square base. Recut all four legs to exactly the same length using a stop block so they match perfectly. During assembly, measure both diagonals of the base and adjust until they are equal, which guarantees the frame is square and sits flat.
Why is my stain blotchy?
Pine absorbs stain unevenly, soaking it up in dark patches wherever the grain is soft. Apply a pre-stain wood conditioner before staining to seal those areas and even out absorption. Also sand with the grain up to 220 grit first, since cross-grain scratches darken under stain and add to the blotchy look.

“DIY woodworking enthusiast who started with zero experience and a YouTube tutorial.
I build simple, practical projects for my home and share free plans
so other beginners can skip the guesswork.If I can build it, you can too.”