
Starting a new woodworking project can be surprisingly overwhelming when you want every detail to fit your home just right. For many North American beginners, questions about space, materials, and features crop up before the saw ever touches wood. This guide highlights the importance of defining your project goals and needs so every board you cut serves a clear purpose and helps shape a piece of furniture you are proud to display.
Table of Contents
- Step 1: Define Your Project Goals And Needs
- Step 2: Select Materials And Gather Tools
- Step 3: Draft Detailed Woodworking Plans
- Step 4: Review And Finalize Your Design
Quick Summary
| Key Insight | Explanation |
|---|---|
| 1. Define Your Project Goals | Clarify what you want to build and why; this directs all subsequent decisions and prevents mistakes. |
| 2. Choose Appropriate Materials | Select wood and other materials based on your project requirements, skill level, and budget to ensure successful outcomes. |
| 3. Create Detailed Plans | Draft precise sketches and dimensions to serve as a construction guide, helping to avoid errors during the building process. |
| 4. Review Your Design Thoroughly | Verify all measurements and materials before starting; this prevents costly mistakes and ensures everything aligns with your goals. |
| 5. Document Your Goals | Maintain a one-page reference sheet with project details; this keeps your project focused and on track during the entire process. |
Step 1: Define Your Project Goals and Needs
Before you pick up a saw or measure a single board, spend time clarifying exactly what you want to build and why. This foundational step prevents costly mistakes and keeps your project on track from start to finish.
Start with the basics. Ask yourself what you’re making, who will use it, and where it will go in your home. Are you building a coffee table for your living room, a bookshelf for your office, or a storage bench for your entryway? The answer shapes every decision that follows.
Consider the functional requirements of your piece. Will it hold weight, store items, or just look beautiful? A shelf needs to support books, while a decorative box might prioritize aesthetics. Understanding how your project will be used helps you design with purpose.
Measure your space carefully. Get exact dimensions of where the finished piece will live, including doorways it needs to fit through. I learned this the hard way when my first cabinet turned out three inches too wide for the wall.
Effective woodworking planning involves assessing space constraints and other practical considerations. List the specific features you want, like drawers, shelves, or special finishes.
Be realistic about your skill level and timeline. Beginners shouldn’t tackle dovetail joints on their first project, and a complex piece might take months instead of weeks. Document your goals in writing so you can reference them during the building phase.
Here’s what you should define at this stage:
- The specific item you’re building
- Its primary function and how it will be used
- Available space and size constraints
- Desired features (drawers, shelves, finish details)
- Your skill level and available tools
- Realistic timeframe for completion
- Budget considerations
Documenting your goals guides the entire design phase and keeps your project focused and achievable.
Pro tip: Create a simple one-page reference sheet with your project dimensions, features, and deadlines so you can stay aligned during planning and building.
Step 2: Select Materials and Gather Tools
Now that you know what you’re building, it’s time to choose the right materials and assemble your toolkit. The right selections make the difference between a project that flows smoothly and one that frustrates you at every turn.
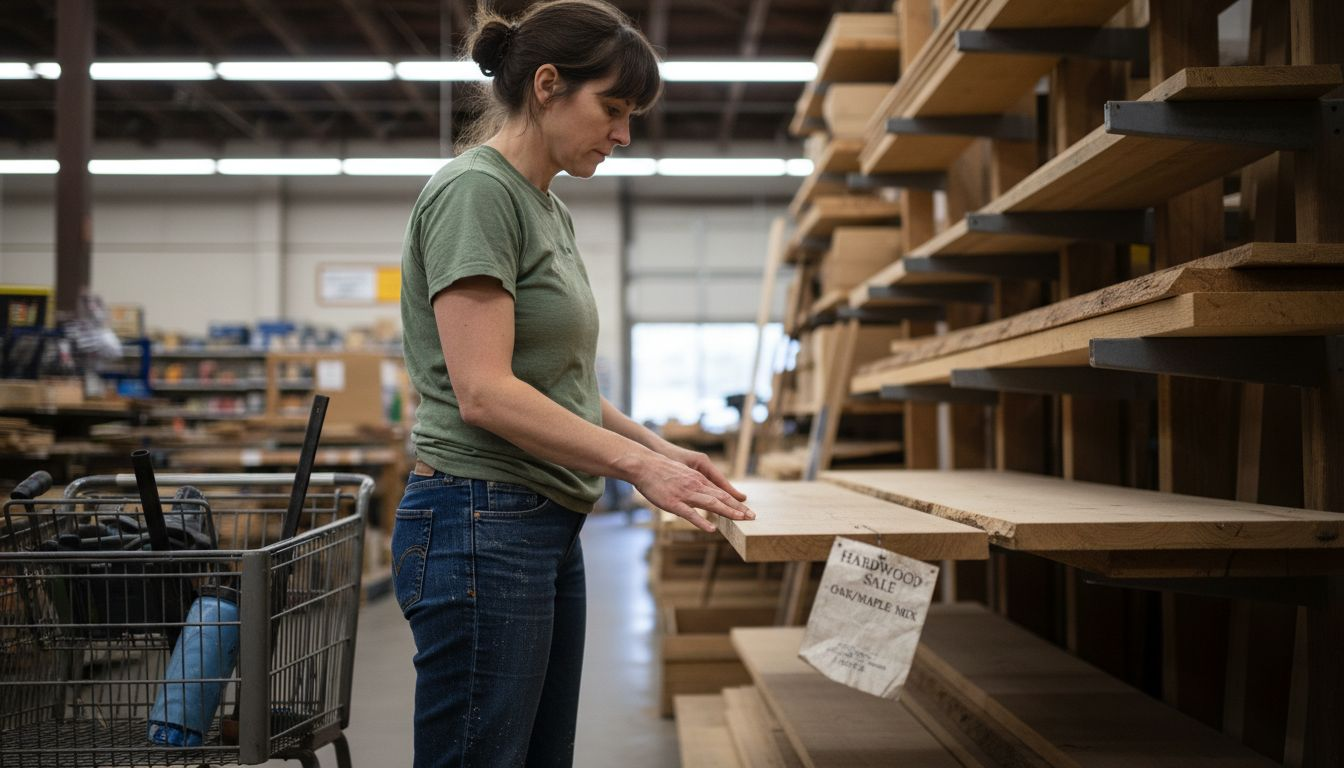
Wood selection is your first major decision. Hardwoods like oak and maple provide strength and rich grain patterns, making them ideal for visible pieces like tabletops and cabinet doors. Softwoods like pine are forgiving for beginners because they’re easier to work with, though they’re less durable. Consider your budget and skill level when choosing between them.
Beyond wood itself, you’ll need adhesives, fasteners, and finishes. Wood glue holds joints together, screws and nails secure pieces, and stain or polyurethane protect and beautify the final product. Don’t skimp here—quality materials give you professional results.
Here is a comparison of common woodworking material options and their best uses:
| Material Type | Advantages | Best For |
|---|---|---|
| Hardwood (oak, maple) | Strong, attractive grain | Tabletops, doors, visible furniture |
| Softwood (pine) | Easy to work, affordable | Beginner projects, painted pieces |
| Plywood | Stable, cost-effective | Cabinet boxes, shelves |
| MDF (Medium-Density Fiberboard) | Smooth surface, inexpensive | Painted surfaces, drawer sides |
Think about which tools your specific project requires. A simple shelf might need just a circular saw, drill, and measuring tape. A more complex piece with joinery demands chisels, clamps, and possibly a table saw. Assess your project complexity before investing in expensive equipment.
Start by gathering these essentials:
- Measuring tape and pencil
- Hand saw or circular saw
- Drill and drill bits
- Clamps (at least two)
- Sandpaper or sanding block
- Wood glue and fasteners
- Safety gear (goggles, ear protection, dust mask)
- Finishing supplies (stain, polyurethane, brushes)
Proper tool selection tailored to your project complexity facilitates accuracy, safety, and efficiency from start to finish.
You don’t need to own every specialty tool immediately. Many woodworkers rent expensive equipment or borrow from friends for specific projects. Start with quality basics and add specialized tools as your skills grow.
Pro tip: Visit a local woodworking supplier or home center and handle tools in person before buying—comfort and weight matter more than brand names, and the right grip makes hours of work feel less exhausting.
Step 3: Draft Detailed Woodworking Plans
With your materials gathered, it’s time to translate your vision onto paper. Detailed plans serve as your blueprint, preventing mistakes and keeping you organized throughout the building process.
Start with simple sketches that outline the basic shape and structure of your project. Don’t worry about perfection at this stage—rough drawings help you visualize proportions and catch design issues before you touch wood. Sketch from multiple angles to understand how your piece will look from different perspectives.
Next, add precise measurements and dimensions. Creating woodworking plans requires translating measurements into scaled drawings that accurately represent your finished piece. Use a ruler and graph paper to maintain accuracy, making your plans easy to follow while building.
Include critical details that guide construction:
- Overall dimensions (height, width, depth)
- Individual component measurements
- Joinery types and locations (mortise and tenon, dovetails, etc.)
- Material specifications and quantities
- Finish details and hardware placement
- Assembly sequence and order of operations
Maintaining accuracy through your drawings prevents costly mistakes. A quarter-inch error in your plan becomes a quarter-inch error in your finished piece, potentially causing joints to misalign or doors to bind.
Hand-drawn plans provide flexibility for custom projects, allowing you to make adjustments specific to your situation. You can erase and revise without losing your entire design, unlike digital files that require starting over.
Consider creating multiple views of your project. A top view shows the layout, a front view reveals height and proportions, and side views clarify depth and angles. Three-dimensional sketches help you visualize joinery and construction details.
Here is a quick reference for visualizing woodworking plans efficiently:
| Plan View | Key Insight | Benefit |
|---|---|---|
| Top View | Shows layout and spacing | Prevents fit issues |
| Front View | Reveals height, proportion | Ensures balance and style |
| Side View | Clarifies depth and angles | Helps with joinery planning |
| 3D Sketch | Visualizes overall form | Catches hidden design flaws |
Detailed plans serve as your construction guide, preventing guesswork and keeping your project on track from start to finish.
Pro tip: Create your plans at full scale on large paper or tape multiple sheets together—holding your actual wood pieces against full-scale drawings reveals proportion issues instantly and prevents surprises when building.
Step 4: Review and Finalize Your Design
Before you cut a single piece of wood, take time to review your entire plan thoroughly. This critical checkpoint catches errors that would otherwise become expensive mistakes during construction.
Start by verifying all measurements against your original goals and available space. Measure your workspace again to confirm your piece will fit through doorways, around corners, and into its final location. Compare your plan dimensions to your actual materials to ensure everything aligns.
Revisit your material list and quantities. Count every board, screw, and finishing product you’ll need. Reviewing and finalizing your design ensures project goals align with practical execution by confirming joinery and construction details match your actual capabilities.
Check your joinery plan carefully. Do your mortise and tenon joints make sense? Are your dovetails positioned correctly? Trace the assembly sequence step by step to spot any logical problems before building begins.
Create a review checklist to ensure nothing gets overlooked:
- All dimensions verified and accurate
- Material list complete with quantities
- Joinery types and locations confirmed
- Assembly sequence logical and clear
- Finishing techniques planned and realistic
- Hardware placement marked on plans
- Project fits available space and access points
Now consider finishing details, which are equally important as construction. Planning finishing techniques enhances aesthetics and durability while protecting your wood. Choose stains and sealers that complement your selected materials and match your project’s intended use. Test finishes on scrap wood before committing to your actual piece.
Make final design adjustments based on your review. If something doesn’t feel right, fix it now rather than improvising during construction. Digital modeling or physical prototypes help you visualize changes before committing to them.
A finalized blueprint guides construction, maintains consistency, and prevents costly rework during building.
Pro tip: Print multiple copies of your final plans and post one at your workspace, keep one in your pocket, and file one away—you’ll reference different copies for different tasks, and having spares saves time when sawdust inevitably covers your working copy.
Bring Your Woodworking Designs to Life with Expert Plans
Struggling to turn your woodworking designs into stunning finished projects? This article highlights the importance of defining clear goals, selecting the right materials, and drafting precise plans to avoid costly mistakes. If crafting detailed blueprints or choosing the best wood feels overwhelming, you are not alone. Many DIY woodworkers face these exact challenges when aiming for professional results while managing their skill level and tools.
Discover how you can simplify the process by exploring expert-crafted woodworking plans tailored for hobbyists and beginners at Real Woodwork Plans. Whether you are dreaming of a handcrafted coffee table or custom storage solutions, our Tables Archives offers step-by-step plans made to help you build with confidence. Unlock your woodworking potential and stop guessing in the workshop.

Elevate your next project today by visiting https://realwoodworkplans.com to access detailed guides, project inspiration, and tips designed to turn your design ideas into reality. Don’t wait to start crafting beautiful wood projects that fit your space perfectly and match your skill level. Take the first step now and build smarter with reliable plans from trusted woodworking resources like Uncategorized Archives. Your dream project is closer than you think.
Frequently Asked Questions
What are the first steps to design wood projects for stunning DIY results?
Start by defining your project goals and needs. Clarify what you plan to build, its intended use, available space, and your budget to guide your design process.
How can I choose the right materials for my woodworking project?
Select materials based on your project’s functionality and desired aesthetics. For instance, use hardwoods for visible pieces like tables, and softwoods for beginner-friendly projects, and consider your budget and skill level when making your choice.
What key features should I include in my woodworking plans?
Include critical details like overall dimensions, component measurements, joinery types, and material specifications in your plans. This will help ensure accuracy and prevent mistakes during construction.
How do I ensure my woodworking design fits the space I have available?
Measure your available space carefully to confirm that your design will fit through doorways and into its final location. Double-check your project’s dimensions against your actual materials to avoid any fitting issues before building.
What tools do I need for basic woodworking projects?
Gather essential tools such as a measuring tape, circular saw, drill, and clamps. Starting with these basics ensures you have the necessary equipment for simple projects before taking on more complex builds.
How can I finalize my woodworking design to avoid mistakes during construction?
Review your entire plan, verifying all measurements and material lists before you start building. Create a checklist to ensure nothing is overlooked, enabling a smoother assembly process and reducing costly errors.
Recommended
- Real Woodwork Plans – Free Woodworking Plans
- Wood Types Explained: Choosing for DIY Projects
- Master Your Woodworking Project Workflow for DIY Success
- Why Use Woodworking Plans for DIY Success

“DIY woodworking enthusiast who started with zero experience and a YouTube tutorial.
I build simple, practical projects for my home and share free plans
so other beginners can skip the guesswork.If I can build it, you can too.”