TL;DR:
- Accurate measurement is essential for structural integrity and proper fit in woodworking projects.
- Understanding and maintaining precision, accuracy, and tolerance help prevent costly mistakes.
- Using the right tools and protocols, like measuring twice and dry fitting, ensures high-quality results.
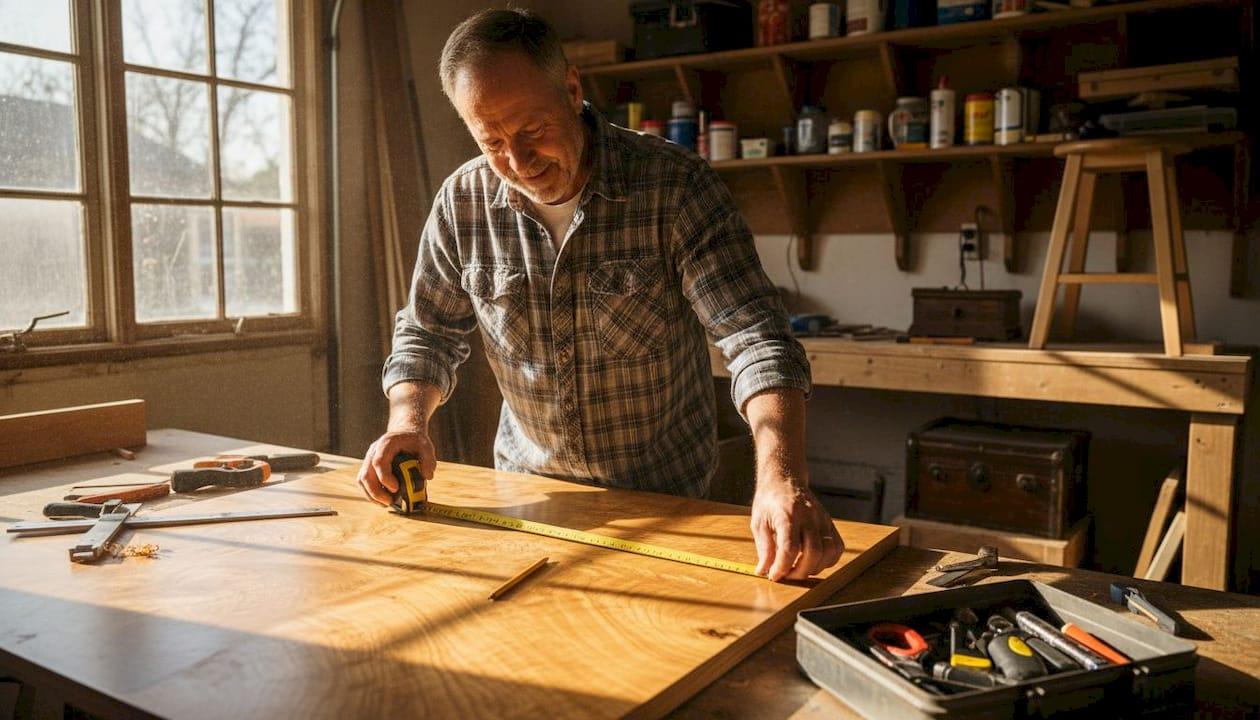
You cut the board. You check the fit. It’s off by just a hair, and suddenly the drawer won’t close, the frame won’t square up, and you’re back at the lumber yard. Sound familiar? Most woodworking frustrations don’t come from bad technique or cheap tools. They come from measurement errors so small they seem harmless until they compound across a project and wreck the whole thing. The good news is that accurate measurement is a learnable skill, not a gift. In this guide, you’ll learn the core concepts, the right tools, the most common mistakes, and the practical habits that separate frustrating builds from ones you’re genuinely proud of.
Table of Contents
- Why measurements matter: The foundation of successful woodworking
- Understanding tolerance, accuracy, and precision in woodworking
- Tools and techniques for reliable measurements
- Common measurement mistakes and how to avoid them
- A seasoned woodworker’s take: Why ‘good enough’ isn’t good enough
- Take your woodworking further with expert plans
- Frequently asked questions
Key Takeaways
| Point | Details |
|---|---|
| Accuracy is essential | Small errors in measurement can lead to frustrating and costly project mistakes. |
| Know your tolerances | Understanding project tolerances prevents poor fits and wasted materials. |
| Use the right tools | A basic setup of quality measuring tools makes precise work possible for beginners. |
| Avoid common pitfalls | Checking your work and accounting for saw kerf make all the difference in final results. |
Why measurements matter: The foundation of successful woodworking
Woodworking is a craft built on relationships between parts. A tabletop must match its base. A drawer must slide into its opening without binding or rattling. A frame must be perfectly square or the whole piece looks crooked, even if you can’t immediately identify why. Every one of those relationships depends on accurate measurement.
When your measurements are off, the problems don’t stay small. A 1/16-inch error in one board can translate to a visible gap at a joint, a panel that won’t sit flush, or a door that swings open on its own. These aren’t cosmetic annoyances. They affect the structural integrity of the piece and your satisfaction with the finished product.
Some project types are especially sensitive to measurement accuracy:
- Drawers and cabinet boxes: Even a 1/32-inch discrepancy can cause binding or a sloppy fit.
- Frames and panels: Squareness depends entirely on consistent, repeatable measurements.
- Joinery (dovetails, mortise and tenon): Tight fits require near-perfect dimensions.
- Shelving units: Cumulative errors across multiple shelves create visible misalignment.
There’s also a safety angle. Poorly fitted joints in structural pieces, like chairs or workbenches, can fail under load. Measurement isn’t just about aesthetics. It’s about building things that last and hold up safely.
This is where the concept of tolerance becomes essential for hobbyists. Tolerance is the acceptable range of variation in a dimension. According to the DIY Metrology Guide, typical tolerances for hobbyists are +/- 1/32 inch (0.8mm) for aesthetics and +/- 0.010 inch for fitted parts. Knowing your tolerance target before you start helps you choose the right tools and methods.
“Measurement is not just about getting the number right. It’s about understanding how much variation your project can absorb before quality suffers.”
If you’re just getting started, reviewing a solid list of essential measuring tools will help you build a capable toolkit from day one. And if you want a broader foundation, the beginner woodworking tips on our site cover everything from shop setup to first cuts.
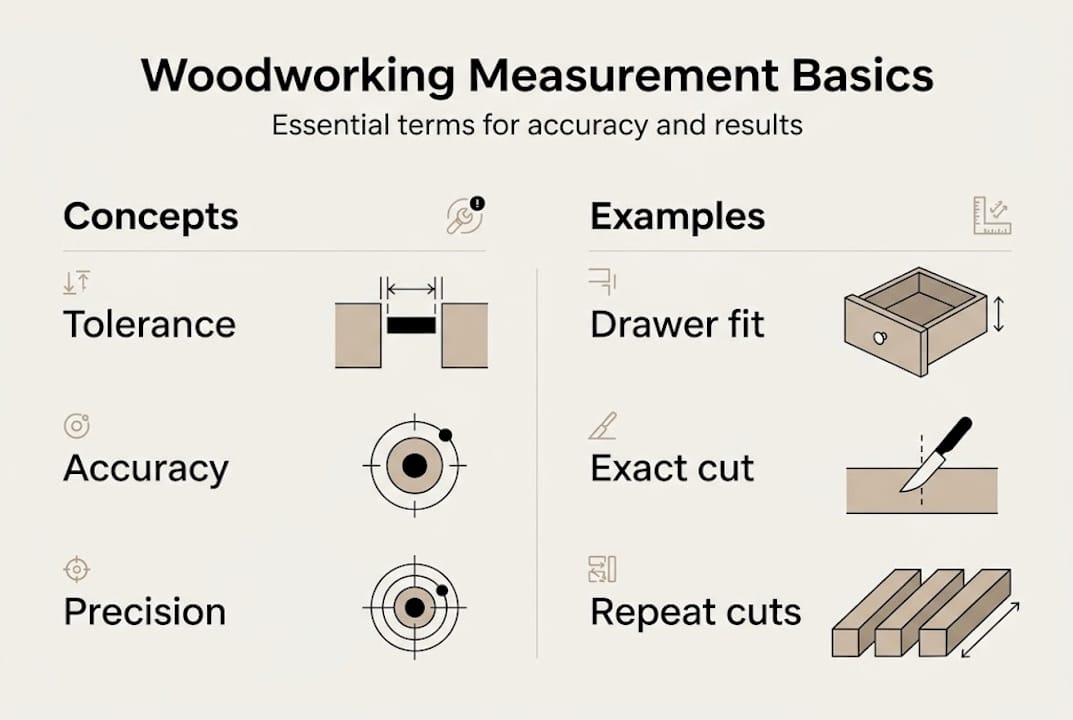
Understanding tolerance, accuracy, and precision in woodworking
These three terms get used interchangeably in casual conversation, but in woodworking they mean very different things. Getting them straight will change how you approach every project.
Tolerance is the range of acceptable variation. If a shelf needs to be 24 inches wide and a 1/16-inch difference won’t matter, your tolerance is +/- 1/16 inch.
Accuracy is how close your measurement or cut is to the intended dimension. If you aim for 24 inches and get 23 and 15/16 inches, you’re close but not perfectly accurate.
Precision is how consistently you can repeat a measurement or cut. A tool can be precise (always giving the same reading) but inaccurate (always off by the same amount). You want both.
Here’s a simple comparison to keep these straight:
| Concept | Definition | Woodworking example |
|---|---|---|
| Tolerance | Acceptable range of variation | Drawer fits if within +/- 1/32 inch |
| Accuracy | Closeness to the true target | Cutting 24 inches when you need 24 inches |
| Precision | Consistency of repeated measurements | Same reading every time you measure |
These concepts play out in sequence during a real project. First, you define your tolerance based on the project type. Then you choose tools accurate enough to hit that target. Then you work precisely, repeating your measurement process consistently to avoid random errors.
Here’s how that looks in practice:
- Define the tolerance for each part (tight fit vs. visual only).
- Select tools with enough resolution to measure within that tolerance.
- Measure each part using the same reference point every time.
- Check your work before cutting by verifying the reading twice.
- Dry fit before final assembly to catch any remaining discrepancies.
Pro Tip: The tool resolution rule is that your measuring tool should be roughly 10x finer than the tolerance you’re working to. If your tolerance is 1/32 inch, your tool should read to at least 1/320 inch. In practice, this means using digital calipers for tight fits and a good steel rule for general layout.
For a deeper look at the language of woodworking, the woodworking terminology guide is a great reference. And when you’re ready to stock your shop, the tools checklist will make sure you’re not missing anything critical.
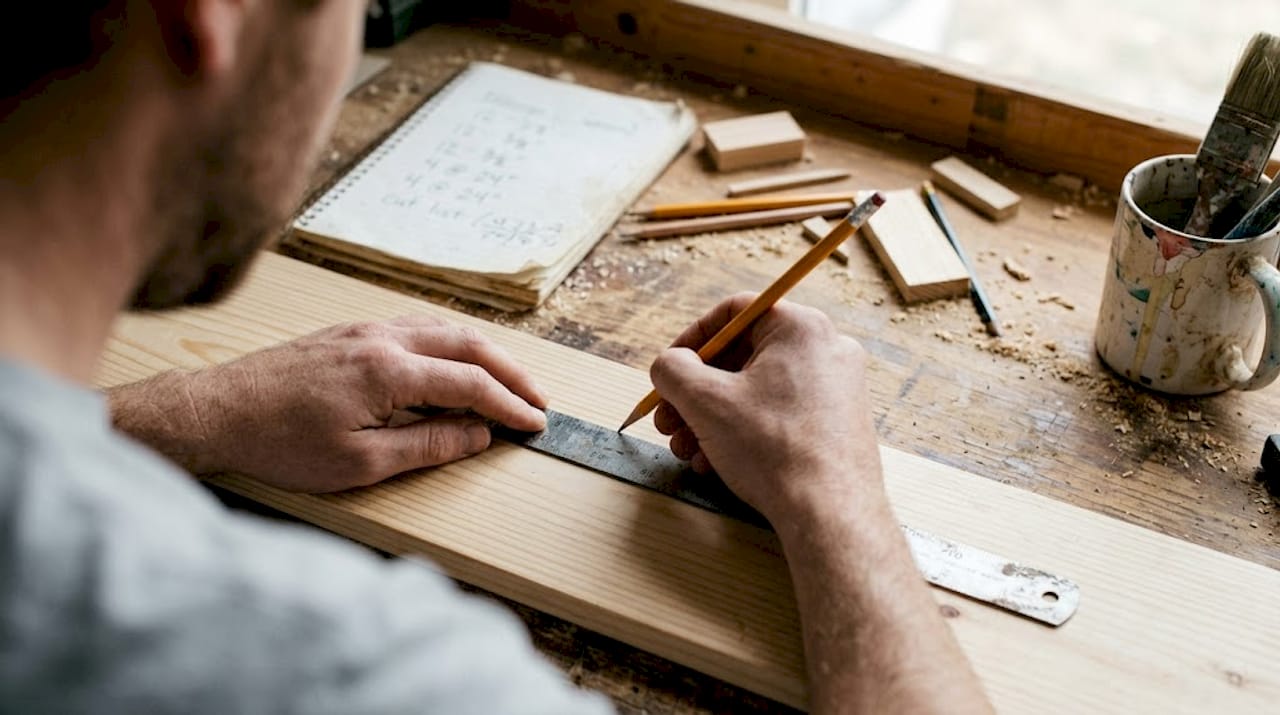
Tools and techniques for reliable measurements
Knowing the concepts is half the battle. The other half is having the right tools and knowing how to use them correctly. Here’s what belongs on every hobbyist’s workbench.
Must-have measuring tools:
- Tape measure: For rough layout and longer dimensions. Look for one with clear markings and a stiff blade.
- Steel rule: More accurate than a tape for short measurements. Lies flat against the work for direct reading.
- Combination square: Checks 90-degree and 45-degree angles and doubles as a depth gauge.
- Marking gauge: Scribes a consistent line parallel to an edge. Essential for joinery.
- Digital calipers: For precise measurements of thickness, depth, and small parts. Reads to 0.001 inch.
Here’s a quick reference for each tool:
| Tool | Resolution | Best use | Approximate cost |
|---|---|---|---|
| Tape measure | 1/16 inch | Long layouts, rough cuts | $10 to $30 |
| Steel rule | 1/32 inch | Short, precise layout | $10 to $25 |
| Combination square | 1/32 inch | Squareness, depth, angles | $20 to $60 |
| Marking gauge | N/A (scribes) | Parallel lines, joinery | $15 to $50 |
| Digital calipers | 0.001 inch | Thickness, small parts | $20 to $80 |
One technique that trips up a lot of beginners is ignoring saw kerf. The saw kerf of a typical blade ranges from 0.090 to 0.125 inches and represents real material that gets removed with every cut. If you mark a line and cut right on it, you’ve already lost nearly 1/8 inch of material. Always mark which side of the line the waste goes on, and cut so the blade removes material from the waste side only.
When reading measurements, position your eye directly above the mark to avoid parallax error, which is the visual distortion that makes a measurement look different depending on your viewing angle. Use a sharp pencil or marking knife for layout lines. A dull pencil tip can add 1/32 inch of error all by itself.
For a smooth project workflow, always measure from the same reference edge or face on each part. This keeps cumulative errors from stacking up across multiple pieces. And when you’re building your toolkit, revisit the key measuring tools guide for detailed advice on what to buy first.
Common measurement mistakes and how to avoid them
Even experienced woodworkers make measurement mistakes. The difference is that experienced woodworkers have systems to catch errors before they cost material. Here are the most common pitfalls and how to sidestep them.
-
Misreading the tape measure. Tape markings are dense and easy to misread, especially in the 1/16-inch and 1/32-inch increments. Slow down, use good lighting, and confirm the reading before marking.
-
Ignoring saw kerf. This is one of the most expensive beginner mistakes. Mark your cut line, then ask yourself: which side is waste? Always cut on the waste side of the line.
-
Parallax errors. Reading a measurement at an angle makes it look different than it really is. Always look straight down at the scale when reading a tape or rule.
-
Not checking squareness. A board that looks square rarely is. Use your combination square to verify 90-degree corners before and after assembly. Out-of-square parts create gaps that no amount of clamping will fix.
-
Measuring each piece independently. If you need five identical pieces, don’t measure each one from scratch. Measure the first one, then use it as a template to mark the rest. This eliminates the chance of small differences stacking up.
The core habit that prevents most of these mistakes is simple: measure twice, cut once, then dry fit before final assembly. Precision reduces errors and waste, making your builds more repeatable and your material costs lower over time.
Pro Tip: Before you reach for the glue, always do a complete dry fit of the whole assembly. This is your last chance to catch measurement issues without ruining anything. If something doesn’t fit during the dry fit, you can still adjust. After the glue goes on, your options shrink fast.
For more hands-on guidance, the beginner furniture tips page covers assembly strategies that work hand-in-hand with good measurement habits. And the step-by-step woodworking advice section is a great companion for your first few projects.
A seasoned woodworker’s take: Why ‘good enough’ isn’t good enough
Here’s something most beginner guides won’t tell you: wood is not as forgiving as people claim. Yes, you can fill gaps with putty. Yes, you can sand down a proud edge. But every time you reach for a fix instead of getting the measurement right from the start, you’re adding time, cost, and a subtle loss of quality that accumulates across the whole piece.
I’ve seen hobbyists spend an hour fixing a joint that would have taken five extra minutes to measure correctly. The math never works in favor of shortcuts.
There’s also a pride factor. When a drawer slides in with a satisfying, gap-free fit, you know it. That feeling comes directly from tight tolerances and careful layout, not from luck. And it’s repeatable once you build the habit.
The other thing worth saying: your tools matter, but not as much as your process. A cheap tape measure used with discipline will outperform an expensive caliper used carelessly. Start with good habits, then upgrade your tools as your skills grow. Using digital design for precision planning can also help you catch measurement issues before you ever touch a board.
Don’t settle for close enough. Close enough is how you end up with a bookcase that wobbles and a cabinet door that won’t stay shut.
Take your woodworking further with expert plans
Precise measurement skills only reach their full potential when paired with plans that are designed with the same level of detail. Guessing at dimensions from a photo or a rough sketch puts all the measurement burden on you. A well-written plan tells you exactly what to cut, how to orient each piece, and what tolerances matter most.

At Real Wood Work Plans, you’ll find free woodworking plans and detailed guides built for hobbyists and beginners. Every plan is designed to complement the kind of careful measurement habits you’ve just learned. If you’re ready to start your first project or level up an existing one, explore the full library and see how the right plan makes every measurement decision easier. Check out our project success tips to get the most out of every build.
Frequently asked questions
What is the typical measurement tolerance for hobbyist woodworking?
Most hobbyist projects require tolerances of about +/- 1/32 inch for good aesthetics and +/- 0.010 inch for fitted parts like drawers or doors.
Why does saw kerf affect my measurements?
The saw blade removes real material with every cut, and kerf width typically ranges from 0.090 to 0.125 inches, so ignoring it makes your parts come out shorter than intended.
What are the most important measuring tools for beginners?
A tape measure, steel rule, combination square, and marking gauge will handle most woodworking tasks, and your tool resolution should be about 10x finer than your target tolerance.
How can I avoid common measurement mistakes?
Measure twice, cut once, always account for saw kerf, check squareness at every stage, and do a full dry fit before applying any glue. Precision builds are more repeatable and waste far less material.
Recommended
- 5 Essential Woodworking Measuring Tools for DIY Success
- CAD for DIY woodworking: boost precision by 40%
- Master Your Woodworking Project Workflow for DIY Success
- Role of Jigs in Woodworking: Precision Guide 2026

“DIY woodworking enthusiast who started with zero experience and a YouTube tutorial.
I build simple, practical projects for my home and share free plans
so other beginners can skip the guesswork.If I can build it, you can too.”