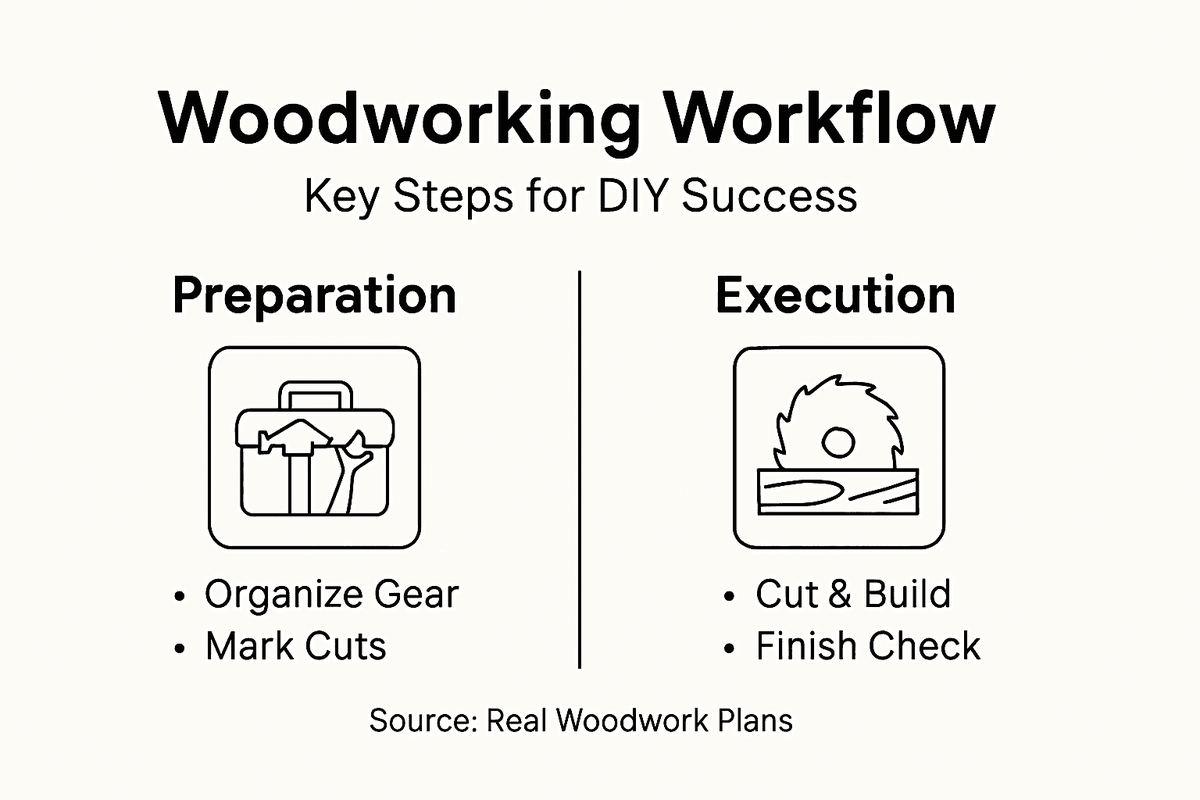
Starting a new woodworking project often feels exciting yet overwhelming, especially when every board and tool needs to be in the right place before you begin. Building skills and saving time comes down to how you organize your workspace and materials. By following proven strategies for workspace optimization and adopting proper material handling and storage, you not only improve safety but also set yourself up for fewer mistakes. The upcoming steps will guide you through efficient planning, precise measuring, cutting, assembly, and finishing to help your projects look and last better than ever.
Table of Contents
- Step 1: Organize Materials And Plan Workspace
- Step 2: Measure And Mark Wood Components Accurately
- Step 3: Cut And Assemble Project Pieces
- Step 4: Verify Fit And Finish For Quality
- Step 5: Protect And Display Your Finished Project
Quick Summary
| Key Point | Explanation |
|---|---|
| 1. Organize your workspace effectively | A well-mapped workspace layout enhances efficiency, safety, and reduces errors during projects. |
| 2. Measure and mark accurately | Always double-check measurements and use sharp tools for precise marks to avoid costly mistakes. |
| 3. Cut pieces slightly oversize first | Cutting large initially allows for adjustments, ensuring better precision before final sizing. |
| 4. Dry fit joints before gluing | Check all fittings without glue first, preventing assembly mistakes and saving time. |
| 5. Choose an appropriate finish | Select a finish that offers protection and enhances appearance, and apply it correctly for longevity. |
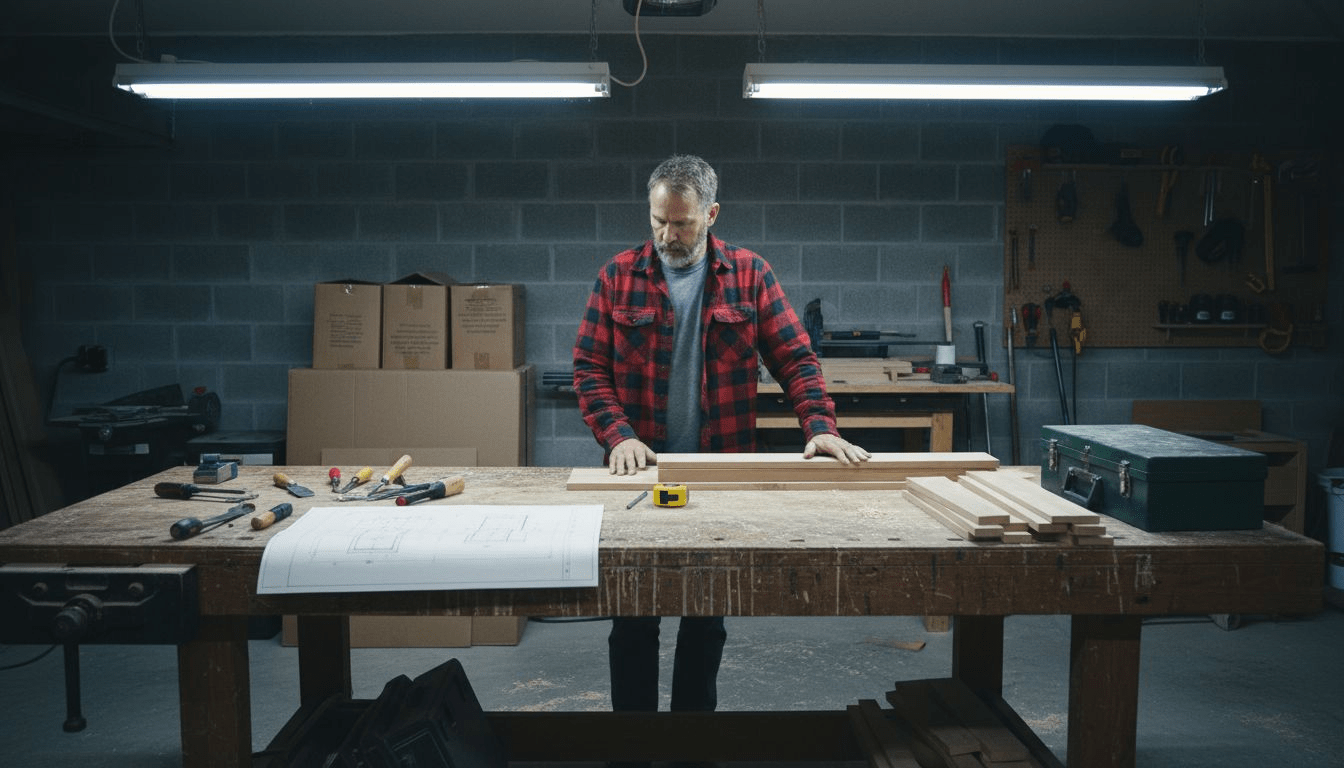
Step 1: Organize materials and plan workspace
Before cutting your first board, you need a clear plan for both your materials and where you’ll work. A well-organized workspace saves time, reduces errors, and keeps you safe while working.
Start by taking inventory of what you have. List every piece of wood, hardware, and tool you’ll need for your project. Check your material against your project plans to make sure nothing is missing before you begin work.
Next, map out your workspace layout. Think about the different zones you’ll use: cutting area, assembly station, finishing space, and storage. Each zone serves a specific purpose, and optimizing your workshop layout by designating storage areas and labeling shelves helps you work faster and safer.
Consider these practical elements when designing your layout:
- Position your work surface near your best light source for accuracy
- Keep frequently used tools within arm’s reach of where you’ll need them
- Arrange zones so you move in a logical sequence, not back and forth across the room
- Leave clear pathways to prevent tripping and improve material flow
Organize your materials by type and frequency of use. Proper material handling and storage are critical for efficiency and safety throughout your project. Store heavier pieces on lower shelves and keep everything labeled so you find what you need instantly.
Vertical space is your friend in smaller workshops. Wall-mounted shelves, pegboards, and tool racks keep materials accessible without eating up floor space. Mobile workstations bring tools directly to your project, eliminating unnecessary movement.
A clear workspace layout reduces mistakes, saves time searching for materials, and makes every project more enjoyable.
Pro tip: Before starting any project, create a simple cut list with dimensions and arrange all materials in your designated zones in the exact order you’ll use them—this single habit cuts project time by up to 20 percent and prevents costly mistakes.
Step 2: Measure and mark wood components accurately
Accurate measurements are the foundation of every successful woodworking project. One mistake in measuring cascades into cutting errors, assembly problems, and wasted materials that could have been avoided with care.
Start by reading your project plans carefully. Understand every dimension listed, then double-check your measurements against the actual wood you have. Use a quality tape measure and read it at eye level to avoid angle errors that throw off your work.
Mark your measurements clearly on the wood using a sharp pencil or marking knife. Light marks are easier to sand away later, but they must be visible enough to guide your cuts accurately. When marking multiple pieces, stack them together and mark all at once to ensure consistent dimensions across matching components.
Marking gauges are essential tools that scribe lines parallel to an edge for accurate cuts and joints. Use a marking gauge to create reference lines that guide your cuts consistently. This prevents tearout and improves how your joints fit together.
Here’s a quick reference to essential woodworking measurement and marking tools:
| Tool Name | Primary Function | Benefit to Project |
|---|---|---|
| Tape Measure | Measuring lengths and widths | Accurate component sizing |
| Marking Knife | Scribing precise lines | Clean cuts, tight joints |
| Combination Square | Checking and marking angles | Ensures square assemblies |
| Marking Gauge | Drawing parallel lines to edges | Consistent joint layout |
| Story Stick | Transferring repeated measurements | Reduces measuring errors |
Follow these marking techniques for best results:
- Measure twice, mark once, cut once
- Use a combination square for checking perpendicular lines and 45-degree angles
- Mark the waste side of your line so you know which material stays and which gets removed
- Create centerline marks for drilling pilot holes and positioning hardware
- Use a marking knife for precise cross-grain lines that won’t blur
Always verify your marks before cutting. A second look catches mistakes that would be expensive to fix after the saw blade hits the wood. Stand back and eyeball your layout to make sure everything aligns properly with your plan.
Taking 60 seconds to verify measurements before cutting saves hours of frustration and dozens of dollars in wasted wood.
Pro tip: Create a simple story stick by marking all your critical dimensions on a piece of scrap wood, then use it to verify measurements throughout your project instead of constantly checking your plans and ruler.
Step 3: Cut and assemble project pieces
Now that your materials are marked and your workspace is ready, it’s time to cut your pieces and bring them together. This is where your project starts taking physical shape, and precision in both cutting and assembly determines whether your finished piece looks professional or sloppy.
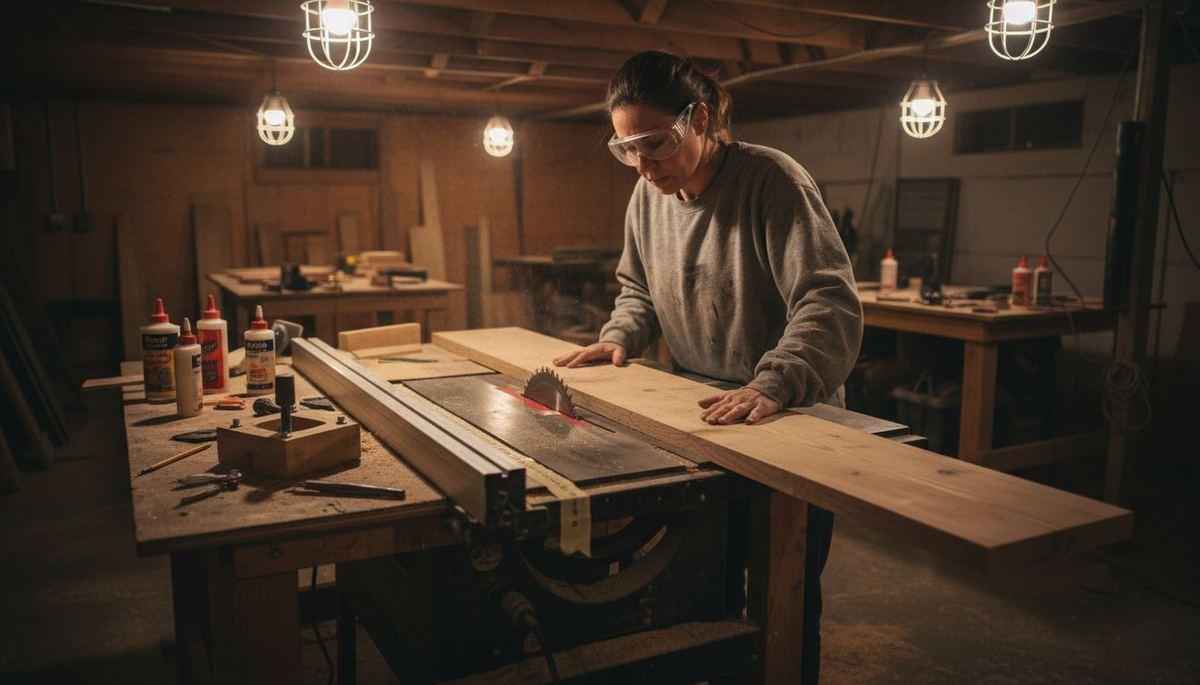
Start with safe cutting practices. Wear eye protection, keep your hands clear of the blade path, and never rush a cut. Use the right saw for the job: hand saws for detail work, circular saws for straight rips, and jigsaws for curves. Let the tool do the work instead of forcing it through the wood.
Cut your pieces slightly oversize first, then trim them to final dimensions. This approach gives you room to correct minor measurement errors without starting over. Stack similar pieces together and cut them as a group to ensure matching dimensions across your project.
Assembly techniques and woodworking joints like dovetails and mortise and tenon require precision and structural integrity to create durable connections. Practice your joinery on scrap wood before attempting it on your actual project pieces. A test run reveals mistakes before they become expensive problems.
Follow this assembly sequence for best results:
- Dry fit all pieces first without glue to verify everything aligns properly
- Check that angles are square using a combination square
- Verify diagonals measure equally to confirm your frame isn’t twisted
- Apply glue only to joints, not to entire surfaces
- Use clamps to hold pieces while glue dries, but don’t over-tighten
- Wipe away excess glue immediately with a damp cloth
Clamps are your extra hands during assembly. Position them so they pull joints together tightly without bending or warping the wood. A poorly clamped joint will have gaps that weaken your project and look unprofessional.
Dry fitting before gluing takes 10 minutes and prevents hours of frustration fixing assembly mistakes.
Pro tip: Create a simple assembly jig from scrap wood that holds your pieces at the correct angles and spacing, allowing you to assemble identical components quickly and accurately every time.
Step 4: Verify fit and finish for quality
Before you declare your project complete, take time to inspect every joint, surface, and detail. This verification step separates amateur work from professional-quality pieces that last for years and look beautiful doing it.
Start by examining how all your joints fit together. Run your fingers across seams to feel for gaps or misalignment that the eye might miss. Press on corners and edges to check for any movement or weakness that signals a poorly executed joint.
Systematic inspection throughout the woodworking process ensures joints fit perfectly and surfaces are smooth. Sand any rough spots with progressively finer grits, moving from 80-grit for removing tool marks to 150-grit for the final surface. A smooth surface is a sign of craftsmanship and feels better when someone touches your finished piece.
Check your surfaces with these verification steps:
- Run your hand across every surface to catch rough spots your eyes miss
- Look for gaps between joined pieces where light shows through
- Verify that doors or drawers open and close smoothly without binding
- Check that legs sit flat on a level surface without rocking
- Inspect color and grain patterns for visual consistency
Look at your project from different angles and distances. Stand back and view it from across the room, then get close and examine details. Different perspectives reveal alignment issues and surface imperfections that might not be obvious from one viewing angle.
Apply your finish once you’re satisfied with fit and surface quality. The finish protects your work and brings out the wood’s natural beauty. Quality finishing products provide durability and aesthetics that enhance your project’s appeal.
Perfect fit and smooth surfaces transform a functional piece into something you’re proud to display and use.
Pro tip: Create a final inspection checklist before finishing by photographing your assembled project from multiple angles, then compare the photos side-by-side to catch details you might otherwise miss.
Step 5: Protect and display your finished project
Your woodworking project is complete, but its longevity depends on how well you protect and display it. The right finish and proper environment will keep your work looking beautiful for years while showcasing your craftsmanship.
Choose a finish that matches your project’s purpose. Protective coatings safeguard wood from moisture, UV damage, and daily wear that would otherwise dull or damage your work. Water-based polyurethane works well for pieces that need durability, while oils enhance natural grain beauty for display-only items.
Apply your finish in thin, even coats according to the product instructions. Sand lightly between coats with fine-grit sandpaper to improve adhesion and create a smoother final surface. Multiple thin coats build better protection than one thick coat that can sag or crack.
The following table summarizes popular wood finishes and their key properties:
| Finish Type | Best For | Durability | Visual Effect |
|---|---|---|---|
| Polyurethane | High-traffic furniture | Very high | Glossy or satin sheen |
| Danish Oil | Decorative objects | Moderate | Enhanced grain depth |
| Shellac | Antique restorations | Moderate | Warm, classic appearance |
| Lacquer | Cabinets, trim work | High | Smooth, deep finish |
Protecting finished woodworking projects involves applying appropriate sealants that enhance appearance while safeguarding against moisture and UV damage. Allow each coat to dry completely before applying the next one or handling your project.
Choose your display location carefully:
- Avoid direct sunlight that fades finishes and changes wood color over time
- Keep pieces away from heat sources that cause wood to expand and contract
- Maintain stable humidity levels to prevent warping and cracking
- Ensure adequate air circulation to prevent moisture buildup
- Use appropriate mounts or stands that support weight safely
Climate control and proper environmental conditions are critical to protecting your finished project from deterioration. Temperature and humidity swings cause wood movement that can stress joints and finishes. Ideal conditions stay around 70 degrees Fahrenheit with 40 to 50 percent humidity.
Document your finished project with clear photos from multiple angles. These photos help you remember details for future projects and protect your work’s legacy if anything ever happens to the physical piece.
A well-finished and properly displayed project becomes a treasured piece that improves your space for decades.
Pro tip: Keep a maintenance log noting the finish type, application date, and any touch-ups needed, making it easy to refresh your project or share care instructions with others who inherit the piece.
Streamline Your Woodworking Projects with Expert Plans and Guidance
Struggling to organize your workflow or ensure precise measurements and flawless assembly for your DIY woodworking projects is a common challenge for many enthusiasts. This article highlights the crucial steps needed to master your project workflow including workspace organization, accurate marking, safe cutting, and final finishing. If you want to transform frustration into success with clear, step-by-step instructions and reduce costly errors this is your opportunity.
Explore detailed woodworking plans that simplify every stage of your project on Real Woodwork Plans. Whether you are crafting elegant furniture pieces or enhancing your home décor, our Tables Archives – Real Woodwork Plans offers a variety of meticulously designed projects that help you apply the workflow principles from this article. Each plan is created to support your craftsmanship development by providing clear material lists, measurement guidance, and assembly tips. Ready to bring your woodworking ideas to life with confidence Start your journey today by visiting Real Woodwork Plans and discover inspiring projects that match your skill level.
Frequently Asked Questions
How do I organize my materials for a woodworking project?
Begin by taking an inventory of all the wood, hardware, and tools you will need. Create a list and map out your workspace layout, designating specific zones for cutting, assembly, and finishing to streamline your workflow.
What tools are essential for accurately measuring and marking wood?
Key tools for measurement and marking include a quality tape measure, marking knife, combination square, marking gauge, and story stick. Use these tools to ensure precise cuts and joints, which are crucial for a successful project.
How should I approach cutting and assembling my project pieces?
Prioritize safe cutting practices and use the right saw for the job. Cut your pieces slightly oversize and then trim to final dimensions to allow for minor corrections; this can help you avoid major mistakes.
What should I check for when verifying the fit and finish of my project?
Inspect all joints for gaps and misalignments and verify that surfaces are smooth. Use progressively finer grits of sandpaper to enhance surface quality and ensure that your doors or drawers operate smoothly without binding.
How can I protect and display my completed woodworking project?
Select a finish based on your project’s purpose, applying it in thin, even coats for optimal durability. Choose a location that avoids direct sunlight and heat sources to maintain the integrity and appearance of your finished piece.
What is the role of a maintenance log for woodworking projects?
A maintenance log helps you track the type of finish used and any touch-ups required over time. Maintaining this log will make it easier to refresh your project and share care instructions with future owners.
Recommended
- Woodworking Tips for Beginners: Build Skills Step-by-Step
- Wood Milling Explained: Shaping Better Projects
- Why Use Woodworking Plans for DIY Success
- Sustainable Woodworking Practices: Impact and Methods

“DIY woodworking enthusiast who started with zero experience and a YouTube tutorial.
I build simple, practical projects for my home and share free plans
so other beginners can skip the guesswork.If I can build it, you can too.”