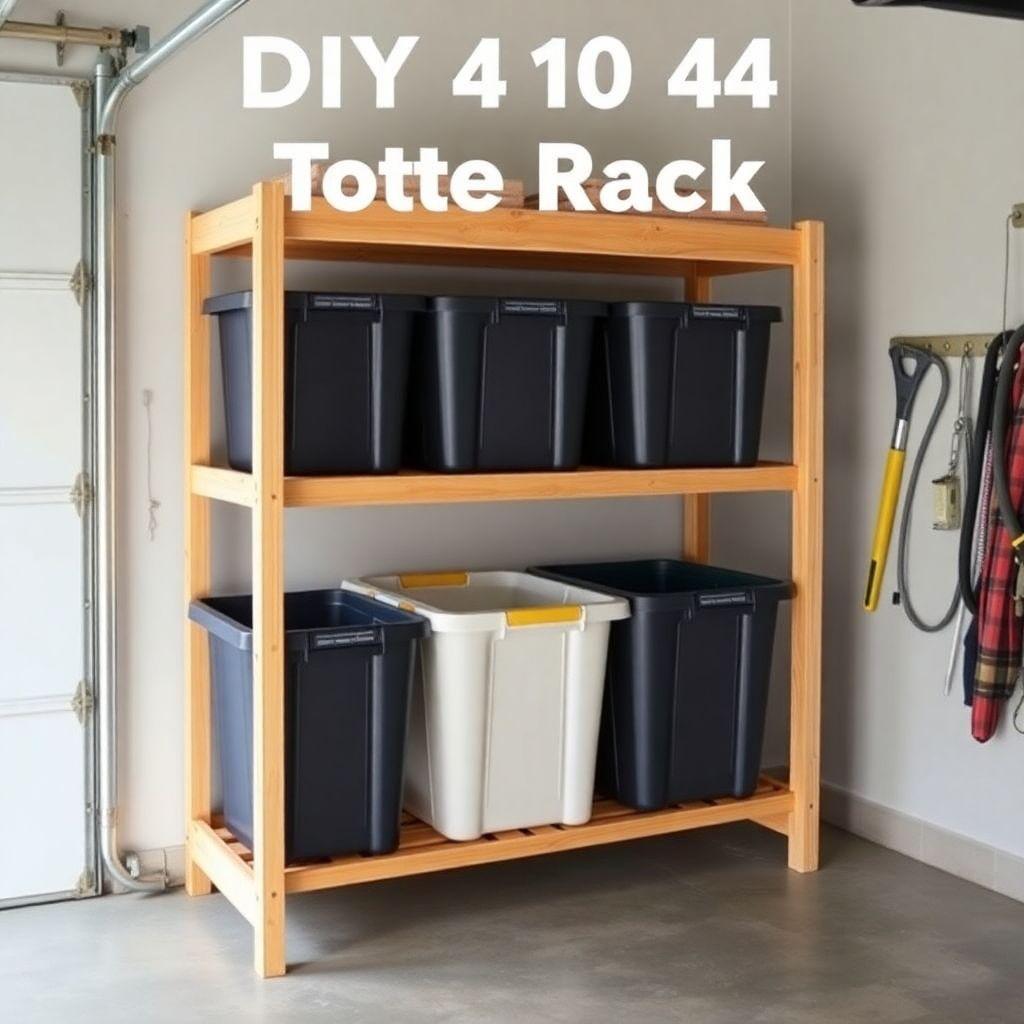
Plastic storage totes stacked on a garage floor are a mess. You can only reach the top one, the bottom two get crushed, and everything you actually need is buried. A wooden tote rack fixes all of that. It holds each tote on its own level so you can pull any one out without moving the rest.
This guide walks you through building a freestanding 3-level rack that holds six 27-gallon totes. It uses cheap 2×4 construction lumber, costs about $45 in materials, and takes a Saturday afternoon. If you can drive a screw and cut a straight line, you can build it. This plan is part of our complete storage furniture plans series.
The finished rack is 54″ wide, 28″ deep, and 72″ tall. That fits under a standard 8′ garage ceiling with room to spare. Before you buy a single board, though, there is one thing you have to do first.
Measure Your Totes Before You Cut Anything
Looking for more storage ideas?
This guide is part of our complete storage furniture plans series — compare all options by skill level, cost, and build time.
Want 16,000+ woodworking plans?
Ted’s Woodworking has step-by-step plans for every skill level. Browse Ted’s plans.
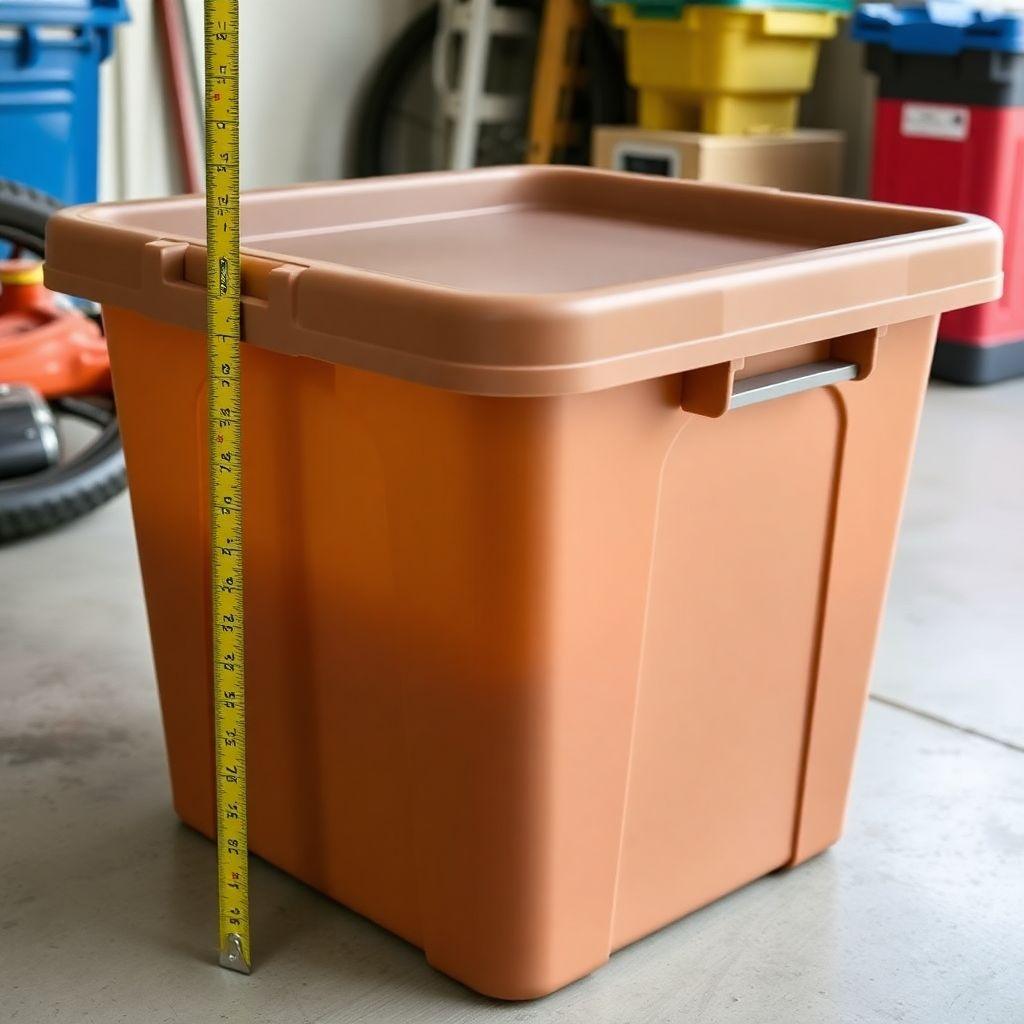
Every dimension in this plan is built around a standard 27-gallon tote: roughly 26-1/4″ long, 18-1/4″ wide, and 17-1/2″ tall. That is the most common size on the shelf at big-box stores. But “27-gallon” is a marketing number, not a standard. Off-brand totes vary by 1 to 2 inches in every direction.
If you build a rack sized for a 26″ tote and your totes are actually 27-1/2″ long, they will not slide in without a fight. A tight rack is a useless rack. So grab a tape measure and check your actual totes now.
Write down three numbers:
- Length (front to back when the tote sits in the rack)
- Width (side to side, measured at the lip, which is the widest point)
- Height (floor of the tote to the top of the lip)
The lip is important. Plastic totes flare out at the top, so the lip is wider than the body. That lip is what rests on the rails and holds the tote up, so measure the lip width, not the base.
If your totes match the standard dimensions above, use this cut list as written. If they are bigger, add the difference to the matching frame dimension. The next section shows exactly which numbers to adjust.
Materials and Cut List (3-Level Rack, Holds 6 Totes)
This rack has three levels, and each level holds two totes side by side. All parts are cut from standard 2×4 pine.
Lumber:
| Part | Size | Length | Qty |
|---|---|---|---|
| Vertical uprights | 2×4 | 72″ | 4 |
| Side depth rails | 2×4 | 24″ | 6 |
| Tote support rails (front/back) | 2×4 | 51″ | 6 |
| Top/bottom connectors | 2×4 | 51″ | 4 |
| Diagonal braces | 2×4 | ~38″ (cut to fit) | 2 |
That is about seven 8-foot 2x4s once you account for offcuts. Buy eight to be safe. At $4 to $5 a board, lumber runs $32 to $40.
Hardware:
- 3″ exterior wood screws (1 lb box)
- 2 L-brackets for the wall anchor
- 2 heavy-duty screws for the studs (3″ minimum)
Total cost lands around $45.
A note on wood choice: 2×4 pine is plenty strong for this and it is cheap. Do not substitute 1×4 stock to save money. A 1×4 flexes under the weight of a loaded tote and the shelf will sag over time. If the rack will live in a damp garage, an unheated shed, or outdoors, buy pressure-treated 2x4s instead. They cost a few dollars more and will not rot or warp in humidity.
Why these dimensions: The 51″ support rails give each level an interior opening of 51″ for two 18-1/4″ totes plus a little gap. The 24″ side rails set the frame depth at 28″ total, which is about 2″ shallower than a 26″ tote. That is on purpose. The tote overhangs the front by 2″ so you can grab it and pull it out easily instead of fishing it out from the back.
Tools Required
- Circular saw or miter saw
- Drill/driver
- Tape measure
- Speed square or combination square
- Pencil
- Countersink bit (optional but recommended)
- Stud finder (for the wall anchor)
- Safety glasses
No fancy joinery here. Every joint is a butt joint held with screws.
Step 1: Build the Side Frames
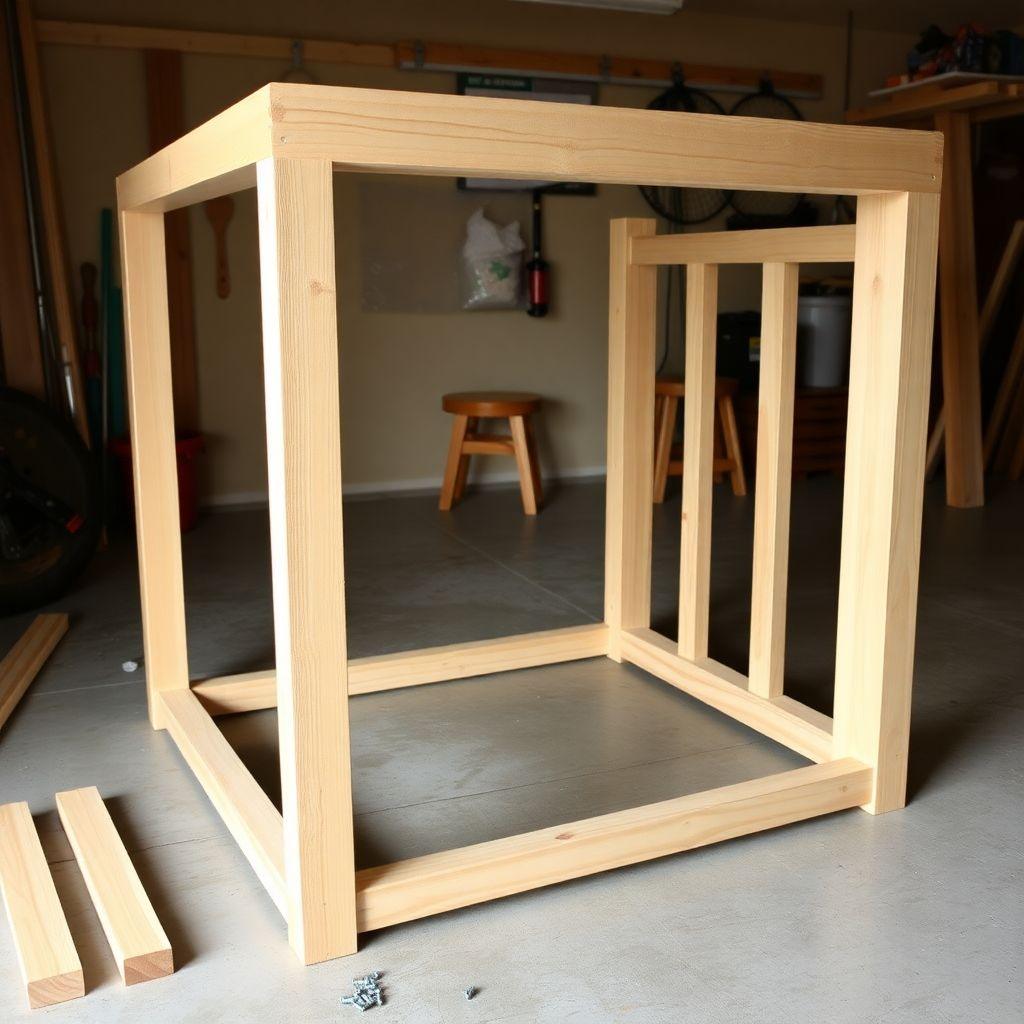
The rack is two identical side frames joined by horizontal rails. Build the side frames first, flat on the garage floor.
Each side frame uses two 72″ uprights and three 24″ side depth rails. Lay two uprights on the floor parallel to each other, 24″ apart on center. The side rails go between them at three heights.
Mark the rail positions on the uprights before you assemble anything. Measure from the floor:
- Bottom rail: 4″ up from the bottom
- Middle rail: 27″ up
- Top rail: 50″ up
That spacing gives each level about 21″ of clear height. A 17-1/2″ tote plus the 1-1/2″ thickness of the rail above it plus a couple inches of grab room fits comfortably.
Set a 24″ side rail flat between the uprights at each mark. Drill two 3″ screws through the outside face of each upright into the end of the rail. Countersink the heads so they sit flush. Check that each rail is square to the uprights with your speed square before you drive the second screw.
Build the second side frame exactly the same way. Take a minute to confirm both frames are identical, because if the rail heights do not match side to side, your shelves will slope.
Step 2: Add the Horizontal Rails
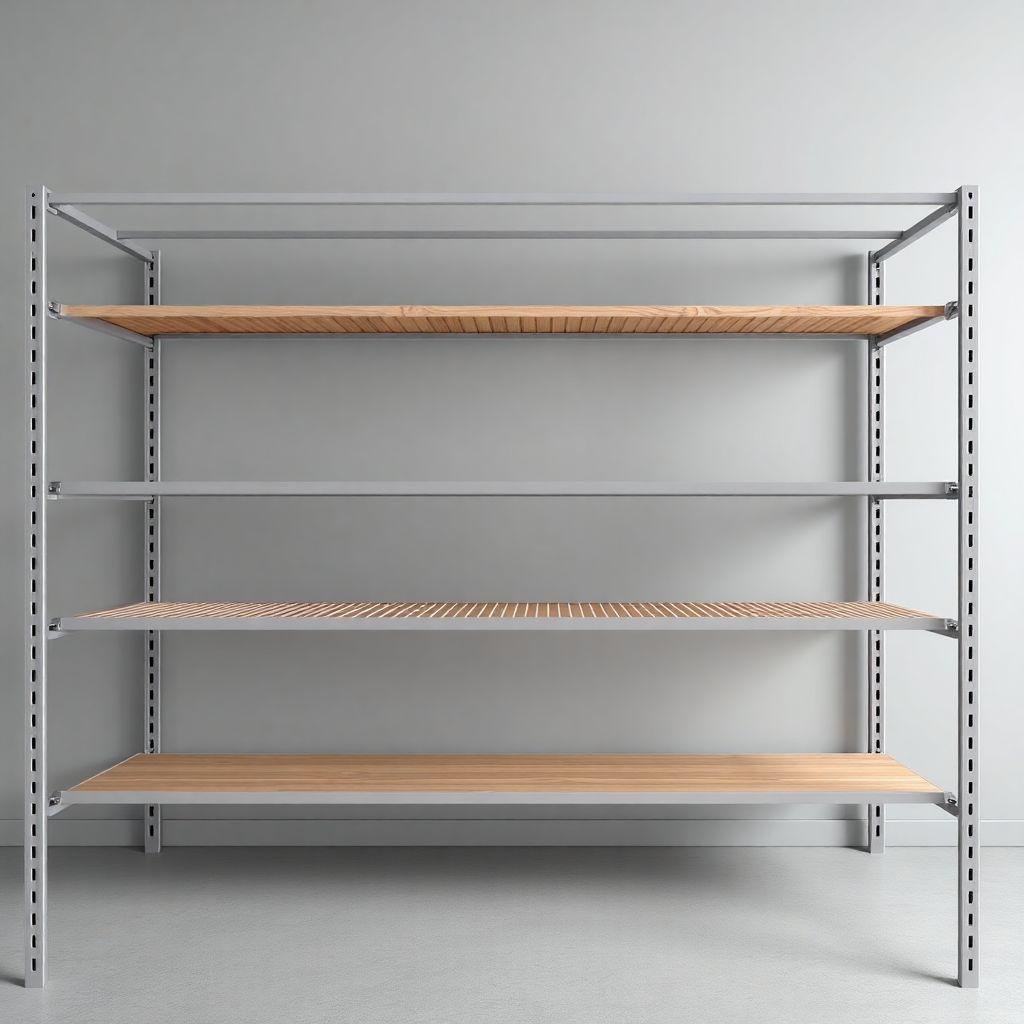
Now stand the two side frames upright, parallel to each other, 51″ apart. This is easier with a helper, but you can lean one frame against a wall and work solo.
The 51″ tote support rails connect the two frames at each level. These are the rails the tote lip actually rests on, so they carry the load. At each of the three levels, you attach one support rail at the front and one at the back, running between the two side frames.
Line up each support rail with the top of the corresponding side rail so the surfaces are flush. Drive two 3″ screws through each end into the upright. Do all six support rails, three at the front, three at the back.
Here is the spacing detail that makes or breaks the rack. The two support rails at each level (front and back) sit 24″ apart, matching the frame depth. But the gap between the two totes side to side, and the overhang, matter too. Each 18-1/4″ tote lip needs to overhang its support by about 1″ on each side so it cannot fall through the opening. With a 51″ span holding two totes, you have roughly 51″ minus 36-1/2″ of tote width, leaving about 14″ split between the two ends and the center gap. That is plenty of overhang. If your totes are wider, just confirm the lip still catches at least 3/4″ of rail on each side before you commit.
Add the four 51″ top and bottom connectors last. Two go across the very top of the frame (front and back) and two across the very bottom. These tie the whole structure together and keep it from twisting.
Step 3: Square and Brace
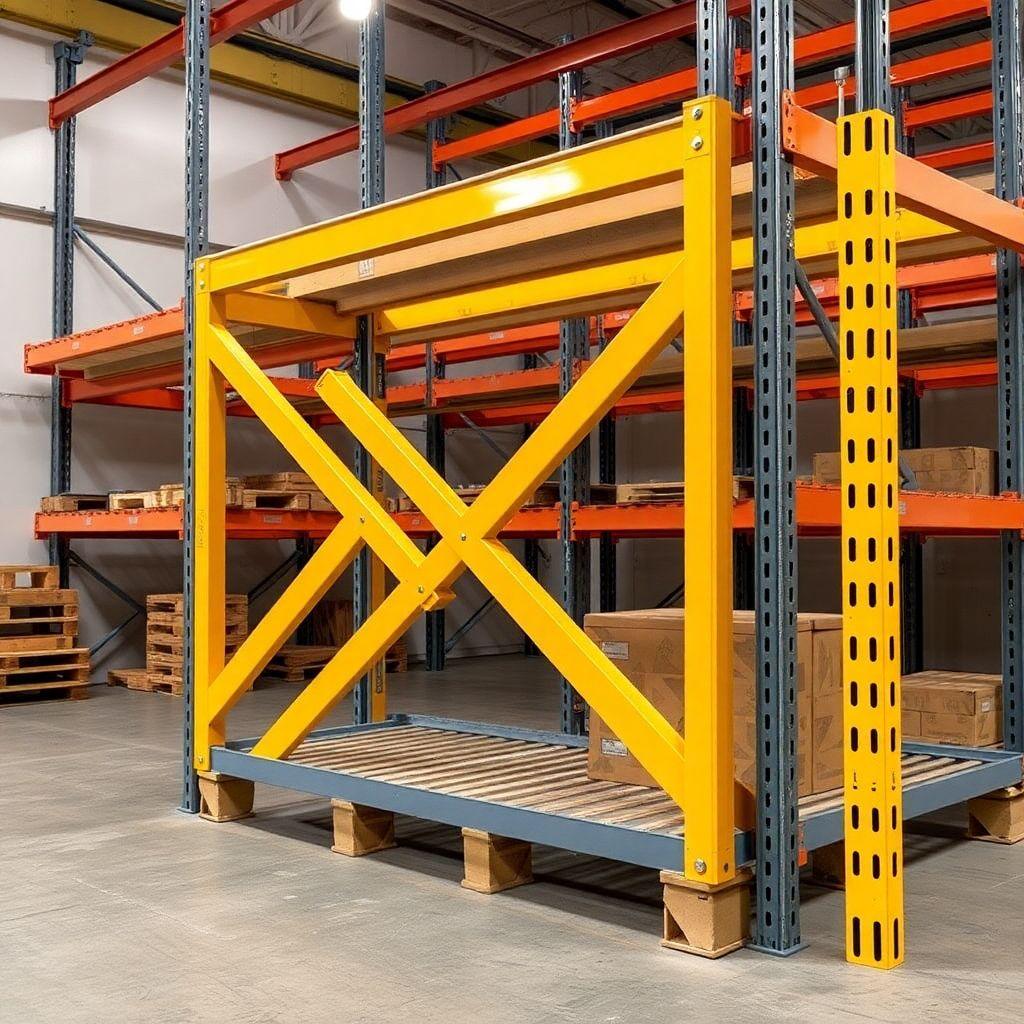
A rack made only of vertical and horizontal members will rack, meaning it leans and wobbles side to side like a parallelogram. A single diagonal brace on the back stops this cold.
First, square the frame. Measure diagonally corner to corner across the back, both directions. If the two diagonal measurements are equal, the frame is square. If not, push the longer diagonal in until they match.
With the frame held square, lay a 2×4 diagonally across the back from one bottom corner to the opposite top corner. Mark where it crosses the uprights and rails, then cut the ends at roughly 45 degrees so it sits flat. It will end up around 38″ long depending on your exact frame, so cut to fit rather than to a fixed number.
Screw the brace to every upright and rail it crosses. Add a second diagonal running the other direction if you want maximum rigidity, forming an X on the back. For most garage use, one diagonal is enough.
Step 4: Anchor to Wall
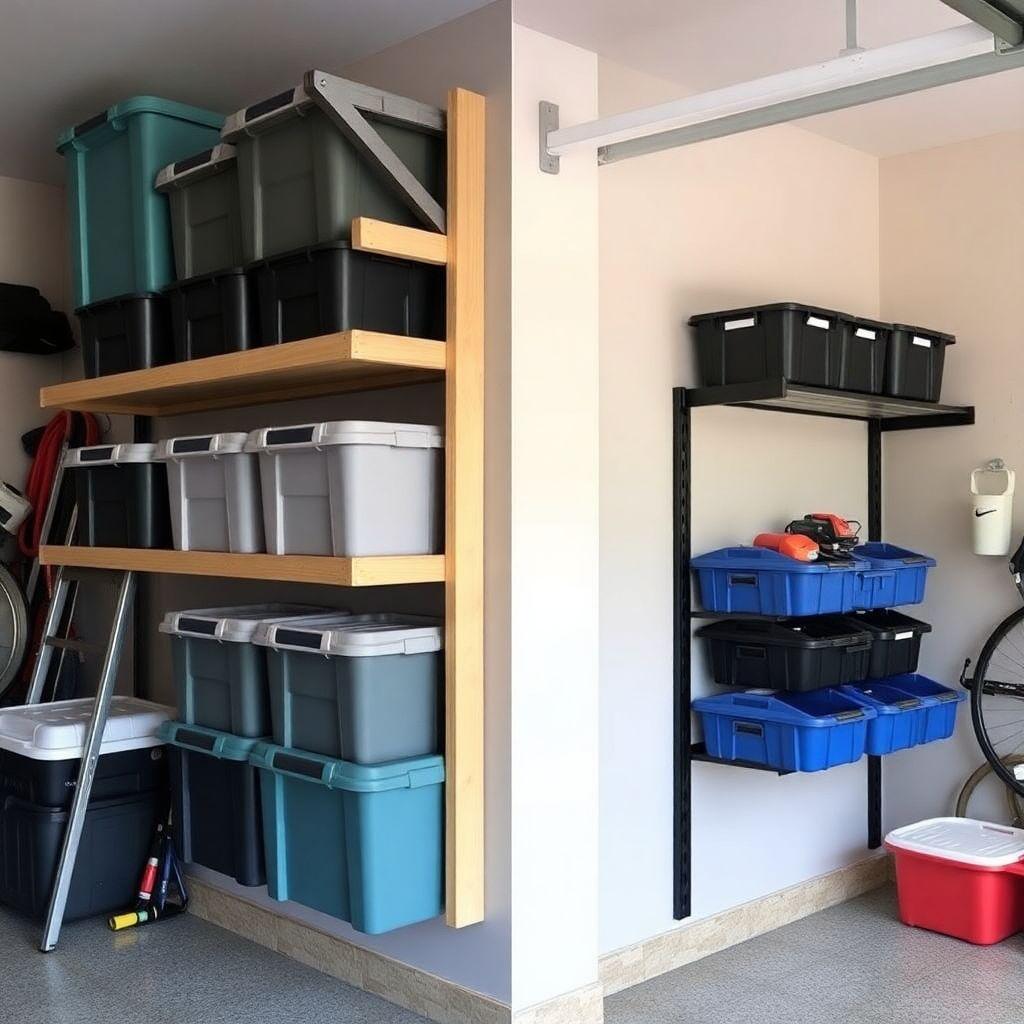
This is the step people skip, and it is the one that matters most for safety. A 72″ rack loaded with six totes of gear can carry 200 pounds or more, and most of that weight sits high. That makes the rack top-heavy. If someone pulls a top tote out too fast, or a kid climbs on it, an unanchored rack can tip forward.
Anchoring takes five minutes. Slide the finished rack against the wall where it will live. Use a stud finder to locate a wall stud behind the top of the rack. Mark it.
Attach an L-bracket to the top connector of the rack and screw the other leg into the stud with a 3″ screw. One bracket into a solid stud is enough to stop the rack from tipping. Add a second bracket on another stud if the rack feels at all loose. Do not anchor into drywall alone. Drywall anchors will not hold against a tipping load. You need wood.
Once it is anchored, load your totes heaviest on the bottom, lightest on top. Your rack is done.
Looking for more storage ideas?
This guide is part of our complete storage furniture plans series — 6 types compared by skill, cost, and build time.
Want 16,000+ woodworking plans?
Ted’s Woodworking has step-by-step plans for every skill level. Browse Ted’s plans.
FAQ
How much weight can this tote rack hold?
Built from 2×4 pine with screwed butt joints and a diagonal brace, the rack easily supports six fully loaded 27-gallon totes, roughly 200 to 250 pounds total. The 2×4 support rails are the limiting factor, and a 51″ 2×4 span carries a loaded tote without noticeable sag. Do not substitute 1×4 stock, which will flex.
Can I add a fourth level?
Only if your ceiling allows it. Each level needs about 21″ of vertical space, so a 4-level rack stands around 90″ tall and needs a 9′ ceiling. Under a standard 8′ garage ceiling, stick with three levels. Building taller also makes the rack more top-heavy, so a fourth level makes wall anchoring mandatory, not optional.
What if my totes are a different size?
Measure your actual totes first, focusing on the lip width and the length. If they are larger than the standard 27-gallon dimensions, add the difference to the matching frame parts. For wider totes, lengthen the 51″ support rails. For longer totes, lengthen the 24″ side rails. Keep the frame about 2″ shallower than the tote length so the tote overhangs the front.
Do I need to anchor it to the wall?
Yes. A tall, top-heavy rack loaded with gear can tip forward if bumped or if a top tote is yanked out quickly. A single L-bracket into a wall stud takes five minutes and prevents this. Never rely on drywall anchors alone, since they will not hold a tipping load.
Can I use this rack outdoors?
Yes, if you build it from pressure-treated 2x4s and use exterior-rated screws. Standard pine will rot and warp when exposed to weather or persistent damp. Pressure-treated lumber costs a few dollars more per board and holds up in a damp garage, carport, or shed.
How long does this build take?
A beginner working alone should plan on about three to four hours: 30 minutes to cut all parts, an hour per side frame, an hour to connect and brace, and a few minutes to anchor. With a helper and a miter saw, you can knock it out in about two hours.
Related Articles

“DIY woodworking enthusiast who started with zero experience and a YouTube tutorial.
I build simple, practical projects for my home and share free plans
so other beginners can skip the guesswork.If I can build it, you can too.”