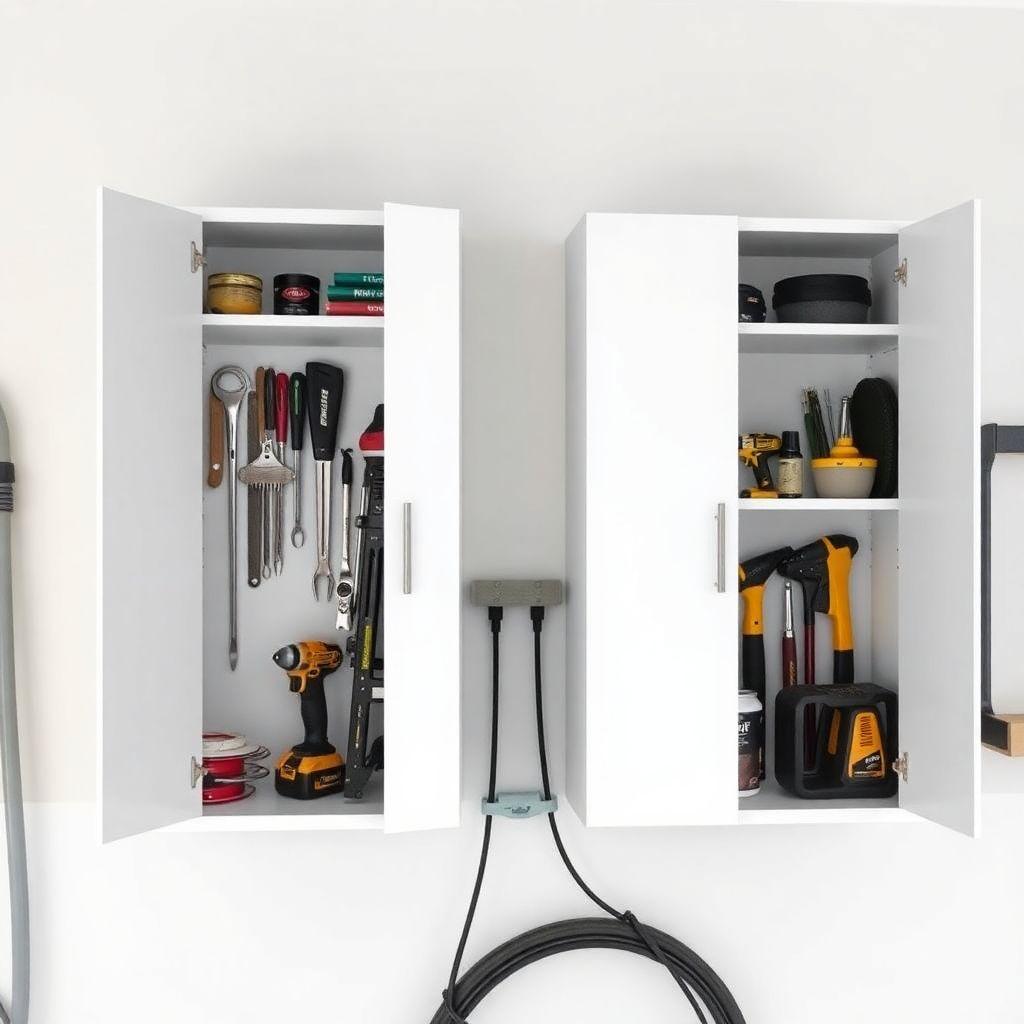
Most garage cabinets fail in one of two ways: they sit on the floor and block the space you actually need, or they are built from MDF that swells the first humid summer. These plans avoid both. You will build a matching pair of wall-mounted cabinets, each 24 inches wide and 84 inches tall, hung 18 inches off the floor so a car door can still swing open beneath them. Each cabinet gets adjustable shelves and a full-length overlay door.
Expect to spend around $220 to $280 in materials for the pair and one solid weekend of work. This is an intermediate build. If you can cut plywood square and drive screws straight, you can do it. This guide is part of our storage furniture plans series, where we compare six storage builds by skill, cost, and time.
Plan the Cabinet Layout: Wall Space and Clearance
Looking for more storage ideas?
This guide is part of our complete storage furniture plans series — compare all options by skill level, cost, and build time.
Want 16,000+ woodworking plans?
Ted’s Woodworking has step-by-step plans for every skill level. Browse Ted’s plans.
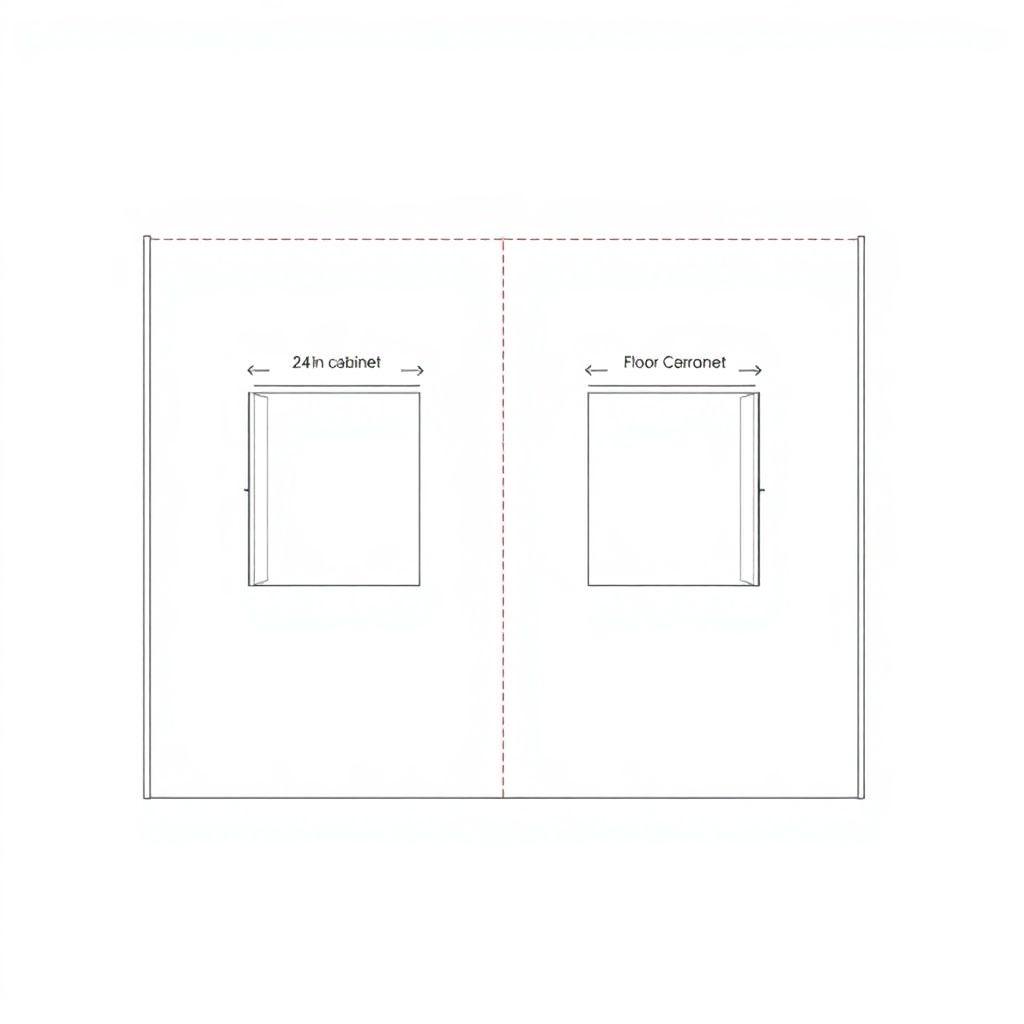
Before cutting anything, measure the wall. You need a clear run of at least 48 inches wide to hang the pair side by side, plus a few inches of margin so the doors clear each other.
The single most important dimension is the mounting height. Hang each cabinet so its bottom edge sits 18 inches above the floor. That clearance lets a car door swing open without slamming into the cabinet face, and it keeps the cabinet bottoms above the zone where road salt, water, and dropped tools collect. Do not rest these cabinets on the floor in an active garage. A floor-standing cabinet in a parking bay gets bumped, blocks the door swing, and traps moisture underneath.
With the cabinet bottom at 18 inches and the case at 84 inches tall, the top lands at 102 inches. Most garages have 9-foot or taller walls, so this fits with room to spare. If your ceiling is lower, drop the mounting height rather than shortening the case.
Find your studs and mark them. These cabinets hang on French cleats that must bite into studs, so locate the stud centers across your whole run before you commit to cabinet positions. Standard framing is 16 inches on center, which means a 22-1/2-inch-wide cabinet back will always cross at least two studs.
Materials and Cut List
This cut list builds the full pair: two cabinets, 48 inches wide total, 84 inches tall, 16 inches deep. Cases and shelves are 3/4-inch plywood. Backs are 1/4-inch plywood. Face frames are poplar.
Use 3/4-inch birch or sanded pine plywood for the cases, not MDF. MDF swells in a non-climate-controlled garage the first time humidity climbs, and once the core swells it never recovers. Plywood keeps its shape. Paint seals the plywood edges, but even bare, the core stays stable. Buying MDF for a garage cabinet is a common and expensive mistake.
Plywood, 3/4 inch:
– 4x side panels: 15-1/4″ x 84″
– 4x horizontal panels (top and bottom, one pair per cabinet): 22-1/2″ x 15-1/4″
– 12x adjustable shelves (6 per cabinet): 21-3/4″ x 15-1/4″
– 2x doors (one per cabinet, overlay): 23-1/2″ x 83-1/2″
– 4x cabinet French cleats: 22-1/2″ x 3-1/2″
– 4x wall cleats (matching): 22-1/2″ x 3-1/2″
Plywood, 1/4 inch:
– 2x back panels: 22-1/2″ x 84″
Poplar, 3/4″ x 1-3/4″:
– 4x face frame stiles: 84″ (two per cabinet)
– 4x face frame rails: 21″ (two per cabinet, top and bottom)
Hardware per cabinet:
– Full-length piano hinge or three 3-1/2″ butt hinges
– Shelf pins (a full pack of 5mm pins)
– One door pull or knob
– 2-1/2″ and 1-1/4″ wood screws
– 3″ lag screws or structural screws for wall cleats
– Wood glue, 18-gauge brad nails
– Optional: one pair of full-extension drawer slides plus drawer parts for a bottom bin (see Step 3)
Tools Required
- Table saw or circular saw with a straightedge guide
- Drill and driver
- 5mm brad-point bit and a shelf-pin jig (or a scrap of pegboard, see Step 3)
- Kreg pocket-hole jig, or brad nailer plus glue for the face frames
- Clamps (at least four bar clamps)
- Level, at least 4 feet long
- Stud finder
- Tape measure, square, sanding block or random orbital sander
- Painter’s supplies
Step 1: Build the Cabinet Boxes
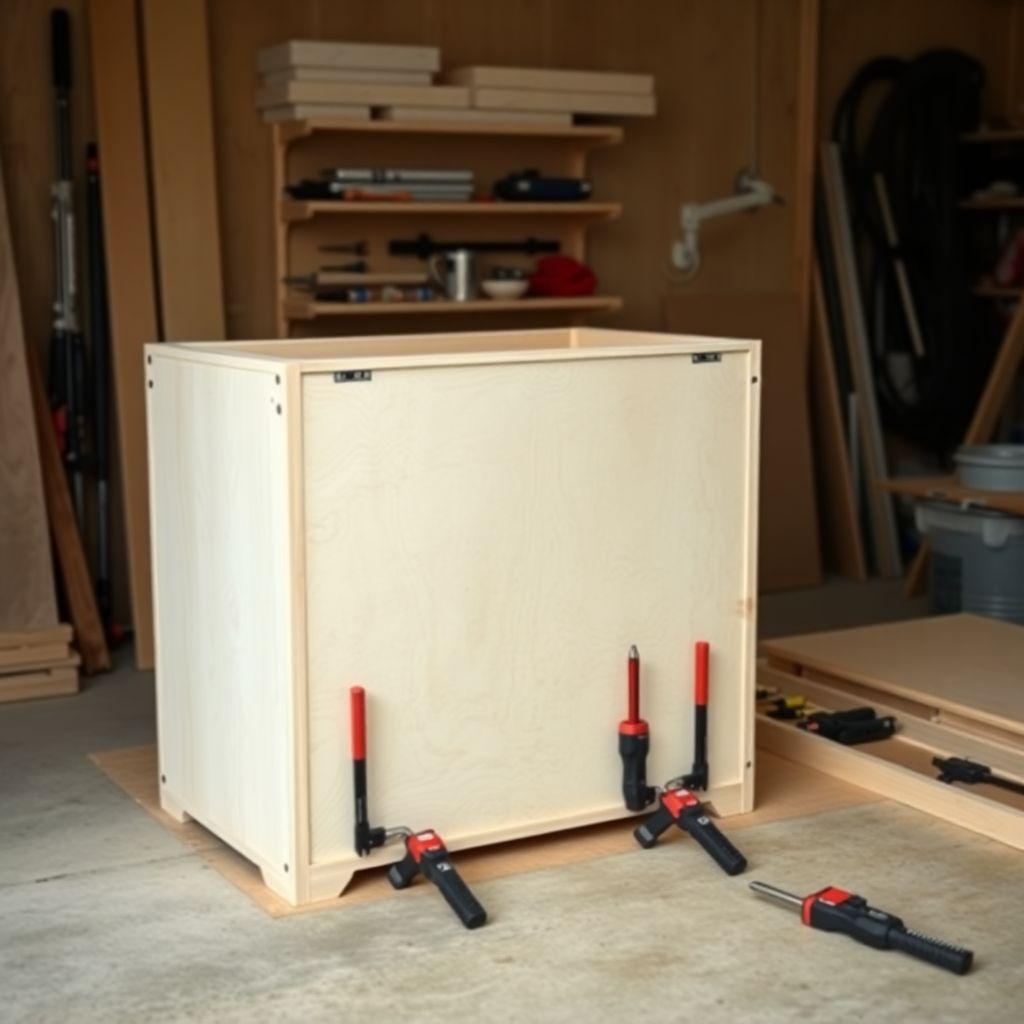
Cut the side and horizontal panels first. Each cabinet is a simple butt-jointed box: two 84-inch sides with a top and bottom panel between them. The top and bottom are 22-1/2 inches wide, which sets the interior width. Dry-fit before glue.
Assemble one box at a time. Run a bead of glue along the panel edges, set the top and bottom between the sides flush to the ends, and clamp square. Drive 2-1/2-inch screws through the sides into the ends of the horizontal panels, three per joint. Before the glue sets, measure both diagonals across the open face. When the two diagonal measurements match, the box is square. Adjust with a clamp across the long diagonal if needed.
Once the glue is dry, fit the 1/4-inch back panel. The back squares the case and stiffens it, so do not skip it. Run glue around the rear edges, lay the back on flush to all sides, and fasten it with 1-inch brads every 6 inches. Check the diagonals one more time as you nail; the back panel is what locks the case square permanently.
Now attach the face frame. Build each frame flat: two 84-inch stiles and two 21-inch rails, joined with pocket screws or glue and brads. Glue the assembled frame to the front edges of the case, holding it flush to the outside of the sides. Clamp and let it set. The face frame stiffens the front opening and gives the overlay door something to close against.
Step 2: Make and Hang the French Cleats
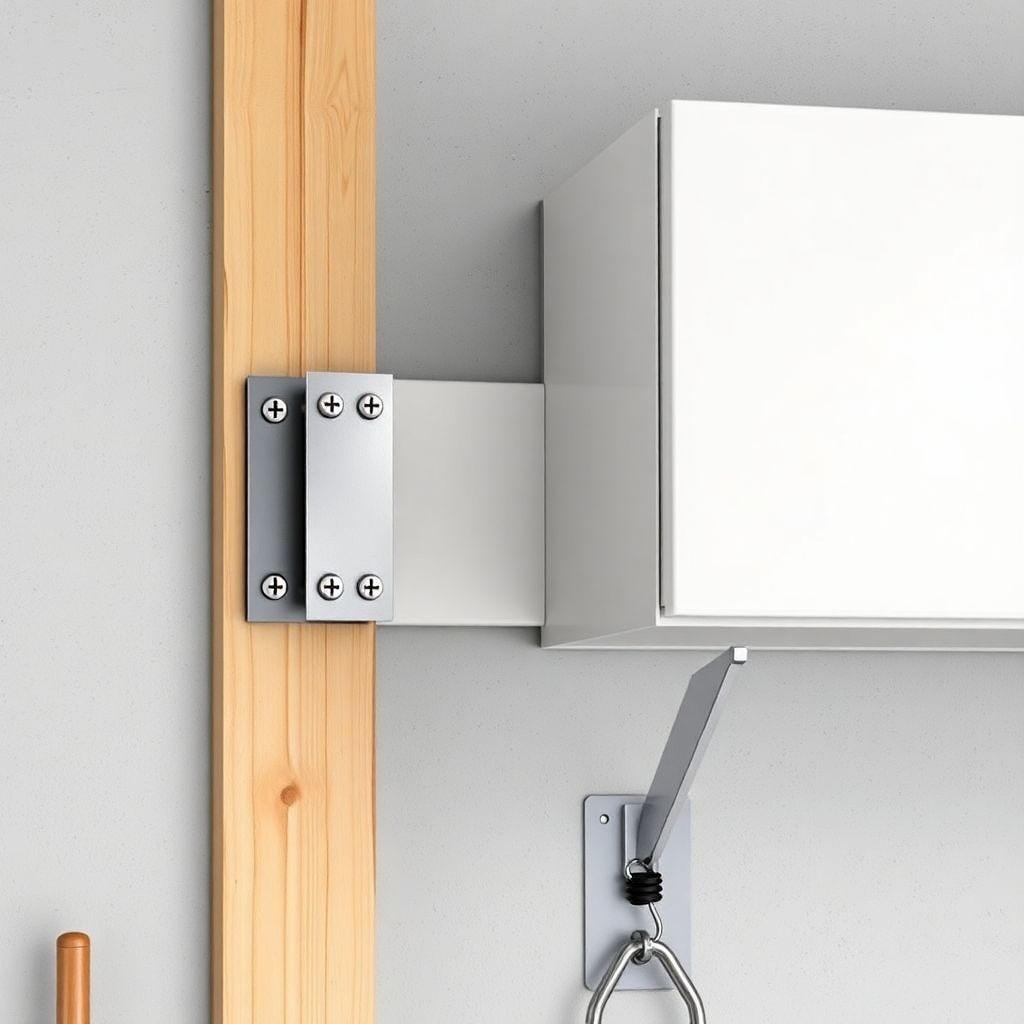
French cleats do the real work here. Each cleat is a strip of 3/4-inch plywood ripped with a 45-degree bevel along one long edge. The cabinet half hooks over the wall half, and the mating bevels pull the cabinet tight to the wall as gravity settles it.
Use two parallel cleats per cabinet, not one. Mount one cleat at the very top of the cabinet back and a second cleat 16 inches below it. Two cleats spread the load across two rows of fasteners and stop the cabinet from rotating. A single-cleat mount lets a heavy cabinet pivot at the top and pull the fasteners out over time. Two cleats fix that.
Rip four cabinet cleats and four wall cleats, all 22-1/2 inches wide by 3-1/2 inches tall, each with a 45-degree bevel on one long edge. Screw the cabinet-side cleats to the back of each case, bevel facing down and in toward the case, so they hook over the wall cleats. Fasten them into the case sides and back with 1-1/4-inch screws.
Mount the wall cleats next. Set the top wall cleat so the cabinet will hang with its bottom edge 18 inches off the floor, bevel facing up and toward the wall. Level it, then drive 3-inch lag or structural screws through the cleat into every stud it crosses, at least two studs per cleat. Mount the second wall cleat 16 inches below, parallel and level. Hang the cabinet by lowering it so its cleats drop over the wall cleats. Repeat for the second cabinet, checking that the faces align.
Step 3: Install Adjustable Shelf Pins and Shelves
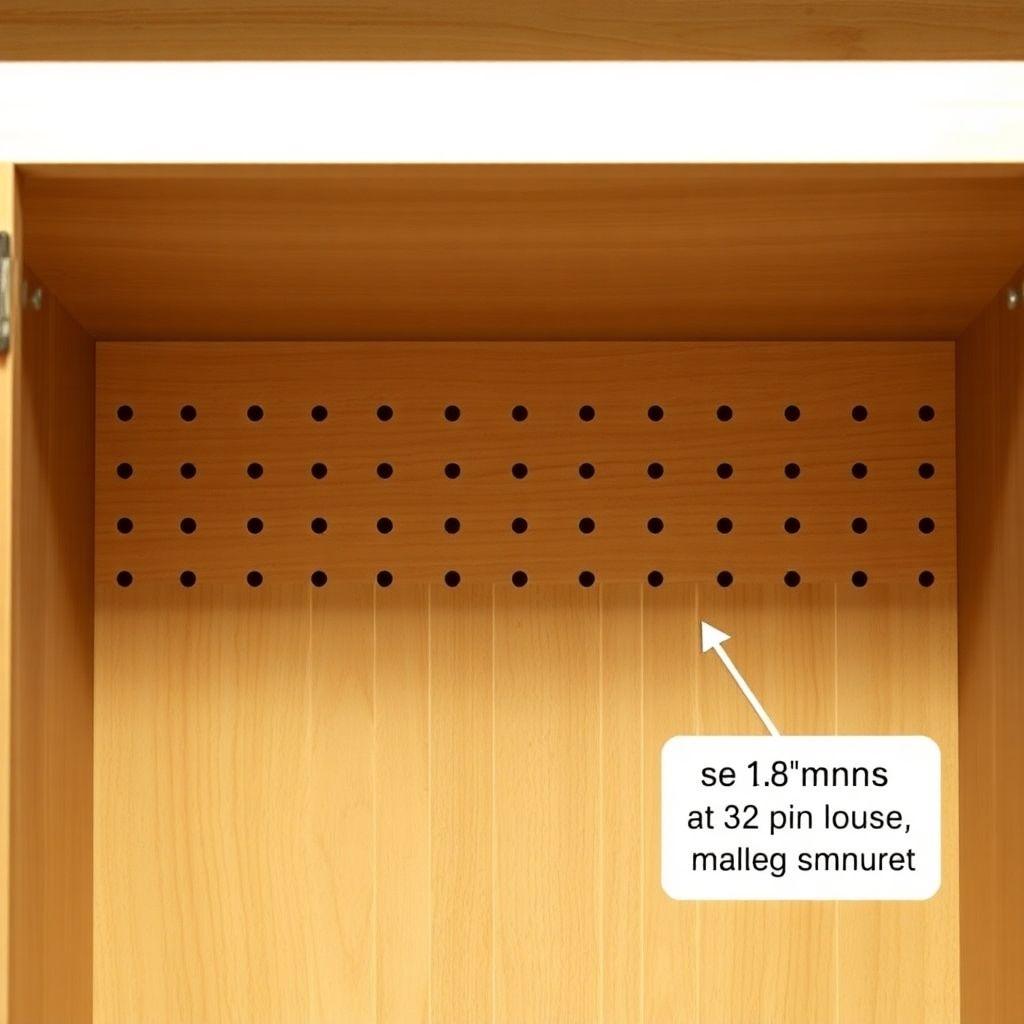
Adjustable shelves are only useful if the pin holes line up. Drill your pin holes on 32mm spacing so every shelf lands at an even, repeatable height. Arbitrary spacing leaves you with shelf positions that do not match side to side or waste vertical space.
The easiest jig is a strip of pegboard. Pegboard holes are spaced 1 inch apart, close enough to a clean, repeatable grid for shelf pins. Clamp the pegboard strip inside the case, set a depth stop on your 5mm bit so you do not blow through the side, and drill a vertical row of holes near the front and another near the back on each side panel. Keep the jig registered off the same edge every time so all four rows match.
Insert four pins per shelf and drop the 21-3/4-inch shelves in. Six shelves per cabinet gives you flexibility; you rarely use all six at once, but the holes are there when you need them.
Consider swapping the bottom shelf for a full-extension drawer. For small parts, screws, and bins, a drawer beats an open shelf because you can pull the whole thing out and see the back. Open shelves let small items migrate to the back where you cannot reach them. A single 6-inch-tall drawer at the bottom of each cabinet, on full-extension slides, costs little extra and solves the buried-parts problem for good.
Looking for more storage ideas?
This guide is part of our complete storage furniture plans series — 6 types compared by skill, cost, and build time.
Want 16,000+ woodworking plans?
Ted’s Woodworking has step-by-step plans for every skill level. Browse Ted’s plans.
Step 4: Build and Hang the Doors
Each door is a single 3/4-inch plywood panel, 23-1/2 inches wide by 83-1/2 inches tall. That sizing makes an overlay door: it covers most of the face frame rather than sitting flush inside the opening.
Choose overlay doors for this build. Overlay doors cover the face frame and hide small misalignments, so a case that is a hair out of square still looks clean and closes right. Inset doors, which sit flush within the frame, look sharper but demand a perfectly square case and a planer to shave the door for an even reveal on all four sides. For a garage cabinet, overlay is faster and far more forgiving.
Sand and ease the door edges. Hang each door with a full-length piano hinge for the best support on a tall panel, or three evenly spaced butt hinges if you prefer. Mount the hinge to the door first, then hold the door in position over the opening with an even gap at top and bottom and screw the hinge to the face frame stile. Add a pull or knob at a comfortable height, and install a magnetic or roller catch at the top and bottom so a tall door does not bow open.
Step 5: Final Adjustments and Paint
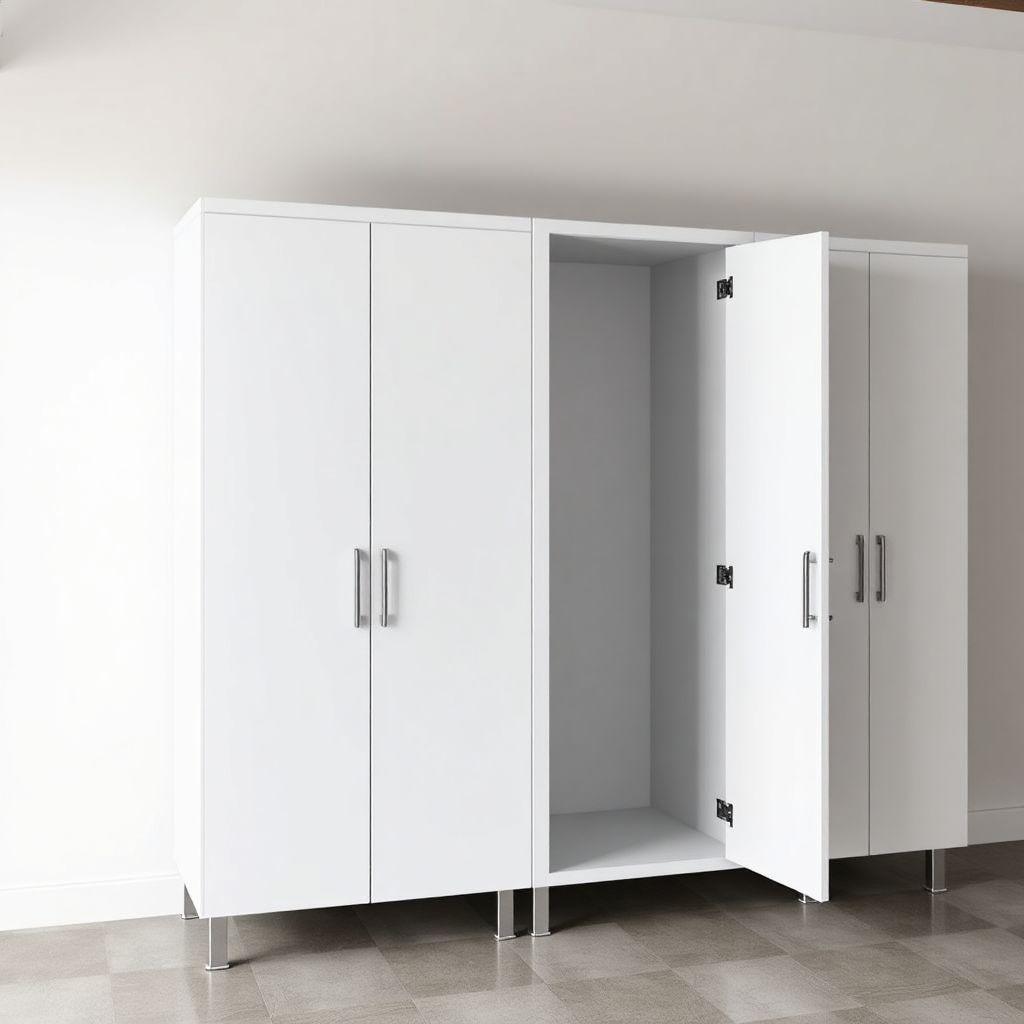
With both doors hung, check the reveals. The gap between the door edge and the cabinet should be even top to bottom. Slotted hinge holes let you shift the door a little; loosen, nudge, retighten. Confirm the doors clear each other where the two cabinets meet.
Now paint. Fill any screw holes and plywood voids on exposed edges with wood filler, sand smooth, and prime. Priming plywood edges matters because the exposed core soaks up paint unevenly; a coat of primer seals it. Follow with two coats of a durable enamel or cabinet paint. White or light gray brightens a dark garage and makes it easy to spot what is on the shelves.
Let the paint fully cure before loading the cabinets. Then reinstall the shelves at the heights you want, load the heavier items low, and enjoy a garage where the cabinets are up off the floor and out of the car’s way.
FAQ
How much weight can wall-mounted garage cabinets hold?
With two French cleats lag-screwed into at least two studs each, a cabinet like this easily holds 150 to 200 pounds of evenly distributed load. The limit is almost always the wall fasteners, not the cabinet, so hit real studs and use structural screws or lag screws.
Can I use MDF instead of plywood to save money?
Not in a garage. MDF swells and crumbles once it absorbs humidity, and a garage is rarely climate controlled. Spend a little more on 3/4-inch birch or sanded pine plywood; it holds its shape and its fasteners for the life of the cabinet.
Why hang the cabinets 18 inches off the floor?
That clearance lets a car door swing open beneath the cabinet without hitting the face, and it keeps the cabinet bottoms above the floor zone where water and grit collect. In an active parking bay, floor-standing cabinets get bumped and block the door.
Do I really need two French cleats per cabinet?
Yes for a tall, loaded cabinet. A single cleat lets the cabinet rotate at the top under weight and slowly work its fasteners loose. A second cleat 16 inches down spreads the load to a second stud row and stops the rotation.
Should I choose overlay or inset doors?
Overlay for this build. Overlay doors cover the face frame and forgive a slightly out-of-square case. Inset doors look cleaner but require a perfectly square opening and a planer to fit, which is more work than a garage cabinet needs.
How do I keep the adjustable shelves level side to side?
Drill the pin holes on 32mm spacing using a pegboard strip as a jig, and register the jig off the same edge for every row. When all four hole rows are indexed identically, the shelves land level and you get repeatable, matching heights across both cabinets.
Related Articles

“DIY woodworking enthusiast who started with zero experience and a YouTube tutorial.
I build simple, practical projects for my home and share free plans
so other beginners can skip the guesswork.If I can build it, you can too.”