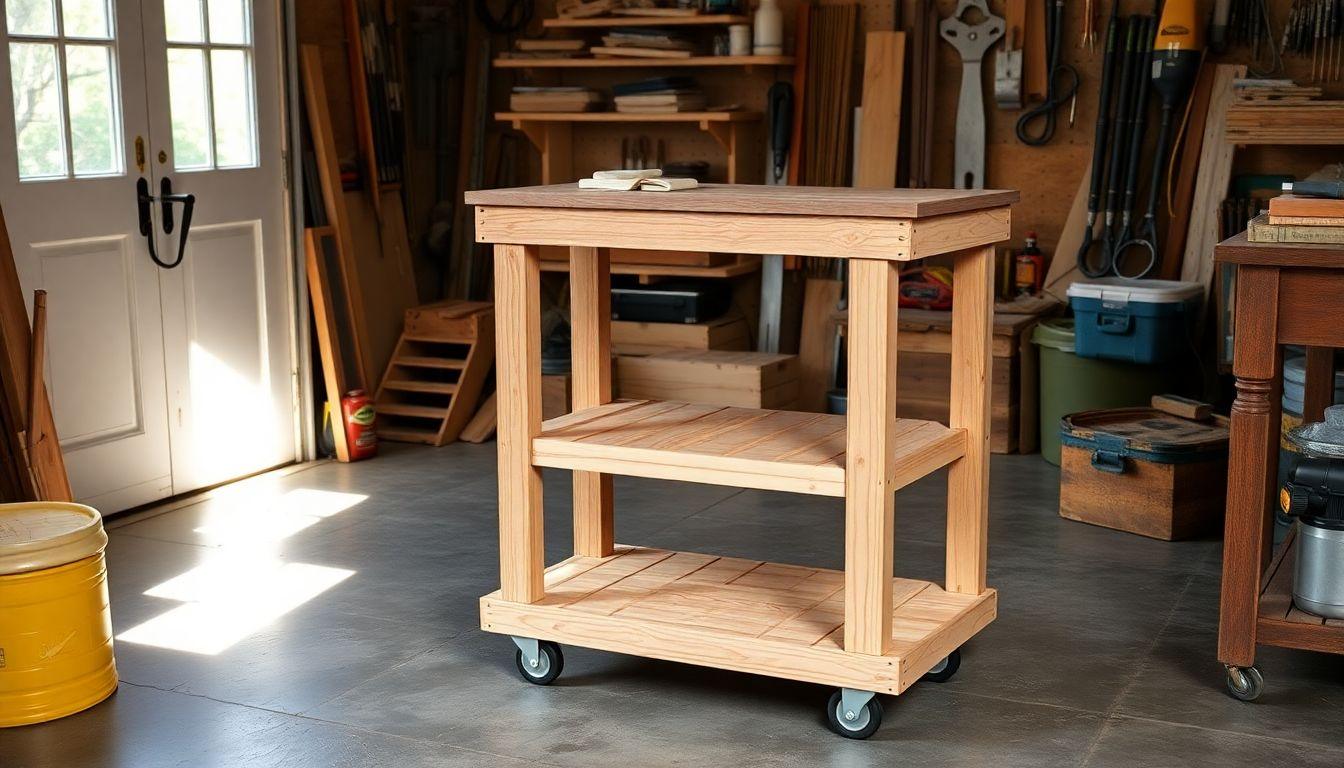
A rolling storage cart is one of the highest-payoff weekend builds you can make. It rolls to where the work is, holds a surprising amount of gear, and doubles as an extra work surface. This guide gives you complete rolling storage cart plans for a 24″W x 36″H x 18″D cart with three fixed shelves, a laminated butcher-block-style top, and four locking casters. It works just as well as a kitchen rolling island, a workshop tool cart, or a utility room catch-all.
You will build it from one and a half sheets of 3/4″ plywood plus a few feet of pine, for roughly $90 to $140 in materials depending on caster quality. Expect a full afternoon of cutting and assembly, plus finish time. Skill level is intermediate: if you can cut plywood square and drive pocket screws, you can build this.
This build is part of our storage furniture plans series, where we compare six storage projects by skill, cost, and build time.
Plan the Cart: Size, Casters, and Shelf Spacing
Looking for more storage ideas?
This guide is part of our complete storage furniture plans series — compare all options by skill level, cost, and build time.
Want 16,000+ woodworking plans?
Ted’s Woodworking has step-by-step plans for every skill level. Browse Ted’s plans.
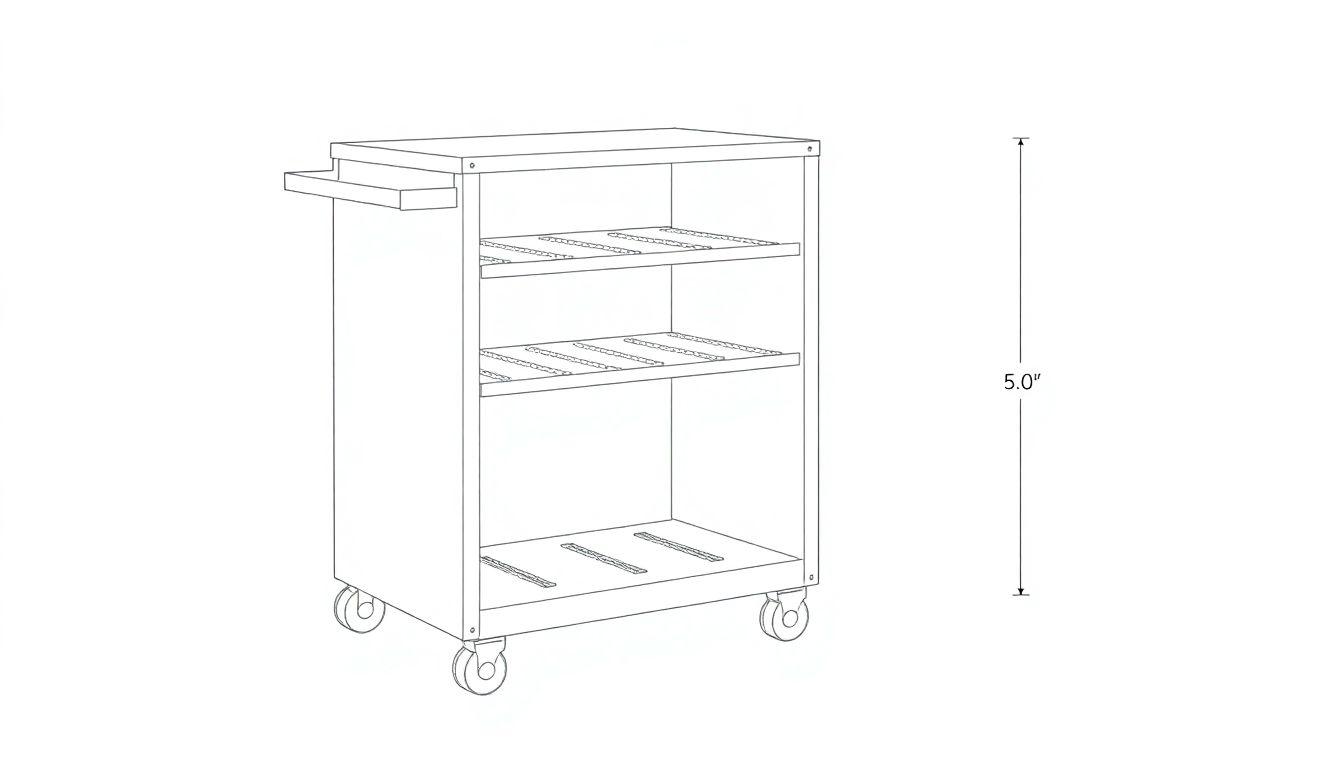
Before you cut anything, settle three decisions. Get these right and the rest is straightforward joinery.
Casters are where most DIY carts fail. The math looks fine on paper: four 3″ casters rated at 100 lbs each gives 400 lbs of capacity. But a 3/4″ plywood cart this size weighs 40 to 50 lbs empty, and loaded with tools it easily hits 150 lbs before you have added anything heavy. The problem is not the total rating, it is the cheap hardware-store casters rated at 75 lbs each: their plastic wheels crack and their swivel bearings seize under real shop loads. Buy casters rated 150 lbs or more per wheel with a steel or polyurethane tread. The extra $15 is the difference between a cart that rolls for years and one you rebuild next spring.
Put the locking casters on the side you face. You only need two locking casters, not four. Mount them on the side you stand at when you work. Lock the far side instead and you will walk around the cart every single time you want it to hold still. It sounds trivial until you have done it fifty times.
Pick your containers, then set the shelf spacing. Fixed shelves are only useful if your stuff fits between them. Measure the totes or boxes you actually own before you cut. As a reference: 12″ of clearance fits a Sterilite 6-quart tote, and 15″ fits a letter-size file box. The plans below use even spacing, but adjust the shelf positions to your containers before you drill.
One more choice: open shelf versus drawer. Open shelves are faster to build and let you grab things one-handed, which is why this plan uses them. Drawers are better for small items that roll off a shelf. If you want both, the best workshop compromise is one pull-out shelf on full-extension slides at mid-height, which you can add later without changing the frame.
Materials and Cut List (24″W x 36″H x 18″D)
Sheet goods and lumber
- 1-1/2 sheets of 3/4″ plywood (birch or maple ply for a cleaner finish)
- 1 quarter-sheet of 1/4″ plywood for the back
- 6 linear feet of 3/4″ x 1-1/2″ pine for the face frame
Cut list
- 2x side panels: 3/4″ plywood, 17-1/4″ x 35-1/4″ (toe notch cut at base)
- 3x fixed shelves: 3/4″ plywood, 22-1/2″ x 17-1/4″
- 1x top lamination layer 1: 3/4″ plywood, 24″ x 18″
- 1x top lamination layer 2: 3/4″ plywood, 24″ x 18″ (glued to layer 1)
- 1x back panel: 1/4″ plywood, 22-1/2″ x 35-1/4″
- 2x front face frame stiles: 3/4″ x 1-1/2″ pine, 35-1/4″ long
- 2x front face frame rails: 3/4″ x 1-1/2″ pine, 21″ long
Hardware and supplies
- 4x locking swivel casters: 3″ wheel, 150+ lb rating each
- 16x lag or hex bolts with washers to mount casters (or heavy pan-head screws)
- Pocket screws (1-1/4″) and 2″ wood screws
- Wood glue
- 3/4″ brad nails for the back panel
- Wood filler, sandpaper (120 and 220 grit), finish of choice
Tools Required
- Circular saw with a guide, or a table saw
- Jigsaw (for the toe notch)
- Pocket hole jig
- Drill/driver
- Clamps (at least four, more for the top lamination)
- Tape measure, square, pencil
- Random orbital sander
- Safety glasses and hearing protection
Step 1: Cut and Assemble the Side Panels and Shelves
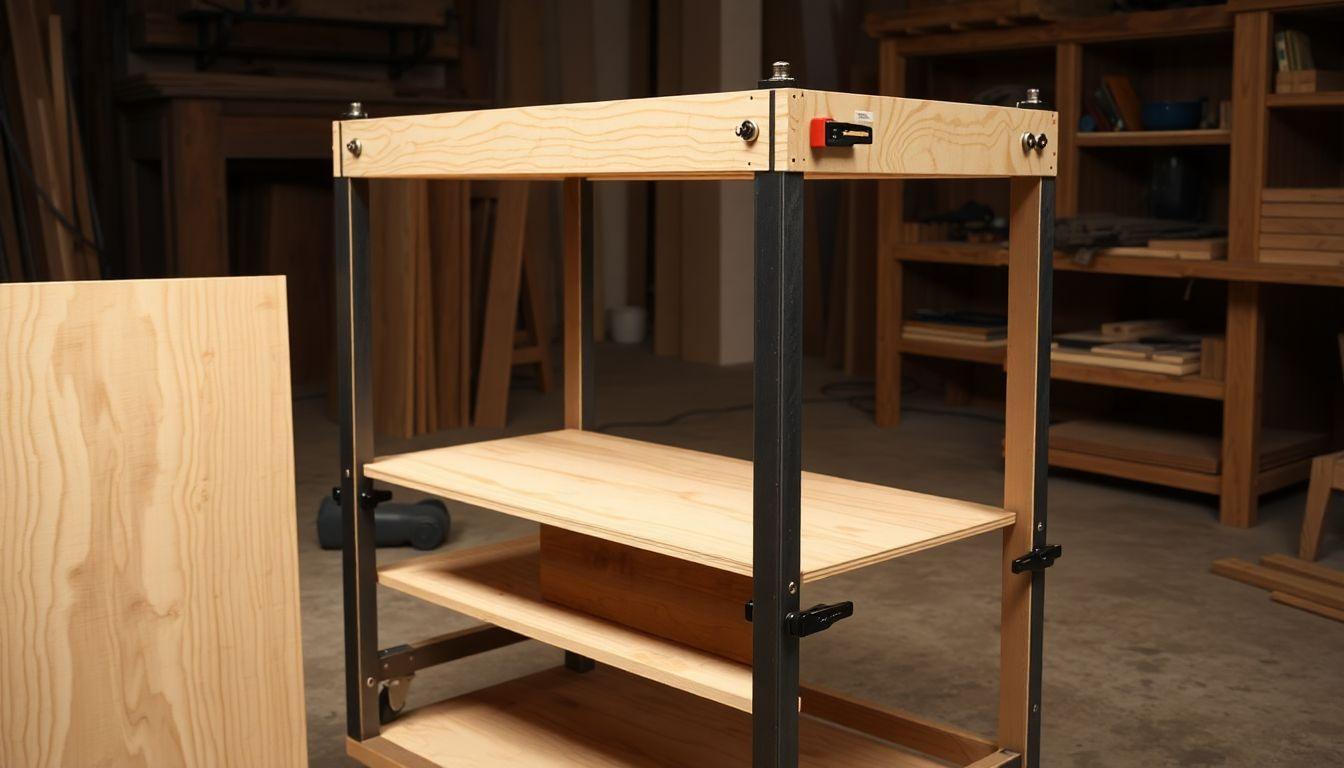
Cut both side panels and all three shelves to the dimensions above. Take your time squaring the cuts: the cart is only as square as your panels.
Lay out the shelf positions on the inside face of each side panel. The three shelves are fixed, so mark the top edge of each shelf and confirm the spacing fits your containers before you commit. Drill pocket holes along both short edges of each shelf, two or three per edge.
Stand one side panel on edge, position the bottom shelf flush with the panel bottom (or set slightly up if you want a recess), and drive the pocket screws into the side panel. Add the middle and top shelves the same way. Then lower the second side panel over the shelf ends and screw it down. Add glue at each joint for rigidity. Check the assembly for square by measuring both diagonals: they should match.
Now attach the pine face frame to the front. Glue and clamp the two stiles and two rails into a frame, then screw or pocket-screw it to the front edges of the side panels and the top and bottom shelves. The face frame stiffens the whole cart and hides the plywood edges.
Step 2: Add the Toe Notch and Base

The toe notch is the detail almost every DIY cart skips, and the one you miss the moment you try to stand close to a finished cart. Cut a 3-1/2″ wide by 1-1/2″ tall notch at the front bottom corner of each side panel, exactly like a kitchen cabinet toekick. It lets you step in close without stubbing your toes against the base.
If you did not cut the notch when you cut the panels, mark it now, drill a starter hole, and finish it with a jigsaw. Sand the cut edges smooth.
With the notches cut, install the 1/4″ back panel. Set it into the rear of the frame, check the cart for square one more time, then glue and brad-nail it in place. The back panel is what keeps the cart from racking side to side, so do not skip it.
Step 3: Build and Attach the Top
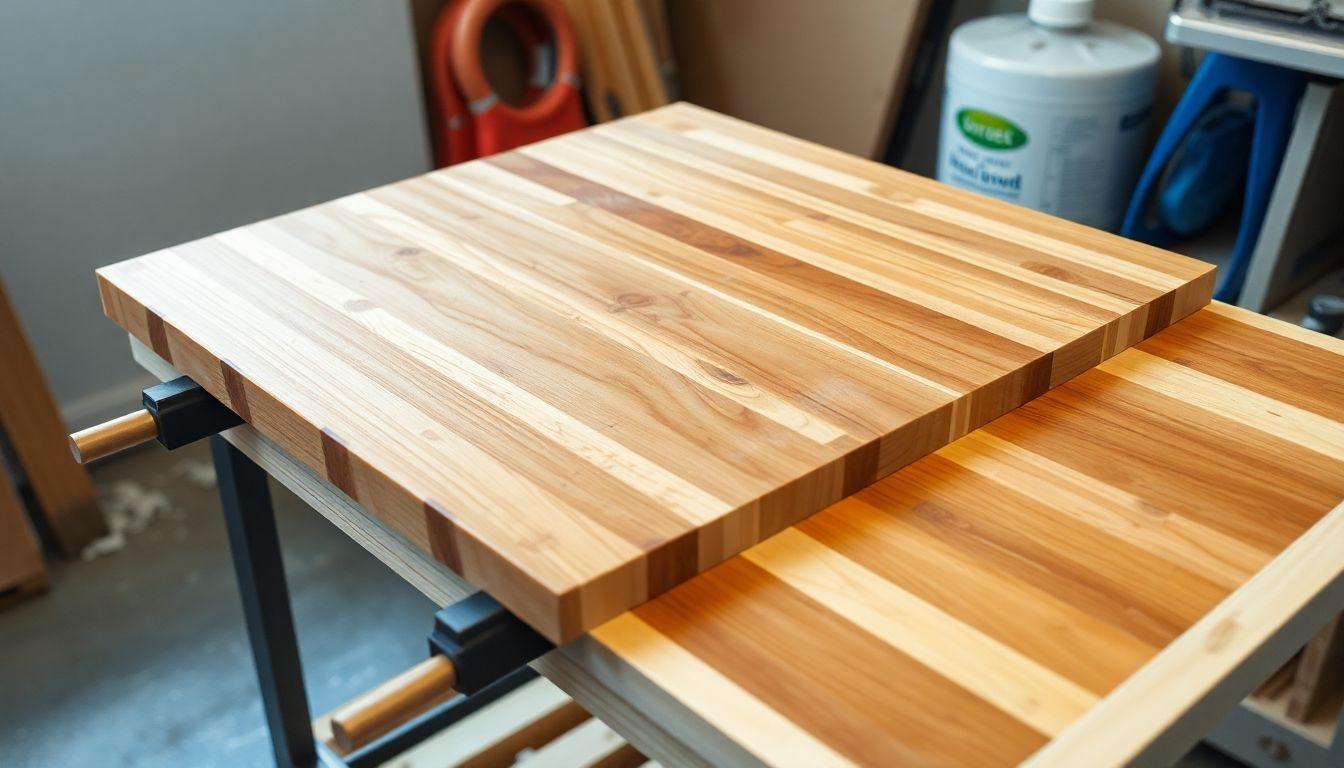
A single 3/4″ top flexes under chopping or a dropped tool, and that flex telegraphs every impact and saw mark. Laminate two layers instead. Spread glue evenly across the full face of layer 1, set layer 2 on top with edges aligned, and clamp across the whole surface. Use as many clamps as you have and add weight in the middle. Let it cure fully.
The result is a 1-1/2″ thick, rigid top that reads like a butcher block. If you would rather, glue down a pre-made 1-1/2″ butcher block panel instead of laminating plywood; the attachment is identical.
Once cured, center the top on the cart with a slight overhang front and back. Attach it from underneath by driving screws up through the top shelf into the underside of the top. Do not glue the top down: screwing it lets you replace or refinish it later.
Step 4: Install the Casters
Flip the cart upside down on a padded surface. Position one caster at each corner of the base, set in far enough that the wheels sit under the frame, not sticking out where they catch your ankles.
Mount the two locking casters on the side you will face when working, per the earlier planning. Mark and drill pilot holes, then bolt each caster down with lag or hex bolts and washers. Bolts hold far better than screws under rolling loads; if you use screws, use heavy pan-head screws and check them periodically.
Set the cart upright and test the roll. All four wheels should touch the floor and the cart should not rock. Engage the locks and confirm it holds still.
Step 5: Sand and Finish
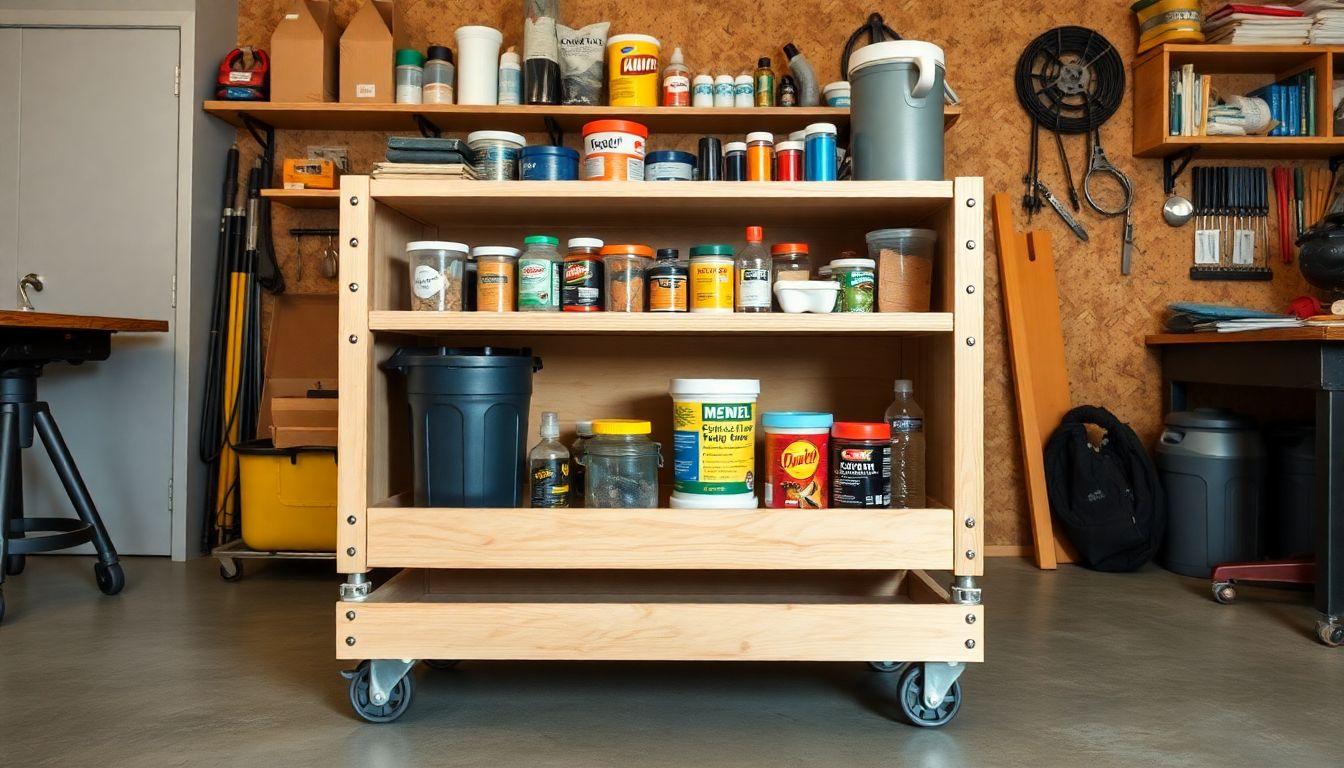
Fill any screw holes and gaps with wood filler and let it dry. Sand the whole cart with 120 grit, then 220 grit, easing all sharp edges so nothing snags. Pay extra attention to the top, since it is the surface you will touch most.
For finish, match the use. A workshop cart does well with two coats of wipe-on polyurethane, which shrugs off shop grime and wipes clean. A kitchen rolling island top that will contact food should get a food-safe finish like cutting-board oil or a hardwax oil, reapplied as needed. Let the finish cure fully before loading the cart.
Load your containers, roll it into place, and lock the near-side casters.
Looking for more storage ideas?
This guide is part of our complete storage furniture plans series — 6 types compared by skill, cost, and build time.
Want 16,000+ woodworking plans?
Ted’s Woodworking has step-by-step plans for every skill level. Browse Ted’s plans.
FAQ
How much weight will this rolling storage cart hold?
The plywood structure itself handles well over 300 lbs. Your real limit is the casters. With four casters rated 150 lbs each you have 600 lbs of rolling capacity, which is far more than you will load. This is exactly why you should not use cheap 75-lb hardware-store casters, whose plastic wheels crack long before the cart is full.
Can I use this as a kitchen rolling island?
Yes. Build it exactly as described, then finish the laminated top with a food-safe cutting-board oil or hardwax oil instead of polyurethane. The 36″ height works as a standing prep surface, and locking casters keep it steady while you chop.
Why laminate the top instead of using a single sheet?
A single 3/4″ plywood top flexes and telegraphs impacts and saw marks. Two glued layers give you a rigid 1-1/2″ surface that stays flat under chopping or a dropped tool. You can substitute a real 1-1/2″ butcher block panel with no change to the build.
Do I really need the toe notch?
It is optional, but you will want it. The 3-1/2″ x 1-1/2″ toekick notch lets you stand right up against the cart without stubbing your toes. It is the single most-missed detail in DIY cart plans and the one people always add on their next build.
Should all four casters lock?
No need. Two locking casters are enough. Put them on the side you stand at, so you can lock the cart without walking around it. Locking casters on the far side just create extra steps every time.
Can I add a drawer instead of open shelves?
You can. Open shelves are faster and let you grab things one-handed, which is why this plan uses them. If you want drawer-style containment, the cleanest upgrade is a single pull-out shelf on full-extension slides at mid-height. It gives you enclosed storage without redesigning the frame.
Related Articles

“DIY woodworking enthusiast who started with zero experience and a YouTube tutorial.
I build simple, practical projects for my home and share free plans
so other beginners can skip the guesswork.If I can build it, you can too.”