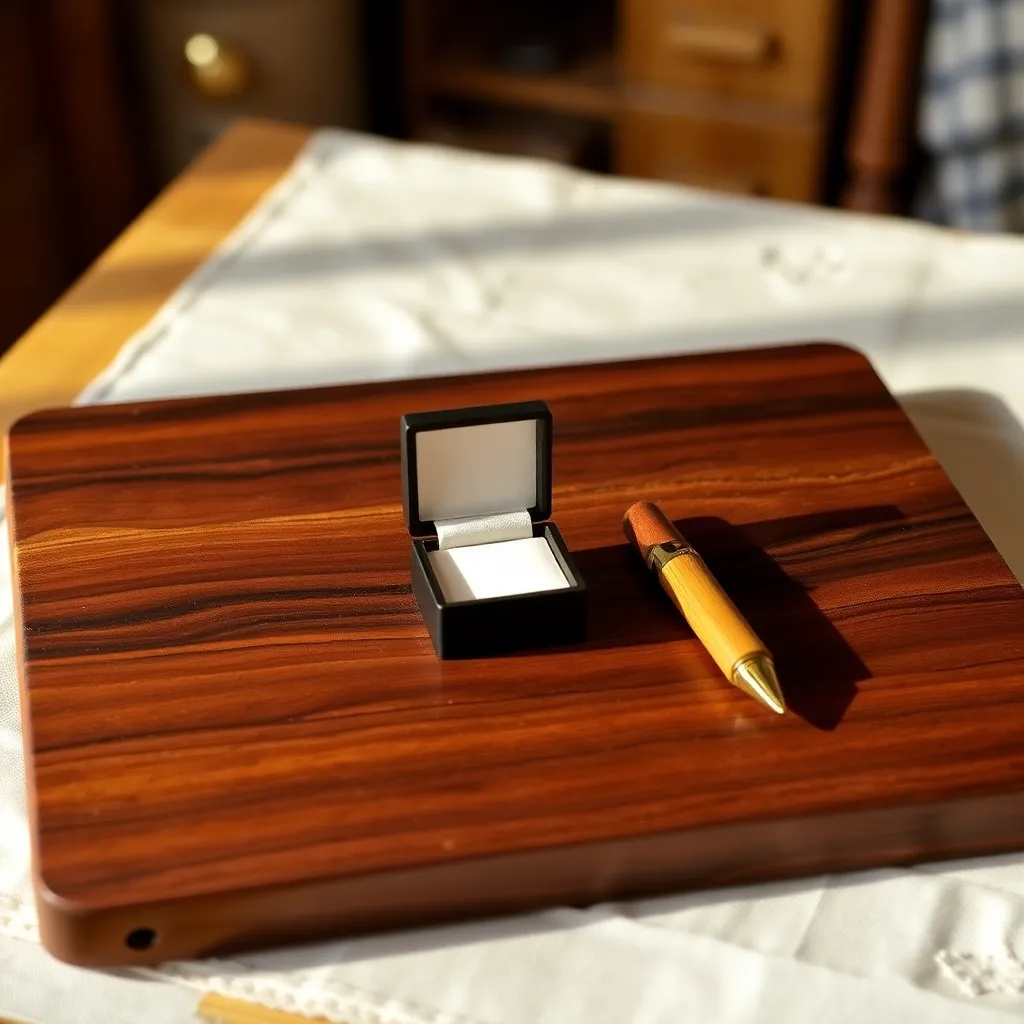
A handmade wood gift is the rare present that improves with time — the wood darkens, the finish patinas, and the piece becomes more beautiful the longer it’s used. These fifteen builds cover five gift categories: kitchen, home décor, personal, workshop, and outdoor. Each is sized for an afternoon in the shop and a handful of materials.
Ted’s Woodworking has complete plans for all fifteen builds here, plus hundreds more gift-sized projects. Browse Ted’s gift plans →
Step 1: Build a Walnut Cutting Board (Kitchen)
Goal: A face-grain walnut board that looks better than anything in a kitchen store at the same price.
Glue up three 1×4 walnut boards at 16 inches long (edge-to-edge glue-up, 11-inch total width). After curing, sand both faces flat to 220-grit. Route a ¼-inch roundover on all edges. Add rubber feet on the bottom (four adhesive silicone bumpers at each corner). Apply four coats of food-safe mineral oil, letting each coat soak overnight before wiping dry. Optionally engrave initials or a short phrase on the back face using a laser or pyrography pen — personalization on the back doesn’t interfere with the cutting surface but personalizes the gift.
Milestone: A board that lies flat, has no gaps in the glue lines, and beads water after curing.
Step 2: Build a Hardwood Serving Board (Kitchen)
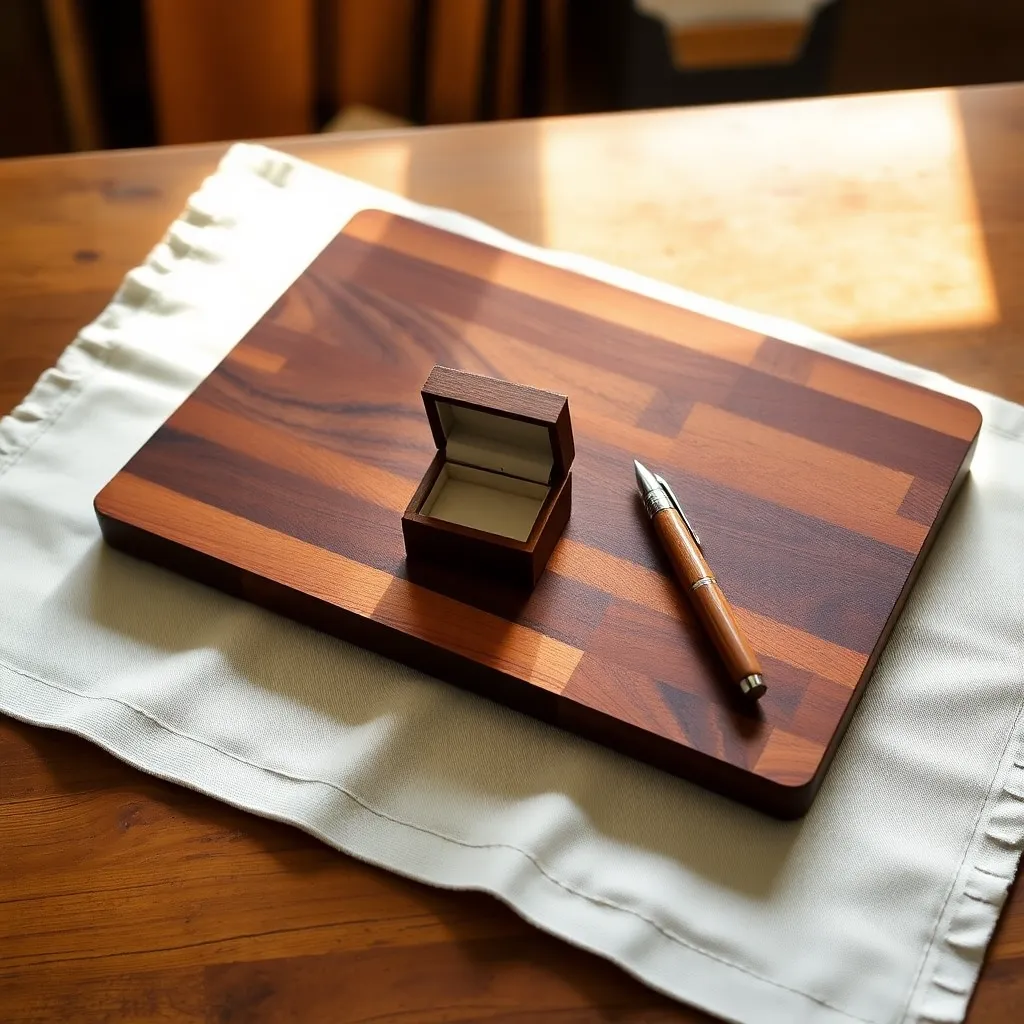
Goal: A long charcuterie board with a handle — the ideal housewarming or hostess gift.
Glue up two 1×6 cherry or maple boards at 18 inches long. After curing, sand both faces flat. Shape a handle at one short end with a jigsaw — draw a handle profile 3 inches long and 1½ inches wide, round the tip in a half-circle. Route a juice groove (⅛-inch × ⅛-inch channel) ½ inch from the perimeter on the serving face. Sand all edges to 220-grit. Apply four coats of food-safe mineral oil.
Milestone: A board with a shaped handle, a functional juice groove, and two flat glue-up panels.
Step 3: Build a Spice Box (Kitchen)
Goal: A divided wooden box that holds 6–8 spice jars — a kitchen organizer that looks handmade.
Build from ½-inch maple: a box 6 × 12 × 3 inches with a removable top tray (3 inches deep) that lifts off to reveal a lower compartment. Finger-joint the corners. Add a divider down the center and two cross dividers in the lower section. Sand to 220-grit. Apply two coats of food-safe polyurethane — kitchen items need a wipeable surface. Add a small walnut pull knob on the top tray lid.
Milestone: A box where the top tray lifts off cleanly and the joints are square on all four corners.
Step 4: Build a Picture Frame (Home Décor)
Goal: A frame for a specific photo or print that matches the décor of the recipient’s home.
Miter-cut 1×2 hardwood molding at 45° for the target photo size. Apply wood glue to all eight miter faces and clamp with corner clamps for 30 minutes. Drive two ½-inch pin nails at each corner from the back. Route a ¼-inch rabbet on the inside back edge (router table or hand-held router) to hold glass and backing. Sand to 220-grit. Apply Danish oil — two coats with a rag, buffed after each. Insert glass (cut to size at a hardware or glass shop), the photo, and a ¼-inch plywood backing.
Milestone: A frame with tight miters and a fitted backing that sits flat against the wall.
Step 5: Build a Floating Shelf (Home Décor)
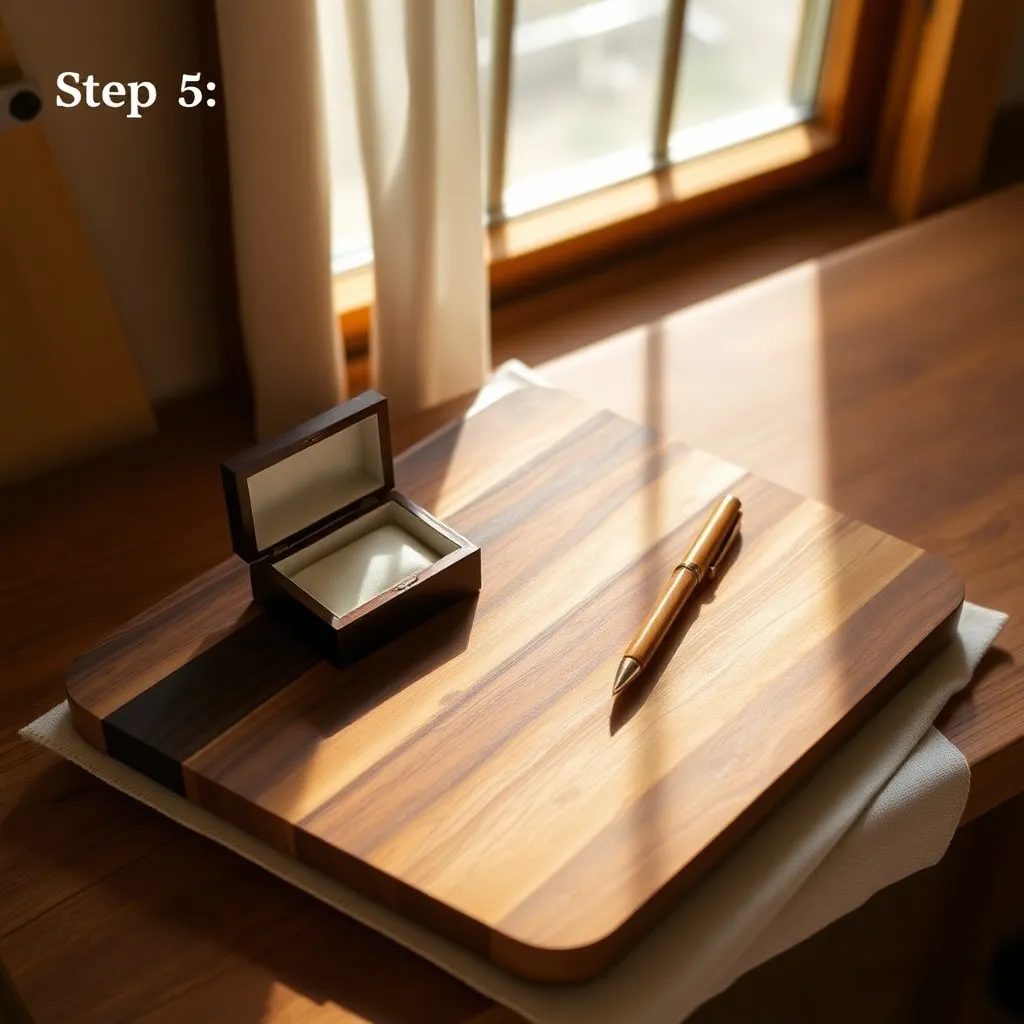
Goal: A shelf for a specific location in their home — measured to fit the space.
Ask (or observe) where they need a shelf. Measure the wall space. Cut a 1×6 or 1×8 to fit. Route a decorative edge profile — cove, ogee, or roundover. Sand to 220-grit. Apply two coats of stain in a color that matches their existing furniture, plus two coats of wipe-on polyurethane. Buy and pre-install floating shelf brackets at the correct stud spacing (or bring the brackets as part of the gift). A shelf you’ve measured for a specific wall is always more appreciated than a generic shelf.
Milestone: A shelf with a finish that matches the recipient’s existing furniture and pre-matched hardware.
Step 6: Build a Decorative Tray (Home Décor)
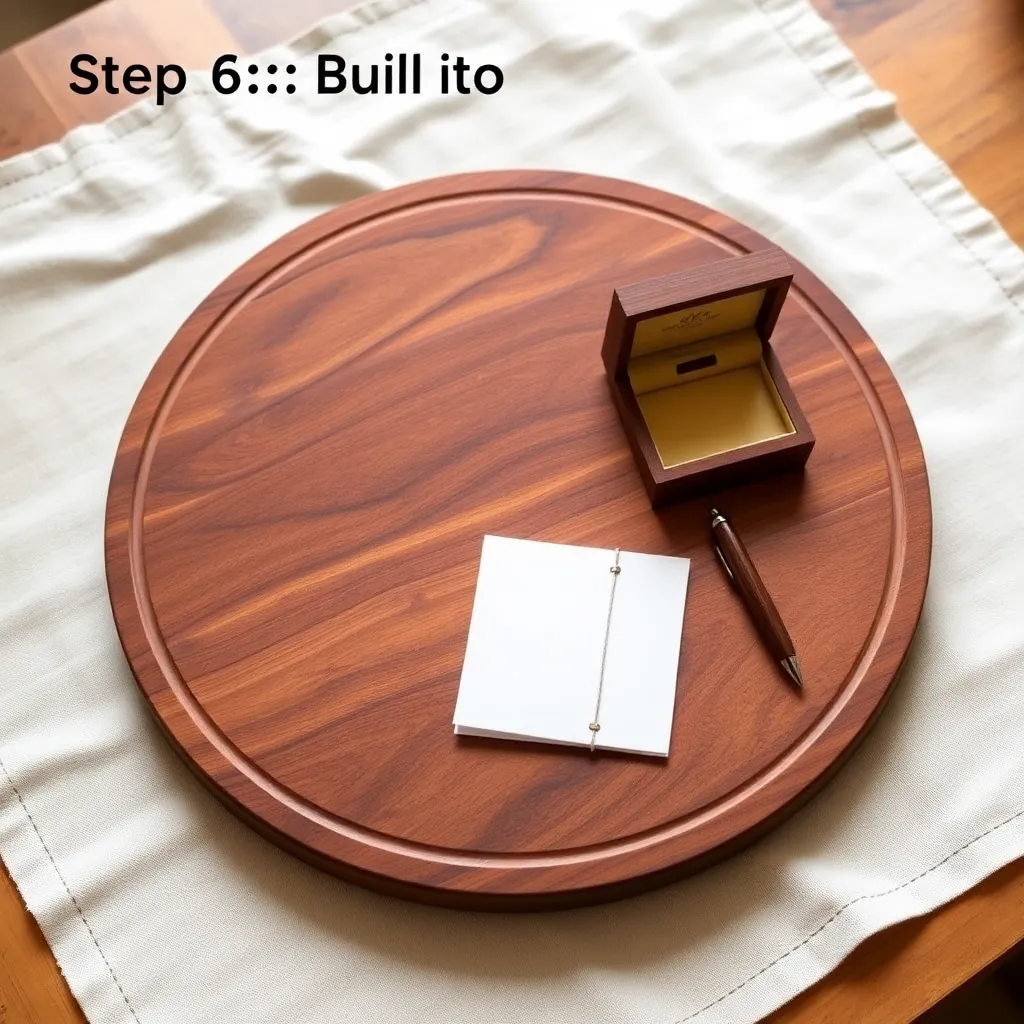
Goal: A tray for an ottoman, coffee table, or bathroom counter — the most versatile home décor gift.
Glue up two 1×6 boards at 16 inches long. After curing, sand flat. Attach two handles from 1×3 stock (3 × 4 inches each with an oval cutout: drill a 1-inch starter hole, jigsaw the oval shape). Apply the handles to each short end with pocket screws from below. Sand all edges to 220-grit. Apply three coats of wipe-on polyurethane. Optional: paint the interior a contrasting color (flat black or navy) before the final clear coat, leaving the handles natural wood.
Milestone: A tray with two handles that holds a full coffee setup without flexing.
Step 7: Build a Jewelry Box (Personal)
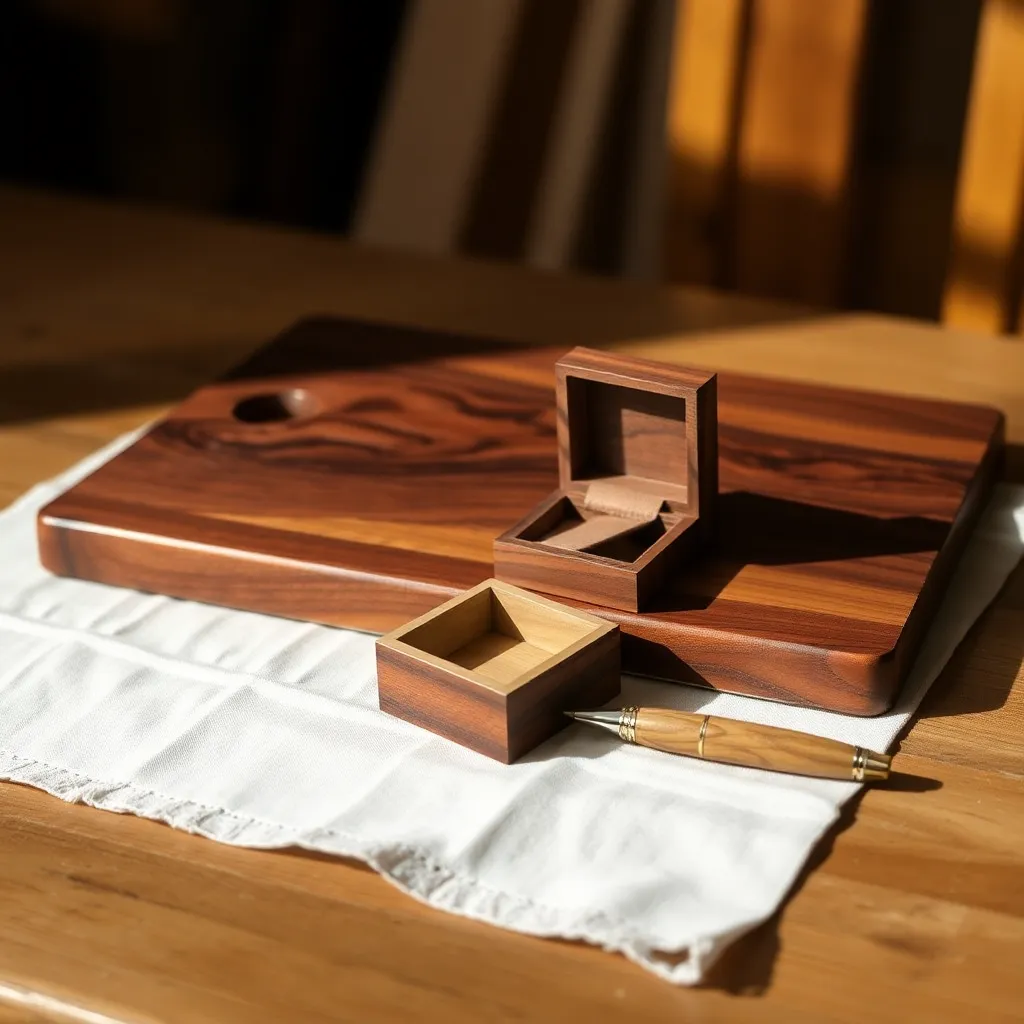
Goal: A hinged box with a fitted interior — the most personal gift in this guide.
Assemble a box from ½-inch maple: 4 × 8 × 4 inches. Finger-joint or pocket-screw the corners. After glue cures, run the assembled box through the table saw at 1¼ inches from the top to separate the lid — ensures a perfect fit. Install two small brass butt hinges on the back. Add a magnetic clasp on the front. Line the interior with self-adhesive velvet foam (available in craft stores in multiple colors). Sand the exterior to 220-grit. Apply three coats of shellac.
Milestone: A box where the lid closes flush with no gap around the perimeter and opens without binding.
Step 8: Build a Valet Tray (Personal)
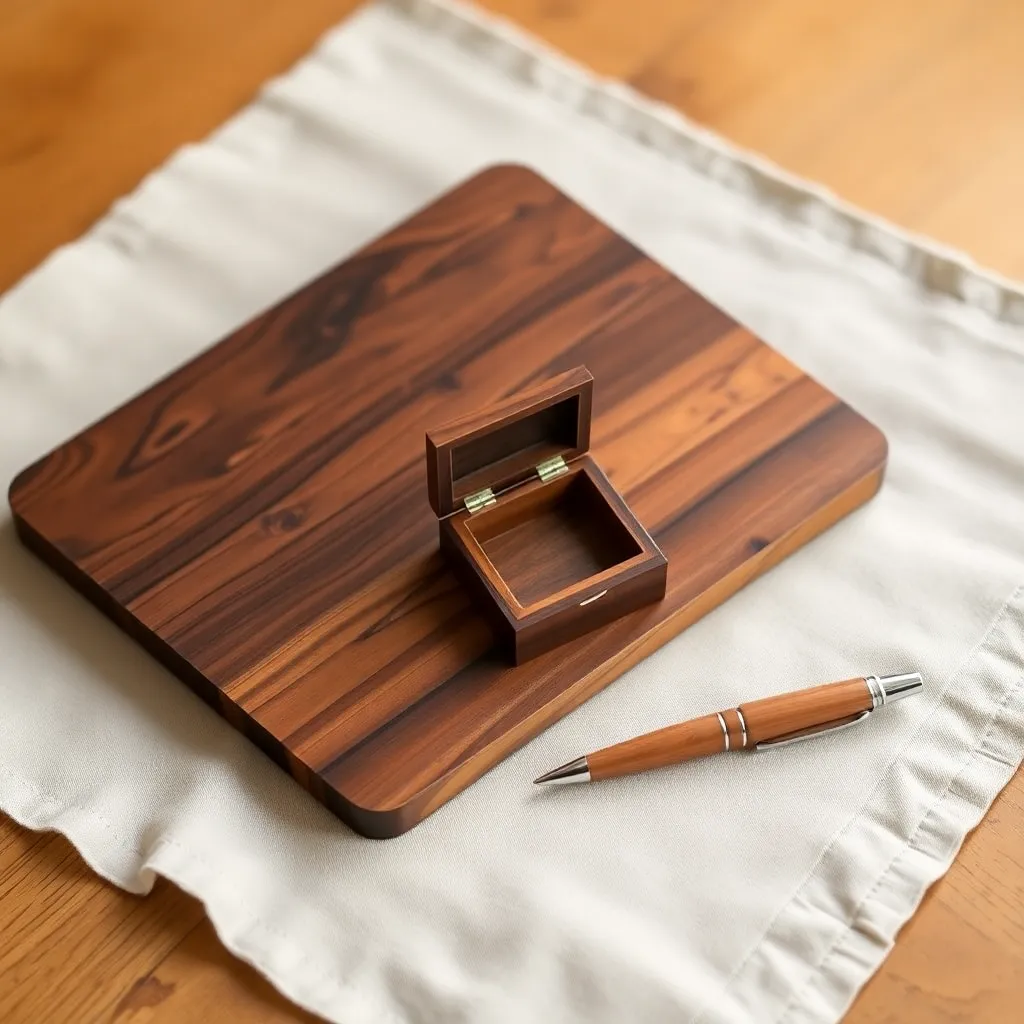
Goal: A bedside or dresser tray for keys, wallet, phone, and watch — a classic men’s gift.
Cut a 6 × 10-inch base from ¾-inch walnut or cherry. Route a ½-inch cove profile around the inside perimeter of the top face — this creates the tray’s raised rim. The cove depth leaves a natural rim about ¾ inch tall around the perimeter. Sand to 220-grit with the router grooves carefully hand-sanded. Apply three coats of wipe-on polyurethane. Add cork or leather on the bottom (self-adhesive leather sheet, trimmed to fit) for scratch protection.
Milestone: A tray with a clean coved rim that’s smooth to the touch in the groove.
Step 9: Build a Handmade Pen (Personal)
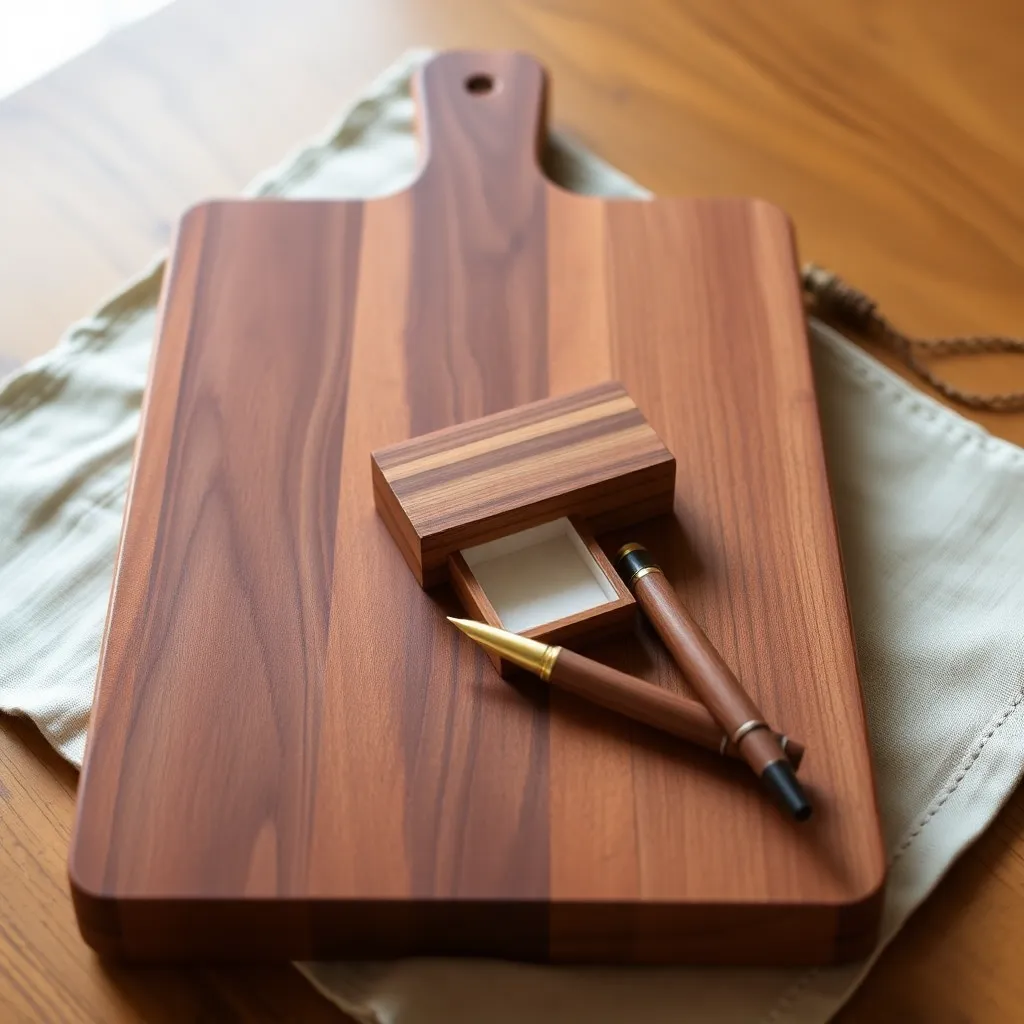
Goal: A turned pen from an exotic wood blank — the most impressive small gift for the effort involved.
Buy a pen turning kit ($5–$8) for a click-style ballpoint — it includes the brass tube and hardware. Select a ¾ × ¾ × 5-inch blank from an exotic species (purple heart, padauk, zebrawood). Drill a 7mm hole through the blank. Glue the brass tube with thin CA glue. Mount on a pen mandrel and turn to round. Sand through 80/120/220/400/600-grit while spinning. Apply three thin coats of thick CA glue as finish. Press the hardware together with a pen press.
Milestone: A ballpoint pen with a wood barrel that writes smoothly on the first press.
Step 10: Build a Shop Mallet (Workshop)
Goal: A handmade mallet for a woodworker friend — a tool they’ll use daily and think of you.
Turn the head from a 3½ × 3½ × 5-inch hard maple block on the lathe. Shape the handle from a 1¼ × 10-inch ash or hickory blank — these species absorb shock better than maple. Bore a 1¼-inch hole through the head, slightly tapered. Drive the handle through and wedge. No finish on the head (oil softens the striking face); two coats of linseed oil on the handle. Optionally burn the recipient’s name into the handle with a branding iron.
Milestone: A mallet that drives chisels cleanly with one firm stroke, no bounce.
Step 11: Build a Tool Roll Holder (Workshop)
Goal: A wall-mounted holder for a leather or canvas tool roll — keeps it visible and accessible.
Cut two 1×4 oak pieces at 6 inches each. Rout a 1-inch cove across the face of each piece, centered (this cradles the rolled tool roll). Sand to 180-grit. Apply two coats of Danish oil. Mount the two pieces on the wall at 8-inch spacing (standard tool roll length), level, into studs. A simple addition to any tool wall that prevents the tool roll from being buried in a drawer.
Milestone: Two matching holders mounted level that hold a rolled canvas tool roll without it sliding.
Step 12: Build a Bench Hook (Workshop)
Goal: The most fundamental shop appliance — holds work against the bench while sawing.
Cut from ¾-inch hardwood or dense plywood: a base plate 6 × 12 inches, a stop strip 1½ × 12 inches (glued and screwed to the top face of the base plate along the back edge), and a hook strip 1½ × 6 inches (glued and screwed to the bottom face along the front edge). The hook catches on the bench front, the stop holds the workpiece. Wax the bottom (no finish) for smooth sliding. A bench hook that fits a hand saw makes sawing much more controlled.
Milestone: A hook that sits stable on the bench without sliding when hand-sawing against the stop.
Step 13: Build a Birdhouse (Outdoor)
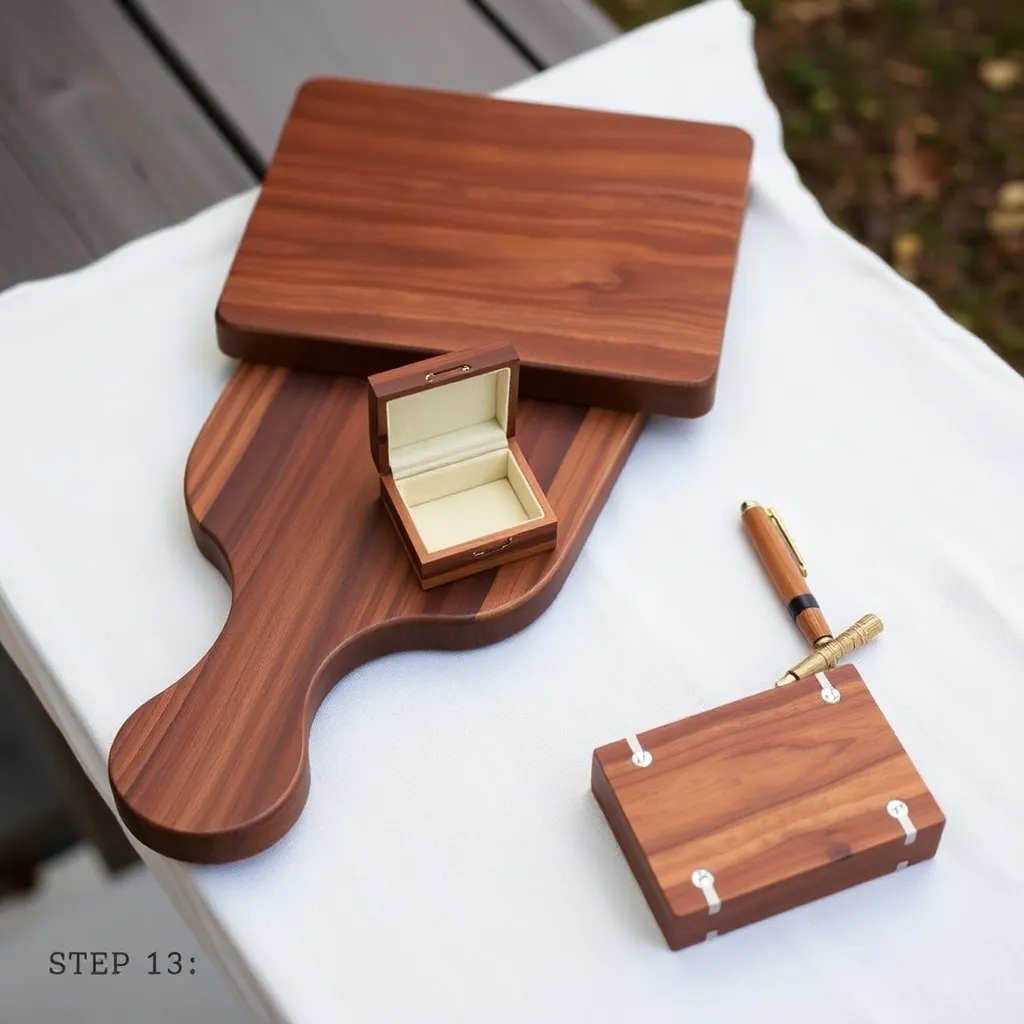
Goal: A species-specific birdhouse built for the birds in the recipient’s yard.
Research which birds live in their area and build to those specifications. For most yards: a bluebird box (1½-inch entrance hole, 5×5 interior, 8 inches deep, mounted on a post) or a chickadee house (1⅛-inch entrance, 4×4 interior). Use cedar (rot-resistant, no preservatives needed). Assemble with 1¼-inch exterior screws. Do not paint the interior. Leave one side hinged for annual cleaning. Mount at the correct height for the target species (bluebirds: 5 feet on a post in an open field; chickadees: 5–10 feet on a tree in a wooded edge).
Milestone: A birdhouse with the correct entrance hole diameter and a cleanable floor.
Step 14: Build a Cedar Planter (Outdoor)
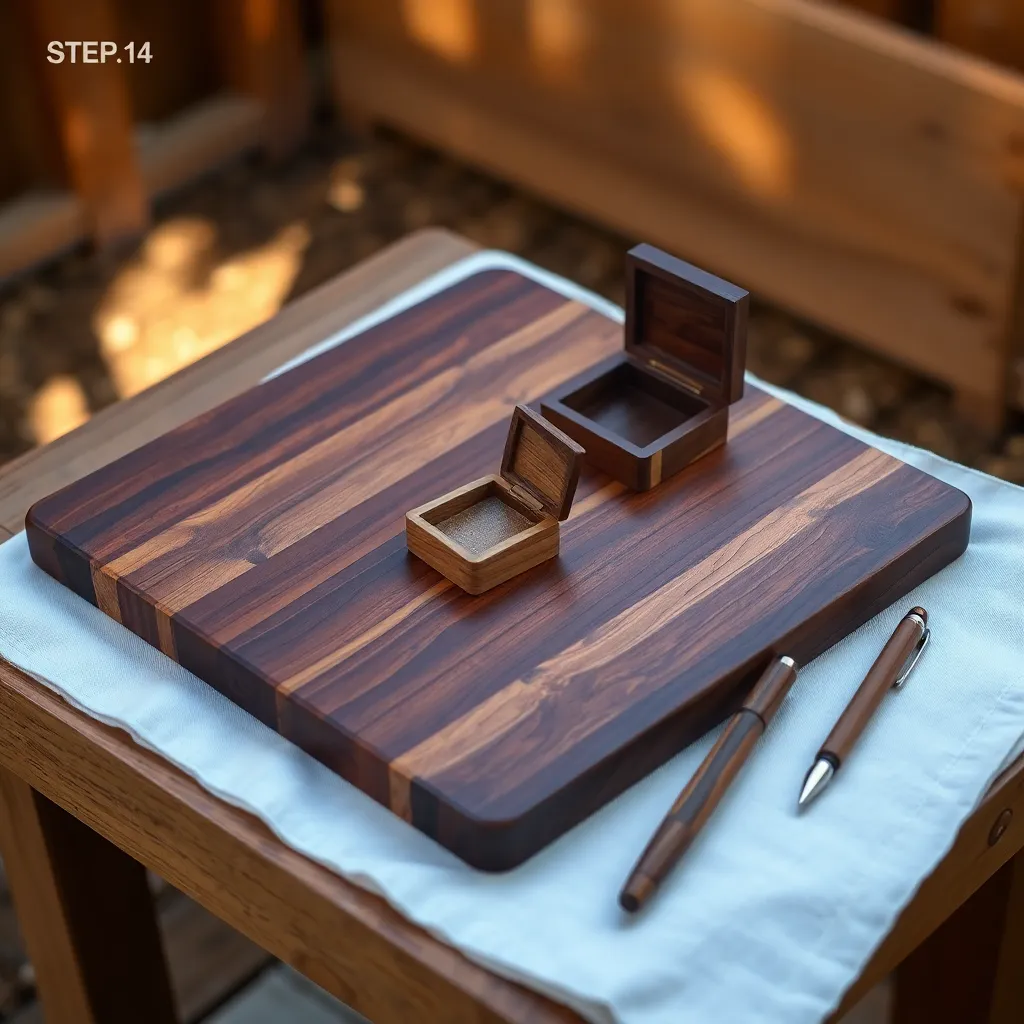
Goal: A planter sized for a specific plant in their garden — not a generic box.
Ask what plant they want to grow. Design the planter to the plant’s root depth and spread requirements. Most herbs and flowers: 8 inches deep. Tomatoes: 12–14 inches minimum. Build from ¾-inch cedar with 1×4 sides and a slatted cedar bottom (½-inch gaps between slats for drainage). Assemble with exterior screws, no glue. Leave cedar natural or apply exterior teak oil.
Milestone: A planter with correct dimensions for the target plant and functional drainage gaps.
Step 15: Build a Garden Marker Set (Outdoor)
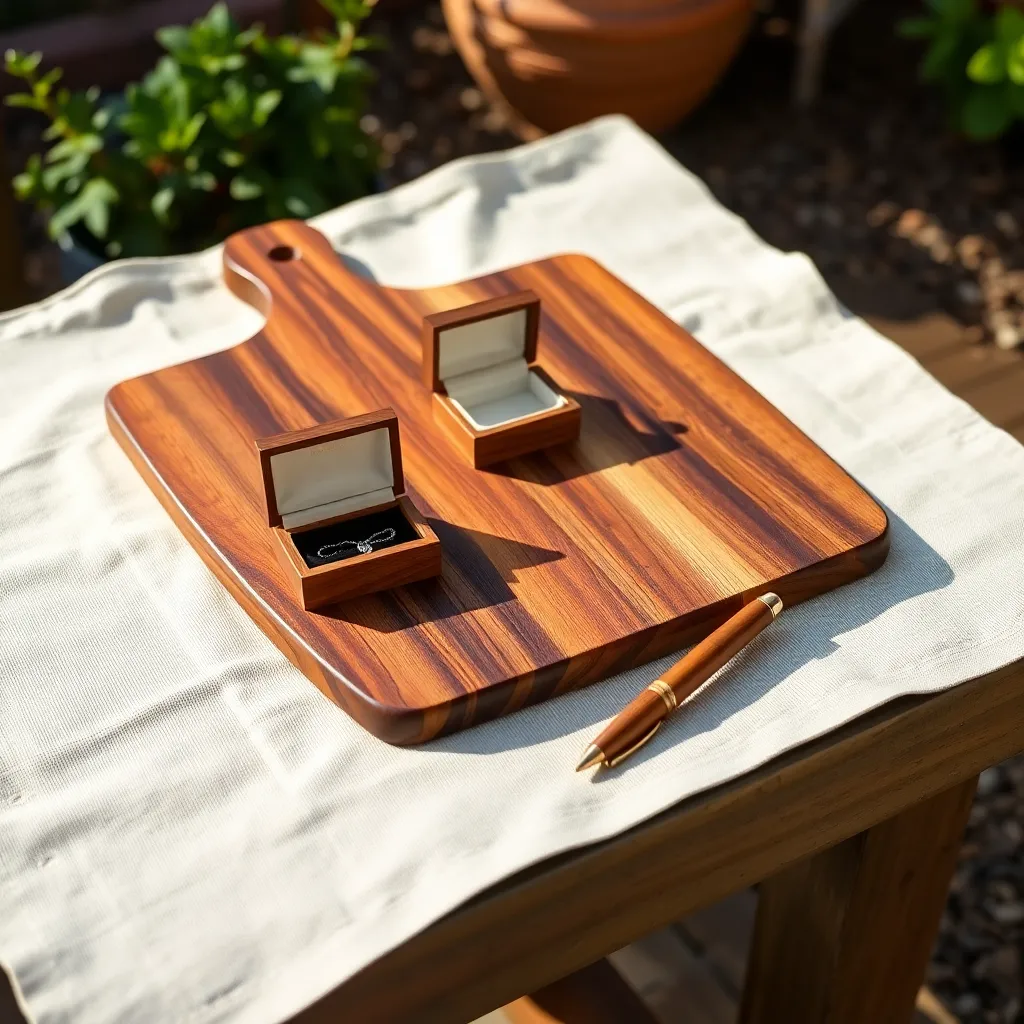
Goal: A set of 8–12 personalized garden markers — a small gift that transforms the look of a vegetable bed.
Cut ¼-inch hardwood into 1½ × 8-inch rectangles. Cut one end to a point (45° cuts on two faces on the table saw). Burn or engrave plant names with a pyrography pen. Apply exterior polyurethane — two coats on all faces including the point. The finish is critical: unfinished wood markers rot within one season. Deliver as a set with a bow or package in a small cedar box built from scraps.
Milestone: A set of 10 markers with readable text and a fully coated exterior finish.
Wood Gift Ideas FAQ
What’s the most impressive wood gift for the least experience?
A walnut cutting board (Project 1) — three boards glued edge-to-edge, sanded flat, and oiled. The result looks expensive because walnut is expensive, but the build requires only a saw, clamps, and sandpaper. The key is patience: let the glue cure overnight, sand through all grits, and apply enough coats of oil. Anyone receiving a walnut cutting board assumes it required more skill than it did.
How do I package a handmade wood gift?
Wrap flat items (boards, trays, frames) in kraft paper with a piece of greenery or ribbon — no bow needed, kraft paper looks intentional. Box small items (pens, coasters, jewelry boxes) in a simple pine box built from the same scraps. For boards: tie with kitchen twine and attach a small card with care instructions (how to oil the board, what to use on it). The packaging should match the aesthetic of the gift — don’t wrap a handmade walnut board in cartoon gift paper.
Can I give unfinished wood gifts?
Not for functional items — kitchen boards, trays, and tool handles all need finish to be safe and durable. Unfinished structural pieces (birdhouses, garden planters, outdoor structures) are borderline — the recipient can finish them in their preferred color. Decorative pieces (frames, signs) can be left unfinished if the raw wood is beautiful, but they’ll pick up fingerprints and soil quickly. If giving unfinished, include a small bottle of the appropriate finish with instructions.

“DIY woodworking enthusiast who started with zero experience and a YouTube tutorial.
I build simple, practical projects for my home and share free plans
so other beginners can skip the guesswork.If I can build it, you can too.”