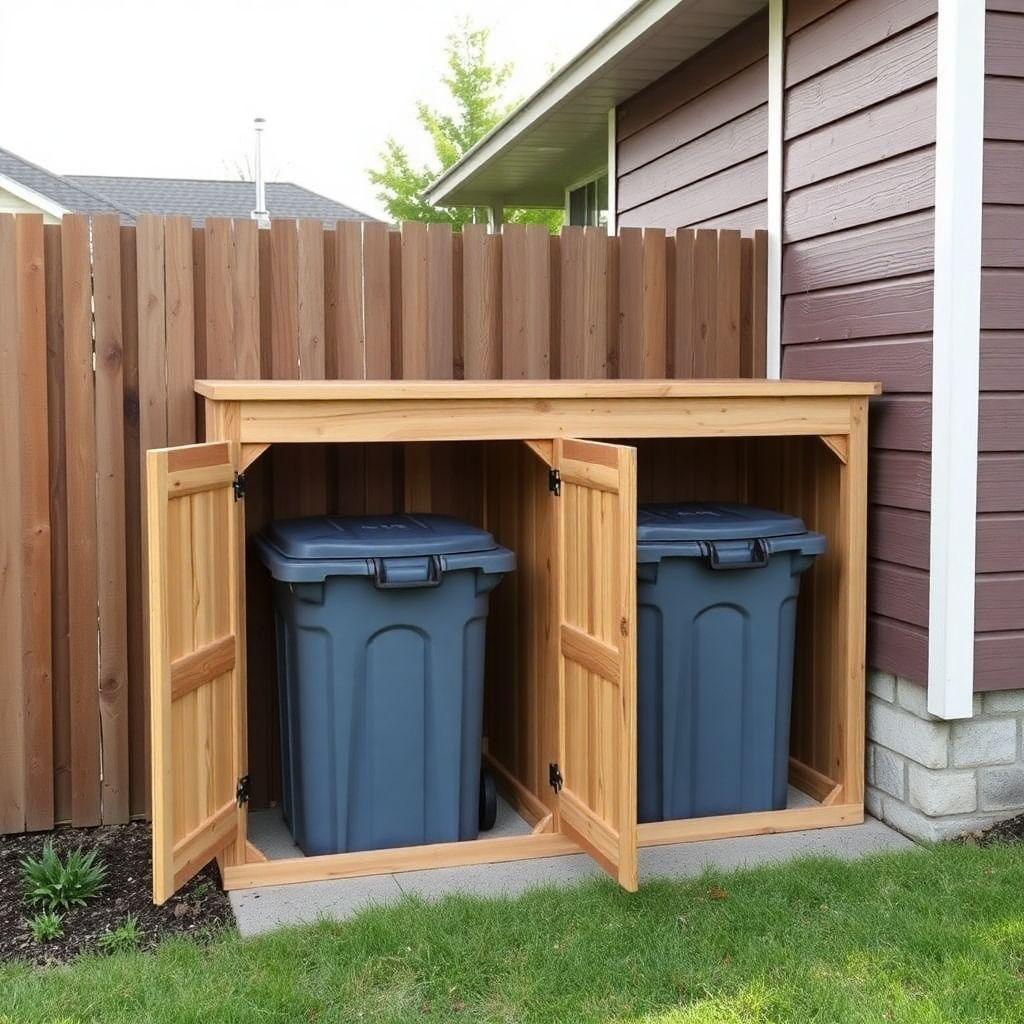
Trash cans on the curb or against the house are the fastest way to make a tidy yard look neglected. A wood enclosure hides them, keeps lids from blowing open, and stops animals from tipping bins over on collection night. This guide gives you full plans for a 2-bin cedar enclosure measuring 60″W x 36″D x 52″H, sized for standard rollout carts.
Expect to spend around $180 to $260 in materials and one full weekend of work. It is a solid intermediate project: straight cuts, basic framing, a couple of hinges. No joinery beyond screws. This build is part of our storage furniture plans series, so if you want other options first, start there.
The most common mistake with these builds is measuring the bin closed. Do that and the lid jams against the top of your enclosure the first time you try to fill it. We fix that in the first section.
Measure Your Bins With the Lid Open
Looking for more storage ideas?
This guide is part of our complete storage furniture plans series — compare all options by skill level, cost, and build time.
Want 16,000+ woodworking plans?
Ted’s Woodworking has step-by-step plans for every skill level. Browse Ted’s plans.
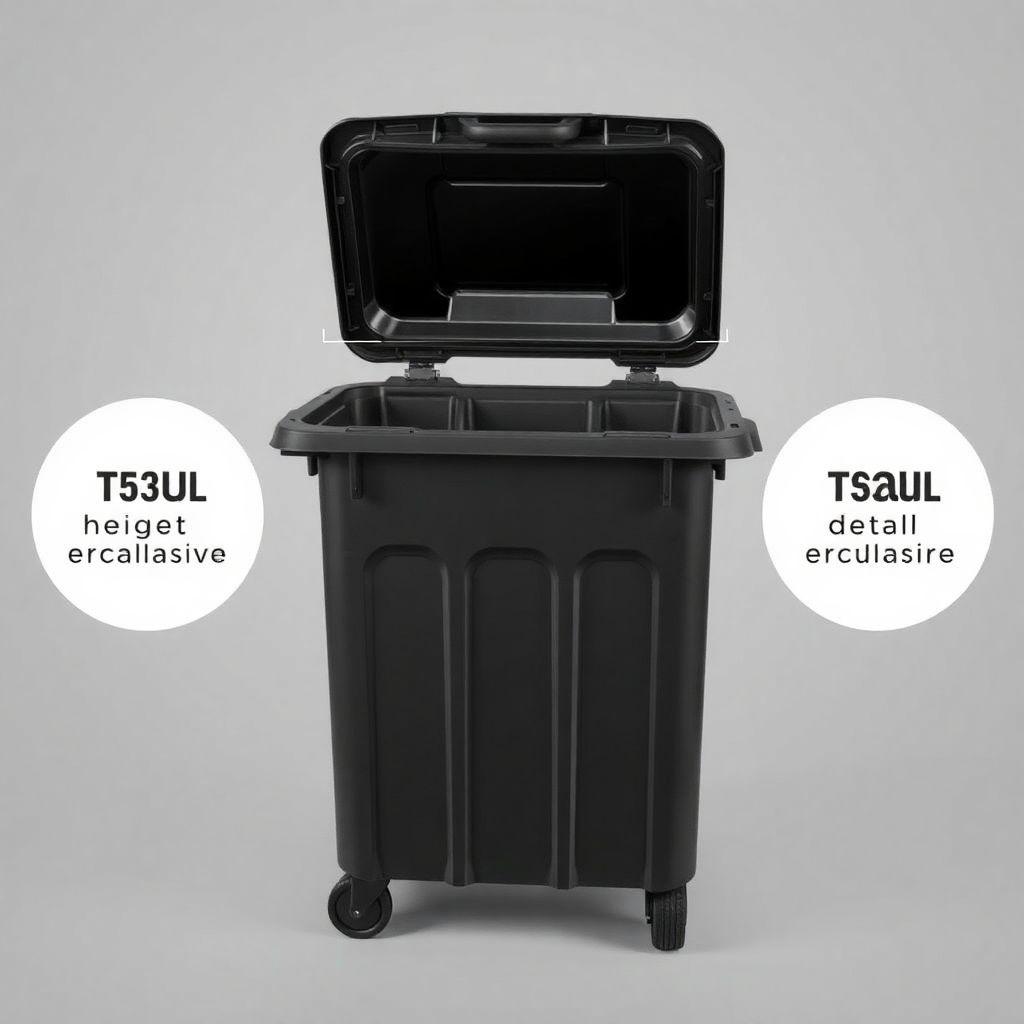
Before you buy a single board, measure your actual bins. Municipal rollout carts vary, but a standard 96-gallon cart runs about 28″ wide, 34″ deep, and 46″ tall with the lid closed. The problem is the lid. It hinges upward and back, and when fully open it needs 30″ or more of clearance above the closed height. If you build to the 46″ closed number, the lid slams into your top the moment you try to load trash.
Design for lid-open height, not closed height. That is why this enclosure is 52″ tall with a hinged top lid rather than a fixed roof. When you lift the enclosure lid, the bin lid has room to swing up underneath it.
Measure these three things and write them down:
- Width and depth of each bin at its widest point (usually the top rim)
- Closed height
- Lid-open swing height (open the lid fully and measure from the ground to the highest point)
Add at least 2″ of clearance on every side so bins roll in and out without scraping. For two 96-gallon carts side by side, 60″ of interior width is comfortable. If you run smaller 64-gallon or 35-gallon bins, you can shrink the width accordingly, but keep the height generous.
Materials and Cut List (2-Bin Cedar Enclosure)
Finished dimensions: 60″W x 36″D x 52″H. All framing below 6″ from the ground uses pressure-treated (PT) lumber. Everything above is cedar for rot resistance and looks.
Framing and posts
– Base frame: 4x PT 2×4 — two at 57″, two at 33″ (box frame)
– Corner uprights: 4x cedar 4×4 at 48″ long
Side panels
– Side slats: 20x cedar 1×6 at 47″ long (10 per side, 1/2″ gaps between slats)
Front
– Front frame: 2x cedar 2×4 at 48″ (vertical), 2x cedar 2×4 at 57″ (horizontal)
– Front door slats: cedar 1×6 at length to fit, roughly 6 to 8 boards
Top lid
– Lid frame: 2x cedar 2×4 built to 60″ x 36″
– Lid slats: cedar 1×6 to cover the 60″ x 36″ frame
Hardware
– 60″ continuous piano hinge (for the lid)
– 2x heavy-duty exterior door hinges
– 1x gate latch or hasp
– 1/2″ galvanized hardware cloth (rodent mesh), roughly a 10 ft roll
– Exterior/deck screws: 2-1/2″ and 1-5/8″
– Galvanized staples or fencing staples for the mesh
– Exterior wood glue (optional)
A quick note on wood selection for ground contact: the base frame is the first thing to rot because it sits in splash zone and traps moisture. Use PT lumber or composite there even if the rest of the build is cedar. Cedar resists rot but does not love constant ground contact the way PT does.
Tools Required
- Circular saw or miter saw
- Drill/driver plus a spare drill for pilot holes
- Speed square and tape measure
- Clamps
- Tin snips or aviation snips (for hardware cloth)
- Staple gun or hammer for fencing staples
- Level
- Sandpaper or an orbital sander
- Safety glasses and gloves (hardware cloth edges are sharp)
Step 1: Build the Base Frame
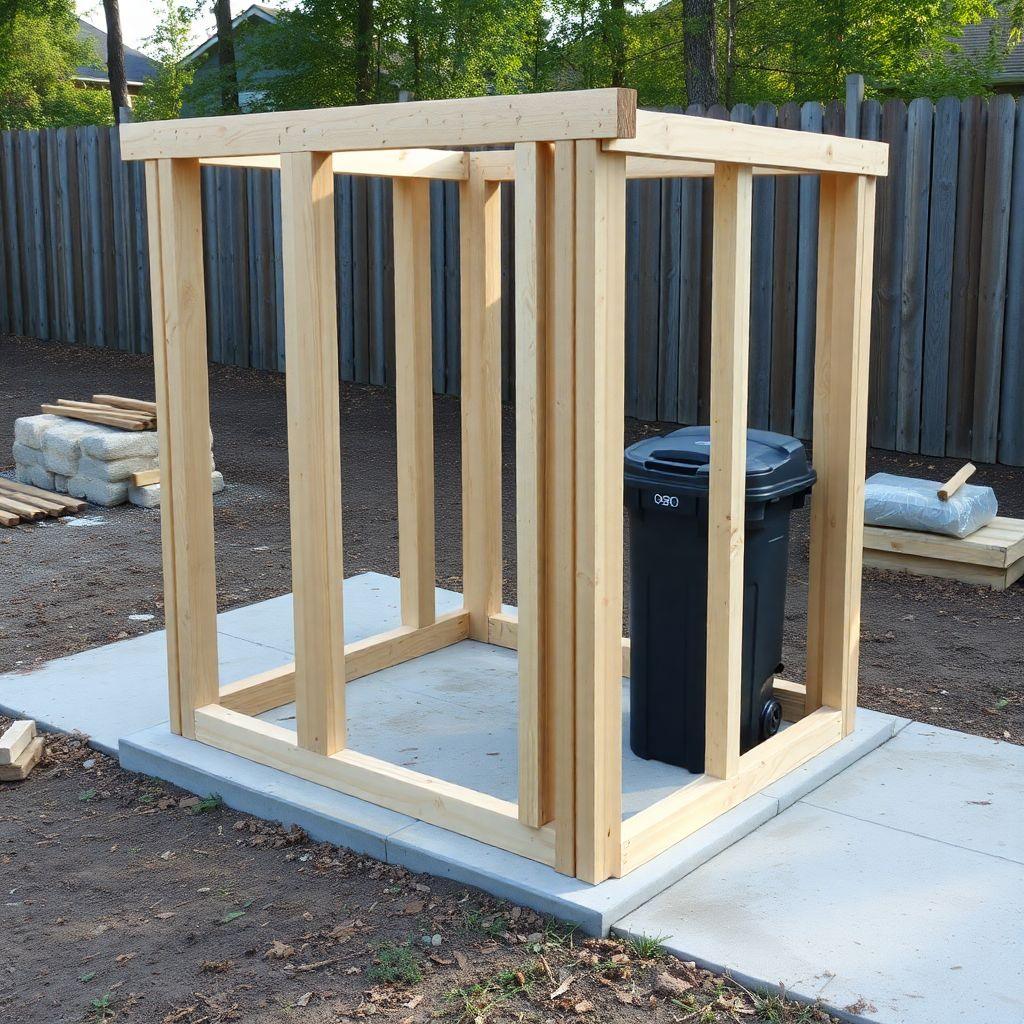
Cut the PT 2x4s: two at 57″ and two at 33″. Assemble them into a rectangular box frame with the 57″ pieces on the outside and the 33″ pieces butted between them, so the outside footprint is 57″ x 36″. Drive two 2-1/2″ screws through each corner. Check for square by measuring both diagonals; when they match, the frame is square.
This base does two jobs: it keeps cedar off the ground and it gives you a rigid platform to stand the corner posts on. If you are building on a concrete pad, you can set the frame straight down. On soil or gravel, level the frame first and plan to anchor it (covered in Step 5).
Stand the four cedar 4×4 uprights at each inside corner of the base frame. They should sit on top of or just inside the base. Clamp each post plumb, check with a level on two faces, then drive three 2-1/2″ screws through the base frame into the bottom of each post. The posts are now your structural skeleton.
Step 2: Build the Side Panels
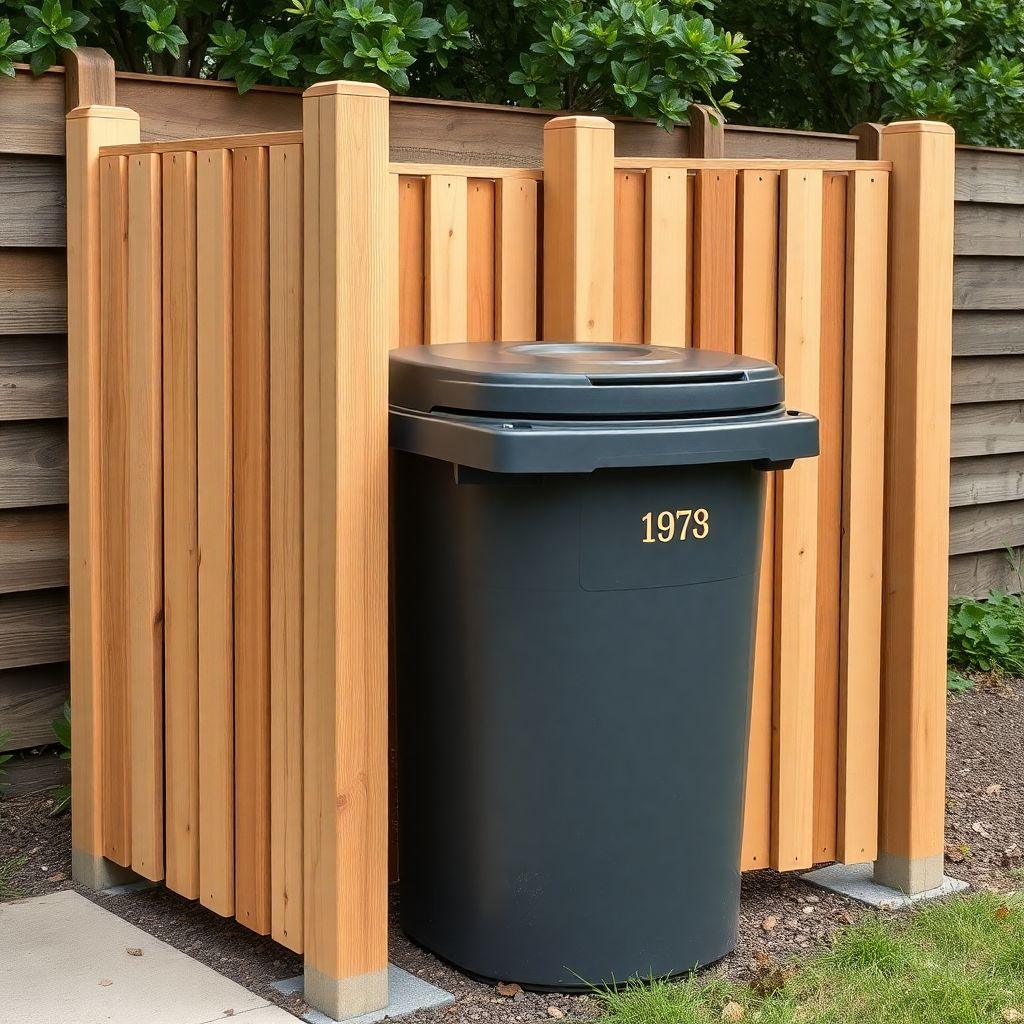
The two side panels are vertical cedar 1×6 slats screwed to the front and back 4×4 posts. Each side takes about 10 slats at 47″ long.
Start at the bottom. Hold the first slat across the two posts on one side, sitting just above the base frame, and check it level. Drive two 1-5/8″ screws into each post. For the gaps, cut a 1/2″ spacer block and rest each new slat on the spacer above the one below it. Work your way up.
Those 1/2″ gaps are not optional. Bins smell, and solid panels trap heat and odor, which accelerates bin degradation and makes the whole enclosure reek on a hot day. The gaps give you cross ventilation. If you prefer a more solid look, keep the slat gaps and instead leave the back fully open or use a slatted back panel. Never wrap the enclosure in solid sheet material with no airflow.
Repeat on the second side. You now have a three-sided box (two sides plus the implied back). If your enclosure sits away from a wall, add a few slats across the back for rigidity, keeping the same 1/2″ gaps.
Step 3: Build the Front Door Panel
The front is where you get access, so decide how you will use these bins first.
Hinged side doors look great but force you to lift the bin out and over the base frame every time. For heavy rollout carts, that is a daily fight. If your bins are lightweight or you only pull them fully out on collection day, a pair of hinged front doors is fine. Build a frame from the 48″ vertical and 57″ horizontal cedar 2x4s, clad it with 1×6 slats matching the sides, split it into two doors, and hang each on a pair of exterior hinges with a center latch.
For rollout carts, a better pattern is a hinged top lid (Step 4) combined with a front panel that lifts off or drops down. That lets you tip and roll the cart straight out without lifting. If you want the cleanest rollout access, make the front panel a single slatted piece that lifts out of a channel, or hinge it at the bottom so it drops forward like a ramp.
Match the access method to the bin type. Do not default to pretty hinged doors if you are dragging 96-gallon carts through them twice a week.
Step 4: Add the Lid/Top
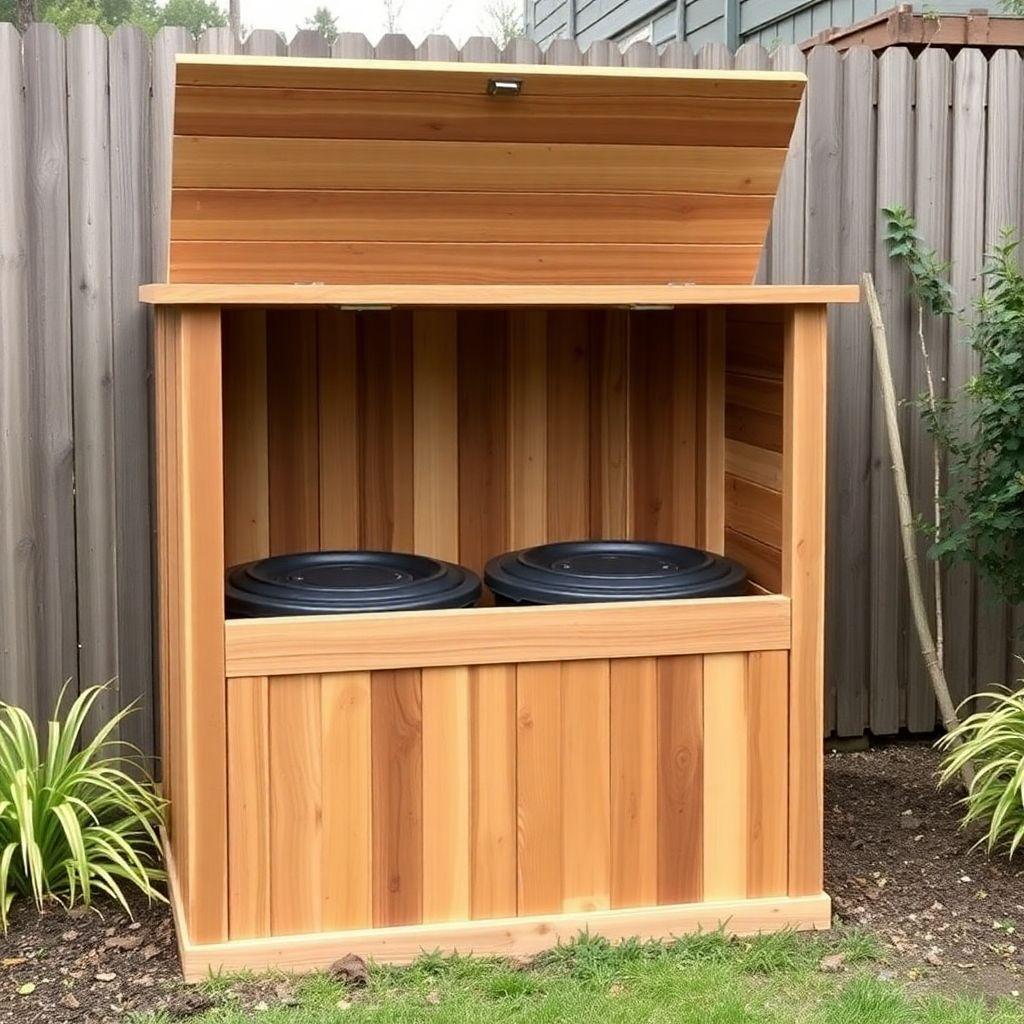
Build the top lid as its own frame: cedar 2x4s assembled to 60″ x 36″, then clad with 1×6 cedar slats keeping small gaps for drainage and airflow. Keep the lid light enough to open one-handed.
Attach the lid to the back top rail with the 60″ continuous piano hinge. A piano hinge spreads the load across the full width, which matters because a single-point hinge will rack and sag over time on a lid this size. Screw the hinge to the lid, then to the rear top edge of the enclosure.
This hinged top is what makes the enclosure work with rollout carts. Lift the lid, open the bin lid underneath, drop your trash, close both. You never fight the closed-height problem because the enclosure lid clears out of the way. Add a lid support or a short chain to stop it swinging back too far, and consider a small stop block so it does not blow fully open in wind.
Step 5: Hardware, Ventilation, and Rodent Mesh
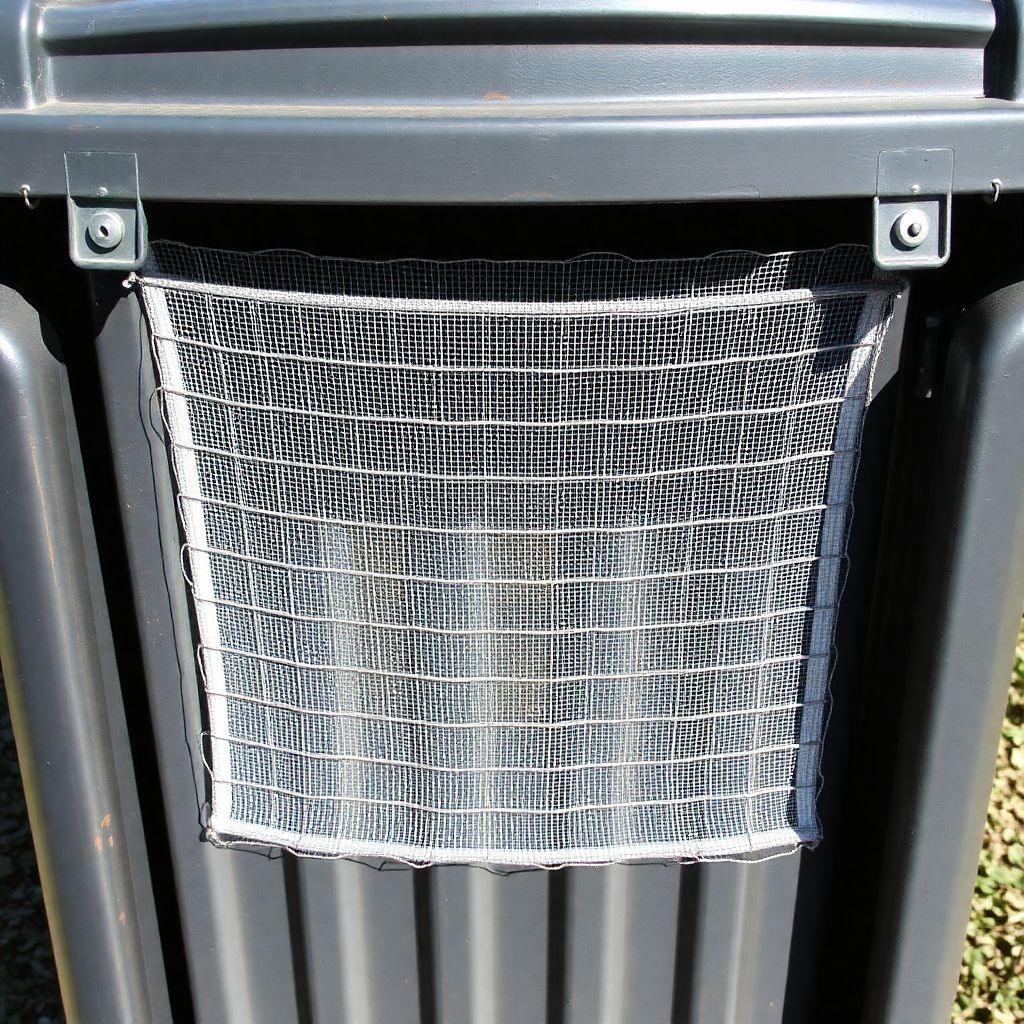
Three finishing details separate a good enclosure from a bin-shaped rat hotel.
Rodent proofing. Rats fit through gaps as small as 1″. Your ventilation slats are wider than that, so line the inside of every open gap with 1/2″ galvanized hardware cloth. Cut it to size with snips, wear gloves, and staple it to the inside faces of the posts and rails so the mesh is hidden from outside but blocks the gaps. Cover the base opening too if the enclosure sits on soil; rats dig. This is the single detail most tutorials skip, and it is the one that keeps your enclosure from becoming a nest.
Ventilation. You already built in 1/2″ slat gaps. With the hardware cloth behind them you still get full airflow, just without the rodents. Do not seal the gaps to keep smell in; that does the opposite and cooks the odor inside.
Anchoring. A single-bin enclosure is light enough to blow over in a storm. For this 2-bin unit, anchor it. On a concrete pad, use masonry anchors through the base frame. On soil, drive galvanized ground stakes at each corner or pour small concrete footings. At minimum, lag-bolt one side of the enclosure to an adjacent fence or house wall.
Latches and hinges. Use exterior-rated galvanized or stainless hardware. Standard steel hinges rust and streak the cedar within a season. A simple gate latch keeps the lid and any doors closed against wind and curious animals.
Finish the cedar with a clear exterior sealer or leave it to weather gray. Either is fine; sealed cedar lasts longer and keeps its color.
Looking for more storage ideas?
This guide is part of our complete storage furniture plans series — 6 types compared by skill, cost, and build time.
Want 16,000+ woodworking plans?
Ted’s Woodworking has step-by-step plans for every skill level. Browse Ted’s plans.
FAQ
How much does a DIY garbage can enclosure cost to build?
For this 2-bin cedar enclosure, expect $180 to $260 in materials depending on cedar prices in your area. Using pressure-treated lumber throughout instead of cedar drops the cost to roughly $120 to $160, though it will not look as nice and needs painting to match.
What size should an outdoor trash can enclosure be?
Size it to your bins with the lid open, not closed. For two standard 96-gallon rollout carts, an interior of about 60″ wide, 36″ deep, and 52″ tall works well. Always add 2″ of clearance on each side and enough height for the bin lid to swing fully open.
Do I need to ventilate a wood trash enclosure?
Yes. Leave at least 2″ of open gaps in the siding or use a ventilated back. Solid panels trap heat and odor, make the enclosure smell worse, and speed up bin degradation. Combine the gaps with hardware cloth so you get airflow without letting animals in.
How do I keep rats out of my garbage can enclosure?
Line the inside of every gap with 1/2″ galvanized hardware cloth. Rats squeeze through 1″ openings, and standard slat gaps are wider than that. Staple the mesh to the inside of the frame and cover any opening at the base if the unit sits on soil.
Should I use hinged doors or a top-opening lid for a rollout cart?
For heavy 96-gallon rollout carts, a hinged top lid plus a lift-off or drop-down front panel beats hinged doors. Hinged doors force you to lift the cart out over the base frame. A top lid lets you roll the cart straight in and out and still clears the bin lid for loading.
What wood is best for a garbage bin enclosure?
Cedar for the visible framing and slats because it resists rot and looks good. Use pressure-treated or composite lumber for the base frame and anything within 6″ of the ground, since that is where rot starts first.
Related Articles

“DIY woodworking enthusiast who started with zero experience and a YouTube tutorial.
I build simple, practical projects for my home and share free plans
so other beginners can skip the guesswork.If I can build it, you can too.”