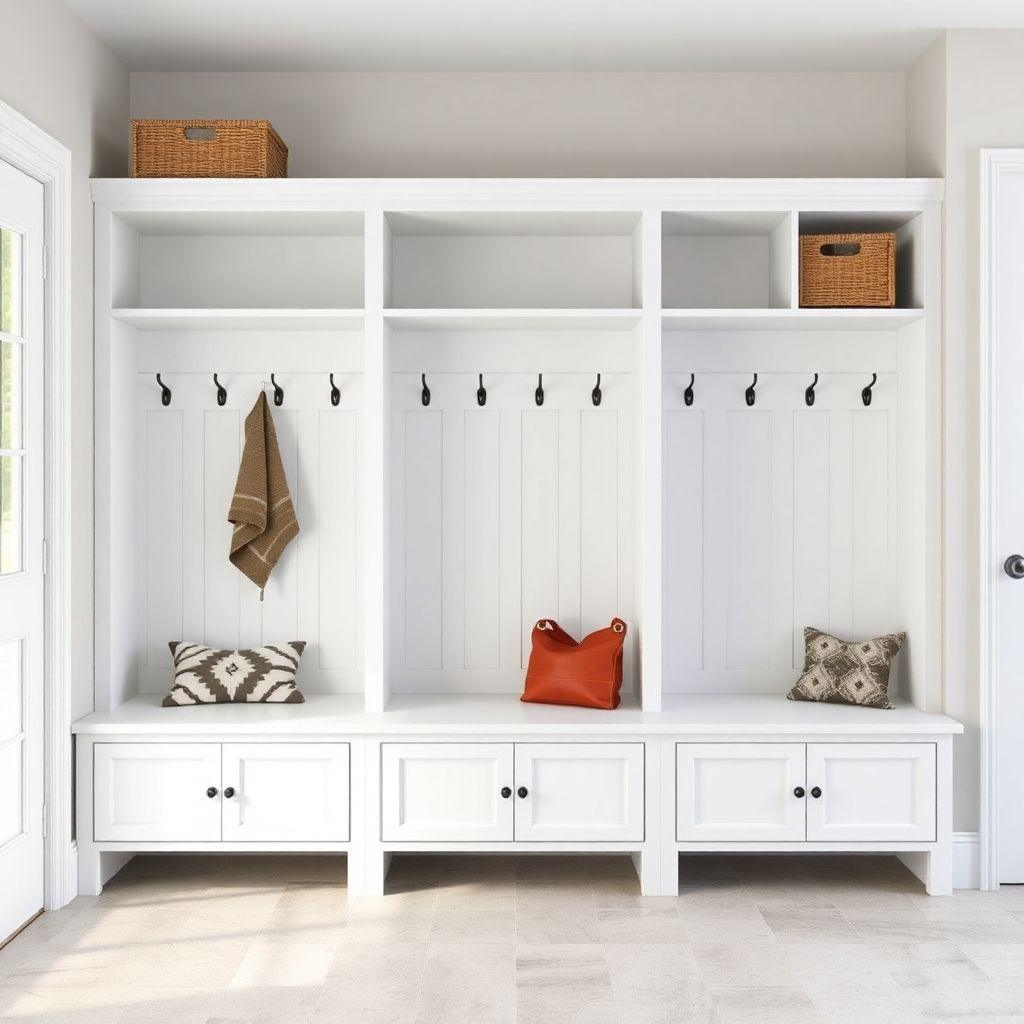
A pile of coats, backpacks, and shoes by the door is the fastest way to make an entryway look wrecked. A built-in locker unit fixes it. This guide walks you through building a 3-section mudroom locker with a top shelf, a hook rail, and a bench cubby in each bay. The finished unit is 72″ wide, 84″ tall, and 16″ deep, sized for a standard entryway wall.
You will build it as three separate 24″-wide boxes, join them on site, and secure the whole thing to wall studs. Expect to spend around $350 to $450 in materials and two weekends of work. This is an intermediate project: if you can cut plywood square and drive pocket screws, you can do this. It is part of our complete storage furniture plans series.
Plan the Layout: How Many Sections and What Height?
Looking for more storage ideas?
This guide is part of our complete storage furniture plans series — compare all options by skill level, cost, and build time.
Want 16,000+ woodworking plans?
Ted’s Woodworking has step-by-step plans for every skill level. Browse Ted’s plans.
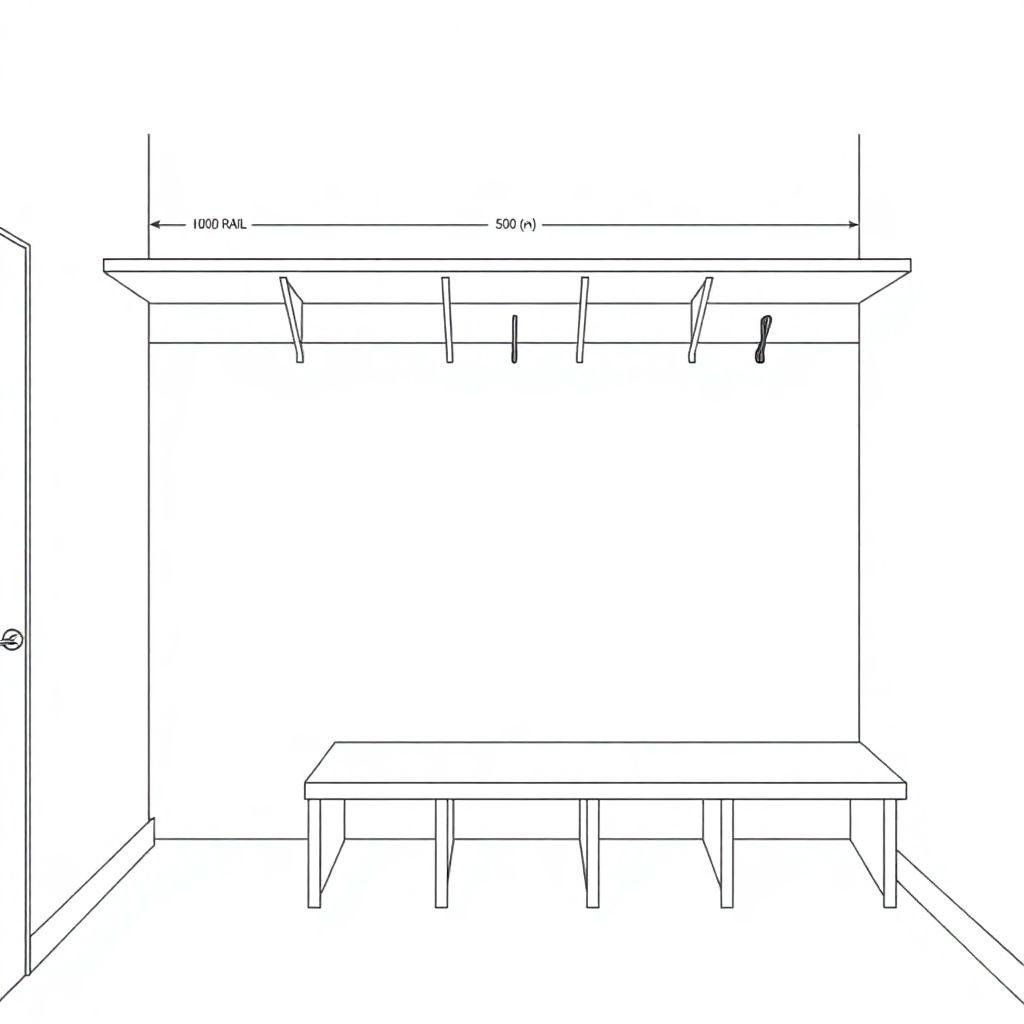
Before you cut anything, measure your wall. This plan is three 24″-wide sections for a 72″ run, but the box-based approach scales. Each person in the house gets one bay. If your wall is 96″ wide, add a fourth box. If it is 48″, build two.
The reason to build separate boxes instead of one long cabinet is simple: a single 6-foot-wide unit will not fit through a doorway or turn a corner in a hallway. Three 24″ boxes each walk through a standard 30″ door, then get screwed together and to the wall once they are in the room. This is the difference between a plan that works and one that traps you.
Three heights matter. Get them right and the unit feels custom. Guess and it feels off.
- Bench height: 18″. This matches a dining chair. Lower than 16″ is hard to stand up from, and higher than 19″ feels like a bar stool where your feet dangle. Do not eyeball this.
- Hook rail height: 60″ to 66″. Hooks in this band work for adults to hang coats without dragging them on the bench. For kids, add a second lower rail at 40″ to 44″. This dual-rail setup is what separates a real mudroom from a coat rack screwed to a shelf.
- Top shelf: at the top of the box, around 72″ to 74″. This holds bins for seasonal gear and hats.
Materials and Cut List
This cut list builds the full 3-section unit at 72″W by 84″H by 16″D using 3/4″ plywood boxes with poplar face frames and trim. You will need roughly four sheets of 3/4″ plywood and one sheet of 1/4″ plywood for backs.
| Part | Material | Size | Qty |
|---|---|---|---|
| Side panels | 3/4″ plywood | 15-1/4″ x 84″ | 8 |
| Horizontal dividers (top, mid, bottom per section) | 3/4″ plywood | 15-1/4″ x 22-1/2″ | 6 |
| Back panels | 1/4″ plywood or shiplap | 22-1/2″ x 84″ | 3 |
| Bench tops | 3/4″ plywood | 16″ x 23-1/4″ | 3 |
| Top shelves | 3/4″ plywood | 15-1/4″ x 22-1/2″ | 3 |
| Hook rails | 1×4 poplar | 22-1/2″ long | 3 |
| Face frame stock | 3/4″ x 1-3/4″ poplar | all front edges | as needed |
| Scribe molding | 3/4″ x 2″ pine, ripped to fit | full height | 2 |
| Coat hooks (double) | steel or cast | 3 to 4 per section | 9 to 12 |
Note the eight side panels: the three boxes share walls where they meet, but building each box with its own two sides keeps the boxes independent and square. That makes assembly and any future move far easier than trying to share a single divider between two boxes.
A note on the back panel
You have three choices for the back. Painted 1/4″ plywood is fastest and cheapest. Shiplap boards give the back texture and hide imperfect cuts, since the gaps between boards are a design feature rather than a mistake. For a wet entry where snow and rain come off boots, PVC trim boards are moisture-proof and will not swell. Pick based on your climate and how much the back will show.
Tools Required
- Circular saw with a straightedge guide, or a table saw
- Drill and driver
- Pocket hole jig (Kreg or similar)
- Brad nailer
- Level, at least 4 feet
- Stud finder
- Tape measure, speed square, pencil
- Caulk gun
- Sander and sandpaper, 120 and 220 grit
- Clamps
Step 1: Build the Three Cabinet Boxes
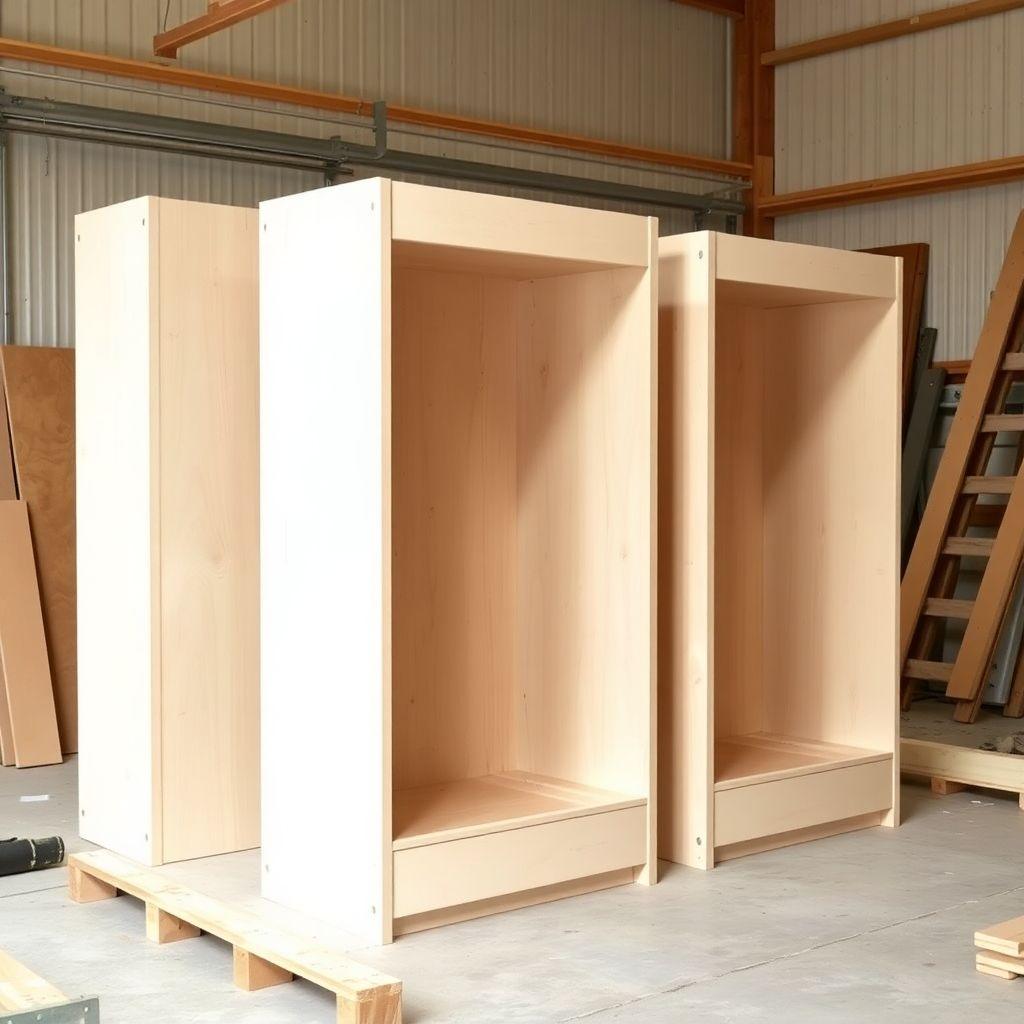
Each box is a plywood carcass: two side panels, a bottom divider, a mid divider, and a top shelf, with a back panel closing it up. Build all three the same way.
Cut your side panels and dividers to the sizes in the cut list. Drill pocket holes on the ends of each divider, two per end. Stand one side panel on edge and attach the bottom divider flush with the floor line, the mid divider at 18″ from the bottom (this becomes your bench platform), and the top shelf near the top around 72″. Attach the second side panel to close the box.
Check the box for square by measuring both diagonals. They should be equal. Clamp until the glue sets. Then attach the back panel. If you are using 1/4″ plywood, glue and brad-nail it into a rabbet or directly to the back edges, and let it square the box as you fasten. Repeat for all three boxes.
Do not install the bench top yet. That goes on after the boxes are joined so the seam between sections stays tight.
Step 2: Join the Boxes and Secure to Wall
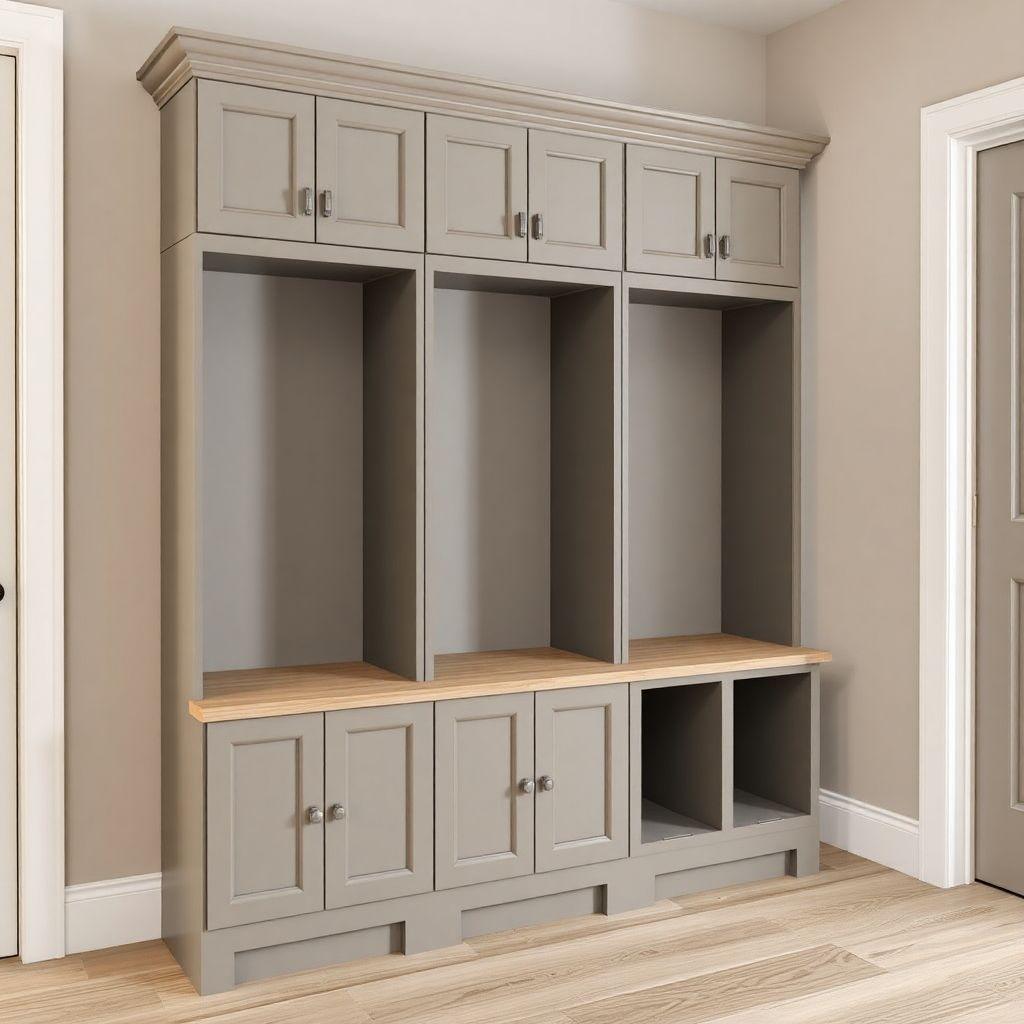
Carry the three boxes to the entryway. Set them side by side against the wall. Use a level to shim the boxes until the tops line up and everything is plumb and level. This matters: if the floor slopes, and most do, the boxes will not align on their own.
Clamp the boxes together where the side panels meet. Drive screws through the shared side walls to lock the three boxes into one unit, roughly four screws per seam, spaced top to bottom. Countersink so the heads sit below the surface.
Now find your studs with a stud finder and mark them. Screw through the back of the unit into the studs, at minimum two studs per box, near the top and again lower down. A loaded mudroom unit holding coats and a kid using the bench as a step needs to be anchored to framing, not just leaning on the wall. This is a tip-over safety point, not optional.
Step 3: Add the Bench Tops
With the unit joined and anchored, set the bench tops onto the 18″ mid dividers. Each bench top is cut slightly deeper than the box at 16″ so it sits flush at the front and can carry a small overhang if you want a rounded nosing.
Glue and screw or pocket-screw the bench tops down into the mid divider from below where possible, so no fasteners show on the seat surface. Sand the front edge smooth, since this is where hands and legs make contact. If you want a softer look, glue a piece of poplar 1×2 to the front edge as a nosing and round it over.
Step 4: Install Hook Rails
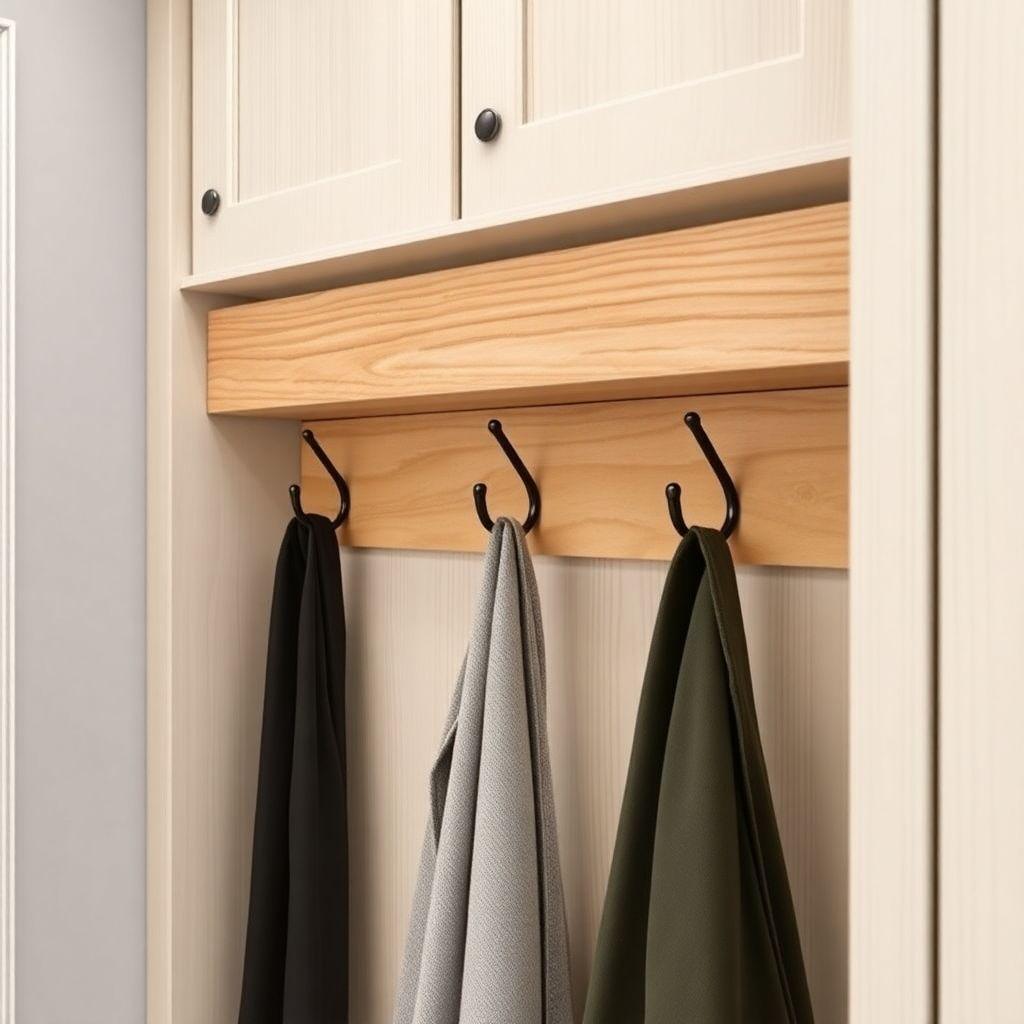
The hook rail is a 1×4 poplar board that runs across the back of each section and gives the hooks something solid to bite into. Screwing hooks straight into 1/4″ back panel will pull out the first time someone yanks a wet coat.
Set the main hook rail so the center of the hooks lands at 63″, right in the 60″ to 66″ adult band. Level it, then screw it through the back panel into the box sides or into a stud behind. Mount three to four double hooks per section, evenly spaced.
If kids use this mudroom, add a second 1×4 rail lower, with hook centers around 42″. Now a six-year-old can hang a backpack without help, and adults still have full-height coat space above.
Step 5: Add Trim, Scribe, and Paint
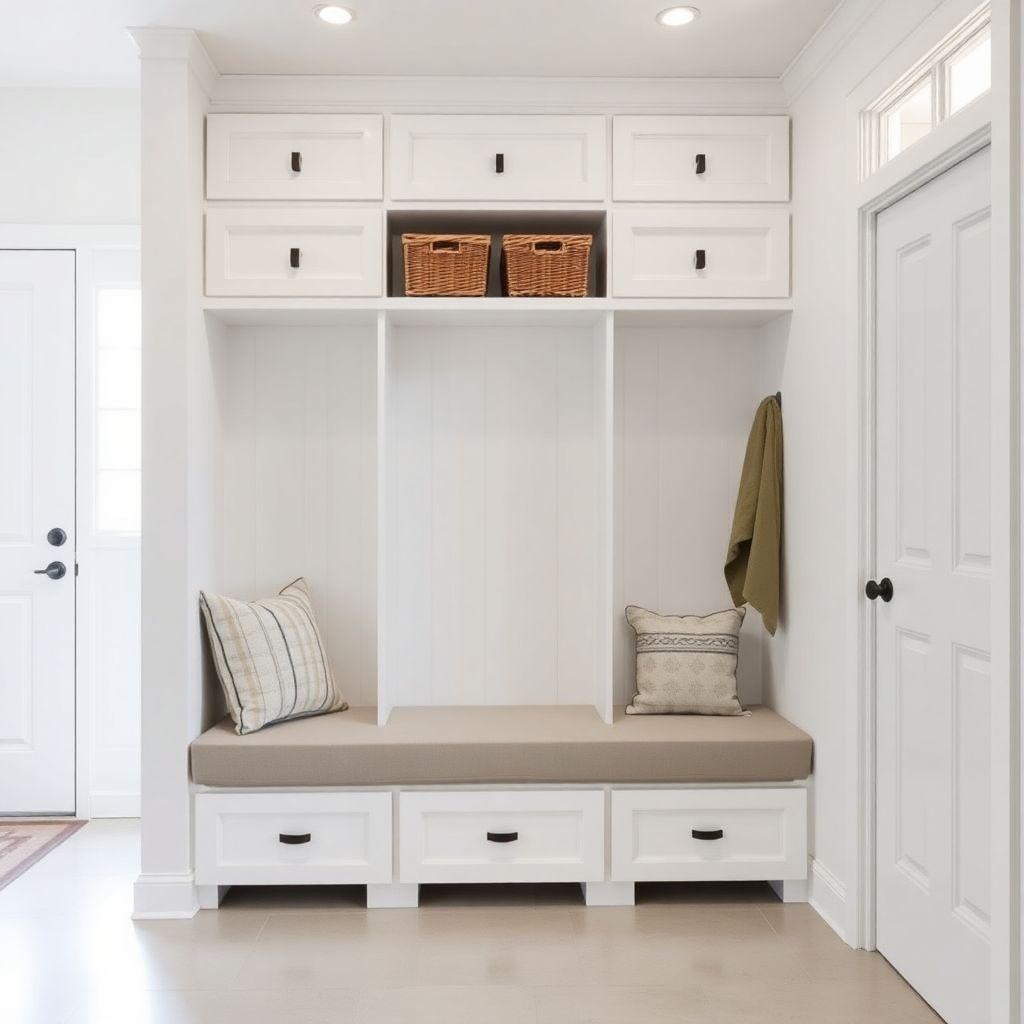
Trim is what turns three plywood boxes into built-in furniture. Add a poplar face frame to all the front edges of the boxes: 3/4″ by 1-3/4″ stock glued and brad-nailed over the raw plywood edges. This hides the plywood layers and stiffens the front.
Now handle the wall fit. Almost no wall is perfectly flat or plumb, and there is usually a baseboard in the way. This is why you build the unit 1/2″ narrower than the opening. On the side that meets a wall, run a piece of scribe molding: hold it against the unit, set a compass to trace the wall profile onto it, cut to that line, and you get a tight fit that follows the wall’s bumps. Fill any remaining hairline gap with flexible paintable caulk. A unit hard-fitted wall to wall with no scribe allowance is the single most common mudroom mistake, and it leaves ugly gaps or refuses to slide into place at all.
Add a top crown or a simple 1×4 header across the top to cap the unit. Caulk all the seams and nail holes. Prime, then paint two coats. White or a muted green or navy all read as built-in. Sand lightly between coats with 220 grit for a smooth finish.
Shoe cubby sizing, if you add them
If you build shoe cubbies into the bottom instead of an open bench, size them right. A men’s size 13 shoe is about 13″ long, so a cubby less than 14″ deep will not fit large shoes lying flat. Make cubbies 16″ deep to be safe. Angled cubby dividers let you stack two pairs per slot and hold shoes in place at a tilt, which fits more footwear in the same footprint.
Looking for more storage ideas?
This guide is part of our complete storage furniture plans series — 6 types compared by skill, cost, and build time.
Want 16,000+ woodworking plans?
Ted’s Woodworking has step-by-step plans for every skill level. Browse Ted’s plans.
FAQ
How much does it cost to build a mudroom locker?
Expect $350 to $450 in materials for this 3-section unit using cabinet-grade plywood, poplar trim, and quality hooks. Dropping to paint-grade plywood and cheaper hooks can bring it closer to $250. Buying a comparable built-in retail unit runs well over $1,500.
How long does the build take?
Plan on two weekends: one to cut and assemble the three boxes, and one to install, trim, scribe, and paint. Paint drying time is the main bottleneck, not the woodworking.
Can I build this if the wall is not flat or plumb?
Yes, and you should assume it is not. Build the unit 1/2″ narrower than the opening, then scribe a molding strip to the wall on one side and caulk the seam. This is the correct way to fit any built-in and it is why the plan calls for scribe molding.
What is the right bench height?
18″ from the floor to the top of the bench. That matches a dining chair and is comfortable for adults to sit and put on shoes. Going lower makes it hard to stand up from, and higher leaves your feet dangling.
Do I really need to attach it to the wall?
Yes. A loaded locker unit is top-heavy and a child sitting or stepping on the bench can tip it. Screw through the back into at least two studs per box. This is a safety requirement, not a finishing touch.
Can I make the cubbies fit large shoes?
Build them at least 14″ deep, and 16″ is better, since a men’s size 13 shoe is 13″ long. Angled dividers let you stack two pairs per slot and use the depth more efficiently.
Related Articles

“DIY woodworking enthusiast who started with zero experience and a YouTube tutorial.
I build simple, practical projects for my home and share free plans
so other beginners can skip the guesswork.If I can build it, you can too.”