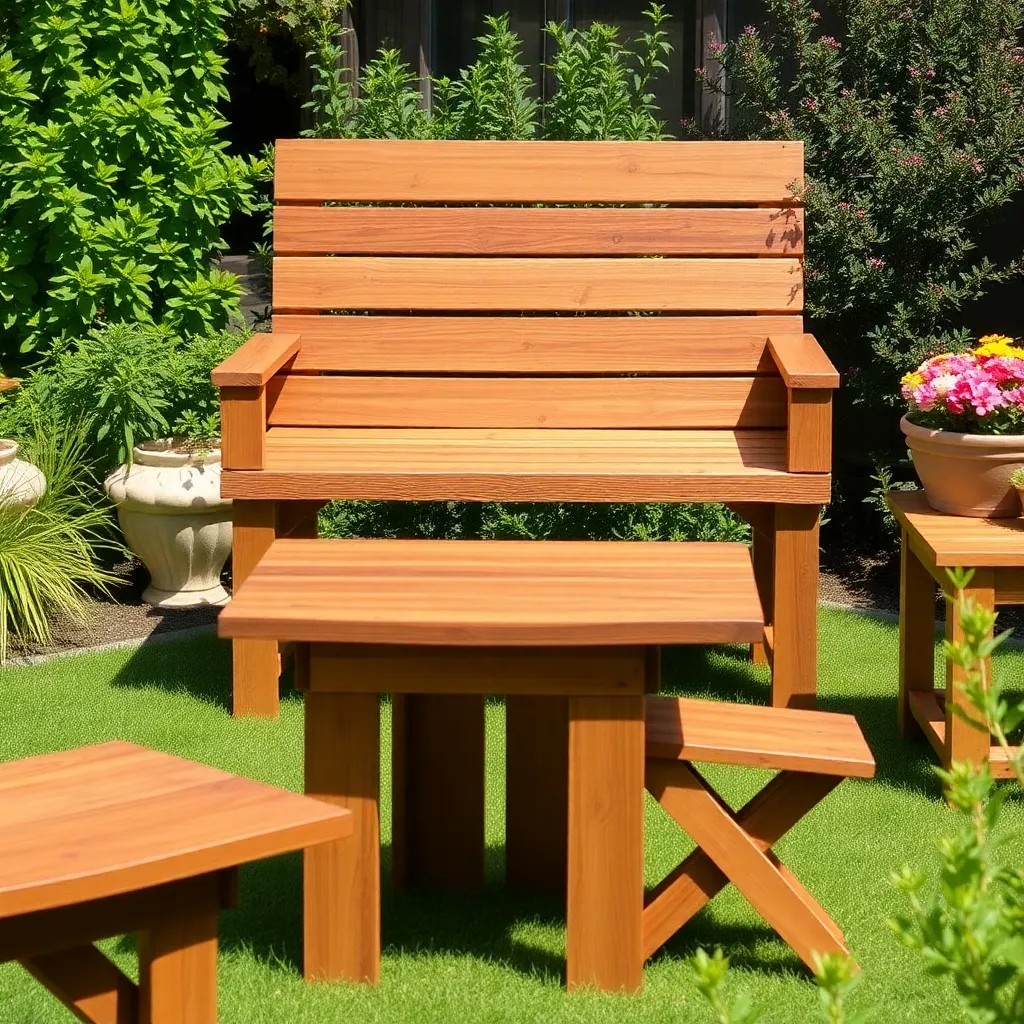
You bought or built a piece that looked great in spring. By fall it was gray, cracked, and rough enough to snag a sleeve.
Three enemies did that. Moisture swells and splits the wood, UV bleaches and breaks down the surface fibers, and rot moves in wherever water lingers.
No finish stops all three unless you prep the wood right and match the finish to the species. Skip either step and even an expensive product peels or soaks through in a season.
This guide walks you through how to weatherproof outdoor furniture in six steps, from the first cleaning to a maintenance schedule you can actually keep, whether you built the piece or bought it.
Two things most guides skip make the biggest difference. End grain absorbs moisture 10 to 15 times faster than face grain, so it gets sealed first. And film finishes peel off teak in sheets, so the finish has to match the wood. Get those right and you re-coat once a year instead of stripping and starting over.
For pieces to protect, see our outdoor furniture plans and the guide to the best wood for outdoor furniture.
Step 1: Clean the Wood and Let It Dry Completely
Want 16,000+ step-by-step woodworking plans?
Ted’s Woodworking has plans for every skill level — from simple shelves to full bedroom sets. Each plan includes a cut list, material list, and detailed diagrams. Browse Ted’s plans →
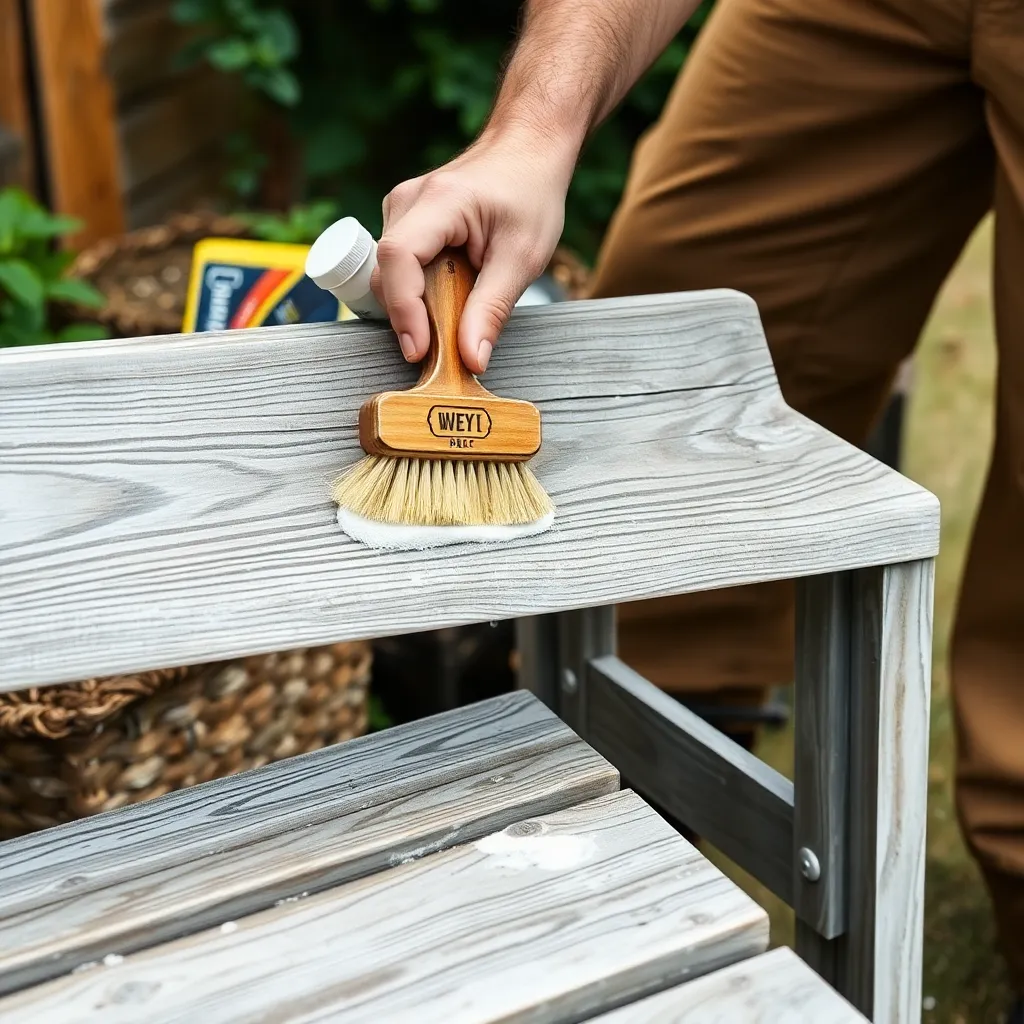
Finish bonds to clean, dry wood. It does not bond to mildew, gray oxidized fibers, or moisture trapped just under the surface.
Start with an oxalic-acid wood cleaner. It brightens gray wood, kills mildew, and lifts surface grime in one pass. Scrub it in with a stiff nylon brush, always along the grain, not across it. Then rinse thoroughly and let the surface sheet off.
If you are working with pressure-treated pine, slow down here. PT lumber arrives soaked with treatment chemicals and water, and it needs to dry out before it will take any finish.
Give PT pine 30 days of cure time as an absolute minimum. Three to 12 months is better, and the wood should read under 15 percent moisture before you go near it with finish.
For any wood, plan on a 48-hour dry window in the shade after cleaning. In humid weather, give it longer. A cheap moisture meter takes the guesswork out of this. Press it into a few spots and look for a reading under 15 percent.
Direct sun feels like it would speed drying, but it dries the surface while the core stays wet. Shade dries the piece more evenly, top to core, which is exactly what you want before any finish goes on.
Do not rush this step to save an afternoon. Finish applied over damp wood traps that moisture inside, and you will see it as cloudy patches or early peeling.
You have hit the milestone when the wood is a uniform light tone with no dark mildew spots, and it either reads dry on the meter or has sat a full 48 hours.
Step 2: Sand Through the Grits and Raise the Grain
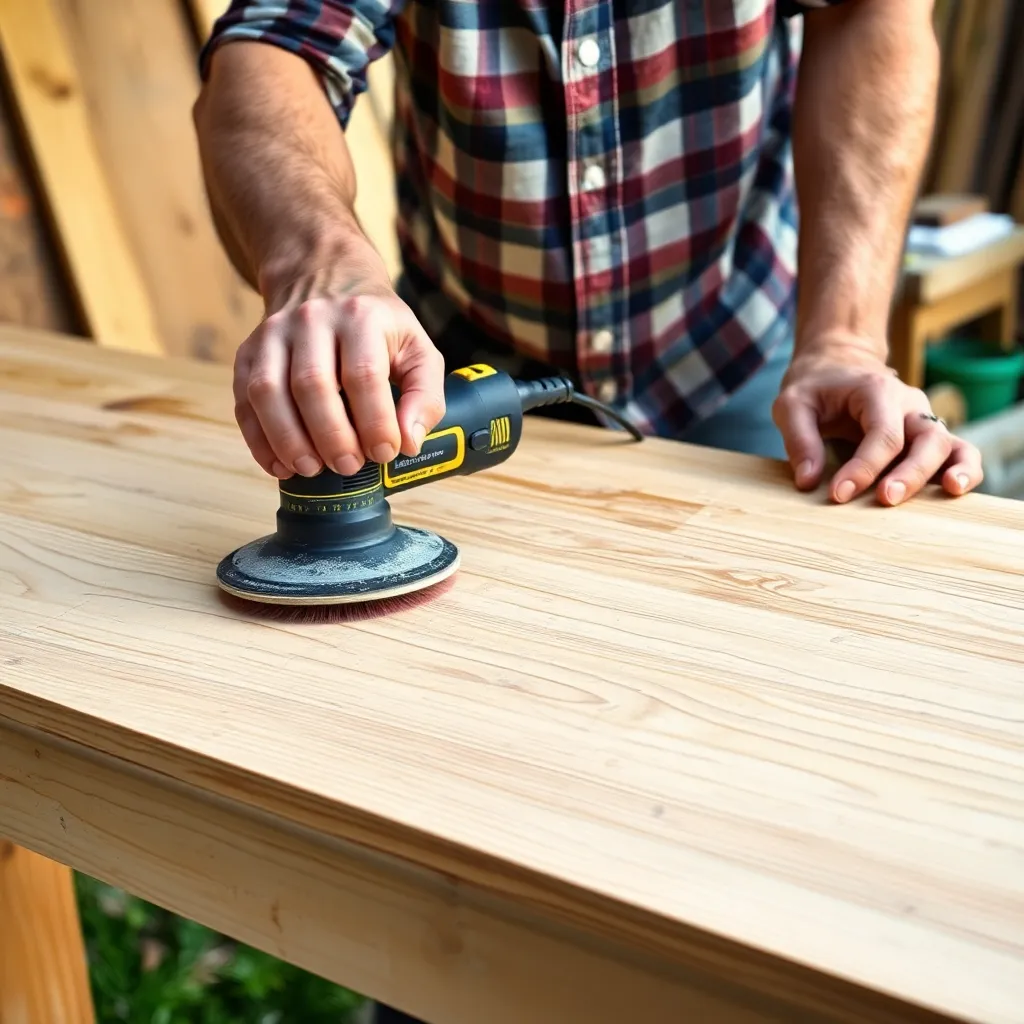
A uniform, slightly open surface is what you are after here. That kind of surface drinks finish evenly, and it will not raise a fuzzy layer of fibers the first time it rains.
Work through three grits in order: 80, then 150, then 220. Always sand with the grain, never across it.
Vacuum the surface between each grit. Leftover grit from a coarser pass will leave scratches that show up once the finish goes on.
Now do the grain-raising trick, and do not skip it. Wipe the wood down with a damp cloth, which lifts the loose fibers upright. Let it dry 30 to 45 minutes, then re-sand lightly at 220 to shear off those raised fibers. This is the fuzz that would otherwise pop up after your first rain and leave the surface rough.
If you are planning to use a penetrating oil finish, 220 grit is your ceiling. Anything finer burnishes the wood, closes the pores, and blocks the oil from soaking in.
For a film finish like spar urethane, you can stop at 220 as well. There is no benefit to going finer outdoors.
The grits matter in this order for a reason. The 80 grit removes mill marks and old finish, the 150 erases the scratches the 80 leaves behind, and the 220 refines the surface without polishing it shut. Skip a step and the coarser scratches show through your finish.
Check your work in raking light. Hold a low light across the surface and look for scratch marks or swirls, which stand out as shadows. Catch them now, because they show up far worse once the finish adds sheen and depth to the surface.
You are done when the surface feels smooth in both directions, shows no scratch marks under raking light, and a damp wipe no longer raises any fuzz.
Step 3: Seal the End Grain First
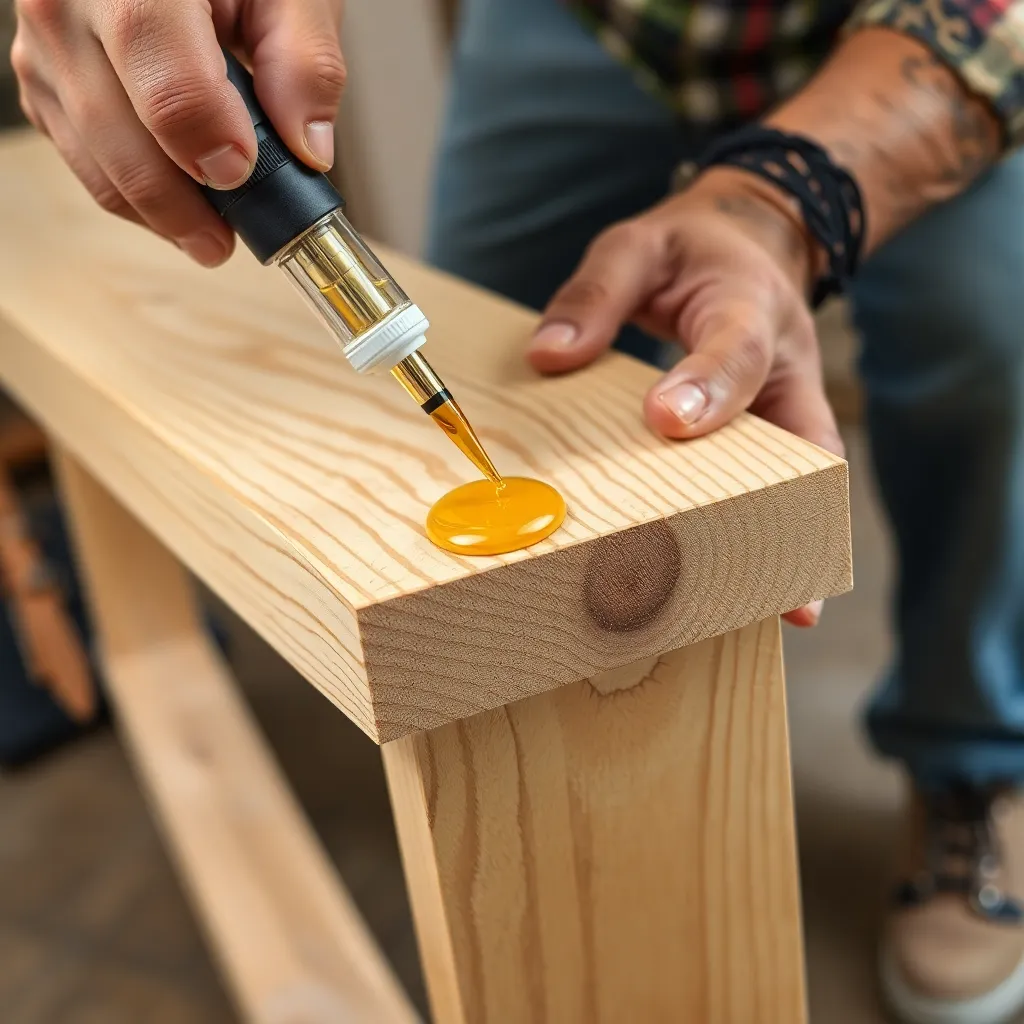
End grain absorbs moisture 10 to 15 times faster than face grain. Those exposed pores are open straws pointing straight into the wood.
This is exactly why table legs rot from the bottom up and chair rungs split at their ends. Water wicks in through the cut ends and sits there. Seal those spots before any other finish goes on. Twenty extra minutes here buys you years.
Start by sanding the cut ends and feet down to 80 grit. You want them coarser than the rest of the piece so the sealer has tooth to grab.
Reach for a slow-cure, low-viscosity epoxy. West System 105 resin with 206 slow hardener works well, and so does CPES, a clear penetrating epoxy sealer.
Brush it onto the end grain and push it into the pores with a stir stick. Let it soak in for one to two minutes. Watch for spots where the epoxy disappears into the wood and add more there. Thirsty end grain will keep drinking until the pores are full.
Once it stops absorbing, wipe off all the excess so you are not left with glossy runs. Let it cure overnight.
Warning: Never use 5-minute epoxy for this. It gels before it can penetrate, so it just sits on top as a brittle skin that does nothing. The slow-cure resin is the only kind that soaks deep enough to seal the pores.
After the epoxy cures hard, scuff-sand any glossy areas. Your finish needs a dull surface to grab, and it will not adhere to slick cured epoxy.
You have hit the milestone when every cut end and foot is sealed. Test it by placing a drop of water on the spot. Sealed end grain no longer darkens where the drop sits.
Step 4: Choose the Right Finish for Your Wood
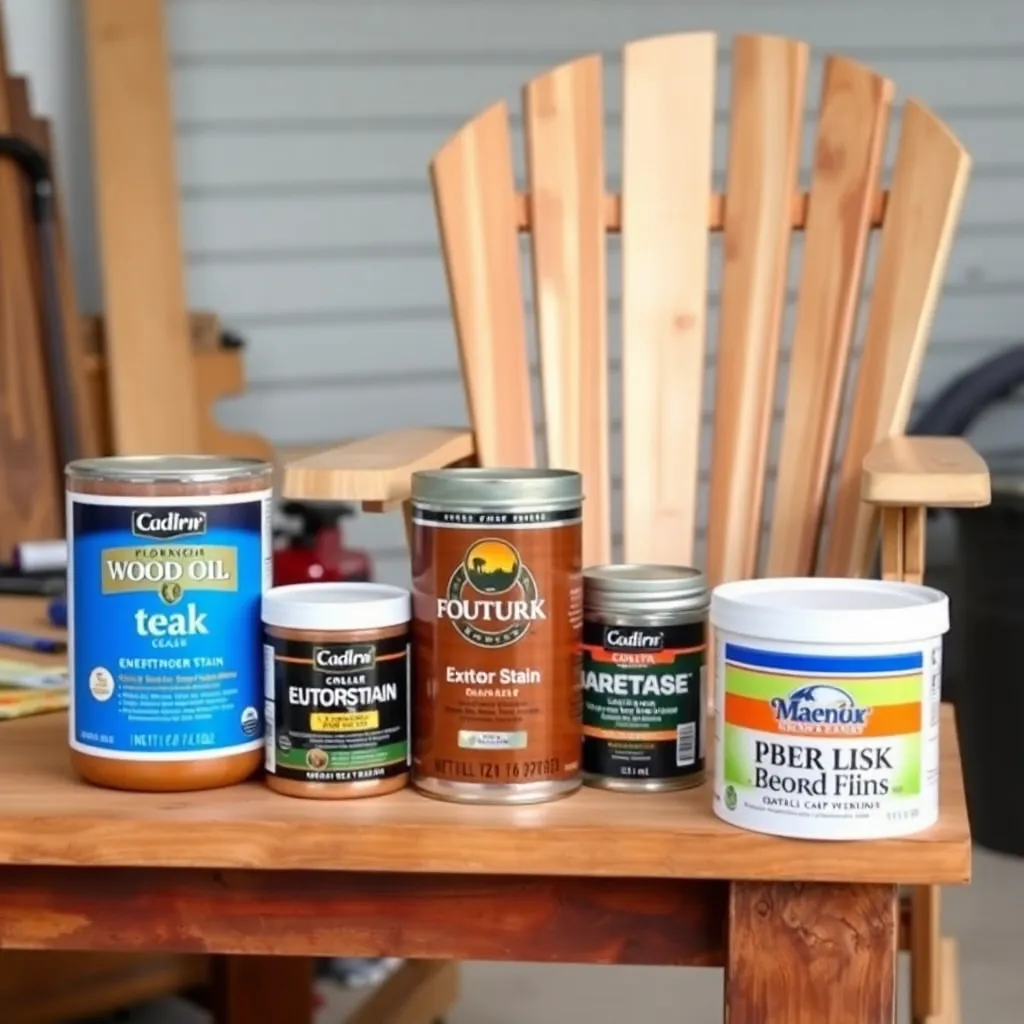
The finish you choose and the wood you built with have to agree. If they do not, the finish fails no matter how carefully you applied it.
Match your finish to two things: how much sun and rain the piece takes, and what species it is. Start with longevity, then apply the species rules.
Here is how the main finish types compare:
- Penetrating oils (teak oil, danish oil, boiled linseed oil): last 6 to 18 months. They fail gracefully, fading rather than flaking, so you re-coat without stripping.
- Semi-transparent stain: lasts 1 to 3 years. It is the middle ground, and it re-coats without stripping when it wears thin.
- Spar urethane: lasts 3 to 5 years, the longest of the three. But it fails dramatically, cracking and peeling so you must strip it before recoating. Apply it wipe-on, thinned 50/50. Recoat at 2 hours for water-based or 4 hours for oil-based.
Now the species rules, which trump the table above:
- Teak: penetrating oil only. Teak’s natural silica and oils cause film finishes to peel off in sheets. Or leave it unfinished and let it weather to a silver gray.
- Ipe: ipe-specific oil only. Weather the wood 30 to 60 days first, then wipe all excess within 30 minutes or the surface goes tacky.
- Cedar: an oil-based penetrating stain or boiled linseed oil suits it well.
- PT pine: it must have fully cured (see Step 1) before any finish touches it.
Think about what you are signing up for. Penetrating oils and stains mean a quick annual re-coat. Spar urethane means years of protection followed by a full strip-and-redo when it finally goes.
You have hit the milestone when you can name one finish that fits both your climate exposure and your species, and you know which maintenance path you have chosen.
Step 5: Apply the Finish and Handle Oily Rags Safely
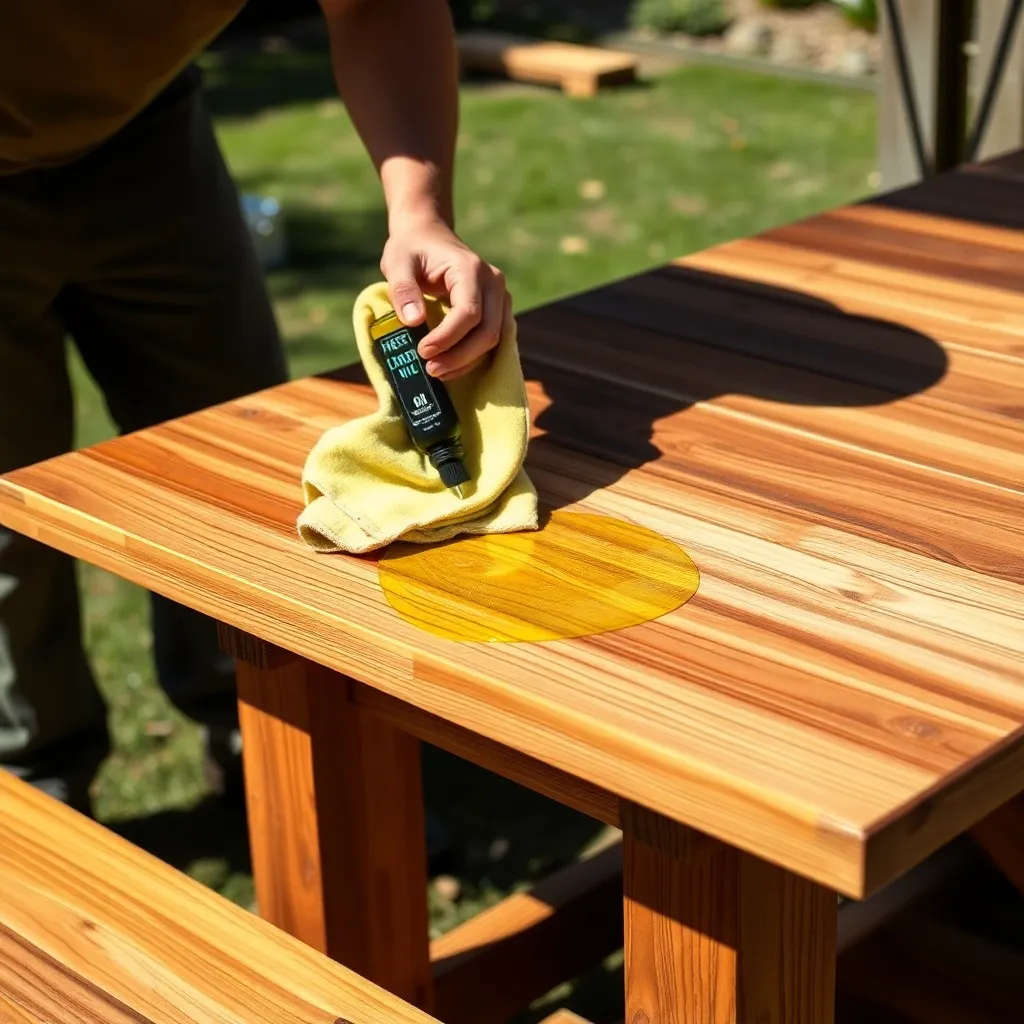
Before anything else, know this. The oily rags left over from finishing can spontaneously combust in a balled-up pile within hours.
We will cover that at the end of this step. First, the application.
Work in the shade at moderate temperatures, off direct sun. Sun skins over the finish before it can level or penetrate, leaving lap marks and streaks.
For a penetrating oil, flood on a thin coat and let it soak for the time the label specifies. Then wipe off all the excess before it starts to go tacky. Any oil left sitting on the surface dries to a gummy, uneven film. The wood should look fed, not coated.
For spar urethane, use the wipe-on method with the finish thinned 50/50. Lay down thin coats and recoat at 2 hours for water-based or 4 hours for oil-based, building 3 or more coats total. Multiple thin coats always beat one thick coat. Thin coats cure hard all the way through, while a thick coat stays soft underneath and wrinkles.
Now the rags, and this part is not optional.
Fire safety: Rags soaked in teak oil, danish oil, or linseed oil can spontaneously combust. As the oil cures it oxidizes and gives off heat, a balled-up rag traps that heat, and the pile can reach ignition on its own within hours.
Do this instead. Spread each rag out flat on concrete or drape it over the edge of a trash can until it is bone dry and stiff. Or submerge the rags in water inside a sealed metal container. Never ball up an oily rag and drop it in the bin. That is the exact condition that starts fires.
You have hit the milestone when the finish is evenly applied with no puddles or tacky spots, the correct number of coats is down, and every oily rag is laid out flat or drowned in water.
Step 6: Set a Maintenance Schedule and Test the Finish
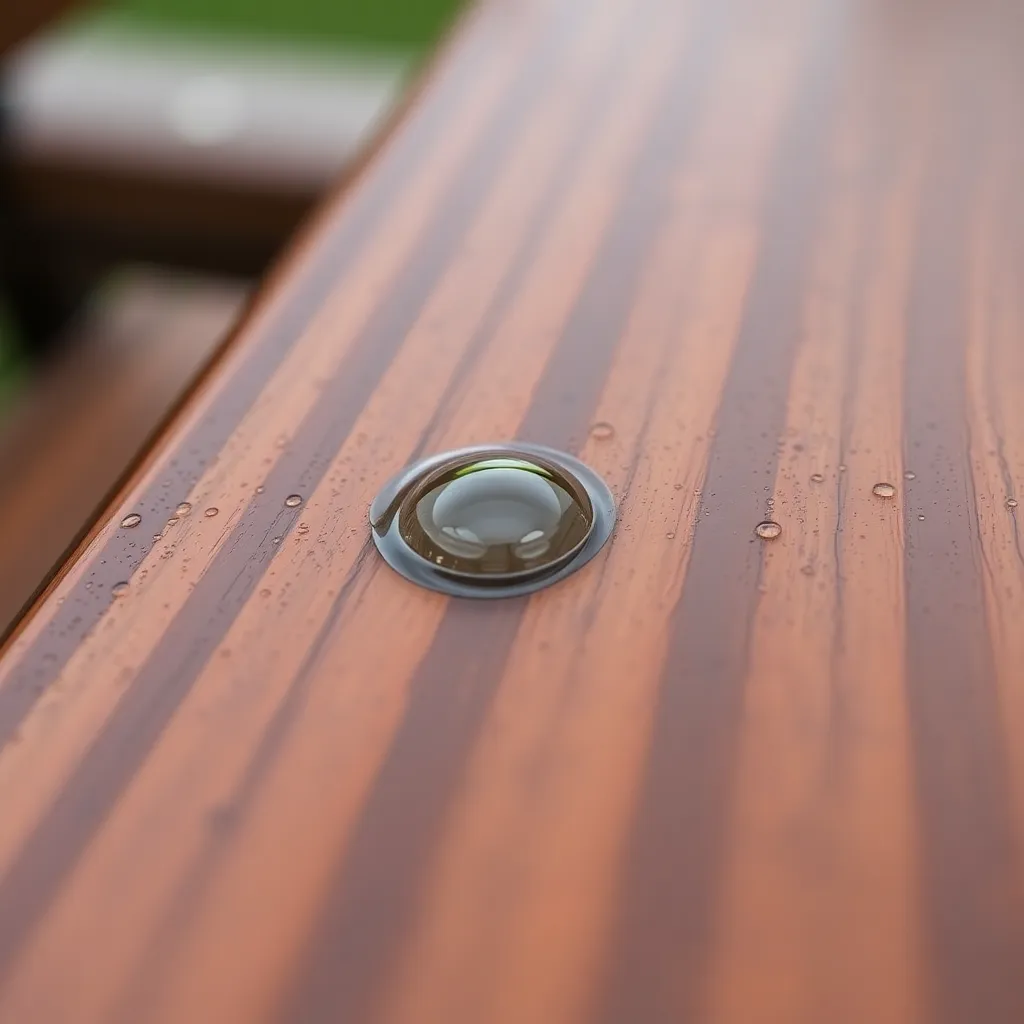
Weatherproofing is not a one-time job. The whole point of the maintenance schedule is to catch finish failure before water damage starts, while a re-coat is still all you need.
Use the water bead test to know when. Drip a little water onto the surface and watch what it does. Water that beads up means the finish is still active and shedding moisture. Water that soaks in within 60 seconds means the barrier is gone and it is time to refinish.
Set your re-coat intervals by exposure. A piece on a covered patio needs attention every 1 to 2 years. A piece in full sun and rain needs a re-coat every 6 to 12 months if you used a penetrating oil. Semi-transparent stain buys you 1 to 3 years, and spar urethane 3 to 5, but harsher exposure always shortens those windows. When in doubt, let the bead test decide rather than the calendar.
Remember the choice you made in Step 4. Oils and stains mean a simple clean-and-recoat with no stripping. Spar urethane means a full strip-and-redo when it finally fails, so a missed inspection there costs you far more work than a missed inspection on oil.
Build in a few seasonal habits. Cover the furniture or store it over winter, hose off pollen and bird droppings before they stain, and run the bead test each spring when you bring the piece back out. Pay special attention to the feet and end grain, since that is where failure shows up first. A quick re-coat on the ends each season is cheap insurance against the rot that ends a piece for good.
You have hit the milestone when you have set a calendar reminder for your interval and you know the 60-second bead test that tells you when to re-coat.
Want 16,000+ step-by-step woodworking plans?
Ted’s Woodworking has plans for every skill level — from simple shelves to full bedroom sets. Each plan includes a cut list, material list, and detailed diagrams. Browse Ted’s plans →
Frequently Asked Questions About Weatherproofing Outdoor Furniture
What is the best finish for outdoor furniture?
It depends on your wood and how much longevity you want. Use a penetrating oil for oily woods like teak and ipe, a semi-transparent stain for cedar and pine, and spar urethane when maximum longevity matters and you are willing to strip it when it eventually fails.
Do I really need to seal the end grain?
Yes. End grain absorbs moisture 10 to 15 times faster than face grain, which is why legs rot from the bottom up and rungs split at their ends. Working slow-cure epoxy into the feet and cut ends takes about 20 extra minutes and adds years of life.
How often should I reapply outdoor furniture finish?
The water bead test tells you exactly when: if water soaks in within 60 seconds, it is time. As a rough schedule, penetrating oils need it every 6 to 18 months when exposed and every 1 to 2 years when covered, while spar urethane lasts 3 to 5 years before you strip and redo it.
Can I use spar urethane on teak?
No. Teak’s natural silica and oils cause film finishes like spar urethane to peel off in sheets. Use a penetrating teak oil instead, or leave the teak unfinished and let it weather to a silver gray.
How long before I can finish pressure-treated pine?
Give it 30 days at an absolute minimum, and ideally 3 to 12 months. PT pine arrives wet, so use a moisture meter and wait until it reads under 15 percent before applying any finish.
Is polyurethane the same as spar urethane for outdoor furniture?
No. Spar urethane has UV inhibitors and flex agents built in to handle sun and the temperature swings that make outdoor wood expand and contract. Interior polyurethane lacks both, so it cracks and peels outdoors in a single season.
Ready to put this finish to work? Browse our outdoor furniture plans for pieces worth protecting.

“DIY woodworking enthusiast who started with zero experience and a YouTube tutorial.
I build simple, practical projects for my home and share free plans
so other beginners can skip the guesswork.If I can build it, you can too.”