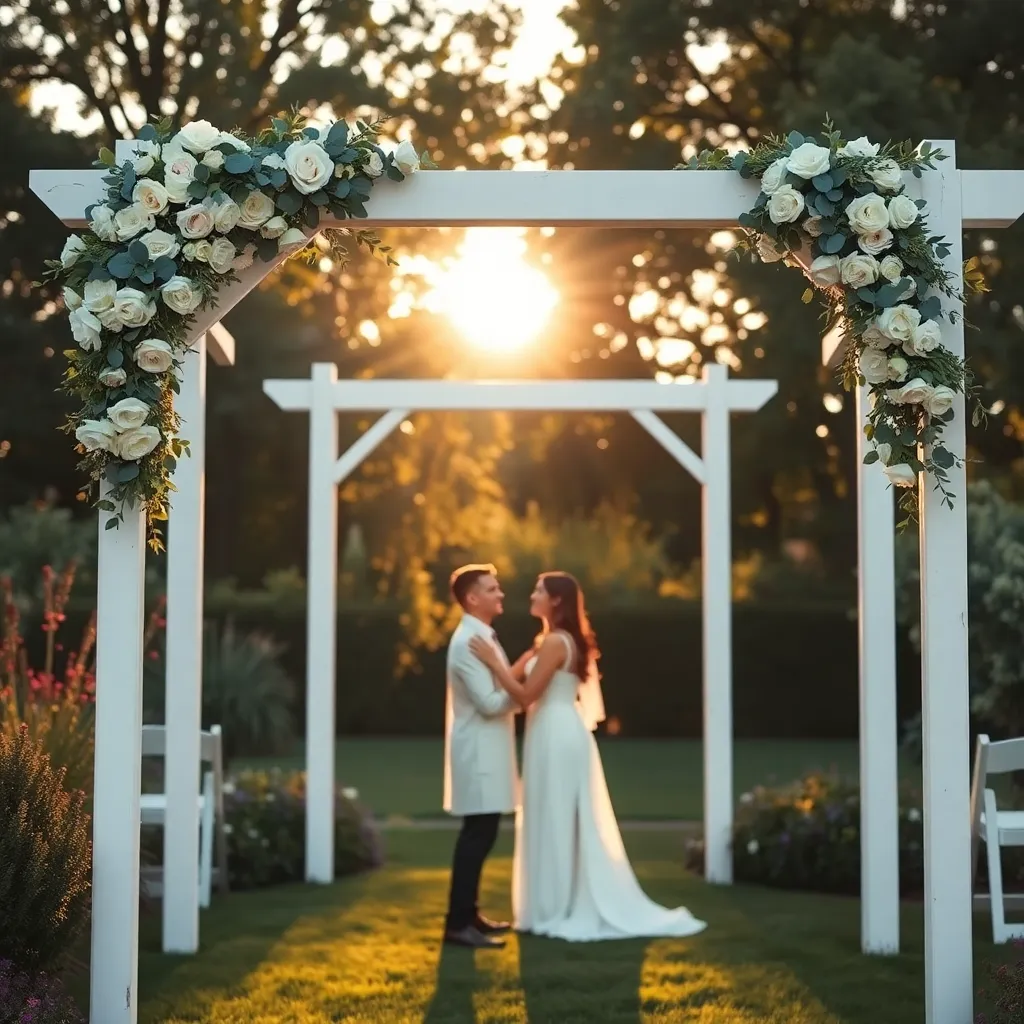
A wooden wedding arch built from these plans costs $80–150 in lumber and takes one person about five hours to complete. The same arch rented from a wedding vendor runs $200–400 for a single day. Built well and finished nicely, yours is reusable, customizable, and something you can keep, sell, or pass along after the wedding.
These plans build a classic A-frame arch — two vertical side frames connected by a curved top section, wide enough for two people to stand comfortably beneath, stable enough for outdoor use without ground stakes in calm conditions. Knock-down joinery means it disassembles into five flat panels for transport in a standard car and storage between events.
Step 1: Choose Your Style and Dimensions
Want 16,000+ step-by-step woodworking plans?
Ted’s Woodworking has plans for every skill level — from simple shelves to full bedroom sets. Each plan includes a cut list, material list, and detailed diagrams. Browse Ted’s plans →
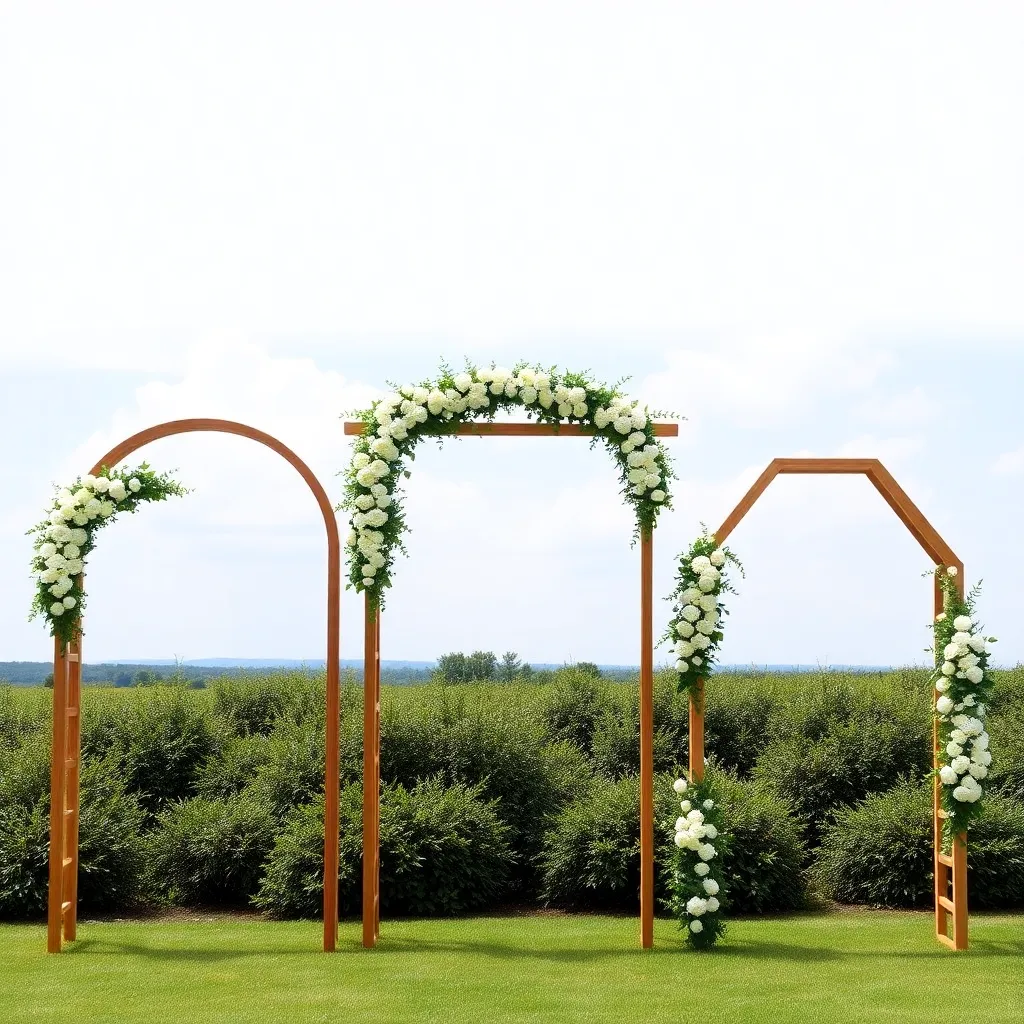
This plan builds the most popular wedding arch profile: a rectangular frame with a gently arched top. The proportions are optimized for photography — wide enough to frame a couple without crowding, tall enough to create presence without dominating.
Standard dimensions:
- Overall width: 7 feet (84 inches) outside to outside
- Overall height: 8 feet (96 inches) at the tallest point
- Arch opening width: 5 feet (60 inches) — the clear space between inner posts
- Arch opening height: 7 feet (84 inches) at center
Style variations you can make with this plan:
- Rounded arch top: Bend 1×4 boards into a gentle curve using the kerf-bending technique (multiple shallow saw cuts on the back face allow the board to flex). Visual impact is higher; requires slightly more skill.
- Flat-top rectangular arch: Skip the curve entirely — simpler to build, suits modern and minimalist aesthetics.
- Hexagonal arch: The top section is angled rather than curved, forming a six-sided opening. Cut 30-degree bevels at the joints. Works beautifully for geometric and boho styles.
These instructions build the rounded arch top version — the most photographed and universally flattering profile.
Step 2: Materials and Cut List
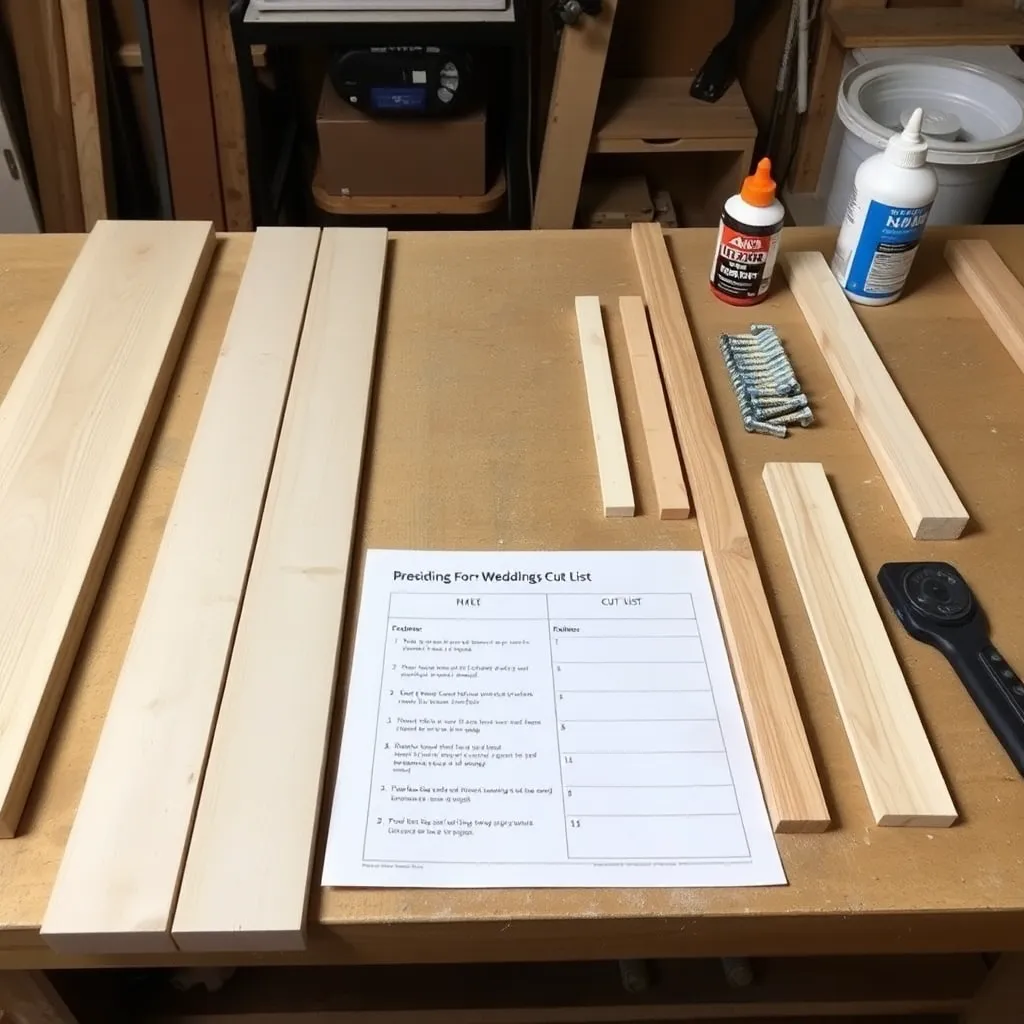
Poplar is the best choice for a painted wedding arch — it’s smooth, stable, takes paint beautifully, and is available at every home center. For a natural wood look, select pine and finish with a clear satin polyurethane. Avoid oak and hardwoods — they’re heavy, expensive, and unnecessary for a decorative structure that doesn’t carry structural loads.
| Part | Qty | Size | Notes |
|---|---|---|---|
| Outer uprights | 2 | 96″ × 3½” × ¾” | 1×4 poplar or pine |
| Inner uprights | 2 | 84″ × 3½” × ¾” | 1×4 poplar or pine |
| Side feet (base) | 4 | 24″ × 3½” × ¾” | 1×4 poplar or pine |
| Arch top ribs | 4 | 60″ × 1½” × ¾” | 1×2 poplar — laminated into curve |
| Arch top backing | 2 | 60″ × 3½” × ¾” | 1×4 poplar — straight, connects arch to uprights |
| Cross brace | 1 | 60″ × 1½” × ¾” | 1×2 poplar — mid-height stability |
| Assembly bolts | 8 | ¼” × 2½” carriage bolts | With nuts and washers — knock-down joints |
| Wood glue | 1 | Exterior PVA | For laminating arch ribs |
| Sandpaper | — | 120, 180, 220 grit | For smooth paint finish |
| Primer + paint | — | Spray can or brush | White or custom color |
Total estimated cost: $85–140 depending on wood grade and finish choice.
Step 3: Build the Two Side Frames
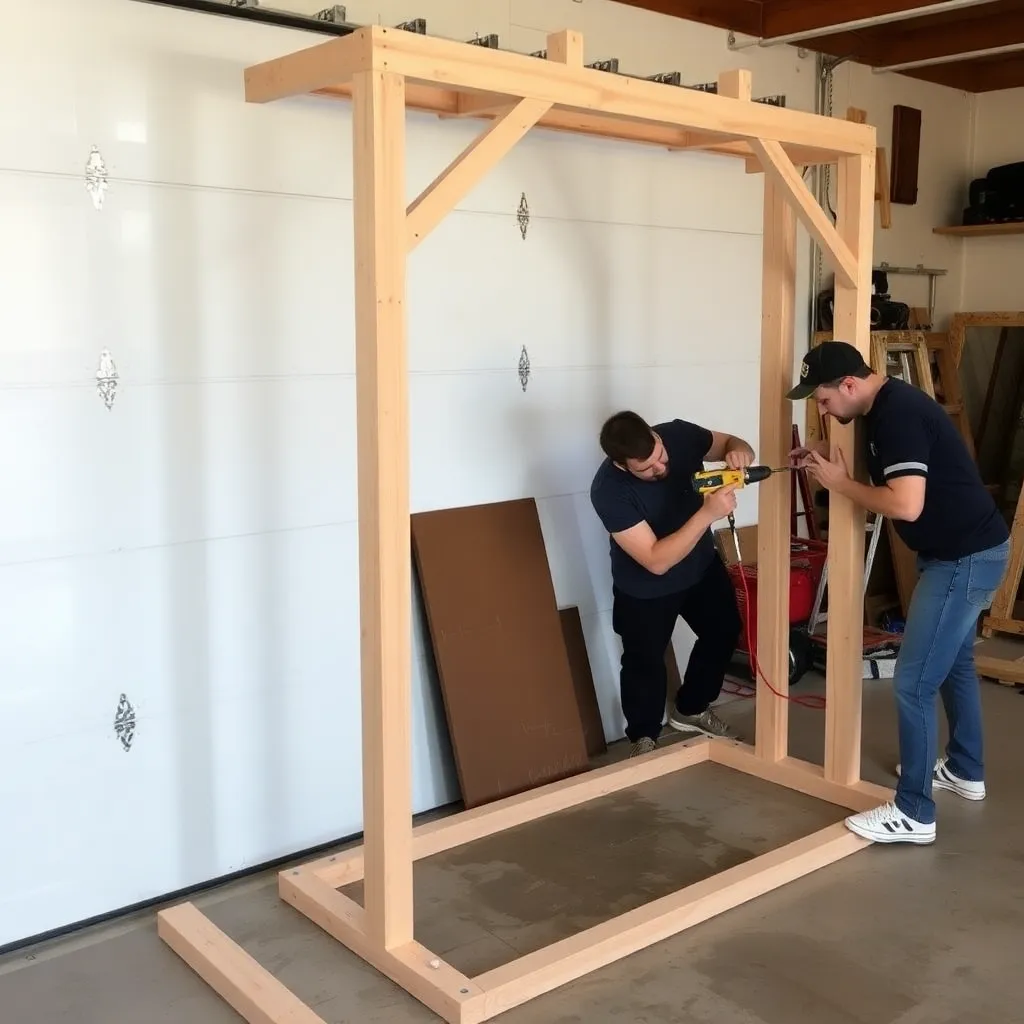
Each side frame is an upside-down U shape: an outer upright, an inner upright, and two base feet that extend outward for stability. The two side frames are mirror images of each other.
Assemble each base. Take two 24-inch base foot boards and join them in an L — one foot extends forward (toward where guests stand), one extends backward (toward where the couple stands). This T-shaped base gives the arch a front-to-back footprint of about 48 inches, which provides stability without requiring ground stakes on firm ground like grass, gravel, or packed dirt.
Use ¼” carriage bolts at every joint rather than screws — carriage bolts with wing nuts allow the arch to disassemble completely for transport. Pre-drill ¼” holes at each joint location, insert the bolt from the front face, add a washer and wing nut on the back, and hand-tighten. Do not glue any joint that needs to disassemble.
Join the uprights to the base. Stand the outer upright (96 inches tall) vertically and bolt it to the center of the T-base with two carriage bolts. The inner upright (84 inches — 12 inches shorter because the arch top will connect here) sits 5 feet away from the outer upright, also bolted to the base. Clamp the uprights parallel before tightening the bolts.
Add the mid-height cross brace. The 60-inch cross brace connects the two inner uprights at 48 inches from the ground. It stabilizes the arch against side-to-side racking. Bolt it to the inside face of each inner upright with single carriage bolts so the joint can pivot slightly — this makes final assembly easier when connecting both side frames.
Step 4: Build the Curved Arch Top
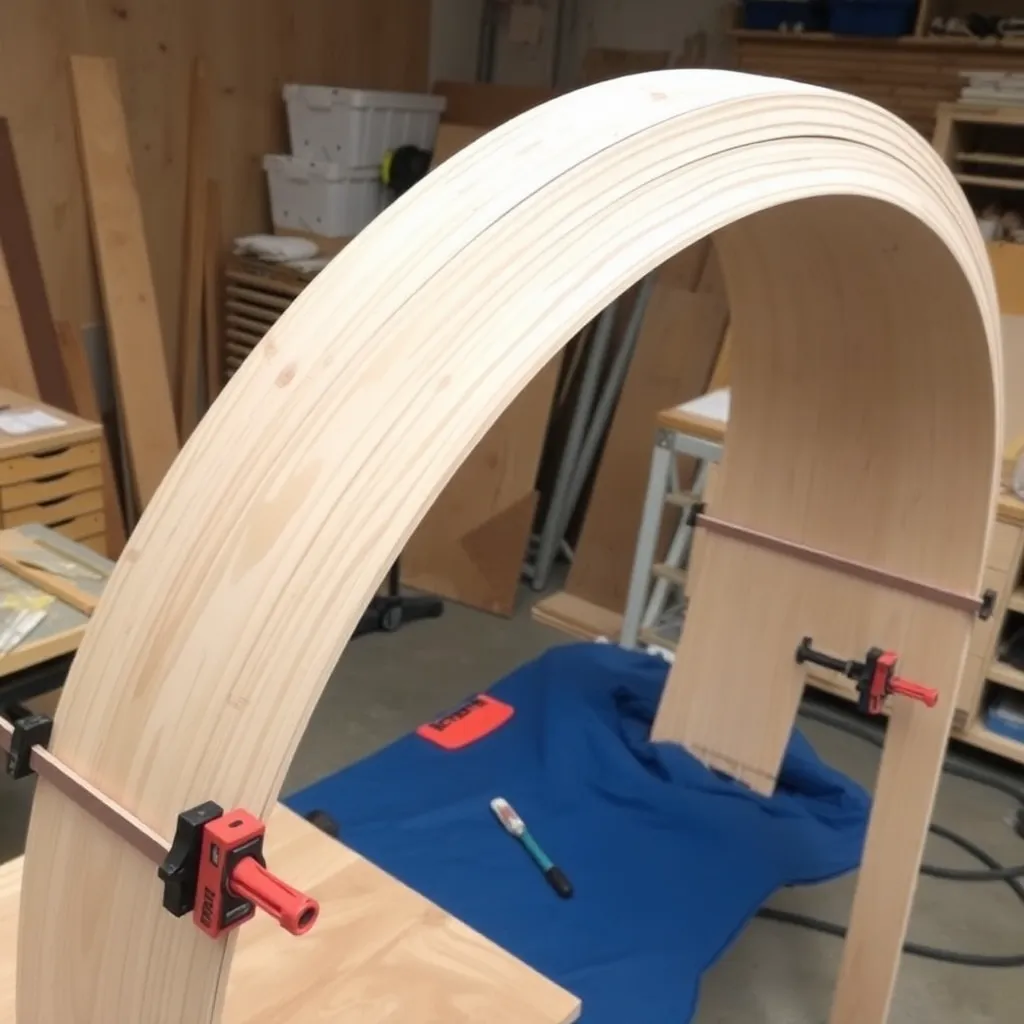
The curved arch top is the defining visual element of the arch. It’s built by laminating four thin strips of 1×2 poplar around a curved form — a simple technique that produces a smooth, consistent curve without steam bending or special tools.
Build the bending form. On a piece of scrap plywood or on your garage floor, draw a half-ellipse 60 inches wide and 12 inches tall at the center. Cut a series of 2×4 blocks and screw them along the outside of this curve line — these blocks form the mold that holds the ribs in shape while the glue dries. Space blocks every 8 inches around the curve.
Laminate the ribs. Apply wood glue to one face of the first 1×2 strip. Press it against the form blocks and clamp or staple it in place. Add the second glued strip on top, pressing it against the first. Repeat for all four strips. The four laminated strips create an arch top that is effectively 1×4 in cross section but curved — far stronger than a single curved piece cut from solid wood.
Let the glue cure for at least two hours (overnight is better) before removing from the form. The arch top will hold its curve without the form once the glue is fully cured.
Clean up the arch top. Sand the outer face of the laminated arch smooth — the individual strip edges will show as faint lines. Sand progressively through 120, 180, and 220 grit until the curve feels smooth and continuous. Round the top edge slightly with sandpaper or a small block plane.
Step 5: Assemble the Full Arch
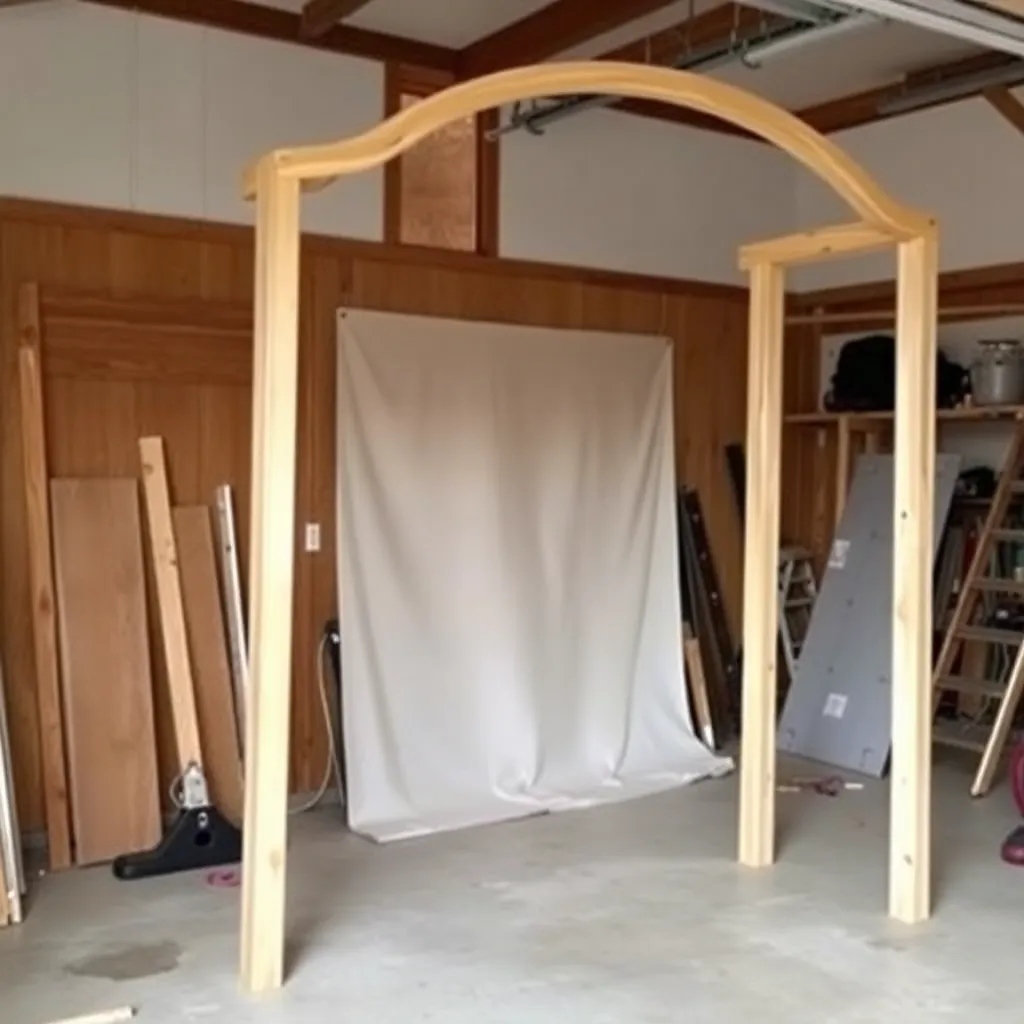
With both side frames built and the arch top laminated, final assembly connects all five pieces into the complete arch.
Attach the arch backing boards. The two 60-inch 1×4 arch backing boards are the straight horizontal pieces that bridge between the tops of the inner uprights and support the curved arch top. Bolt one backing board across the top of each side frame, flush with the top of the inner uprights. These straight pieces create a flat surface the curved arch top will rest and glue against at its ends.
Position the arch top. Rest the curved arch top on top of the two backing boards, centering it side to side. The ends of the arch top sit on the backing boards; the center arcs upward to its 12-inch apex. Clamp the arch top to the backing boards at each end and check the overall arch shape from 10 feet away — this is your chance to adjust symmetry before fastening.
Connect the two side frames. Stand both side frames upright, parallel, 5 feet apart (inner upright to inner upright). Have a helper hold one side while you bolt the cross brace to both sides. The cross brace bolt holes should align — if they don’t, the frames aren’t parallel. Adjust, then tighten.
Final fastening. Screw the arch top ends to the backing boards from below with 1¼” screws — these joints don’t need to disassemble, so screws are fine here. Run a bead of wood glue at each end joint before screwing for extra strength.
Step 6: Sand, Prime, and Paint
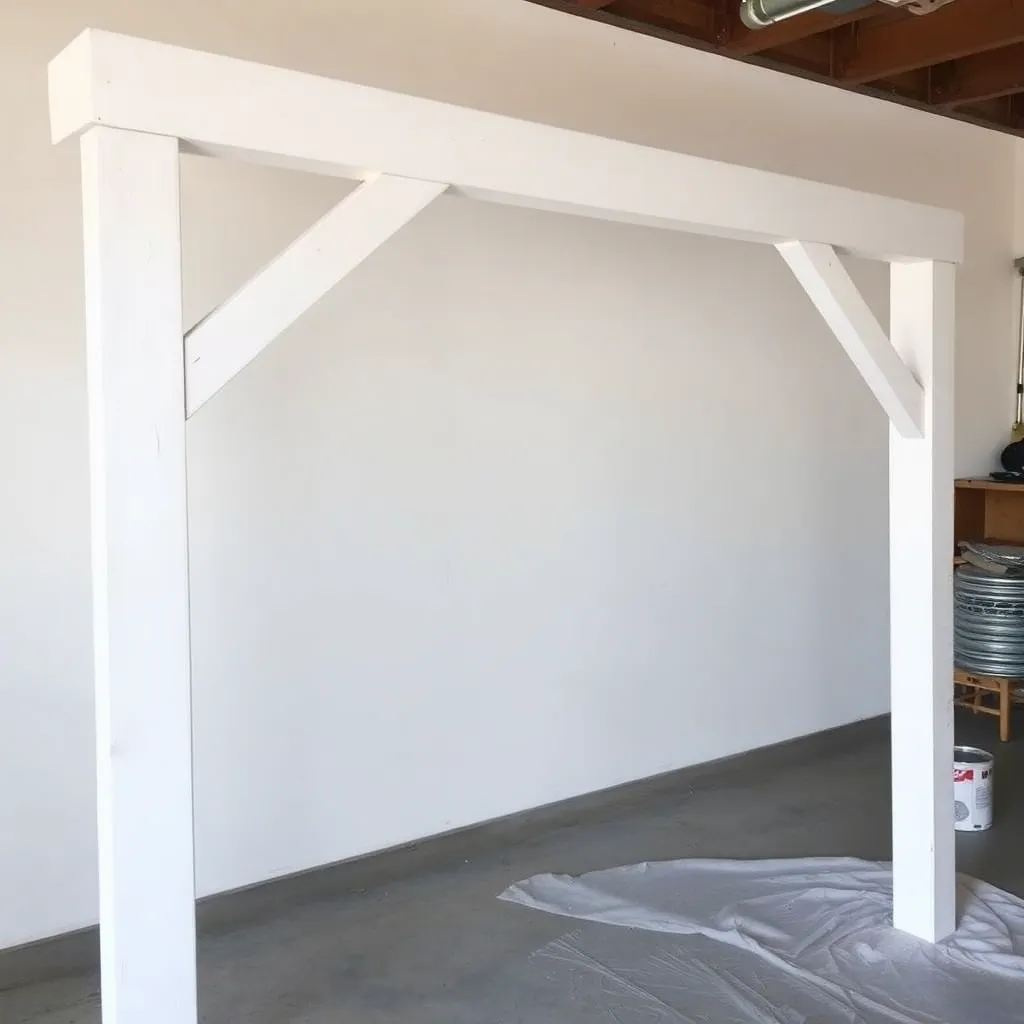
The finish is what separates a professional-looking arch from a rough-built one. Take time here — guests will be standing next to this arch during the ceremony and photos will be taken from every angle.
Fill and sand. Fill any screw holes, knots, or gaps with lightweight spackling or wood filler. Let dry completely, then sand flush with 120-grit. Follow with 180-grit across all surfaces, then 220-grit on any surfaces that will be seen in close-up photos (the front face of the uprights, the arch top).
Prime. Apply one coat of spray primer or brush-on shellac-based primer. Shellac primer seals knots in pine (which bleed through latex paint if unprimed) and provides excellent adhesion for topcoats. Let dry per label instructions — typically 30–60 minutes for spray primer.
Paint. Two thin coats of white semi-gloss spray paint give the smoothest, most even finish. Hold the can 10–12 inches from the surface, use sweeping side-to-side passes, and let each coat dry fully before adding the next. Brush painting works fine for backgrounds but tends to show brush marks in close-up photography — spray is worth the extra cost for a wedding arch.
Alternative finishes: Natural wood with clear satin polyurethane (3 coats, sanding lightly with 220-grit between coats) gives a warm, organic look that pairs well with greenery and macramé. Gold spray paint on a white base for geometric metal-look arches. Chalk paint for a matte, vintage aesthetic.
Step 7: Decorate and Transport
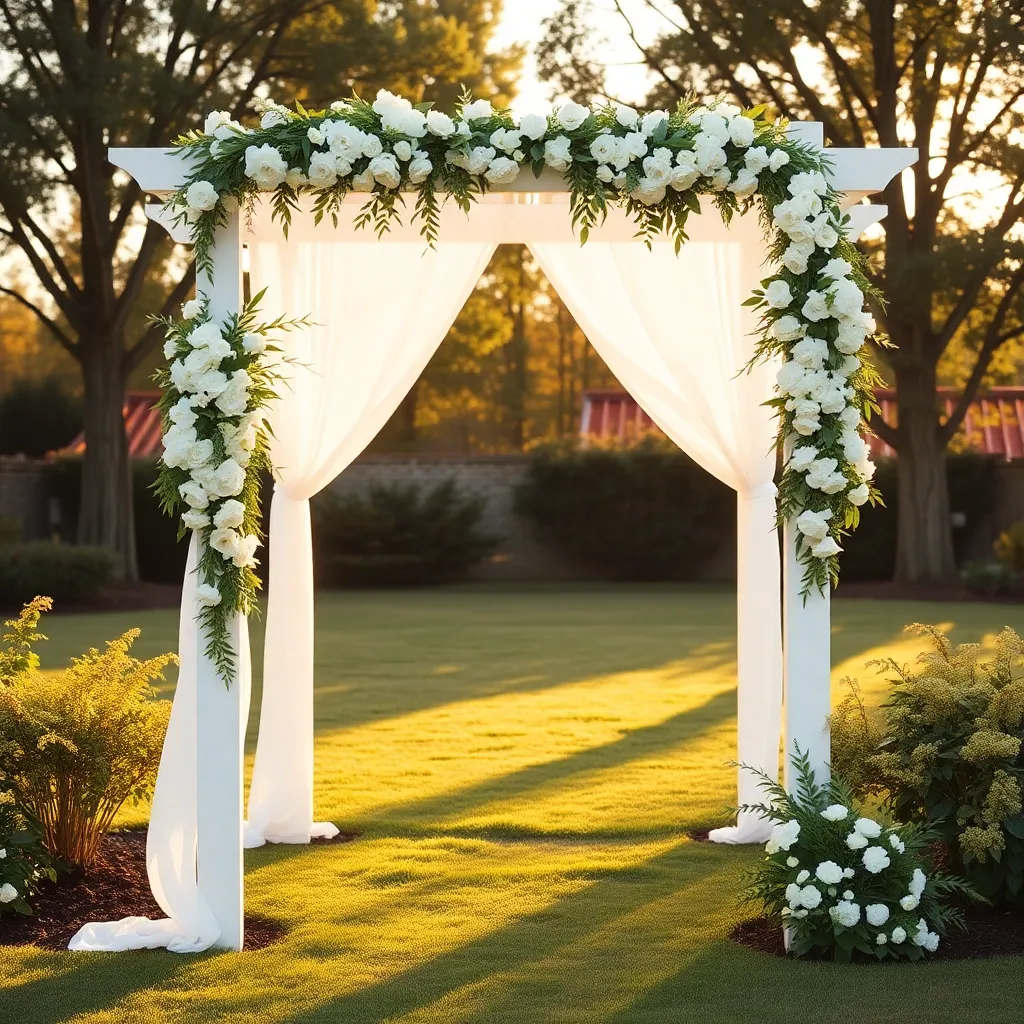
The arch ships in five pieces: two side frames, one arch top, and two backing boards (if you choose to detach them for transport). Everything fits flat in a standard SUV or minivan.
Floral and greenery attachment: Use zip ties, floral wire, or S-hooks through pre-drilled ¼” holes in the uprights and arch top to attach greenery, floral bundles, fabric draping, or fairy lights. Drill the holes before painting so you don’t chip the finish afterward.
Ground stability: On grass, push 12-inch landscape stakes through holes drilled in the base feet to anchor the arch. On concrete or hard surfaces, weight the base feet with sandbags hidden behind floral arrangements. In any wind over 15 mph, stake the arch regardless of surface.
Setup time: Two people can assemble the arch in 15–20 minutes with the wing nut carriage bolts. Practice assembly once at home before the wedding day so you know which parts connect in which order.
For more outdoor woodworking projects, visit our pergola and arbor plans hub.
Want 16,000+ step-by-step woodworking plans?
Ted’s Woodworking has plans for every skill level — from simple shelves to full bedroom sets. Each plan includes a cut list, material list, and detailed diagrams. Browse Ted’s plans →
Wooden Wedding Arch Plans FAQ
How long does it take to build a wooden wedding arch?
About 5–6 hours spread over two days: three to four hours of active building time, plus overnight glue cure time for the laminated arch top. The painting and finishing adds another 2–3 hours including dry time between coats. Plan to start building at least one week before the event to allow time for finishing and a test assembly.
What wood is best for a wedding arch?
Poplar for painted arches — it’s smooth, stable, and takes primer and paint better than pine. Select pine for natural wood finishes — it’s widely available and the grain is attractive under a clear coat. Avoid MDF (too heavy and not moisture-resistant) and hardwoods like oak (expensive and unnecessarily heavy for a decorative structure).
How do I make the arch top curved without steam bending?
The kerf-bending and lamination method in these plans requires no special equipment. Laminating four 1×2 strips around a simple plywood form produces a strong, smooth curve that holds its shape permanently once the glue cures. The form itself is just 2×4 blocks screwed to plywood — you can build it from scrap lumber in 20 minutes.
Can a wooden wedding arch be used outdoors?
Yes, with caveats. The arch is designed for calm-weather outdoor use on firm ground. Stake the base feet with landscape stakes on grass and weigh down with sandbags on hard surfaces. In wind over 15 mph, the arch should be secured regardless of conditions. Paint the arch with an exterior-grade primer and topcoat if outdoor use is planned — interior paint will absorb humidity and may peel within a season.
How wide should a wedding arch be?
The 84-inch (7-foot) outer width in these plans provides a clear 60-inch (5-foot) opening — wide enough for two people plus flowing fabric, bouquets, and movement during the ceremony without feeling cramped. For a grand ceremony entrance feeling, increase the outer width to 96 inches (8 feet). For intimate backyard settings, 72 inches works well.
How do I transport a wooden wedding arch?
The knock-down design disassembles into five flat panels in under 10 minutes. Two side frames (approximately 48″ × 96″ each) and the arch top (approximately 72″ × 12″) fit flat in any minivan, SUV with folded rear seats, or a pickup bed. Wrap panels in moving blankets to protect the paint finish during transport.
Can I rent out a DIY wedding arch?
Absolutely — many builders recoup the build cost with a single rental. A wedding arch in good condition rents for $150–350 per event depending on your market. List it on Facebook Marketplace, Stillwhite, or local wedding vendor networks. Factor in delivery, setup, and a cleaning/touch-up fee after each rental.

“DIY woodworking enthusiast who started with zero experience and a YouTube tutorial.
I build simple, practical projects for my home and share free plans
so other beginners can skip the guesswork.If I can build it, you can too.”