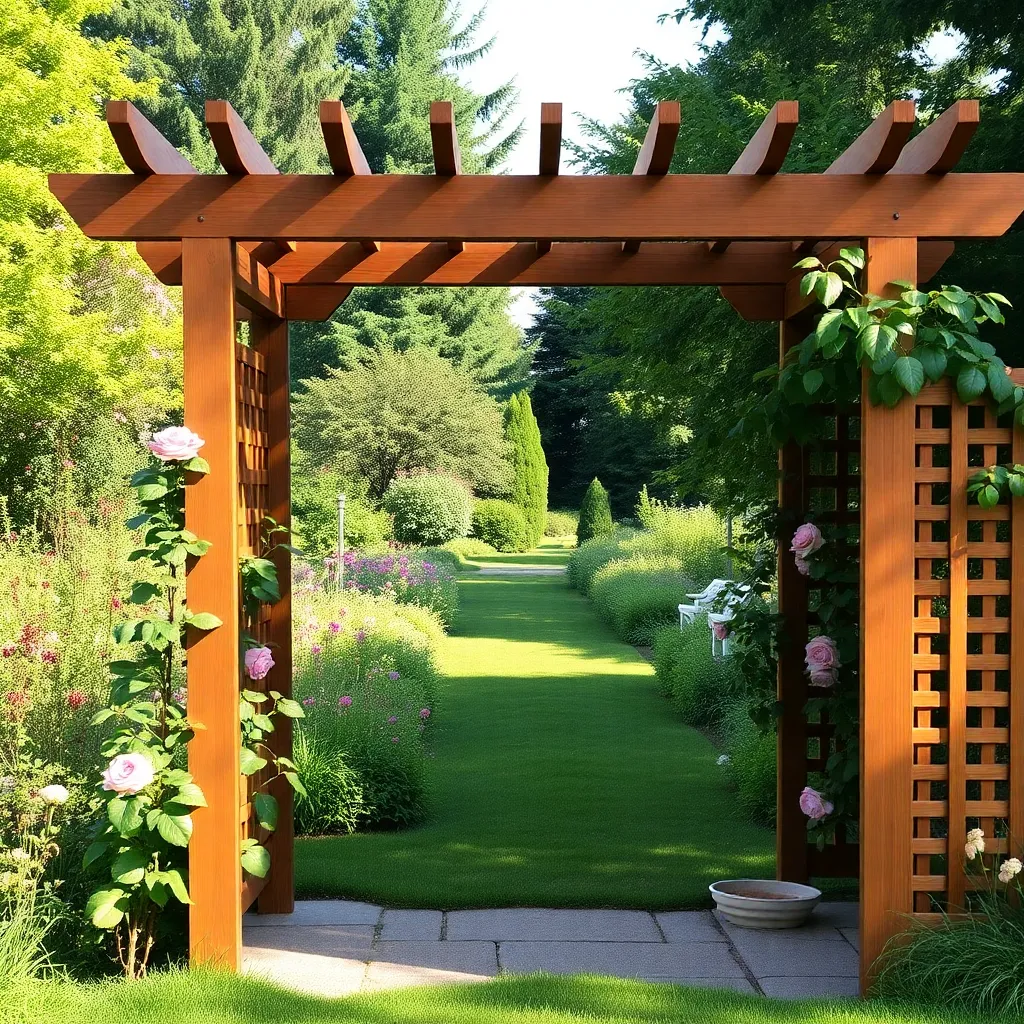
A garden arbor frames a pathway or garden entrance in a way no other structure does — it creates a threshold, a moment of transition, and a vertical surface for climbing plants to take over. Built from cedar with lattice side panels, a well-made arbor weathers naturally for 15-20 years, hosts roses or wisteria for decades, and becomes one of those features that looks like it’s always been part of the garden.
These garden arbor plans build a classic 4×4-foot footprint arbor with arched top rails, lattice side panels, and buried post footings that keep it plumb without poured concrete. The opening is 3 feet wide and 7 feet tall — wide enough for a wheelbarrow, tall enough for any gardener, and proportioned well for standard gate installation if you want to add one.
Step 1: Plan Your Location and Dimensions
Want 16,000+ step-by-step woodworking plans?
Ted’s Woodworking has plans for every skill level — from simple shelves to full bedroom sets. Each plan includes a cut list, material list, and detailed diagrams. Browse Ted’s plans →
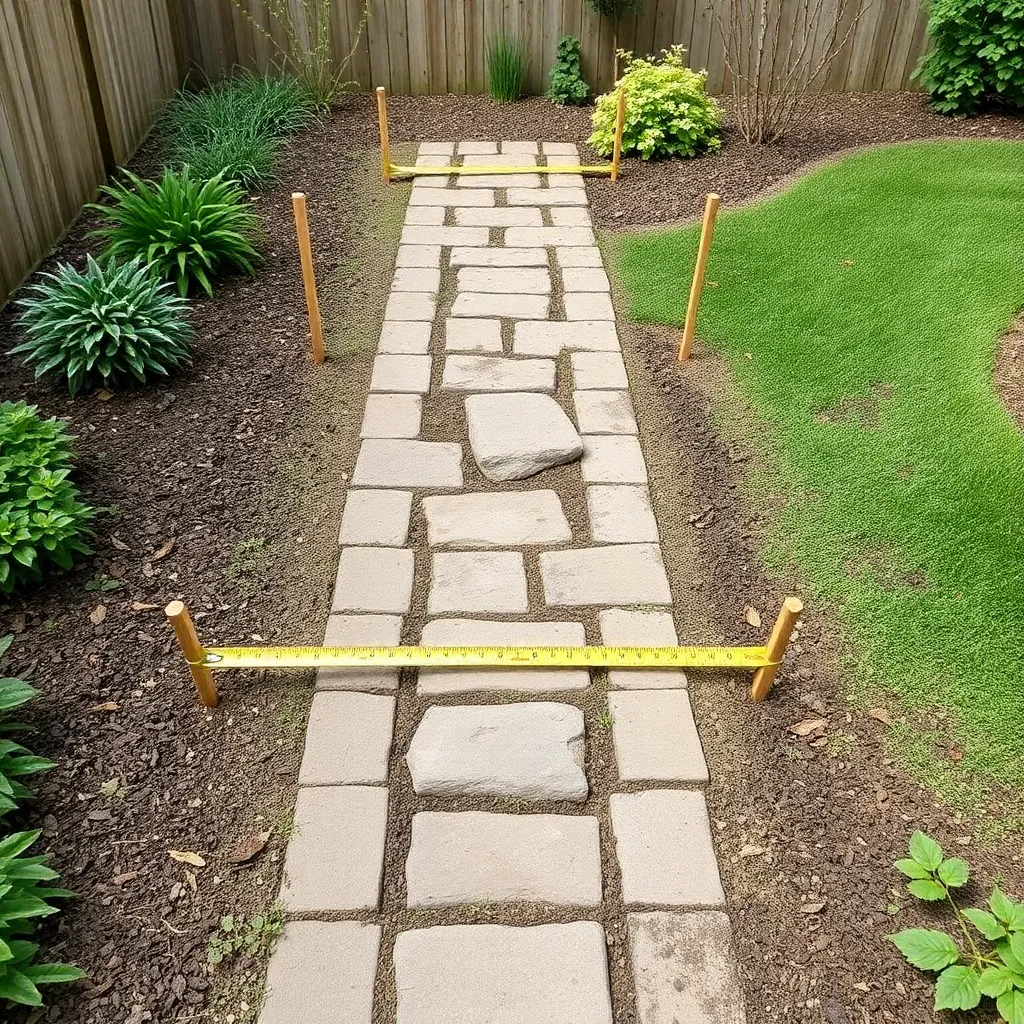
An arbor reads best when it aligns with something — a path, a fence opening, a transition between lawn and garden. Before digging, stake the four post locations and stand back: does the arbor frame what you want it to frame? Will climbing plants on the sides block sight lines you want to keep?
Standard dimensions for this build:
- Post spacing width: 4 feet outside to outside (3-foot clear opening)
- Post spacing depth: 1.5 feet front to back (the depth of the side panels)
- Post height above ground: 8 feet
- Total structure height with arch: approximately 9 feet
- Arch clear opening height: 7 feet at center
Orientation: Position the arbor so the lattice side panels face the direction you want climbing plants to grow toward the sun. A south or west exposure maximizes blooming for roses, clematis, and wisteria.
Slope check: If your path slopes, note the grade. The posts must be cut to different heights to keep the top rails level across sloped ground — measure the grade difference and account for it in your post length calculations before ordering lumber.
Step 2: Materials and Cut List
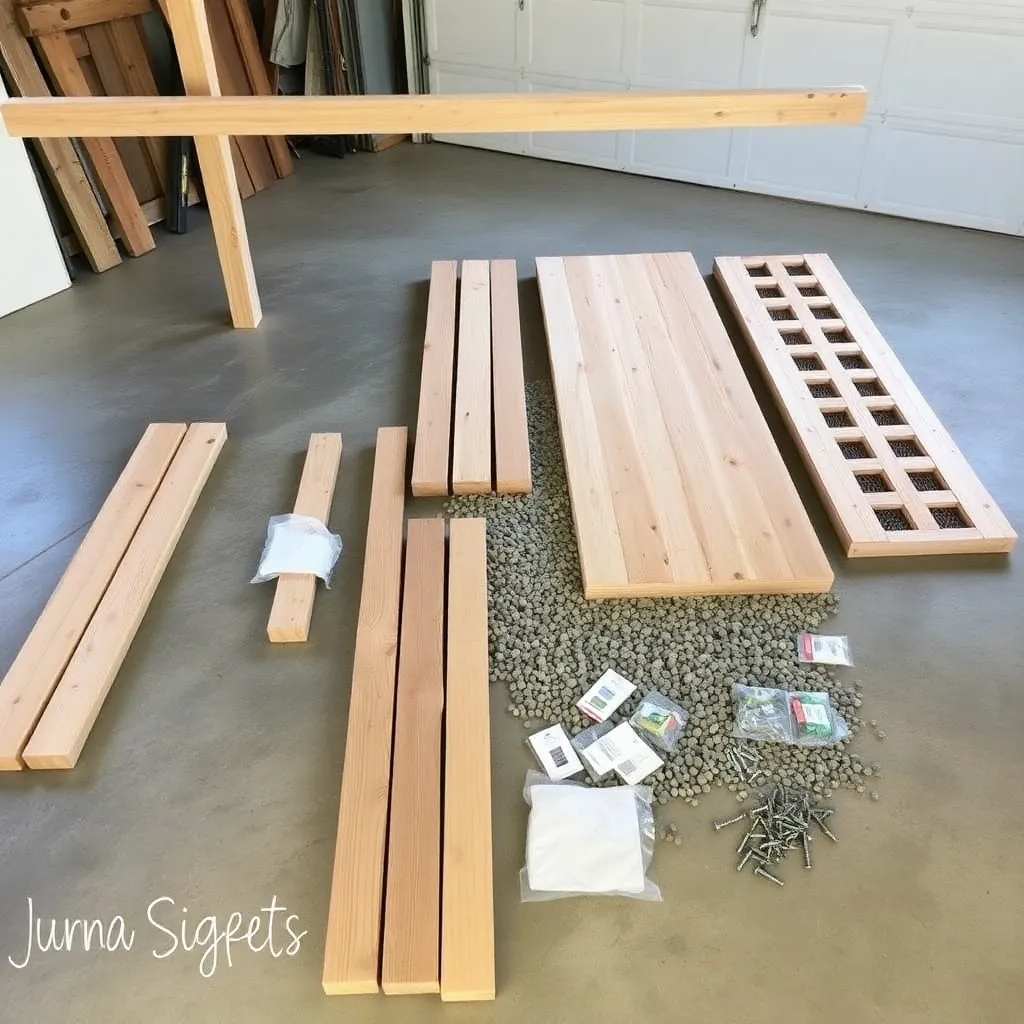
Western red cedar is the right wood for a garden arbor that will host climbing plants and wet soil conditions for decades. Cedar heartwood is naturally rot-resistant and holds up without treatment even when vines trap moisture against the surface.
| Part | Qty | Size | Notes |
|---|---|---|---|
| Corner posts | 4 | 10′ × 4×4 cedar | Set 2′ in ground, 8′ above |
| Top side rails | 2 | 18″ × 3½” × ¾” | 1×4 cedar — arched top |
| Top front/back rails | 2 | 48″ × 3½” × ¾” | 1×4 cedar — straight |
| Arch pieces | 4 | 24″ × 5½” × ¾” | 1×6 cedar — cut to arch profile |
| Side lattice panels | 2 | 18″ × 72″ | Cedar lattice, 1½” diagonal pattern |
| Lattice frame top/bottom | 4 | 18″ × 1½” × ¾” | 1×2 cedar — lattice frame |
| Lattice frame sides | 4 | 72″ × 1½” × ¾” | 1×2 cedar — lattice frame |
| Post caps | 4 | 4×4 flat cap | Decorative cedar post caps |
| Structural screws | 1 box | 2½” exterior | Stainless or coated |
| Lag screws | 8 | ¼” × 3″ | Rail-to-post connections |
| Gravel | 1 bag | Pea gravel | Post hole drainage |
Total estimated cost: $280–380 depending on region and cedar grade.
Step 3: Set the Four Posts
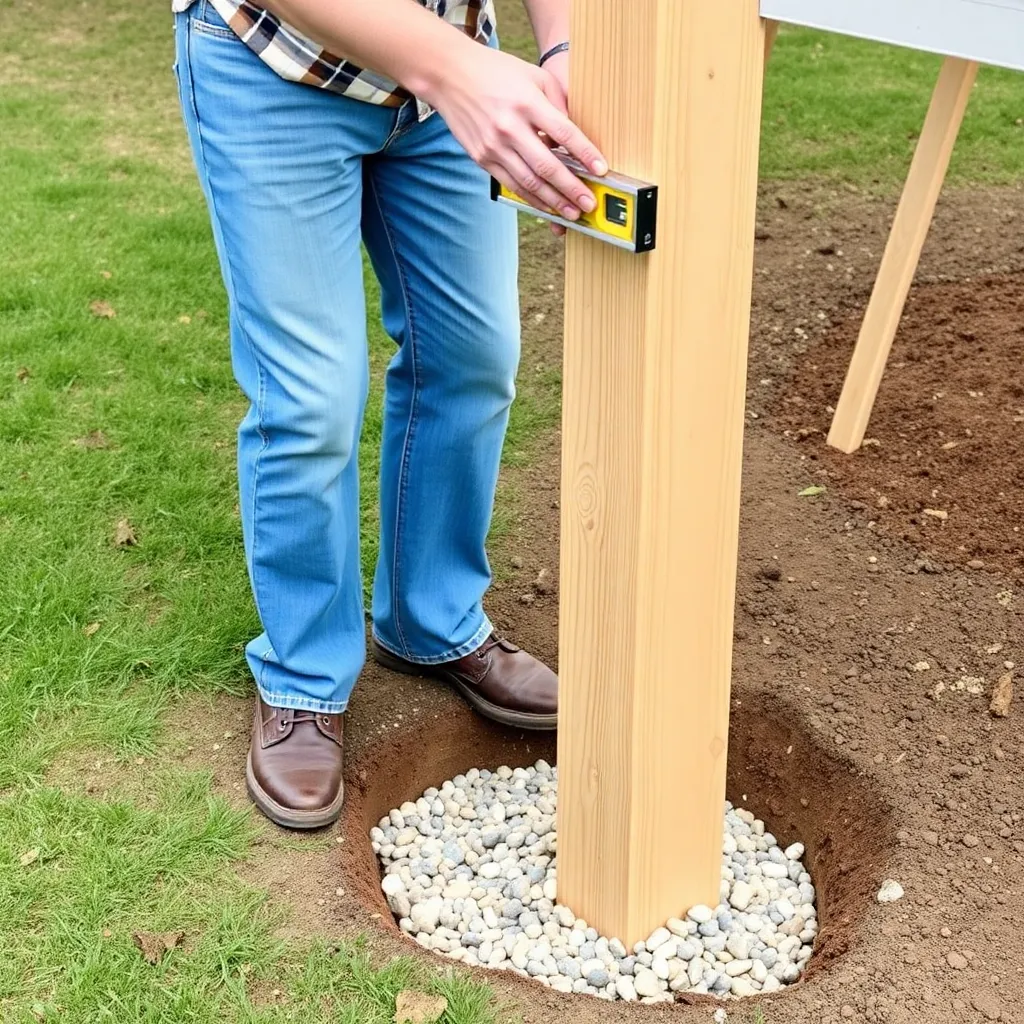
The posts carry everything — get them plumb and at the right height and the rest of the build flows easily. Unlike a large pergola, an arbor’s post loads are modest enough that gravel-tamped posts (without concrete) work well in most soil conditions.
Mark the four post locations. Lay out a 4×4-foot rectangle (outside post faces to outside post faces) aligned with your path. Check square by measuring both diagonals — they must be equal. Mark each corner with a stake.
Dig the post holes. Each hole should be 24 inches deep minimum — deeper if you’re in a frost zone (match or exceed the local frost line depth). Hole diameter: 8 inches is adequate for a 4×4 post in an arbor application. A hand-powered post hole digger handles these easily; the holes are small enough that a power auger is unnecessary.
Improve drainage at the bottom. Pour 3–4 inches of pea gravel into each hole before setting the post. Gravel prevents the post base from sitting in standing water, which is the primary cause of rot even in cedar heartwood posts.
Set and plumb the posts. Drop a 10-foot 4×4 into each hole, resting on the gravel. Plumb in both directions with a 4-foot level and hold plumb with temporary diagonal 2×4 braces staked to the ground. Backfill the hole in 6-inch layers, tamping each layer firmly with a scrap 2×4 before adding the next. This compacted backfill method holds posts firmly without concrete and allows drainage.
Mark and cut posts to height. Once all four posts are set and the backfill is tamped, mark the finished post height at 8 feet above grade on each post. Because the ground may not be perfectly level between all four posts, use a water level or a long straight board with a level to transfer the height from the first post to all three others. Cut the tops with a circular saw or reciprocating saw at the marked lines.
Step 4: Build and Install the Top Frame
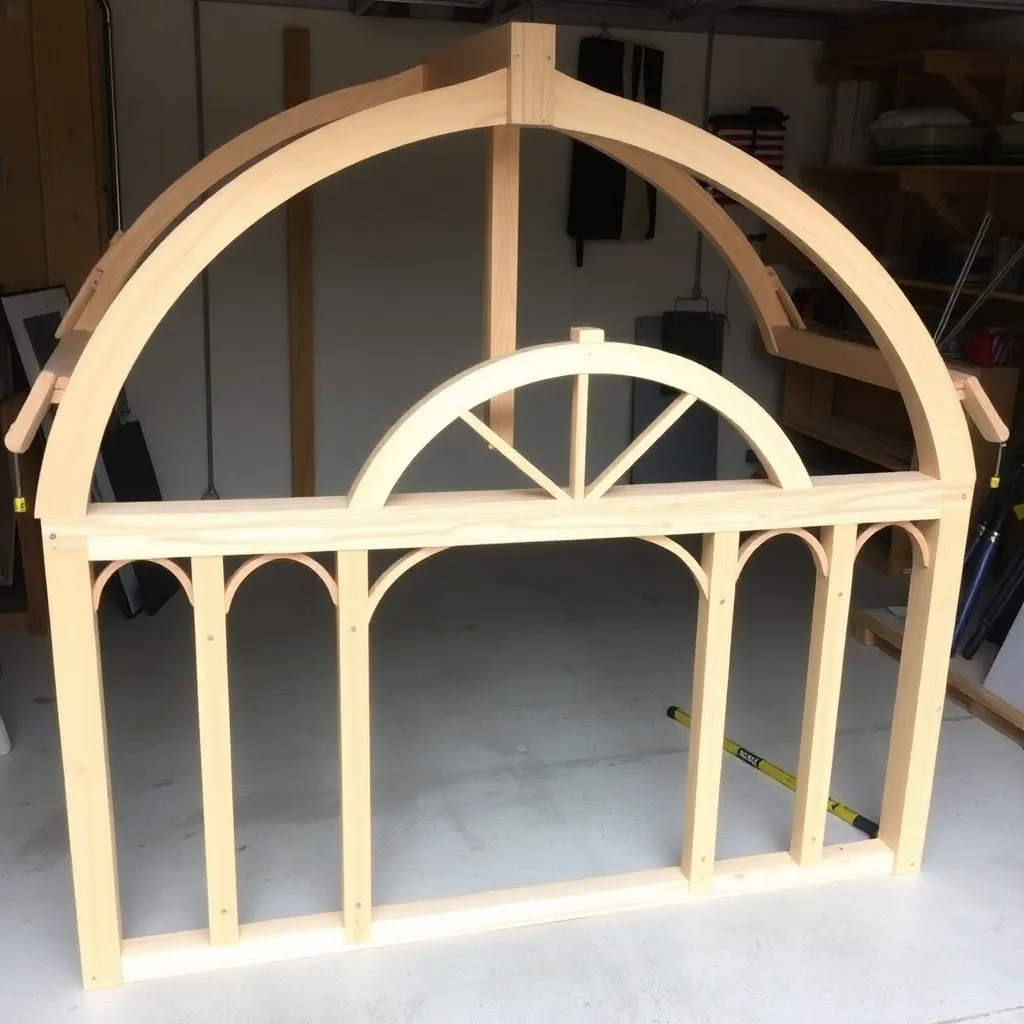
The top frame connects all four posts and defines the arbor’s roof line. It consists of two straight front/back rails and two side rails that incorporate the arch profile.
Cut the arch profile on the side rails. Each side rail is a 1×4 board with the bottom edge cut in a gentle concave curve — the arch. Mark the curve by bending a thin scrap strip of wood between two points 2 inches above the bottom corners and the center point 5 inches above the bottom edge midpoint. Trace this curve, then cut with a jigsaw. Sand the cut edge smooth. Both side rails need identical curves — cut them stacked together (tape them face to face) so both curves are perfectly matched.
Build the top arch pieces. The arch pieces are 1×6 boards cut to the quarter-circle profile that forms the decorative curved corners above the side rails. Mark a quarter circle with a 6-inch radius on each board using a compass, cut with a jigsaw, and sand smooth. You’ll have four arch pieces total — one for each upper corner of the arbor.
Assemble the top frame on the ground. Lay the four rails on a flat surface in their final positions: two 48-inch front/back rails parallel, connected by two 18-inch arched side rails at each end. The top frame is a rectangle when viewed from above. Fasten the corners with ¼” × 3″ lag screws — two per corner, driven from the front/back rail into the side rail end grain. Pre-drill to prevent splitting.
Lift and fasten the top frame. With a helper, lift the assembled top frame onto the four posts. The posts should align with the inside corners of the frame. Fasten through the rail into the post with two lag screws per post from each direction (front and side). Check that the frame is level in all directions before tightening fully.
Attach the arch pieces. Fasten one arch piece at each upper inside corner, bridging between the front/back rail and the side rail. The arch piece creates the visual transition from the vertical post to the horizontal frame. Glue and screw from both the rail and the post face — two screws per connection.
Step 5: Install the Lattice Side Panels
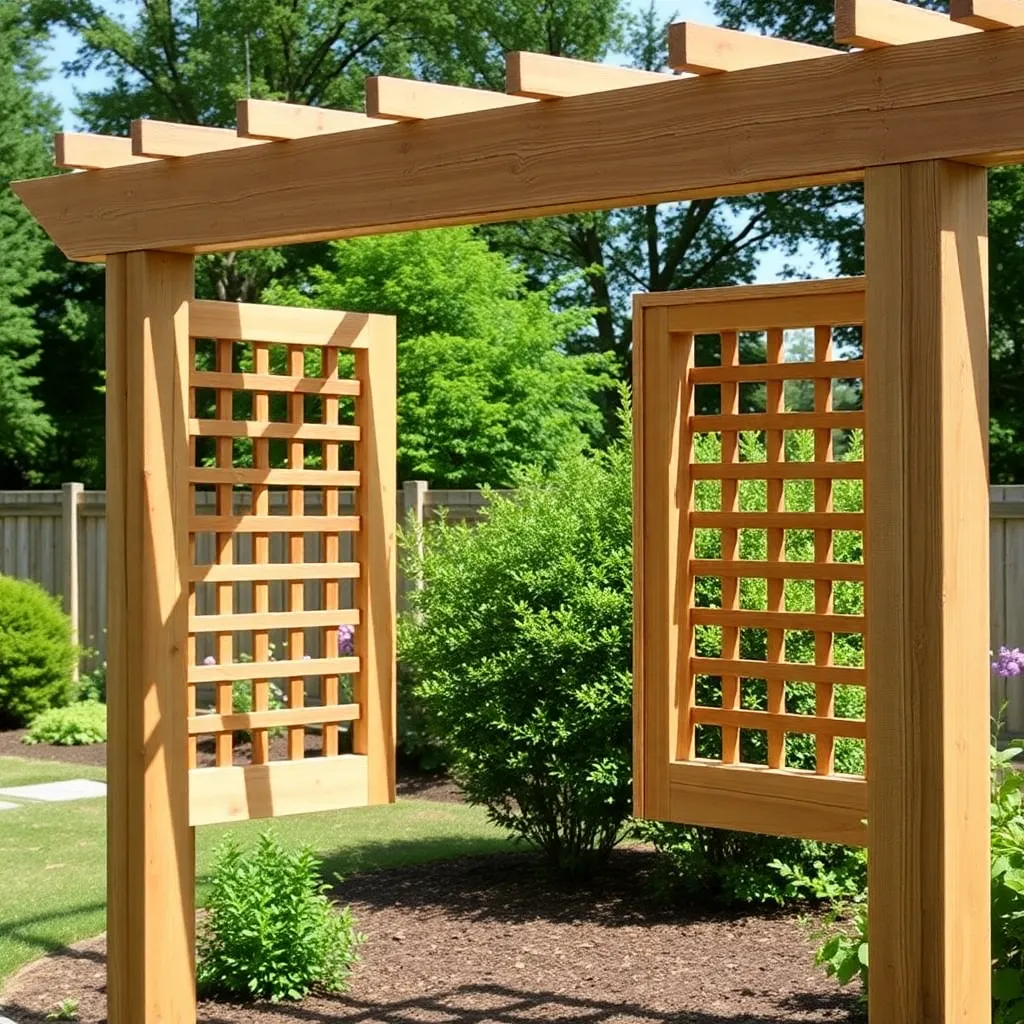
Lattice panels are the backbone of a climbing plant arbor — they give roses, clematis, and honeysuckle something to grip while providing a decorative visual screen from the sides.
Build the lattice frames. Each side panel gets a cedar 1×2 frame that holds the lattice panel and provides a clean border. Cut four frame pieces per side: two 18-inch top/bottom pieces and two 72-inch side pieces. Assemble each frame with glue and 1¼” screws at the corners — these are simple butt joints, no fancy joinery needed.
Cut and install the lattice. Pre-made cedar lattice panels are available at most home centers in 4×8 sheets — buy one sheet and rip it to your 18×72-inch panel size with a circular saw. Lay the lattice inside the frame and secure with 1″ staples or small brad nails every 6 inches around the perimeter. The lattice should sit in a shallow rabbet (groove) if you want a flush look, or simply staple to the face of the frame for a simpler installation.
Mount the panels to the posts. Stand each lattice panel assembly between the front and back posts on each side of the arbor. The panel should span from ground level to the underside of the top frame. Fasten through the 1×2 frame into the post faces with 2½” screws every 12 inches. Leave a 1-inch gap at the bottom between the lattice and the ground — lattice in direct soil contact will wick moisture and rot even in cedar.
Step 6: Add Post Caps and Finish
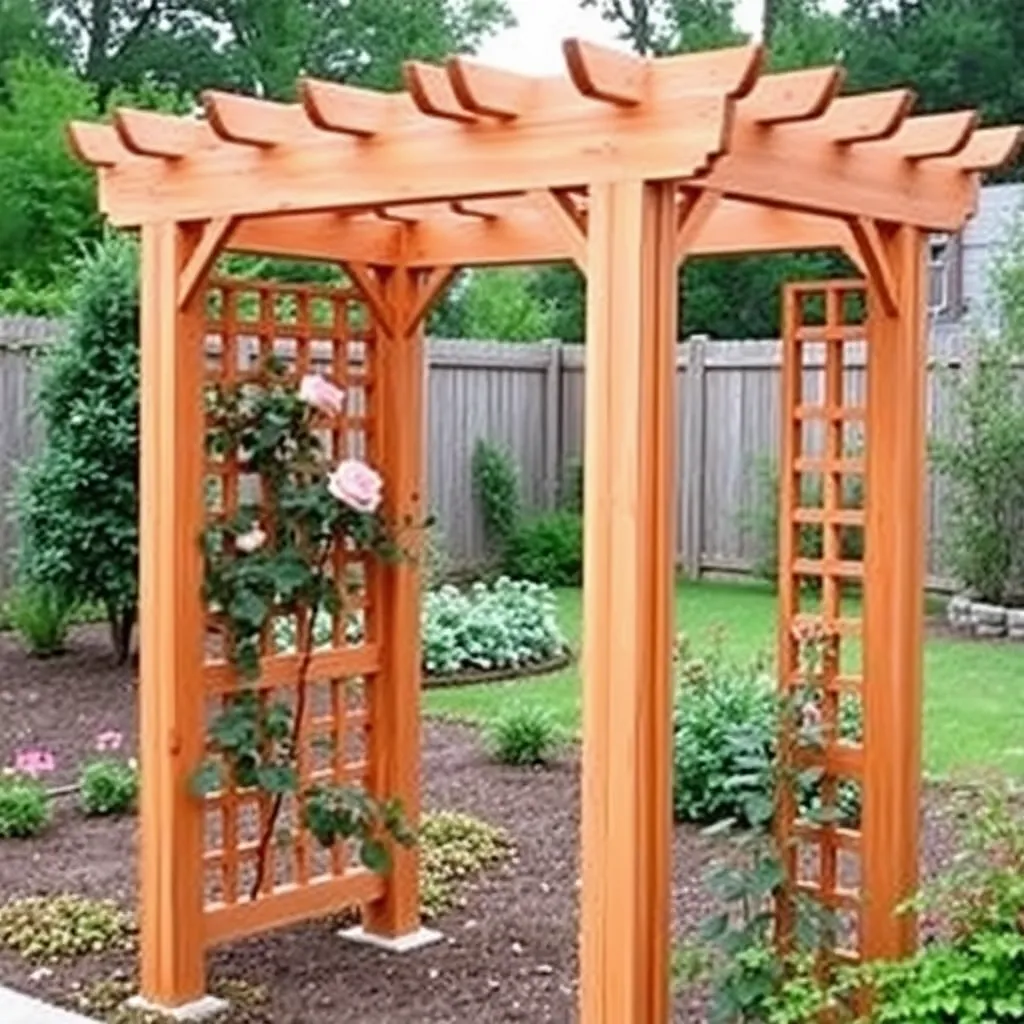
Install decorative post caps. Cedar flat post caps on each of the four post tops protect the exposed end grain (where water absorption is fastest) and add a polished, finished look. Fasten with 1¼” stainless nails through the cap flanges into the post top.
Finish options for cedar:
- Unfinished natural weathering: Cedar silvers gracefully over one to two seasons. The wood remains structurally sound; only the color changes. This is the most common choice for garden arbors that will be covered in plants — vines make reapplying finish nearly impossible once established.
- Semi-transparent cedar stain: Applied before plants establish, a UV-blocking semi-transparent stain (Cabot, TWP) maintains the warm cedar color for 3–4 years. Apply to bare wood within the first few months before the cedar grays.
- Clear satin exterior finish: Brings out the grain without adding color. Must be reapplied every 2–3 years — plan accordingly if vines will eventually cover the arbor.
Plant immediately. The best time to establish climbing plants on a new arbor is right after installation. Train young climbing roses, clematis, or wisteria up the lattice panels using soft plant ties — never wire, which cuts into stems. For the first season, direct new growth toward the lattice rather than allowing it to cascade outward.
For more outdoor structure projects, visit our pergola and arbor plans hub.
Want 16,000+ step-by-step woodworking plans?
Ted’s Woodworking has plans for every skill level — from simple shelves to full bedroom sets. Each plan includes a cut list, material list, and detailed diagrams. Browse Ted’s plans →
Garden Arbor Plans FAQ
How deep should garden arbor posts be buried?
Bury posts at least 24 inches deep, or at or below the local frost line (whichever is deeper). Frost lines range from 12 inches in the deep south to 48 inches in northern states. Posts set above the frost line can heave out of the ground over winter, racking the entire arbor out of plumb. Adding 3–4 inches of gravel at the hole bottom before setting the post significantly improves drainage and extends post life.
Do I need concrete for garden arbor posts?
Not necessarily. For a garden arbor’s modest wind and load requirements, well-tamped compacted backfill holds posts firmly in most soil conditions. Concrete is an upgrade in sandy or loose soil where tamping doesn’t hold well. If you use concrete, leave 2 inches of gravel below the post and dome the concrete slightly above grade so water drains away from the post base rather than pooling around it.
What climbing plants are best for a garden arbor?
Climbing roses (especially once-blooming ramblers like ‘Veilchenblau’ or repeat-blooming climbers like ‘New Dawn’) are the classic arbor plant. Clematis works well and blooms heavily; combine a large-flowered clematis with a rose for continuous color. Wisteria is dramatic but aggressive — it will eventually grow heavy enough to damage a lightly built arbor, so use 4×4 posts or larger and plan for annual pruning. Honeysuckle and jasmine are fragrant and fast-establishing.
How tall should a garden arbor be?
The clear opening height — the space you walk through — should be at least 7 feet for comfortable passage with garden tools, plants in hand, or tall visitors. Add 12–18 inches above the opening for the arch top and frame, bringing the total post height above grade to 8–8.5 feet. Shorter arbors (6-foot clear opening) feel cramped and read as decorative rather than functional.
Can I add a gate to this arbor design?
Yes — the 3-foot clear opening in these plans matches standard gate widths. Install a cedar gate on heavy-duty strap hinges screwed into the front post face. Use a gate latch that can be operated from both sides. Build the gate from 1×4 cedar boards in a Z-brace pattern (two horizontal rails, one diagonal brace) to prevent racking. A gate adds privacy, keeps animals out of the garden, and looks intentional.
How long will a cedar garden arbor last?
Western red cedar heartwood arbors routinely last 15–25 years with basic care — keeping the area around post bases clear of mulch and soil, and reapplying finish before the plants establish. Cedar sapwood (the pale outer ring of the board) deteriorates much faster; ask your lumber yard for heartwood-grade cedar or check the boards yourself for dark coloring throughout the cross-section.
How much does a DIY garden arbor cost?
Material costs for this cedar arbor with lattice panels run $280–380. Pre-built arbors of similar size and quality retail for $600–1,200. A contractor-built equivalent installation typically runs $800–2,000 including labor. The main DIY savings come from labor — the material costs are similar to what a contractor would charge for materials alone.

“DIY woodworking enthusiast who started with zero experience and a YouTube tutorial.
I build simple, practical projects for my home and share free plans
so other beginners can skip the guesswork.If I can build it, you can too.”