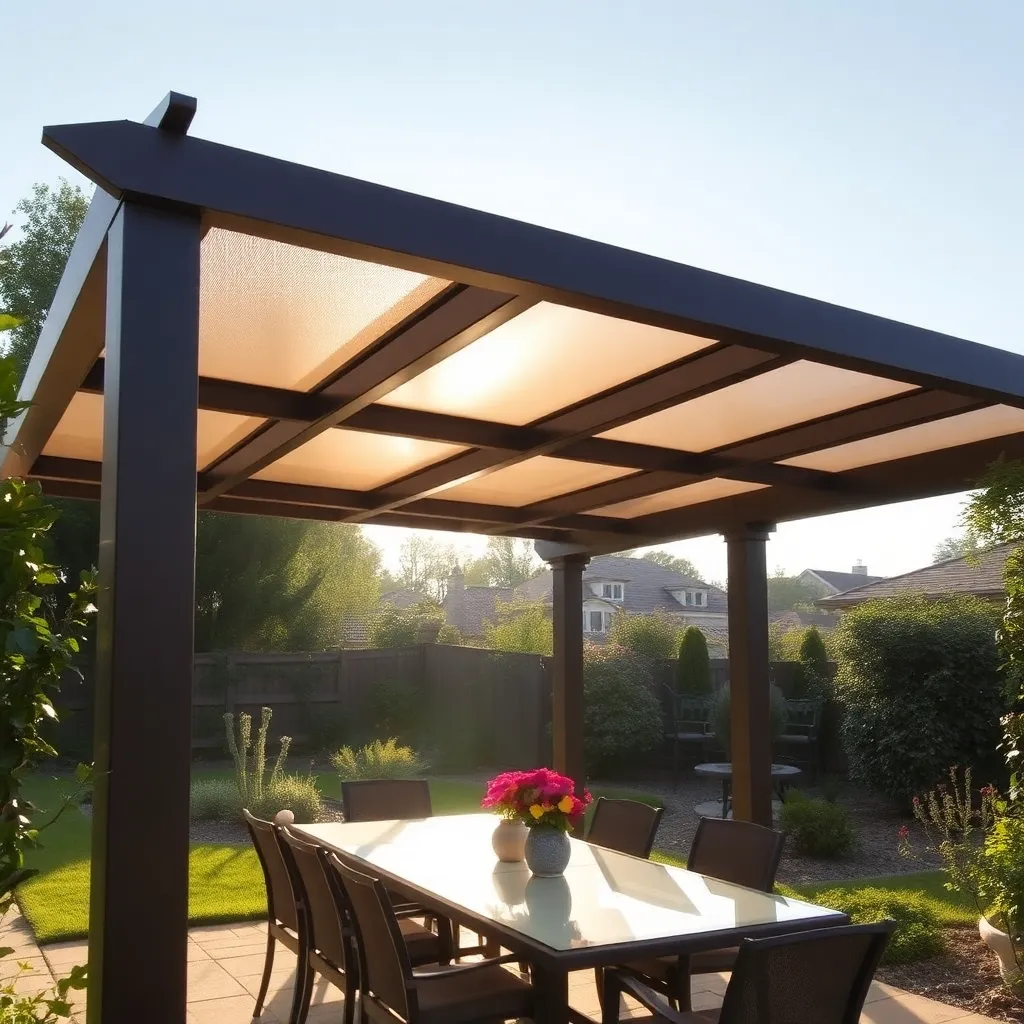
A pergola without a shade cover is an architectural feature. A pergola with one is an outdoor room. The difference — filtered light, reduced heat, shelter from light rain — is what makes the structure actually usable during the hottest part of the day when you most want to be outside.
These pergola shade cover plans walk through four cover types that can be retrofitted onto any existing pergola or built into a new one: polycarbonate panels, shade sail fabric, lattice boards, and corrugated metal. Each has a different look, cost, and light-filtering profile. The step-by-step instructions below cover the most popular option — polycarbonate panels — with notes on the other three.
Want 16,000+ step-by-step woodworking plans?
Ted’s Woodworking has plans for every skill level — from simple shelves to full bedroom sets. Each plan includes a cut list, material list, and detailed diagrams. Browse Ted’s plans →
Step 1: Assess Your Pergola and Choose a Cover Type
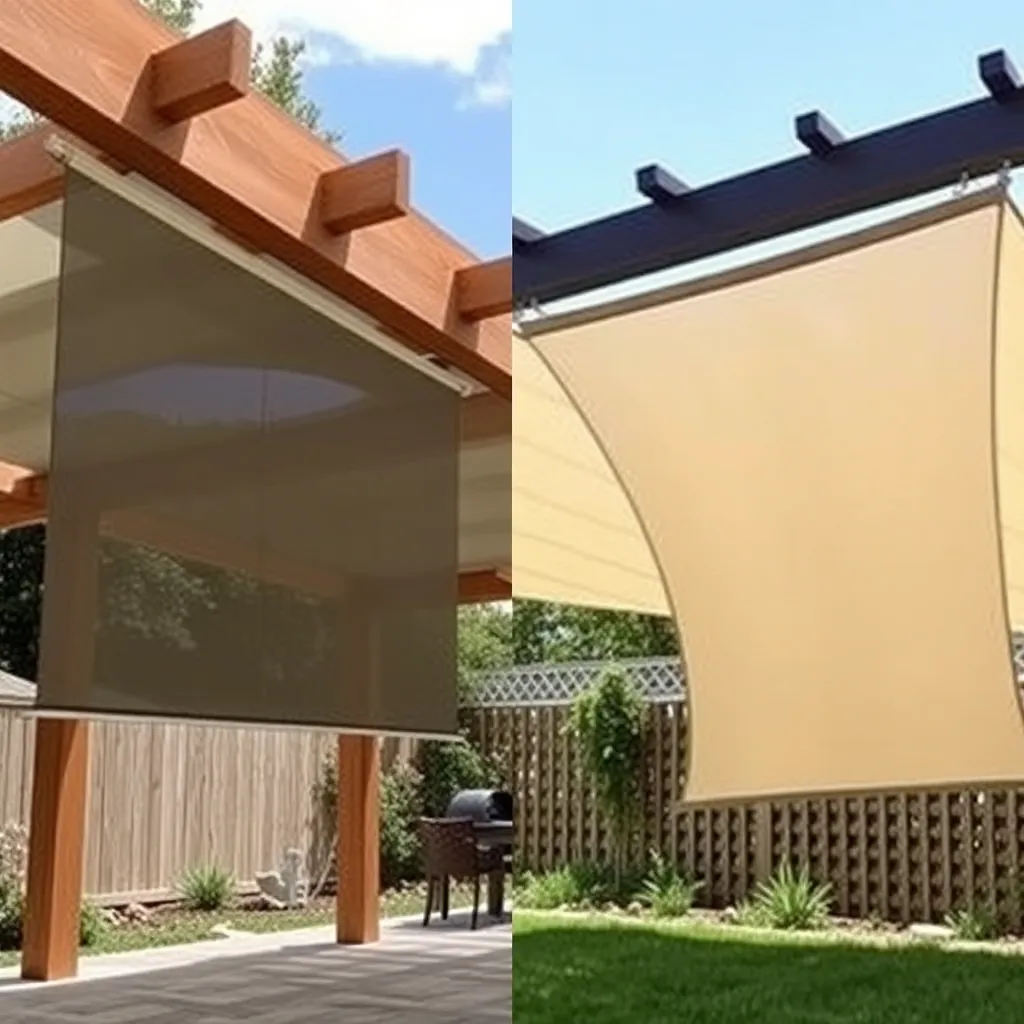
Before buying materials, take stock of what your pergola’s structure can support. Shade covers add weight and, more critically, wind load — a solid polycarbonate or metal roof catches wind like a sail, putting significant lateral force on the posts and beams.
Check your pergola’s structural capacity:
- Post size: 4×4 posts are adequate for fabric covers and lattice. Polycarbonate or metal roofs on pergolas wider than 10 feet require 4×4 minimum; 6×6 is better.
- Beam span: Check that the existing beams are not deflecting visibly at mid-span. For polycarbonate panels, beams should span no more than 8 feet without a mid-span purlin.
- Post anchoring: If posts are surface-mounted to a deck with post bases, verify the hardware is rated for lateral loads. Solid-ground-buried posts handle wind loads better.
Cover type comparison:
| Cover Type | Light Filtering | Cost (10×12 pergola) | Wind Resistance | Lifespan |
|---|---|---|---|---|
| Polycarbonate panels | 35–85% shade | $180–320 | Excellent (rigid) | 10–15 years |
| Shade sail fabric | 70–95% shade | $60–140 | Poor (remove in storms) | 5–8 years |
| Lattice boards | 40–60% shade | $120–200 | Good (open structure) | 15–25 years |
| Corrugated metal | 100% shade | $200–400 | Excellent (rigid) | 20–30 years |
Polycarbonate panels are the most popular retrofit choice: lightweight (far lighter than metal), rigid enough to resist wind without requiring removal, and available in twinwall (insulating) versions that reduce heat transmission. The rest of these instructions cover polycarbonate installation.
Step 2: Materials and Cut List
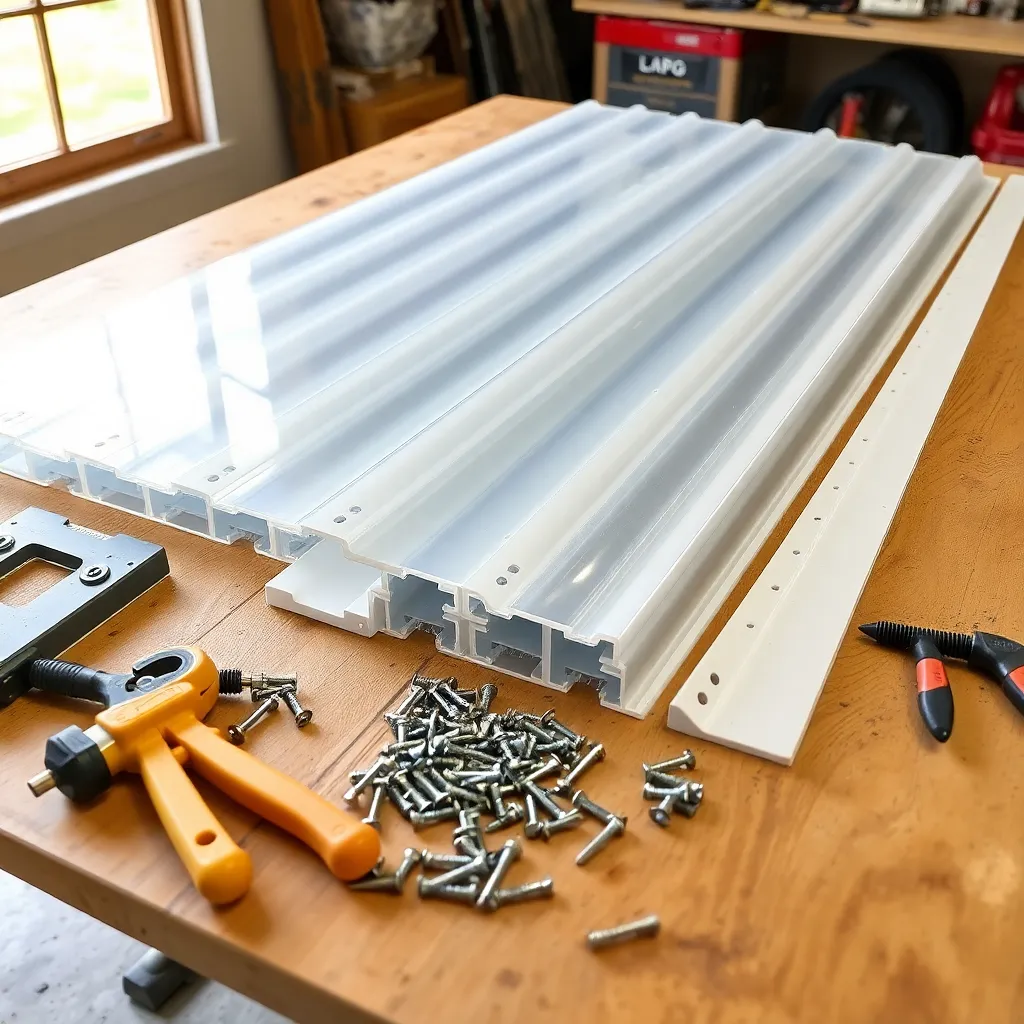
Twinwall polycarbonate panels are the right choice for a pergola shade cover — the twin-wall construction diffuses light (reducing glare) and provides insulation that a single-sheet polycarbonate panel doesn’t. Standard sheet size is 4×8 feet; panels can be cut with a circular saw using a fine-tooth blade.
| Part | Qty | Size | Notes |
|---|---|---|---|
| Twinwall polycarbonate panels | As needed | 4′ × 8′ sheets | Clear, bronze, or opal — calculate from pergola dimensions |
| Aluminum H-channel | Per joint | 8′ lengths | Connects panel edges end-to-end |
| Aluminum U-channel | Per perimeter | 8′ lengths | Seals panel ends (top and bottom) |
| Polycarbonate panel screws | 1 box | 1″ self-tapping | With rubber washers — prevents cracking |
| Aluminum closure strips | Per rafter | Rafter length | Seals panel-to-rafter gaps |
| Silicone sealant | 1 tube | Clear exterior | For end sealing |
| Purlins (if needed) | Per span | 2×4 cedar | Mid-span support for spans over 4 feet |
Panel quantity calculation: Measure your pergola’s covered area (length × width). Divide by the panel area (32 sq ft per 4×8 sheet). Add 10% for waste and cuts. A standard 10×12 pergola needs 4 sheets minimum; order 5.
Total estimated cost: $220–350 for a 10×12 pergola with polycarbonate panels.
Step 3: Plan the Panel Layout and Add Purlins
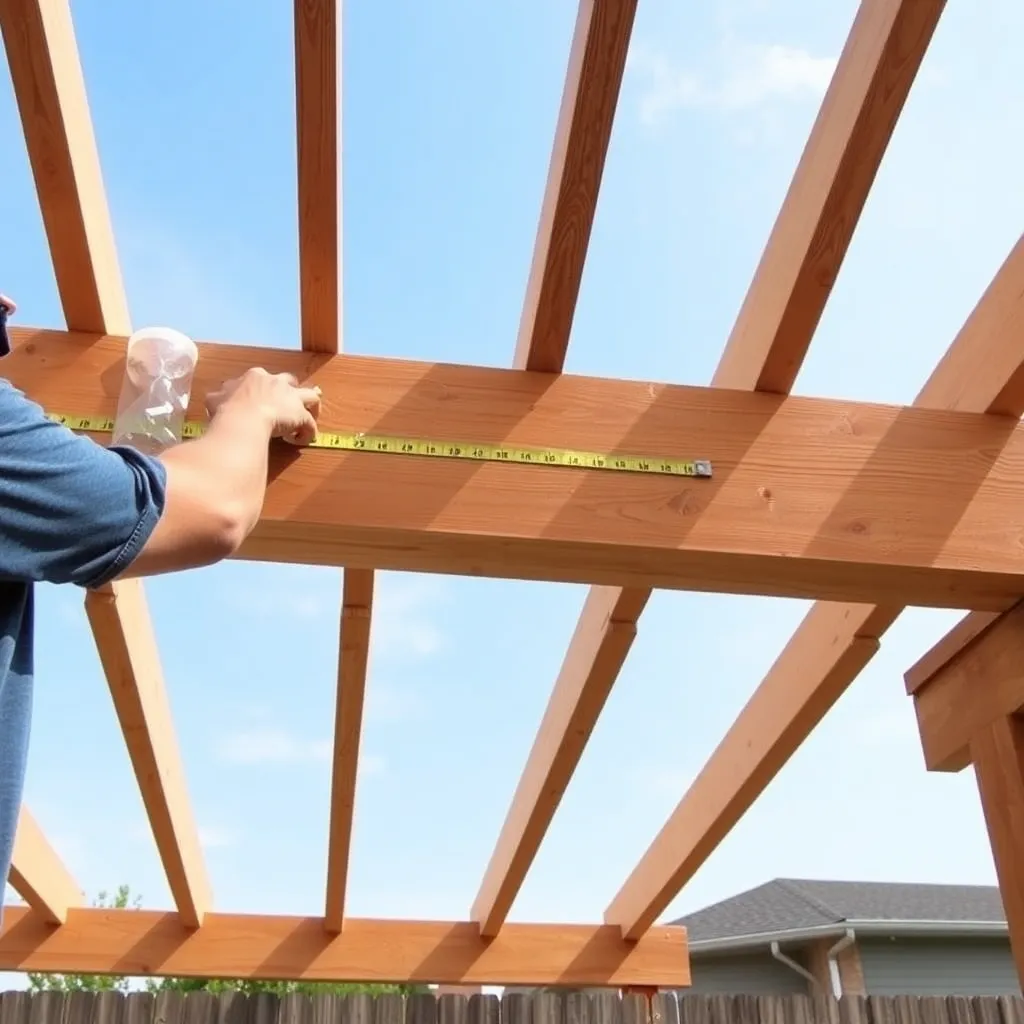
The existing pergola rafters are typically spaced 16–24 inches apart. Polycarbonate panels span well up to 4 feet between supports — if your rafter spacing is wider than 4 feet, you’ll need to add intermediate purlins (2×4 boards running perpendicular to the rafters, between them) before installing panels.
Mark the panel layout. Starting from one end of the pergola, mark where each 4-foot-wide panel will sit. Panels run parallel to the pergola’s length (parallel to the rafters), not perpendicular. Each panel should land with 2–3 inches of overhang beyond the outer rafter on each side for water runoff. Panels should overlap the end beams by at least 2 inches front and back.
Add purlins if needed. If rafter spacing exceeds 4 feet, measure and cut 2×4 cedar purlins to fit between each pair of rafters. Toenail or use metal framing connectors to attach purlins flush with the top of the rafters. Space purlins no more than 4 feet apart across the panel run.
Establish the slope direction. Water must drain somewhere — polycarbonate panels need a minimum 1/4-inch-per-foot slope (about 2 degrees) to drain effectively. If your pergola is already built on a slight slope, check which direction water will run. For a flat-topped pergola, you can shim the rafters at one end by adding tapered cedar shims under the panels to establish slope.
Step 4: Install Aluminum Channels and Seal Panel Ends
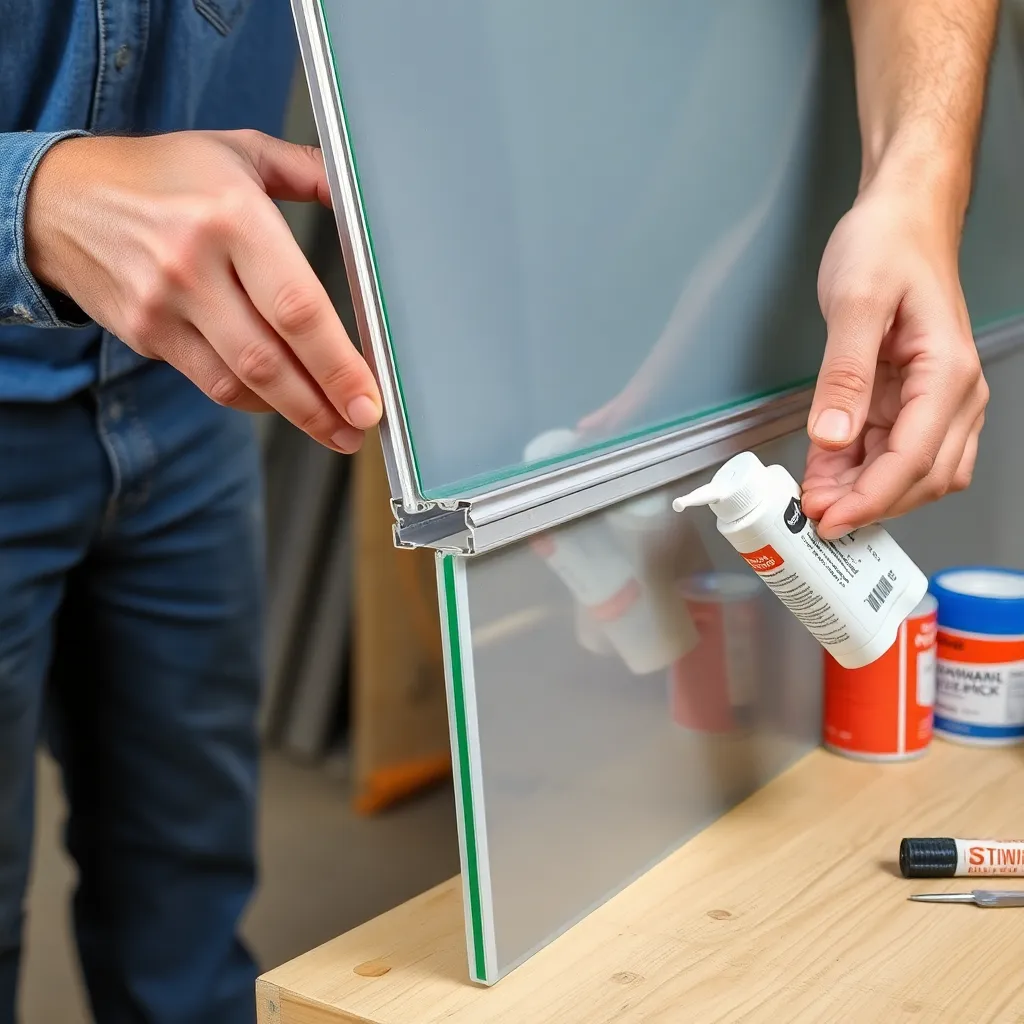
Polycarbonate panels cannot simply be laid on the rafters and screwed down — the exposed cell ends collect moisture, dirt, and insects, which degrade the panel from inside. Proper installation requires sealing the top and bottom ends with aluminum U-channel and butyl tape before the panels go on.
Seal the top (uphill) ends. Cut aluminum U-channel to the panel width (48 inches). Slide the U-channel onto the top edge of each panel before installation. Apply a bead of clear silicone inside the channel before sliding it on to create a weathertight seal. The top end must be completely sealed — this is the end water will flow toward on a non-sloped roof, and open cells here cause waterlogging.
Ventilate the bottom (downhill) ends. The bottom edge needs ventilation to allow condensation inside the twin-wall cells to escape. Slide a vented U-channel (sometimes called “breather channel”) onto the bottom edge. Do not seal the bottom edge airtight — trapped moisture causes permanent fogging.
Apply closure strips to the rafters. Aluminum closure strips with a foam or rubber profile go along the top of each rafter where a panel edge will rest. These fill the gap between the corrugated panel surface and the flat rafter, preventing water from pooling at the rafter contact point and blocking insects from entering. Self-adhesive versions simplify installation.
Step 5: Install the Polycarbonate Panels
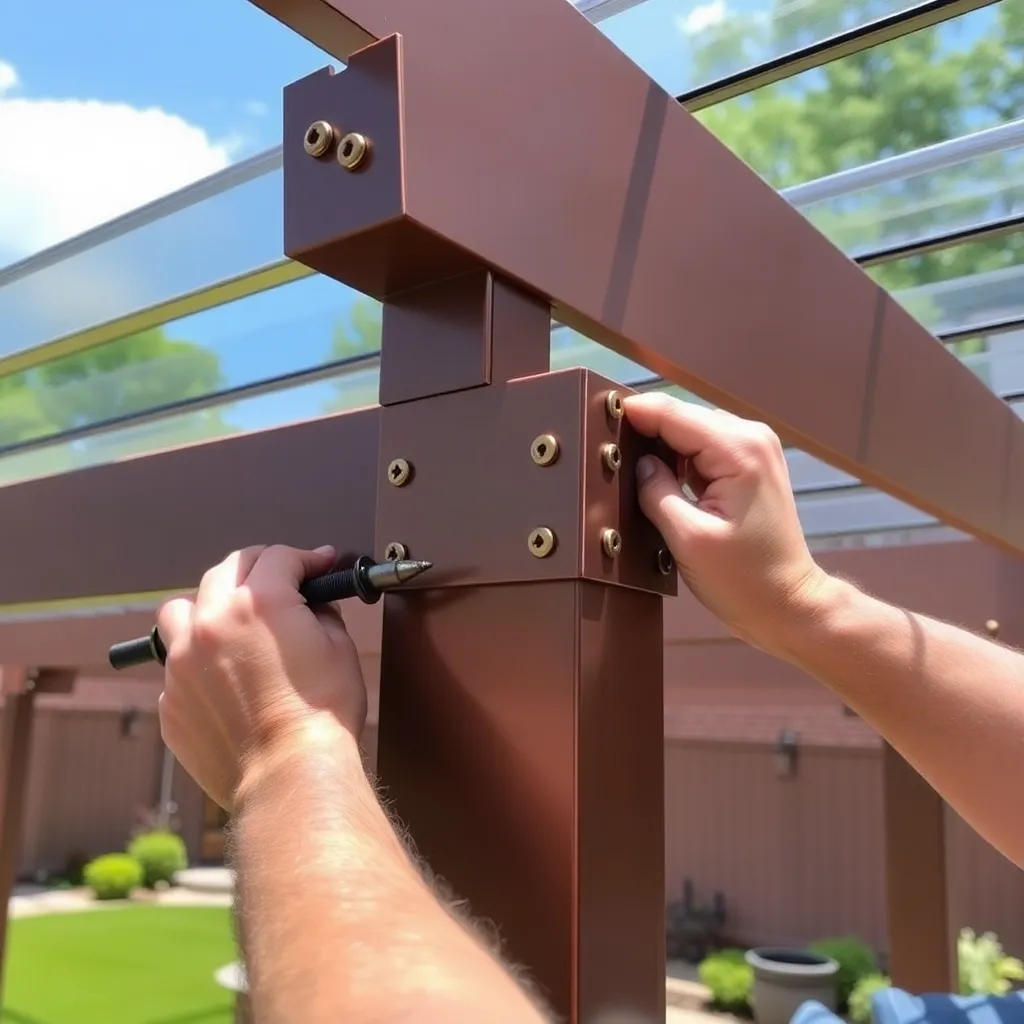
With channels sealed and closure strips in place, the panels go up quickly. Work from one end of the pergola to the other, fitting each panel before moving to the next.
Lift the first panel into position. Rest one edge on the first rafter and the opposite edge on the second rafter (or on a purlin, if added). The top end (with sealed U-channel) should point toward the high side; the bottom (with vented channel) toward the drip edge. Allow the specified overhang beyond the end beams.
Fasten with polycarbonate screws. Pre-drill pilot holes slightly larger than the screw shank — polycarbonate expands and contracts significantly with temperature changes, and a tight pilot hole will crack the panel as it moves. Use only screws designed for polycarbonate (they have rubber sealing washers). Drive screws snug but not overtight — the washer should compress slightly, not be crushed flat. Space screws every 12–18 inches along each rafter.
Connect panels with H-channel. Where two panels meet side by side, slide aluminum H-channel over both edges before screwing the second panel down. The H-channel creates a clean joint and allows independent movement of each panel. Do not caulk the H-channel joints — they need to flex.
Install the final perimeter trim. Run aluminum U-channel or F-channel along the front and back beam faces to capture the panel ends and provide a finished look. Fasten with sheet metal screws every 12 inches.
Step 6: Flash the House Connection (Attached Pergolas Only)
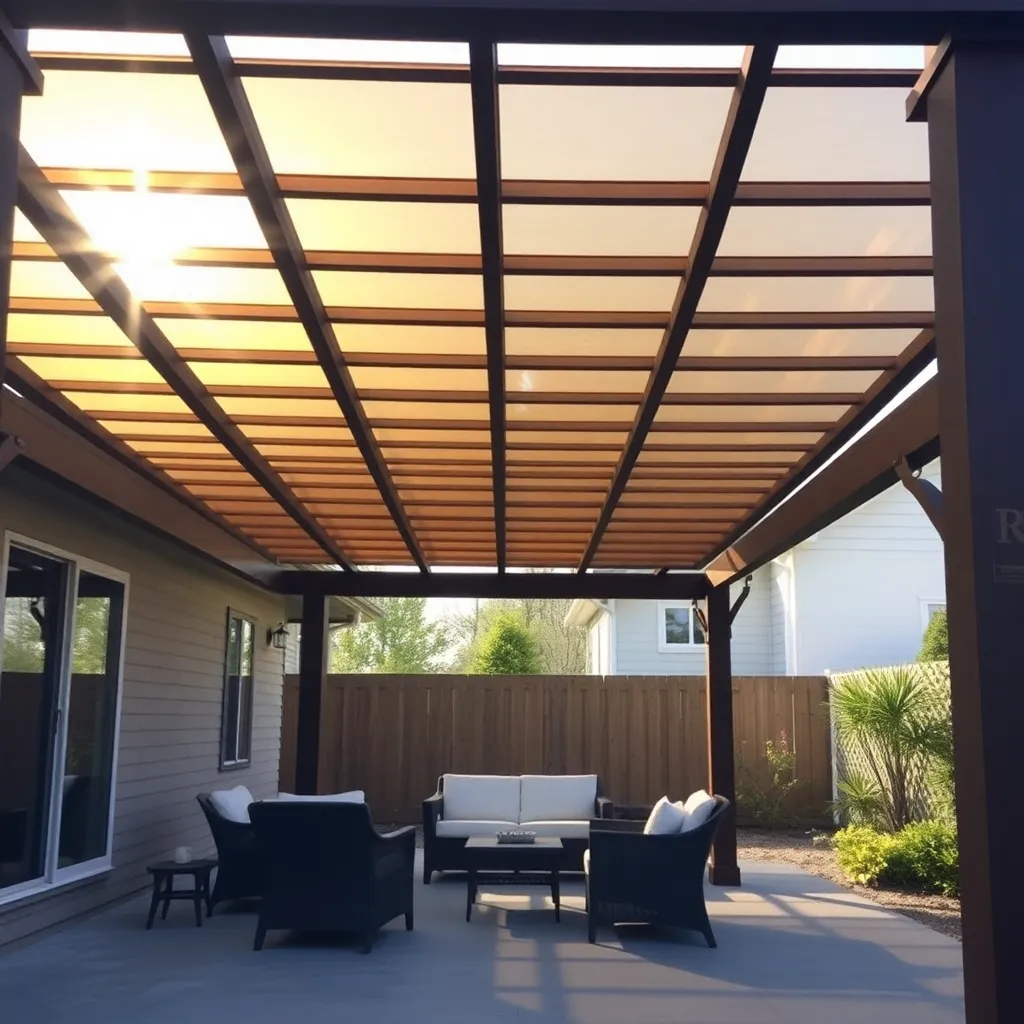
If your pergola is attached to the house, the junction between the pergola roof and the house wall is the most critical waterproofing point. Water that infiltrates here causes wall rot, mold, and interior damage.
Install a ledger flashing. A Z-shaped aluminum flashing (available at roofing supply stores) tucks under the house’s siding or trim above the pergola ledger and directs water out over the panel surface. Loosen the bottom course of siding, slide the top leg of the flashing behind it, and re-secure the siding. The bottom leg of the Z laps over the top edge of the first panel.
Seal the flashing edges. Apply a continuous bead of roofing-grade silicone along the top leg of the flashing where it meets the house sheathing. This prevents wind-driven rain from getting behind the flashing.
Check for adequate clearance. The panel surface must sit at least 1 inch below the bottom of any window sill or door threshold above the pergola. Water on the panel surface should never have a path into the wall assembly.
For more pergola building and upgrade projects, visit our pergola and arbor plans hub.
Want 16,000+ step-by-step woodworking plans?
Ted’s Woodworking has plans for every skill level — from simple shelves to full bedroom sets. Each plan includes a cut list, material list, and detailed diagrams. Browse Ted’s plans →
Pergola Shade Cover Plans FAQ
What is the best material for a pergola shade cover?
Polycarbonate twinwall panels are the best all-around choice for most homeowners: lightweight, rigid (no removal needed in wind), available in multiple opacity levels (clear through opal), and long-lasting (10–15 years). For 100% rain protection with a traditional look, corrugated metal lasts longer but costs more and is heavier. Shade sail fabric is the most affordable option but must be removed in storms and replaced every 5–8 years.
How much slope does a pergola roof need to drain?
A minimum of 1/4 inch per foot (about 2 degrees) is required for polycarbonate panels. Steeper is better — 1/2 inch per foot is ideal for areas with heavy rainfall. A flat polycarbonate roof will drain slowly and accumulate debris, which causes algae growth and staining from the inside. If your pergola is level, shim the back rafters to create slope toward the front drip edge.
Can I add a shade cover to an existing pergola?
Yes — retrofitting a shade cover is one of the most common pergola upgrades and doesn’t require structural changes in most cases. Polycarbonate panels are light enough (about 0.6 lb/sq ft for twinwall) that existing pergola framing handles the load easily. If adding metal roofing or concrete tiles, verify your post anchoring and beam connections can handle the added weight and wind load before proceeding.
How do I stop condensation dripping from polycarbonate panels?
Condensation drips occur when the bottom ends of the twin-wall cells are sealed rather than vented. Install vented U-channel (not solid channel) on the downhill panel ends so condensation can evaporate. Also ensure the panels have enough slope — flat or near-flat panels accumulate more condensation than sloped ones. Twinwall panels with UV-protective inner coatings also reduce condensation compared to bare panels.
How long do polycarbonate pergola panels last?
Quality twinwall polycarbonate with UV protection lasts 10–15 years before yellowing or surface haze becomes significant. Cheaper panels without UV stabilizers may yellow in 3–5 years. The UV coating goes on the outer face of the panel — always install with the labeled UV side facing up. Replacing panels is straightforward since they’re cut to size on site — the aluminum framing can remain in place indefinitely.
Can a pergola shade cover handle snow load?
Polycarbonate twinwall panels handle light to moderate snow loads (up to about 20–25 lbs/sq ft depending on span and thickness) but should be cleared after heavy snowfalls in regions with significant snow. Rafter spacing and panel thickness determine snow load capacity — use 16mm twinwall panels (thicker) for snowy climates, spaced on rafters no more than 4 feet apart. Corrugated metal and solid polycarbonate panels are better choices for high-snow areas.
What percentage of light do different polycarbonate colors block?
Clear polycarbonate transmits about 82% of light (18% block). Bronze/smoke panels block 50–60% of light — the most popular choice for pergola shade covers because they provide meaningful shade while maintaining a bright, open feel. Opal/white panels block 35–50% of light and diffuse it evenly, eliminating glare and harsh shadows. For areas that need maximum shade, opal is the right choice; for a bright covered patio, clear or light bronze works well.

“DIY woodworking enthusiast who started with zero experience and a YouTube tutorial.
I build simple, practical projects for my home and share free plans
so other beginners can skip the guesswork.If I can build it, you can too.”