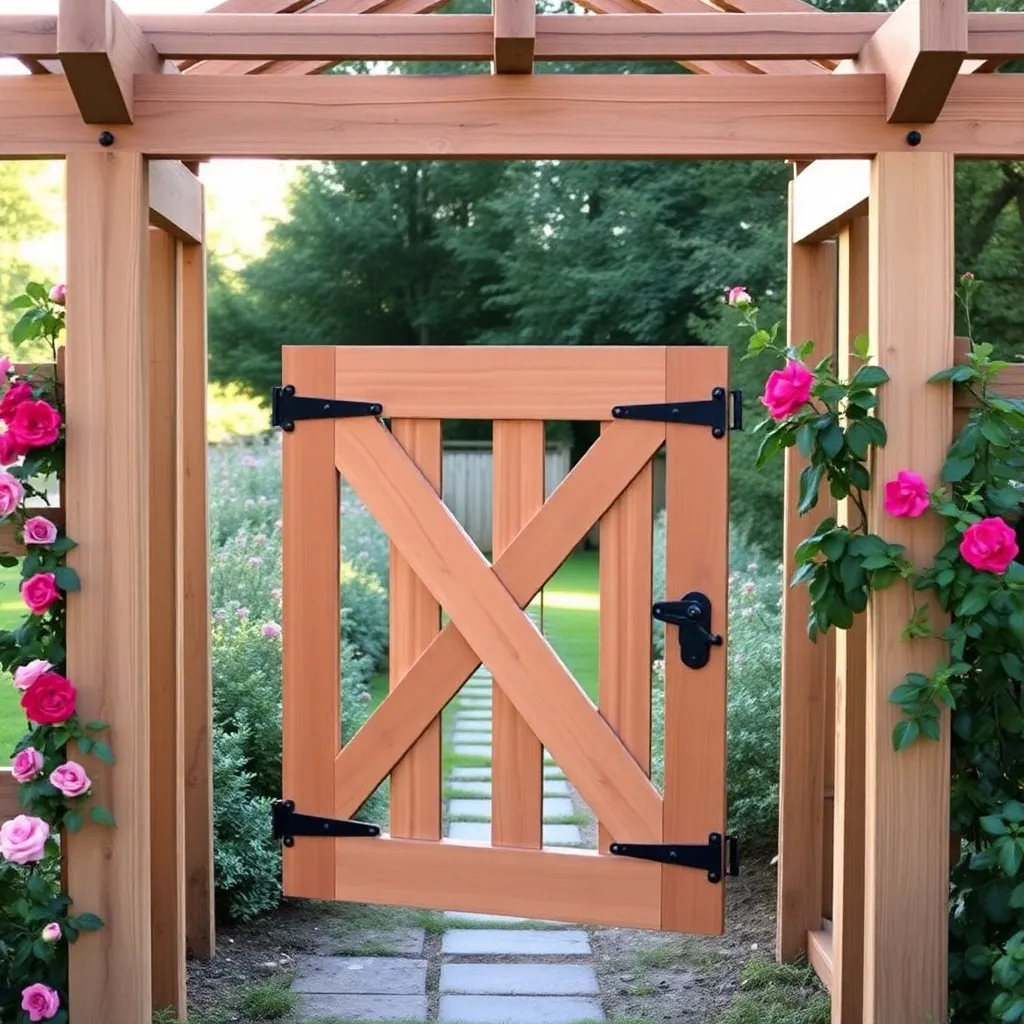
A garden arbor without a gate is an invitation. An arbor with a gate is a boundary — one that says this garden is intentional, cared for, and worth entering properly. A well-built cedar gate also keeps rabbits and deer out of vegetable gardens, controls access for small children, and adds a finished look that elevates the entire yard.
These arbor gate plans build a classic Z-brace cedar gate sized for a standard 3-foot arbor opening. The Z-brace design — two horizontal rails and one diagonal brace — is the most proven method for keeping a wooden gate square over years of use and weather cycles. Built from cedar with heavy-duty strap hinges and a thumb latch that operates from both sides, this gate hangs true, swings smoothly, and lasts 15 or more years without warping.
Want 16,000+ step-by-step woodworking plans?
Ted’s Woodworking has plans for every skill level — from simple shelves to full bedroom sets. Each plan includes a cut list, material list, and detailed diagrams. Browse Ted’s plans →
Step 1: Measure Your Opening and Plan the Gate Size
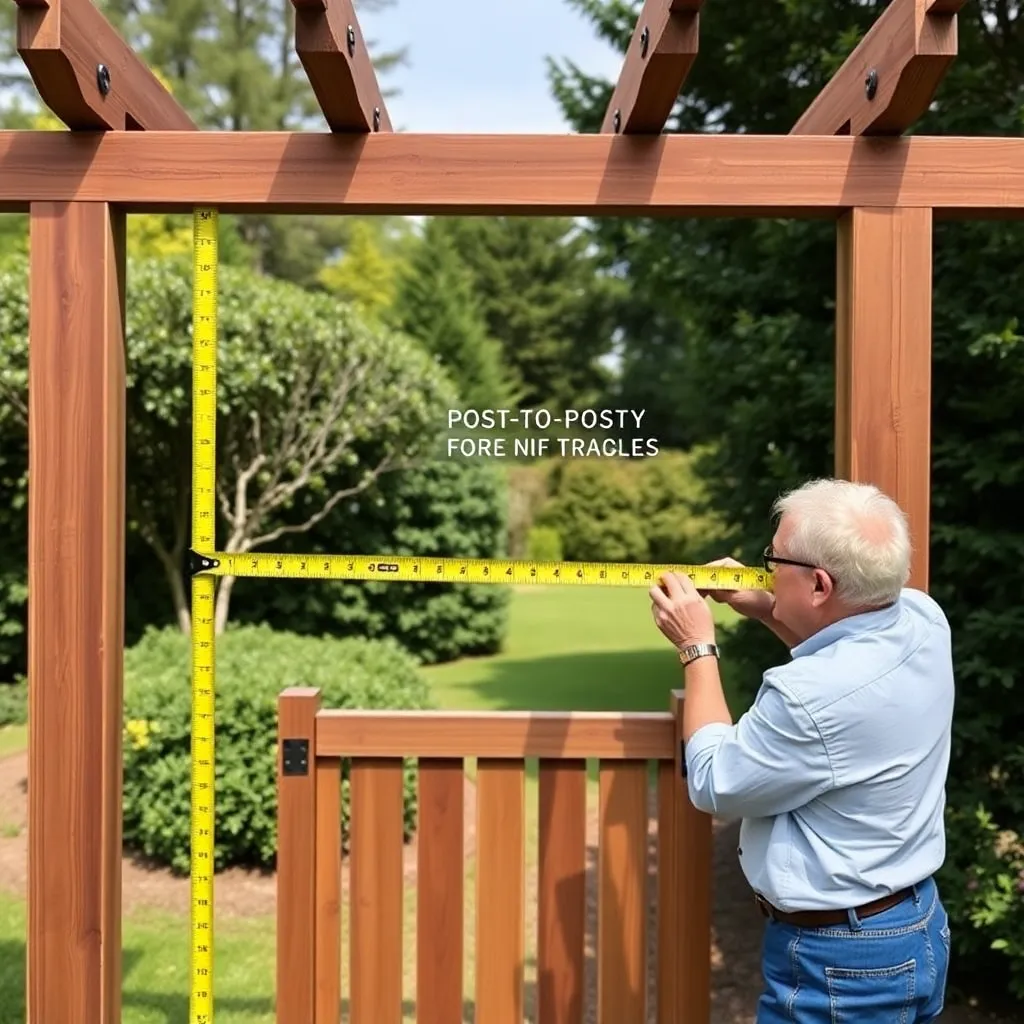
A gate that fits perfectly on installation day but binds after the first wet season is worse than no gate at all. Cedar expands in humidity and contracts in dry weather — the gap between gate and post must account for this movement.
Measure the opening width. Measure from inside face to inside face of the two arbor posts the gate will hang between. Measure at the top, middle, and bottom — posts that aren’t perfectly plumb will give three different measurements. Use the smallest measurement as your reference.
Calculate gate width. Subtract 1 inch from the smallest measurement for clearance: ½ inch on the hinge side and ½ inch on the latch side. This gap allows for seasonal wood movement without binding. A 36-inch clear opening gets a 35-inch gate.
Calculate gate height. Measure from the ground (or threshold) to the underside of the top beam. Subtract 1 inch from this measurement: ½ inch clearance at the top and ½ inch at the bottom. The bottom clearance also keeps the gate from dragging on uneven ground.
Standard dimensions for this build:
- Gate width: 35 inches (fits 36-inch clear opening)
- Gate height: 48 inches (4 feet — appropriate for most garden arbors)
- Frame lumber: 1×4 cedar (¾” × 3½” actual)
- Diagonal brace: 1×4 cedar
Adjust height to match your arbor opening. Gates taller than 5 feet benefit from a double-Z brace (two diagonals) for additional rigidity.
Step 2: Materials and Cut List
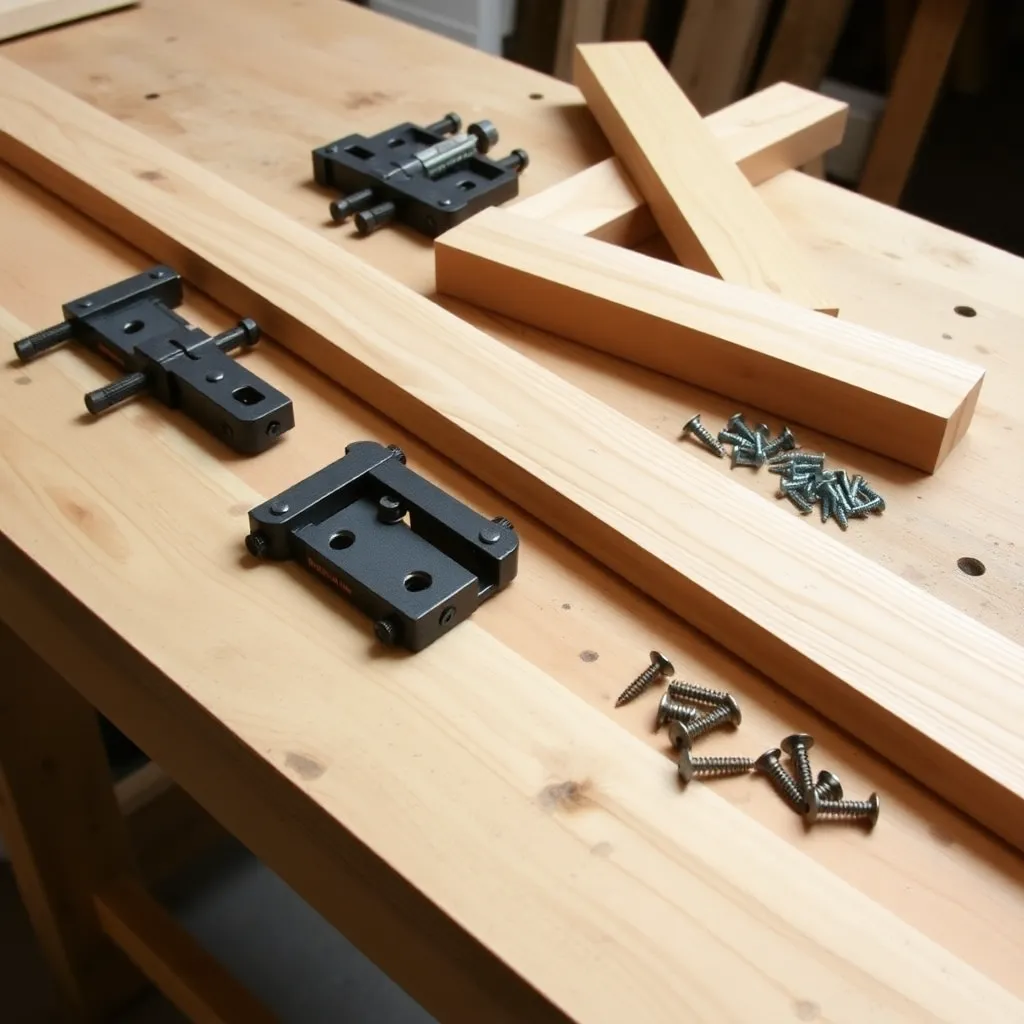
Cedar is the right choice for a gate that will be exposed to rain, soil contact risk, and temperature swings. Western red cedar heartwood resists rot naturally and holds up well without finish, though a semi-transparent stain extends its life and keeps it looking good longer.
| Part | Qty | Size | Notes |
|---|---|---|---|
| Top rail | 1 | 35″ × 3½” × ¾” | 1×4 cedar — horizontal top |
| Bottom rail | 1 | 35″ × 3½” × ¾” | 1×4 cedar — horizontal bottom |
| Hinge stile | 1 | 48″ × 3½” × ¾” | 1×4 cedar — vertical hinge side |
| Latch stile | 1 | 48″ × 3½” × ¾” | 1×4 cedar — vertical latch side |
| Diagonal brace | 1 | ~52″ × 3½” × ¾” | 1×4 cedar — cut to fit at angles |
| Pickets | 7–9 | 48″ × 3½” × ¾” | 1×4 cedar — spaced across gate face |
| Heavy-duty strap hinges | 2 | 12″ strap | Black powder-coated steel |
| Thumb latch | 1 | Garden gate style | Operates from both sides |
| Gate hook and eye | 1 | — | Secondary hold-open latch |
| Exterior screws | 1 box | 1¾” and 2½” | Stainless or coated |
| Carriage bolts | 4 | ¼” × 2½” | For hinge attachment to post |
Total estimated cost: $95–145 depending on cedar grade and hardware quality.
Step 3: Build the Gate Frame
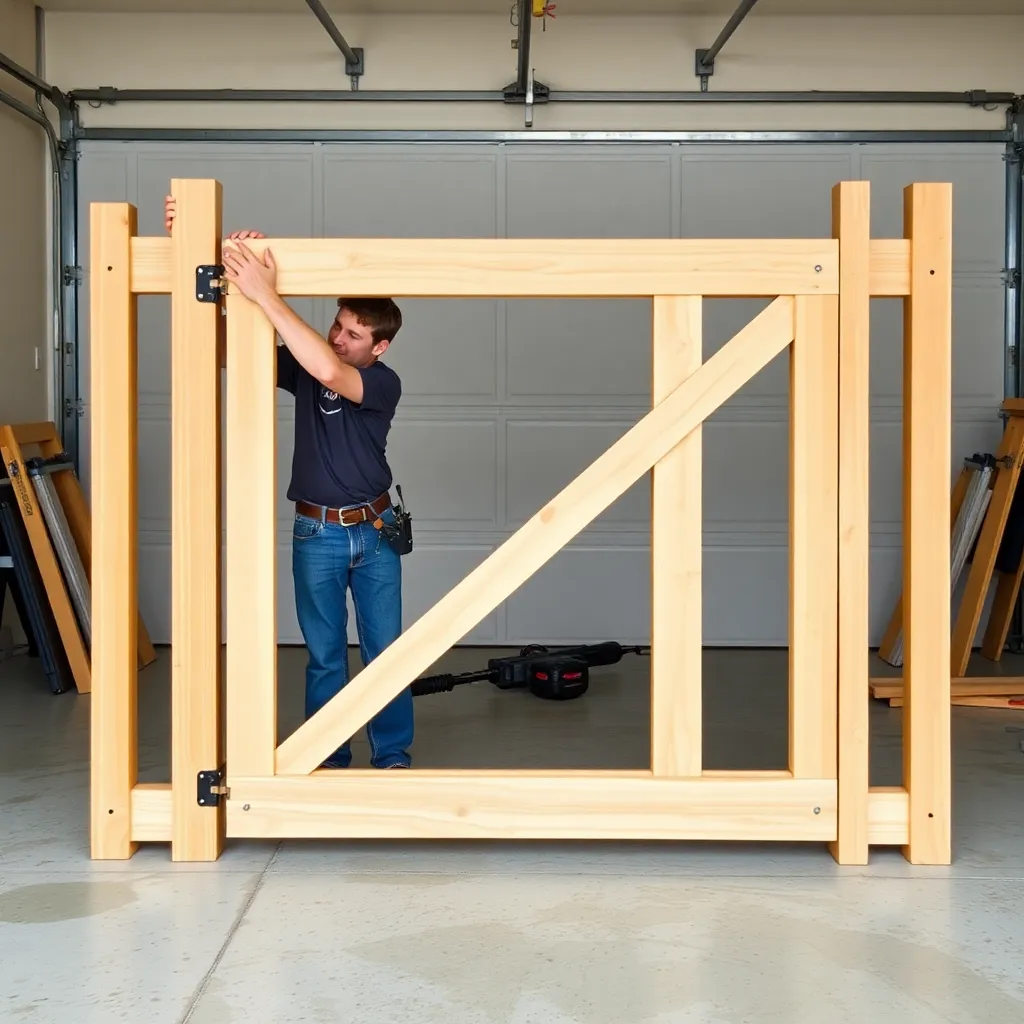
The gate frame — two stiles and two rails forming a rectangle — is built first, then the diagonal brace and pickets are added. Building the frame on a flat surface ensures the gate starts square.
Cut all frame pieces. Cut the two stiles (vertical pieces) to 48 inches. Cut the two rails (horizontal pieces) to the gate width minus the combined stile widths: 35″ − (2 × 3½”) = 28 inches. These shorter rails fit between the stiles at top and bottom, creating a frame where the full stile length runs top to bottom.
Lay out the frame on a flat surface. A garage floor or large workbench works. Lay the two stiles parallel, 28 inches apart (outside to outside will be 35 inches with the rails between them). Place the top rail between the stiles at the top, flush with the stile tops. Place the bottom rail between the stiles at the bottom, flush with the stile bottoms.
Check square before fastening. Measure both diagonals of the frame — they must be equal. If not, push one corner slightly until both diagonals match. Clamp the frame to the floor or weight it down to hold square.
Fasten the corners. Drive two 2½” exterior screws through each stile into the rail end at each corner — four corners, two screws each, eight screws total. Pre-drill to prevent splitting in the rail end grain. The screws go from the outside stile face into the end grain of the rail.
Step 4: Install the Diagonal Brace
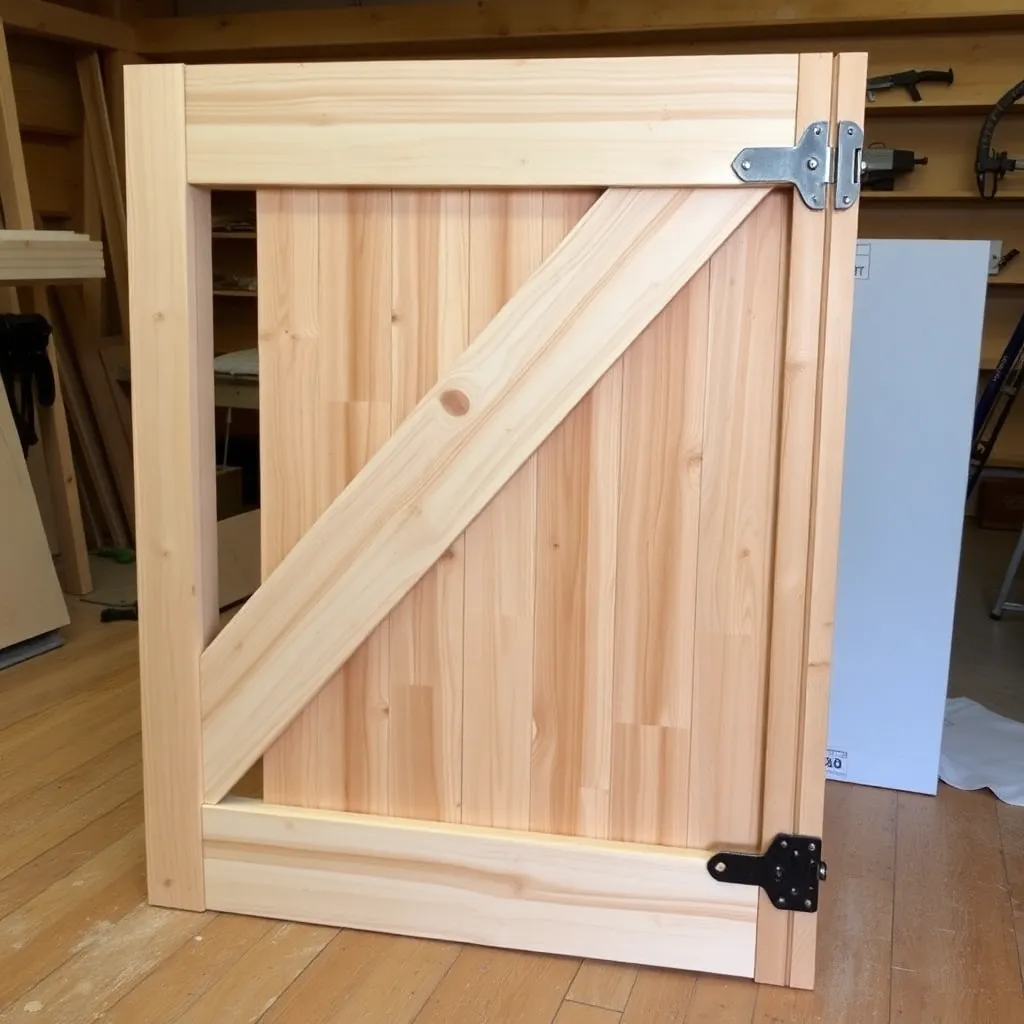
The diagonal brace is the most important structural element of the gate — it prevents the gate from racking (leaning into a parallelogram shape) as the wood moves and the hinges age. The brace runs from the bottom hinge corner to the top latch corner, working in compression to push the latch corner up against gravity’s pull.
Orient the brace correctly. The diagonal must run from the bottom of the hinge stile (lower hinge corner) up to the top of the latch stile (upper latch corner). This orientation puts the brace in compression under the gate’s weight — the correct mechanical relationship. A brace running the other direction works in tension and is far less effective over time.
Mark the brace length and angles. Lay a 1×4 board diagonally across the assembled frame, running from the lower hinge corner to the upper latch corner. Mark where the board crosses the inner edges of each rail — these marks define the cut angles. The angle at each end will be the same (the frame is a rectangle) but mirrored. Cut both ends at the marked angles with a circular saw or miter saw.
Fit and fasten the brace. Test-fit the cut brace — it should sit flush with the frame face and contact both rails fully along its ends. Fasten through the brace into each rail with two 2½” screws per end. Also drive one screw through the brace at each stile crossing (where the brace crosses the stile midpoint) to prevent the brace from bowing out.
Step 5: Add the Pickets
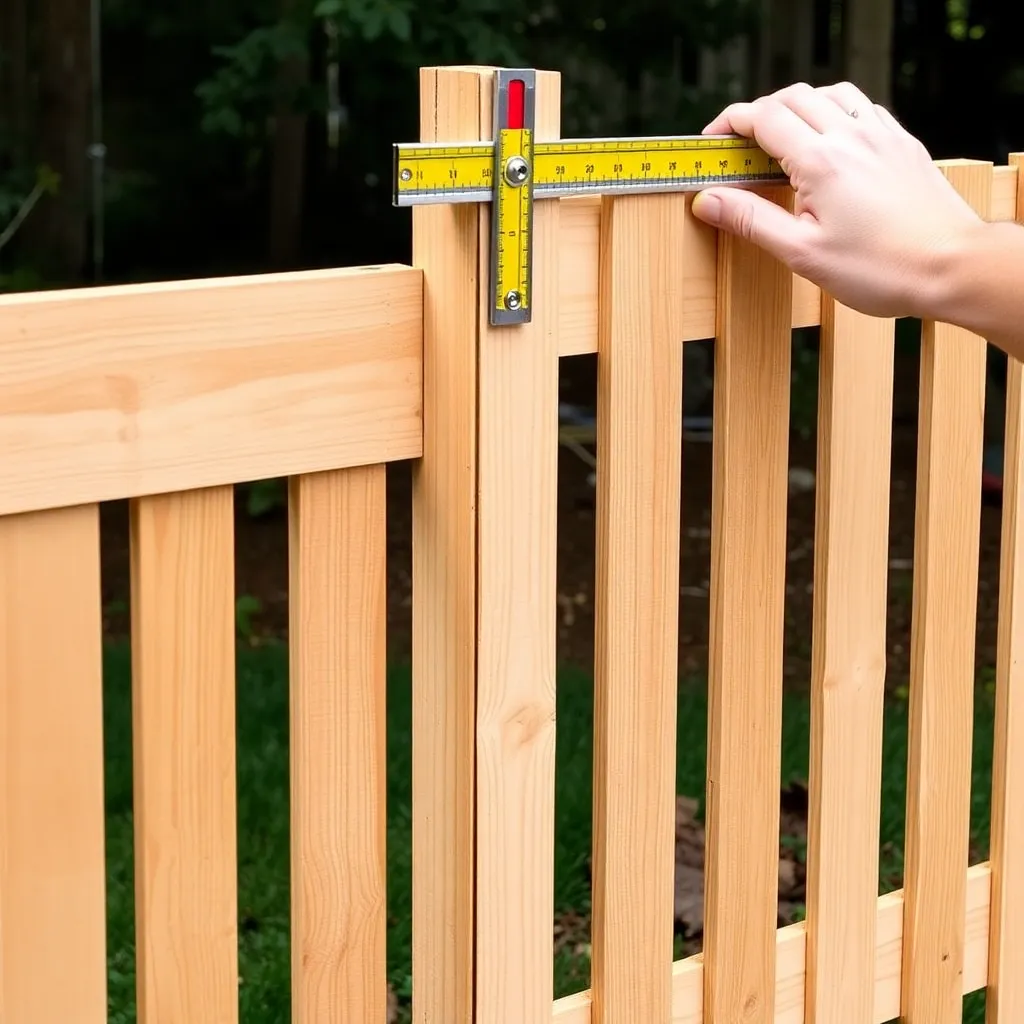
Pickets cover the front face of the gate frame, provide privacy and animal containment, and give the gate its visual character. Picket spacing determines how much visibility through the gate you want — tighter spacing for privacy and animal control, wider spacing for a more open look.
Calculate picket spacing. Measure the gate width (35 inches). Subtract the combined width of all pickets and divide the remainder by the number of gaps. For a 35-inch gate with eight 3½-inch pickets: 8 × 3½” = 28″ of picket width. 35″ − 28″ = 7″ of total gap, divided by 9 gaps = ¾” per gap. Adjust picket count to achieve your target spacing — more pickets for tighter, fewer for more open.
Mark picket positions. Starting from the hinge stile edge, mark the position of each picket face on the top rail. Use a spacer (a scrap of the right thickness, or a combination square set to your gap measurement) to keep spacing consistent as you work across the gate.
Attach the pickets. Stand each picket vertically on the frame, flush with the top and bottom rail edges (or with a consistent overhang above the top rail if you want a decorative top edge). Drive two 1¾” screws through each picket into the top rail and two into the bottom rail — four screws per picket total. Keep pickets perfectly vertical as you fasten; check with a speed square every few pickets.
Optional: decorative picket tops. Cut the tops of the pickets to a point, dog-ear, or rounded profile before attaching them. Cut all pickets identically by clamping them together and making a single cut. Points and dog-ears shed water better than flat tops and look more intentional on a garden gate.
Step 6: Hang the Gate and Install Hardware
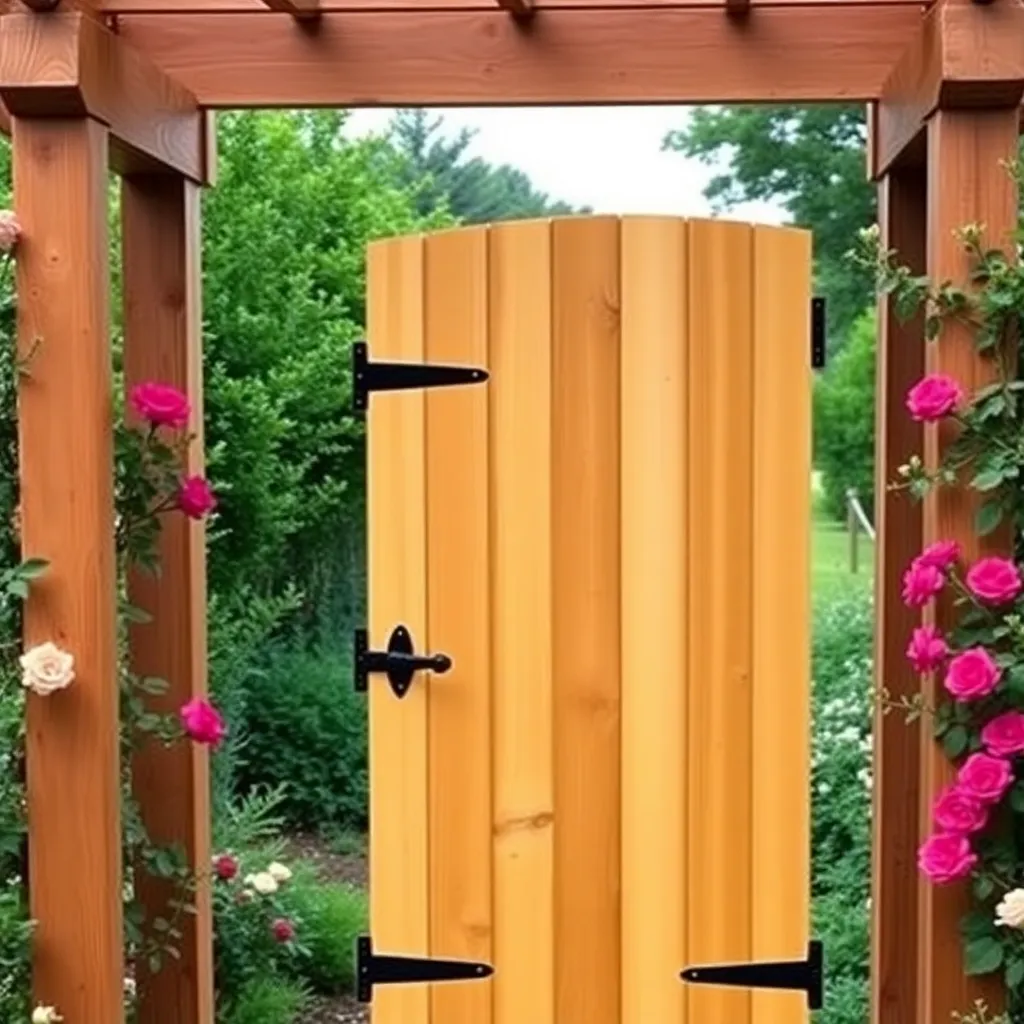
Hanging a gate that swings freely and latches reliably requires careful hinge placement and a systematic approach to shimming and adjustment.
Position the hinges. Place the top hinge 7 inches down from the top of the gate; the bottom hinge 7 inches up from the bottom. This placement puts hinges near the rail locations where the gate is structurally reinforced. Mark hinge screw positions on both the gate stile and the arbor post.
Pre-drill and mount hinges to the gate. Use 1¾” exterior screws for hinge-to-gate attachment (the gate stile is only ¾” thick — longer screws will exit the back face). Drive all screws fully seated; loose hinge screws are the most common cause of gate sag.
Shim the gate into position. Set the gate in the opening with ½-inch shims under the bottom (maintaining the ground clearance gap) and ½-inch shims on the latch side. Have a helper hold the gate in position or prop it temporarily with a temporary brace cut to the exact opening width.
Mark and drill the post for hinge bolts. For a gate this size, through-bolt the hinges to the post with ¼” × 2½” carriage bolts rather than relying on screws alone. Mark the bolt hole positions through the hinge mounting holes onto the post face. Drill through the post with a ¼” bit. Insert carriage bolts from the front (hinge side), add washers and nuts on the back of the post, and tighten firmly.
Install the thumb latch. Mount the latch body on the latch stile at a comfortable hand height (36–40 inches from the ground). The strike plate mounts on the opposite post. Follow the latch manufacturer’s instructions for alignment — most latches have adjustment slots that allow fine-tuning after initial installation.
Test and adjust. Swing the gate through its full arc. It should swing freely without dragging, latch smoothly without force, and spring back closed if you have a spring-loaded latch. If the gate drags at the bottom, remove one shim from under the bottom corner. If it binds at the latch, adjust the strike plate position.
For more outdoor structure projects, visit our pergola and arbor plans hub.
Want 16,000+ step-by-step woodworking plans?
Ted’s Woodworking has plans for every skill level — from simple shelves to full bedroom sets. Each plan includes a cut list, material list, and detailed diagrams. Browse Ted’s plans →
Arbor Gate Plans FAQ
What wood is best for a garden gate?
Western red cedar is the best choice for most garden gates — naturally rot-resistant, lightweight enough that hinges don’t strain under the gate’s weight, and dimensionally stable enough to resist warping through seasonal moisture changes. Pressure-treated pine is a durable alternative at lower cost but is heavier and harder to work with hand tools. Avoid untreated pine or spruce — they rot within 3–5 years when exposed to ground moisture and rain.
How do I stop my wooden gate from sagging?
Gate sag has two causes: weak hinge attachment and missing or incorrectly oriented diagonal brace. For hinge attachment, use through-bolts (carriage bolts) rather than screws alone, and mount hinges at the rail locations where the stile is backed by solid wood. For the brace, verify it runs from the bottom hinge corner to the top latch corner — this direction puts the brace in compression, which is mechanically correct. A brace running the other way works in tension and fails over time.
How wide should a garden gate be?
A 36-inch clear opening is the standard for garden gates — wide enough for a wheelbarrow, garden cart, or two people walking side by side. For arbors positioned over a main path, 36 inches is the minimum. Decorative arbors with foot-traffic-only gates can use a 30-inch opening. Gates wider than 48 inches need a double-leaf design (two gate panels meeting at the center) — a single panel wider than 48 inches is too heavy for practical hardware and will sag within a season.
How many hinges does a garden gate need?
A standard 4-foot-tall, 3-foot-wide gate needs two heavy-duty strap hinges. Gates taller than 5 feet or heavier than about 30 pounds benefit from a third center hinge to distribute the load. Use the heaviest-gauge hinge that fits your gate aesthetic — undersized hinges are the most common cause of gate failure. For cedar gates, 12-inch strap hinges in black powder-coated steel provide adequate strength and look appropriate on a garden arbor.
Should I use screws or bolts to hang a gate?
Use through-bolts (carriage bolts) for the hinge-to-post connection and screws for the hinge-to-gate connection. The post side is the high-stress connection — the full weight and swing force of the gate concentrates here. Screws driven into post face grain pull out over time; carriage bolts through the post hold permanently. The gate stile is too thin for through-bolts (¾” actual), so use 1¾” exterior screws here, fully driven into solid wood at the rail locations.
How do I weatherproof a cedar gate?
For maximum longevity, apply a semi-transparent exterior stain (Cabot Australian Timber Oil, TWP 100, or similar) to all surfaces before installation — including the end grain cuts, which absorb water fastest. Reapply every 3–4 years. If you prefer the natural silver weathering of unfinished cedar, apply a clear water repellent to the end grain only, which slows the fastest moisture entry point without changing the appearance. Keep the gate’s bottom edge at least ½ inch above grade to prevent constant moisture contact.
Can I add a self-closing spring to this gate design?
Yes — a spring-loaded gate hinge (one of the two standard hinges is replaced with a spring hinge) automatically closes the gate after each use, which is essential for keeping animals out of vegetable gardens. Spring hinges are adjustable — the spring tension can be set from barely closing to firmly snapping shut. Set the tension so the gate closes reliably but doesn’t slam hard enough to bounce back open. For a more elegant look, a hydraulic gate closer (similar to a door closer) mounts on the gate face and post and closes the gate quietly and consistently.

“DIY woodworking enthusiast who started with zero experience and a YouTube tutorial.
I build simple, practical projects for my home and share free plans
so other beginners can skip the guesswork.If I can build it, you can too.”