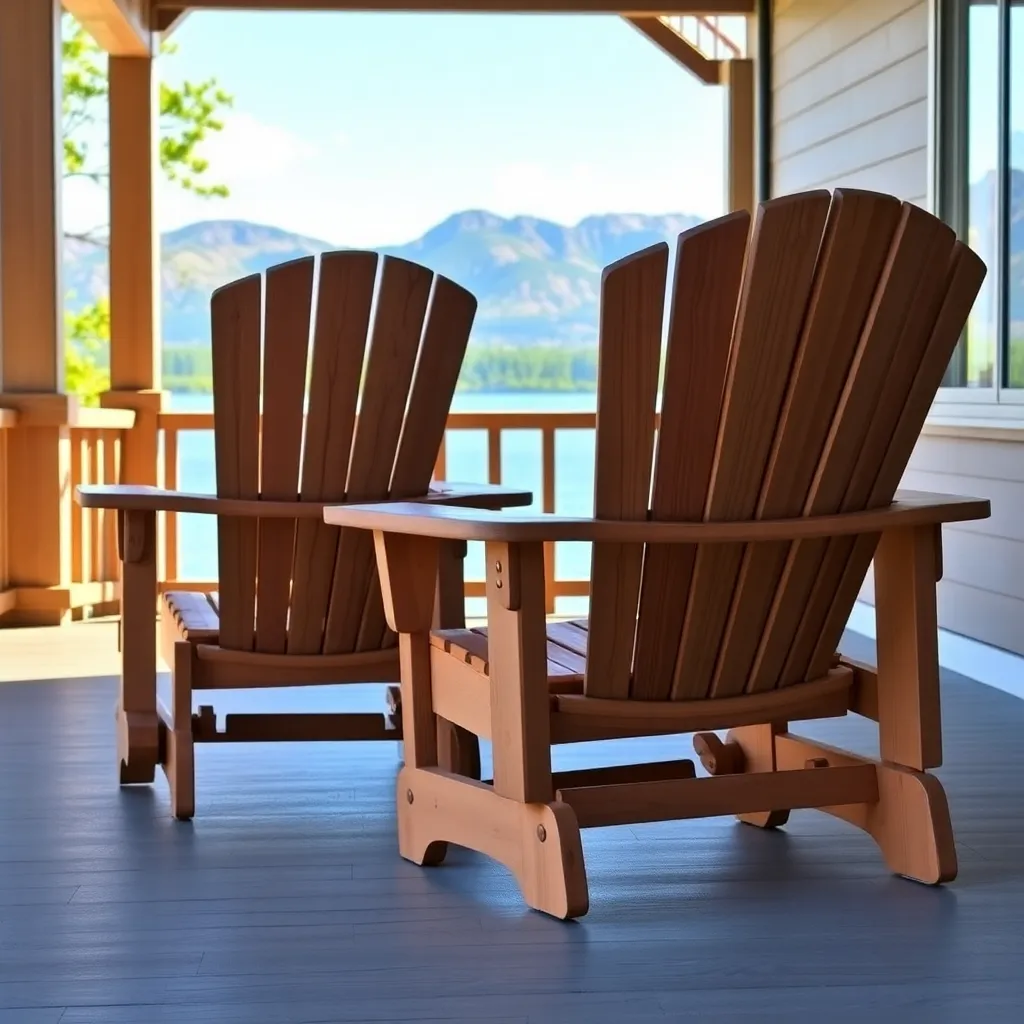
An Adirondack chair is one of the most satisfying outdoor woodworking projects you can build. The geometry looks complex — the sloped seat, the fanned back, the wide flat armrests — but the cuts are all straight lines and a few angles, nothing that requires specialty jigs or advanced skills. Build time is 4–6 hours per chair, material cost is $40–80 depending on lumber species, and the result is outdoor seating that outlasts anything in the same price range at a garden center.
The Adirondack chair’s distinctive silhouette comes from four design elements: a reclined seat (angled 15–20° back), a fan-shaped back with radiating slats, a low seat height (13–15 inches from the ground), and wide flat armrests supported by angled front legs. Every variation on the design — folding versions, loveseats, rockers, ottomans — keeps those four elements while adapting the structure for different uses.
These Adirondack chair plans cover six styles: the classic fan-back design, a folding version for storage, an ottoman to complete the set, a loveseat for two, a budget 2×4 build, and a rocking version with curved base runners.
Want 16,000+ step-by-step woodworking plans?
Ted’s Woodworking has plans for every skill level — from simple shelves to full bedroom sets. Each plan includes a cut list, material list, and detailed diagrams. Browse Ted’s plans →
Classic Adirondack Chair Plans
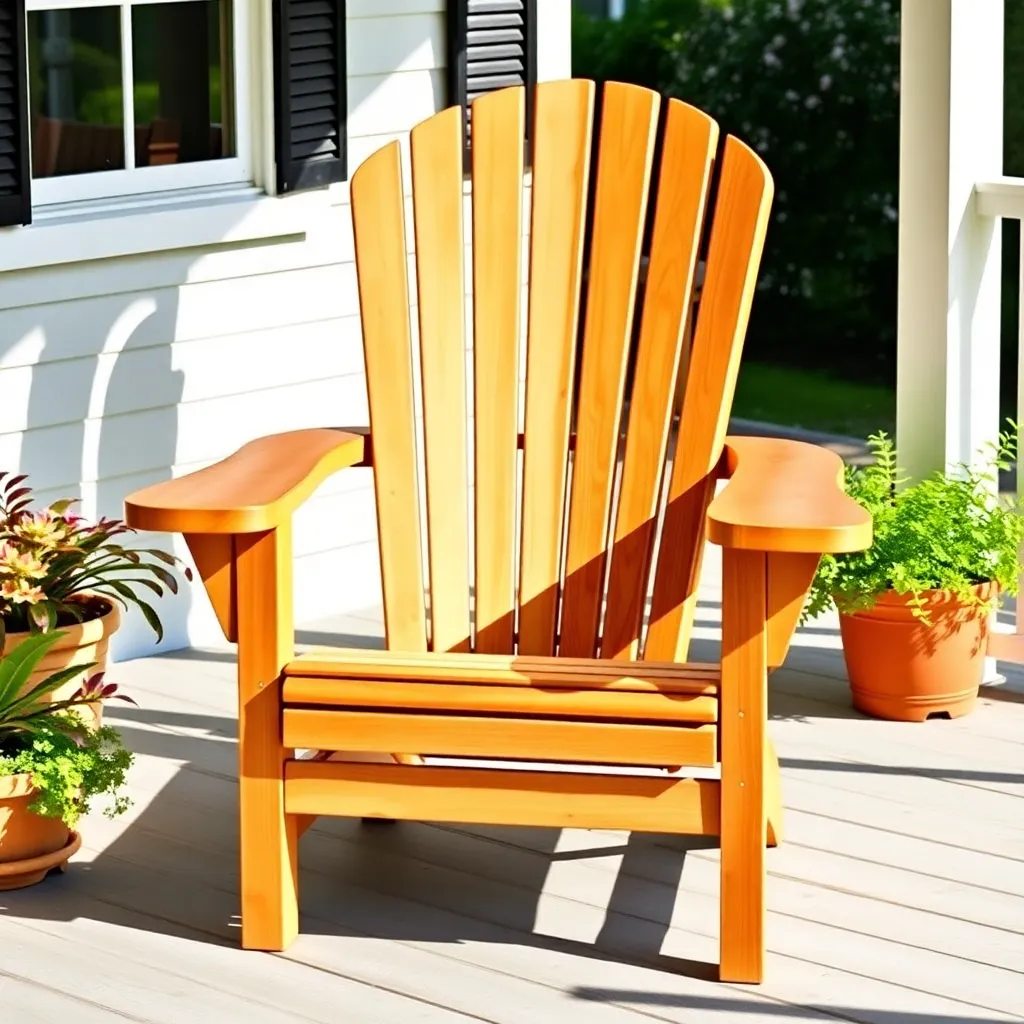
The classic Adirondack chair is the original: fan-back, flat armrests, angled seat, four curved back slats radiating from a central spine. It’s the most widely built design because it’s the most balanced — comfortable for long sitting, visually distinctive without being fussy, and buildable from a single sheet of plywood plus a few 1×6 boards, or from solid cedar planks. This plan builds the classic version from cedar 1×6 and 1×4 boards, no plywood required.
Folding Adirondack Chair Plans
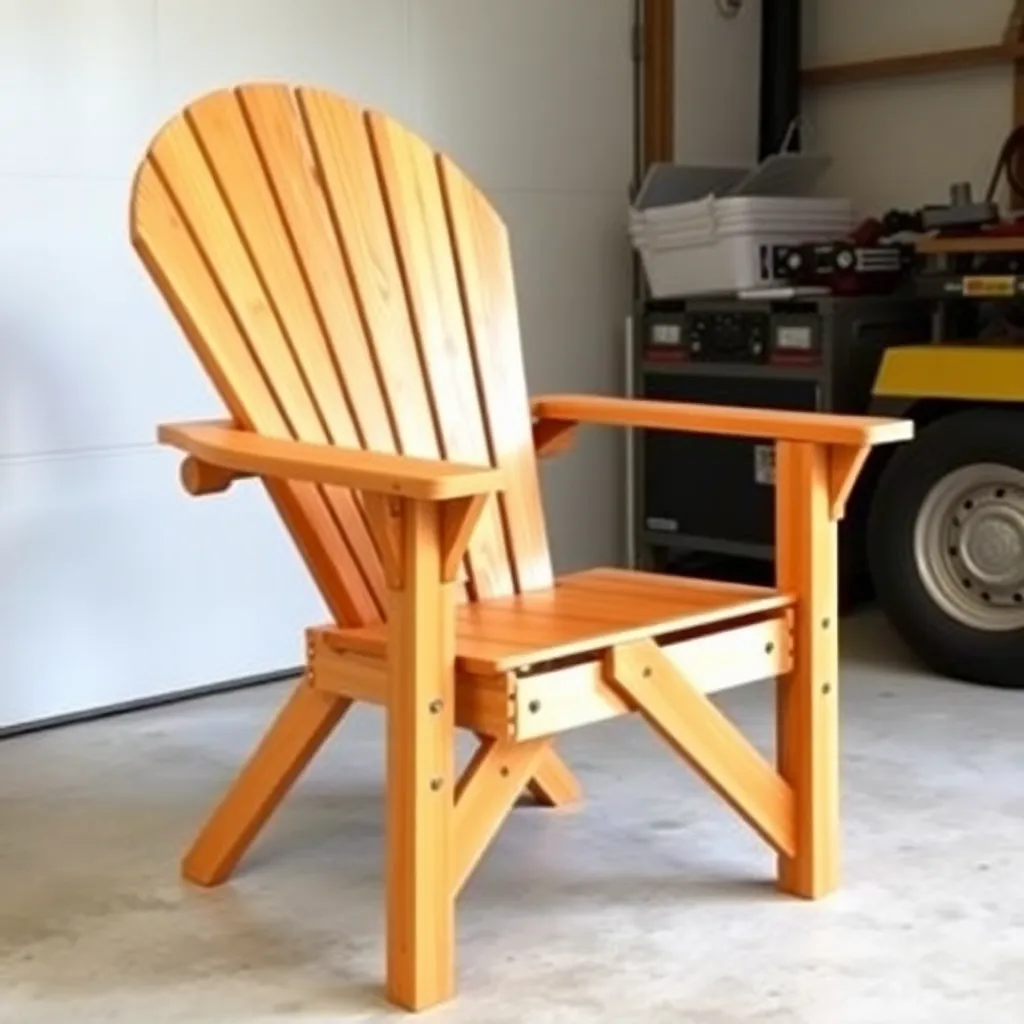
A folding Adirondack chair uses the same fan-back design as the classic but adds a hinged seat-back connection and pivoting front legs that let the chair fold flat for storage. The folding mechanism requires precise hardware (carriage bolts through the pivot points, not screws) and adds about 30 minutes to the build, but produces a chair that stores in a fraction of the space and can be moved indoors seasonally without being permanent patio furniture.
Adirondack Chair Ottoman Plans
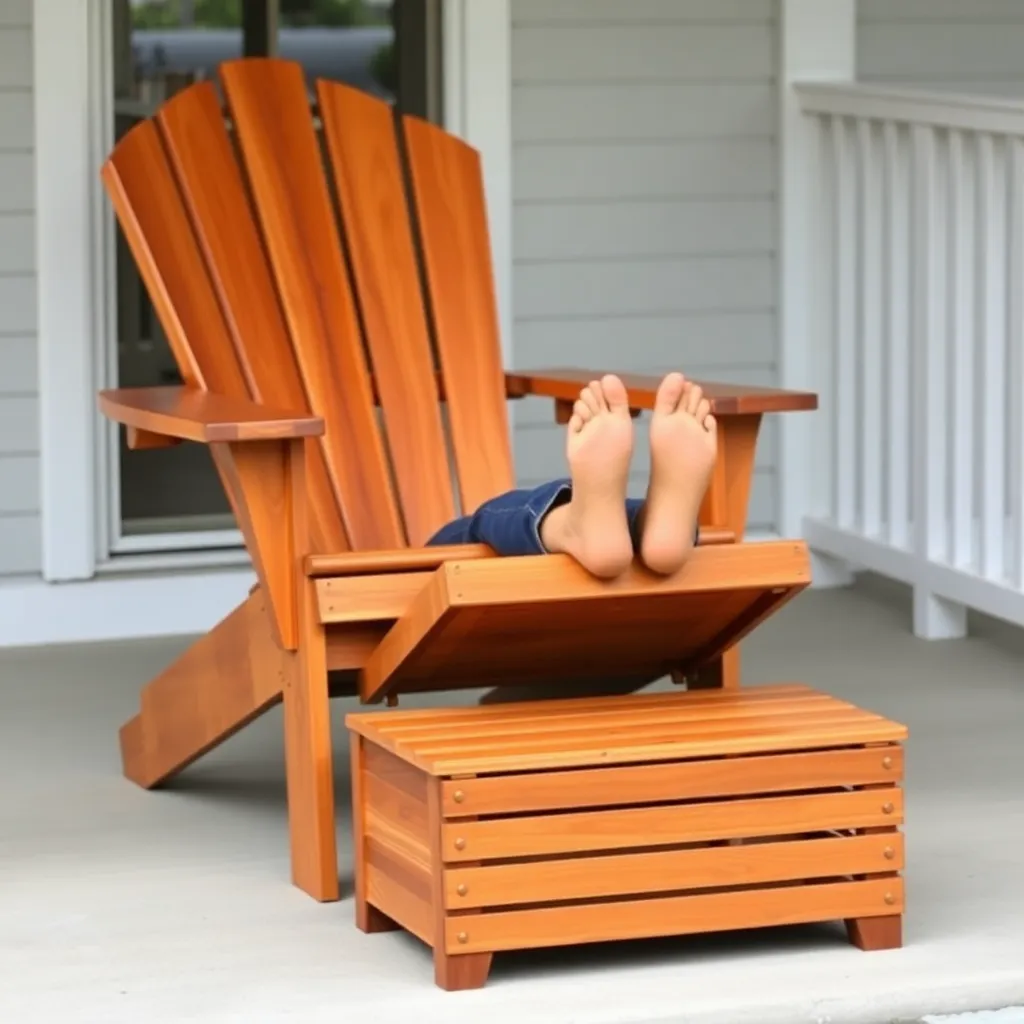
An Adirondack ottoman — also called a footrest — is a low angled platform designed to match the seat height and angle of a standard Adirondack chair. It sits in front of the chair, supports your legs at the same angle as the chair seat, and completes the fully reclined lounging position. Build from the same cedar as your chairs to match the set. The ottoman is a 2–3 hour project using leftover materials from a chair build.
Adirondack Loveseat Plans
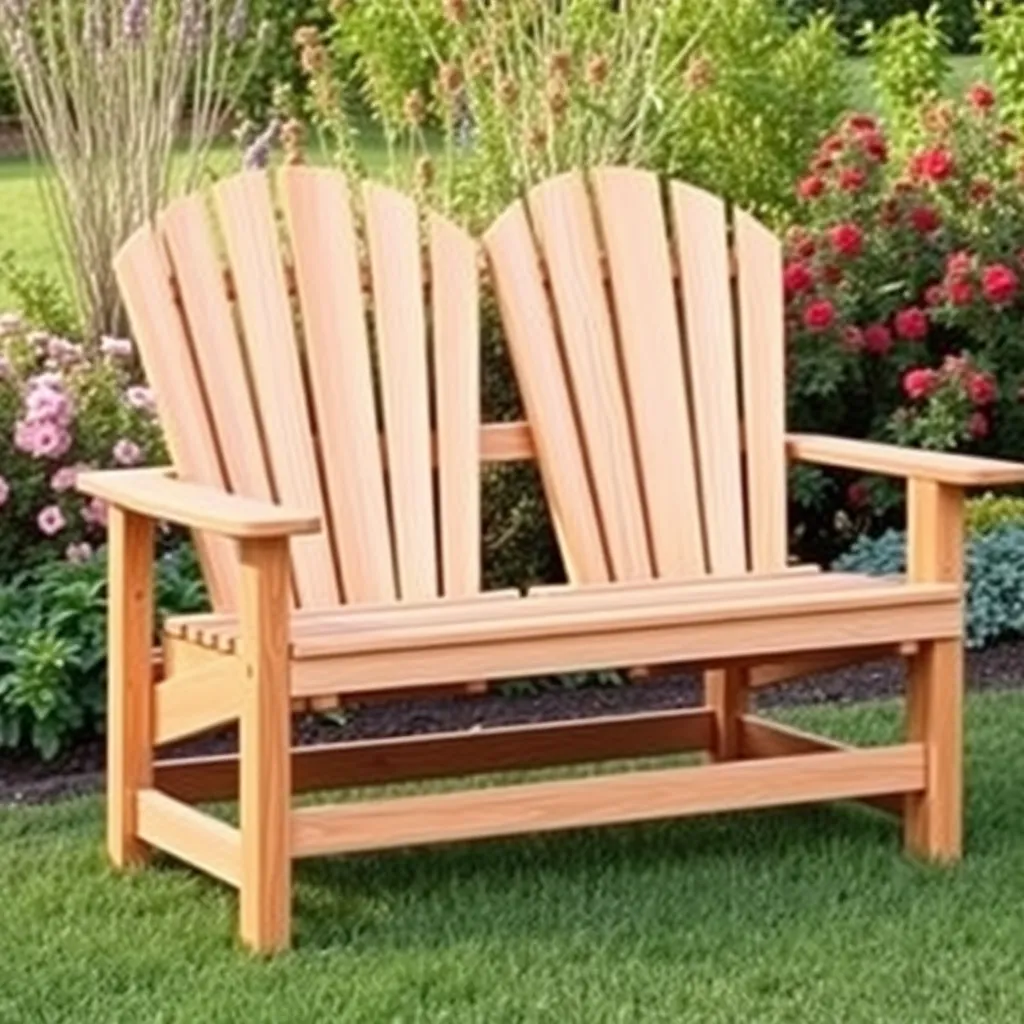
An Adirondack loveseat is a double-wide version of the classic chair — same fan-back, same seat angle, same armrests, but 46–50 inches wide instead of 28–30 inches. It seats two adults side by side and fits naturally on any porch or deck that already has classic Adirondack chairs. The wider seat requires a center support leg to prevent the long seat boards from flexing at midspan. Build from cedar for the best weight-to-strength ratio in the wider format.
2×4 Adirondack Chair Plans

A 2×4 Adirondack chair eliminates specialty lumber entirely — every part comes from a single board size, commonly available at any home center for under $5 per board. The 2×4 profile gives the chair a chunkier, more solid appearance than a traditional 1×6 build, which suits farmhouse and rustic aesthetics. Build cost is under $40 for a full chair. The design works the same as a classic Adirondack but with heavier proportions throughout.
Adirondack Rocking Chair Plans
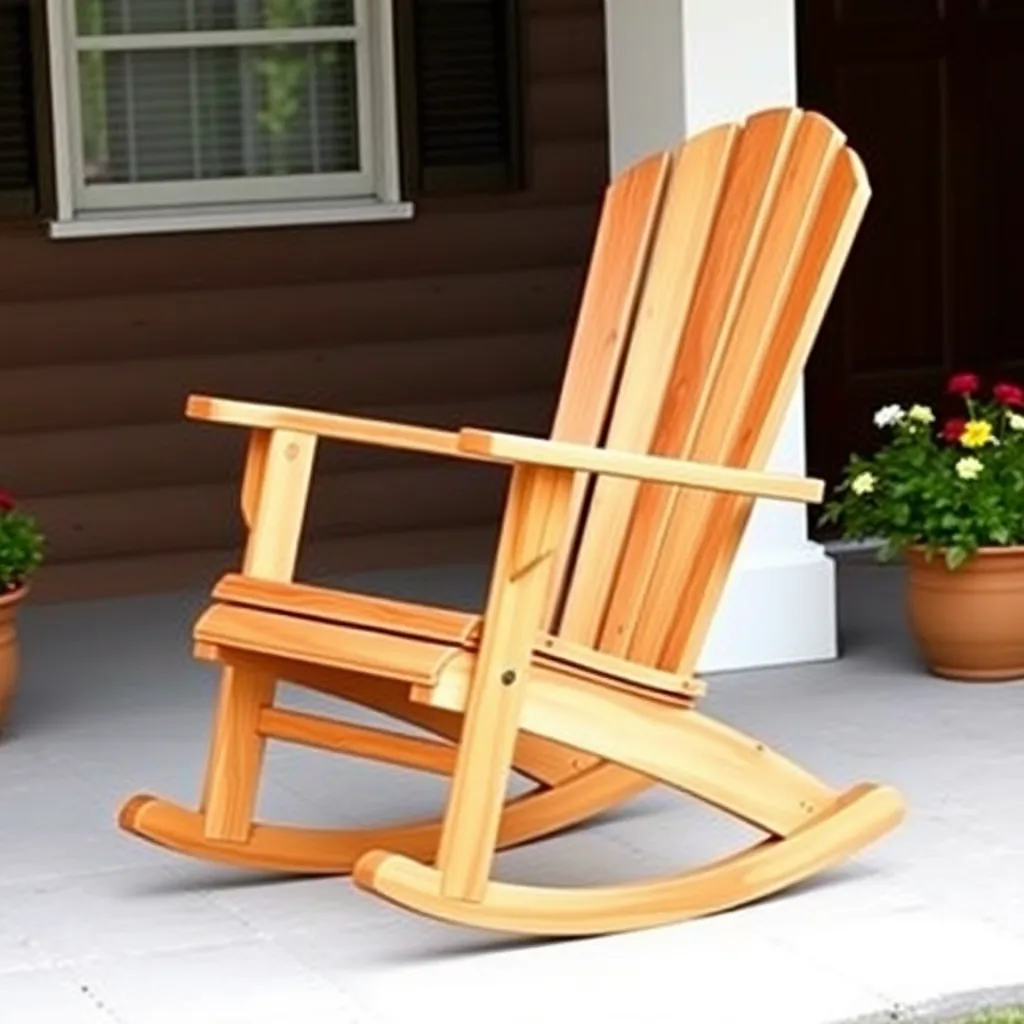
An Adirondack rocking chair adds curved rocker base runners to the standard chair structure, converting it from a stationary seat to a rocking chair. The rockers are cut from 2×6 boards with a gentle curve (radius of approximately 36 inches) and connect to the bottom of the chair’s front and rear legs. The rocking motion is shallow and controlled — this is a porch rocker, not a nursery rocking chair — and the seat angle and fan-back remain identical to the classic design.
Want 16,000+ step-by-step woodworking plans?
Ted’s Woodworking has plans for every skill level — from simple shelves to full bedroom sets. Each plan includes a cut list, material list, and detailed diagrams. Browse Ted’s plans →
Adirondack Chair Plans FAQ
What wood is best for building an Adirondack chair?
Cedar is the standard choice for Adirondack chairs: rot-resistant, lightweight (a finished cedar chair weighs 15–20 lbs), and it takes stain and exterior paint beautifully. Pine is the budget alternative — acceptable if painted, but it requires more frequent maintenance outdoors and will rot faster than cedar if the finish is neglected. Pressure-treated pine is structurally fine but heavier and harder to work with; the chemicals also make it unsuitable for direct paint without a primer coat. Teak is the premium option — more durable and denser than cedar — but the price has risen significantly in recent years. For most backyard builders, cedar is the right choice.
How many board feet of lumber do I need for one Adirondack chair?
A standard classic Adirondack chair requires approximately 20–22 board feet of 1×6 cedar, or 10–12 standard 8-foot 1×6 boards. The 2×4 version needs 8–10 standard 8-foot 2×4 boards. If buying by the board (not board feet), bring the cut list to the lumber yard — it tells you exactly how many boards of each length you need, which is more useful than a board-foot total for planning a purchase.
How long does it take to build an Adirondack chair?
First build: 6–8 hours including marking, cutting, sanding, and assembly. Second and third chairs from the same templates: 4–5 hours each. A matched set of two chairs and an ottoman, built over a weekend, is achievable for an intermediate builder. The fan-back slat cutting and angle work are the most time-consuming parts; using a jigsaw with a good blade reduces that time significantly.
What finish should I use on an outdoor Adirondack chair?
For cedar chairs: a semi-transparent exterior oil stain in a natural wood tone or color is the most popular finish — it protects the wood while letting the grain show. Two coats on all surfaces, three on end grain. Semi-solid or solid exterior paint is the alternative if you prefer color; it requires more prep (sanding between coats) but provides better UV protection. For pine chairs, exterior paint is the best choice — bare or stained pine weathers poorly outdoors. Re-coat every 1–2 years.
Can I build an Adirondack chair from a kit?
Yes — pre-cut Adirondack chair kits are widely available online ($80–150 per chair). They include all parts cut to shape with angles already made, hardware, and assembly instructions. Kits save the cutting time (the most skill-intensive part) but cost significantly more than buying lumber. For someone who wants one or two chairs and doesn’t own a jigsaw, a kit is a reasonable option. For building three or more chairs, buying lumber and cutting from templates is much more economical.

“DIY woodworking enthusiast who started with zero experience and a YouTube tutorial.
I build simple, practical projects for my home and share free plans
so other beginners can skip the guesswork.If I can build it, you can too.”