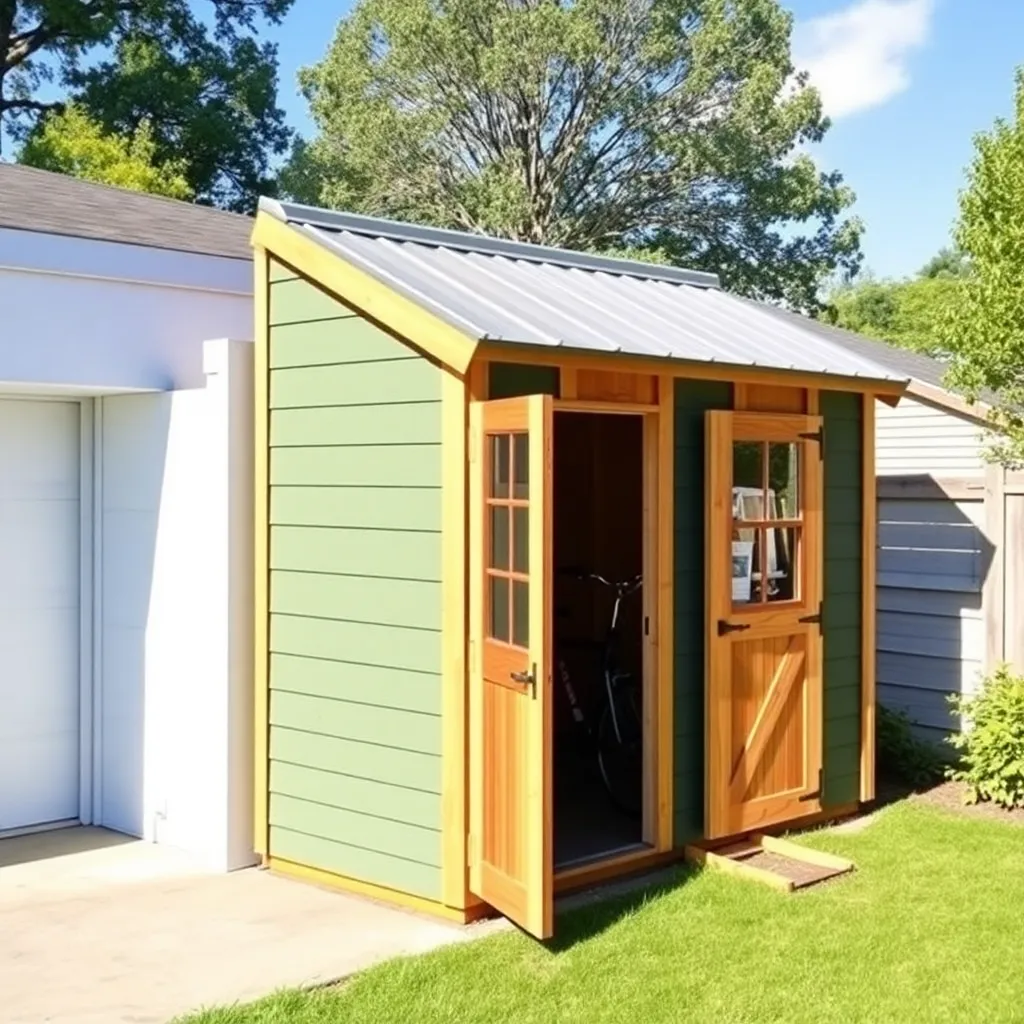
A lean-to shed is the most efficient structure you can add to a backyard. It borrows an existing wall — your house foundation, garage siding, privacy fence, or garden wall — as the rear support, which means you only frame three sides and a single-pitch roof. That cuts material cost roughly in half compared to a freestanding shed of the same square footage and shrinks the build time to a single weekend for most builders.
This plan covers a 6×12-foot lean-to on concrete deck blocks. It fits along a standard garage wall, holds a full-size lawn mower, a bike, and two walls of hanging tools, and comes in under $600 in materials at current lumber prices.
Step 1: Plan the Attachment and Slope
Want 16,000+ step-by-step woodworking plans?
Ted’s Woodworking has plans for every skill level — from simple shelves to full bedroom sets. Each plan includes a cut list, material list, and detailed diagrams. Browse Ted’s plans →
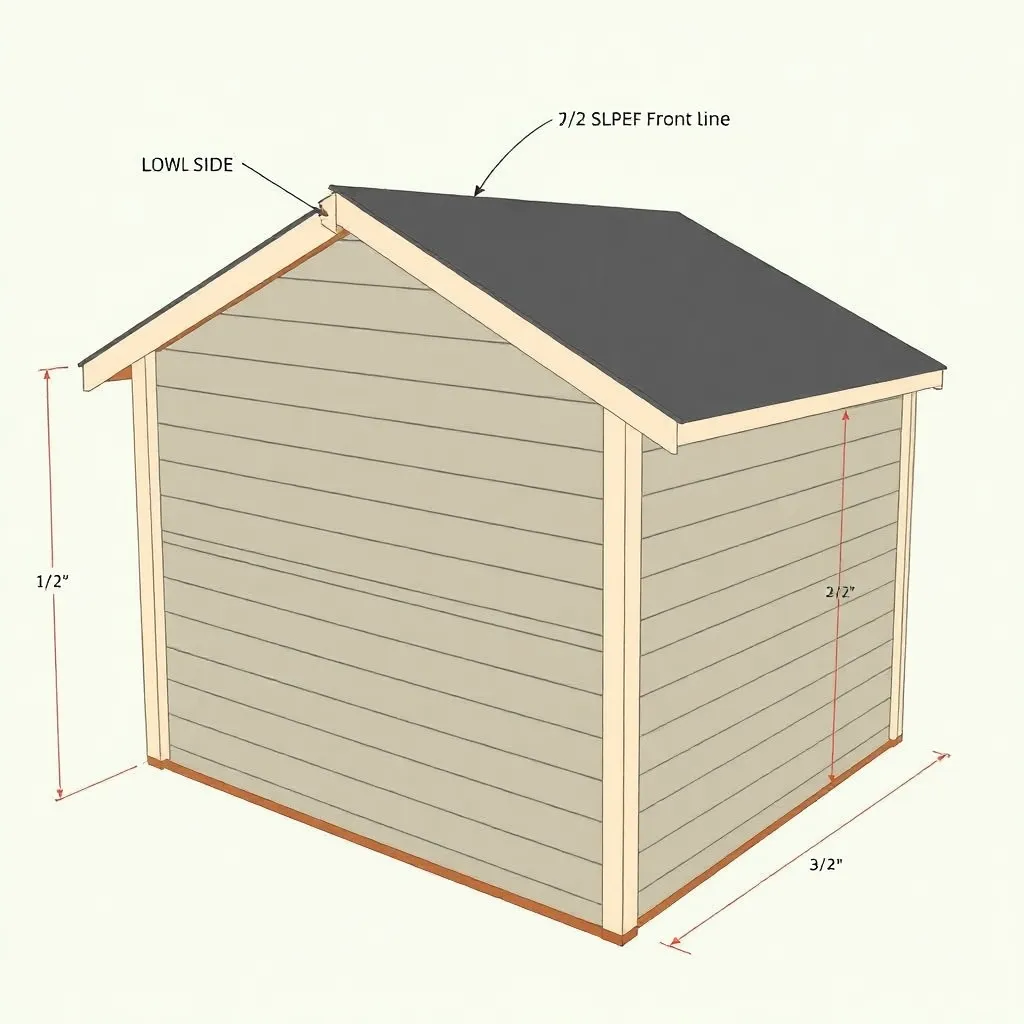
Before cutting anything, decide where the lean-to will attach and how much slope your roof needs. The rear (high) wall attaches to your existing structure — either a ledger board bolted through the siding into the rim joist, or a free-standing rear post row if you’re building against a fence. The front (low) wall must be tall enough for clearance — 6 feet minimum, 7 feet if you’re storing tall equipment.
Minimum roof slope for shed roofing is 3/12 (3 inches of rise per foot of run). For a 6-foot-wide shed, that means the rear wall is 18 inches taller than the front wall. Mark the ledger location on the host wall and snap a chalk line. Confirm the location doesn’t block windows, doors, or HVAC vents.
Cut List (6×12 Lean-To):
| Part | Size | Qty |
|---|---|---|
| Skids | 4×4 PT, 12 ft | 3 |
| Floor joists | 2×6 PT, 6 ft | 7 |
| Rear ledger | 2×8, 12 ft | 1 |
| Front wall studs | 2×4, 7 ft | 7 |
| Side studs | 2×4, cut to slope | 4 |
| Rafters | 2×6, 7.5 ft | 7 |
| Roof sheathing | 1/2″ OSB, 4×8 | 4 |
| Wall sheathing | T1-11, 4×8 | 6 |
Step 2: Set the Foundation and Floor Frame
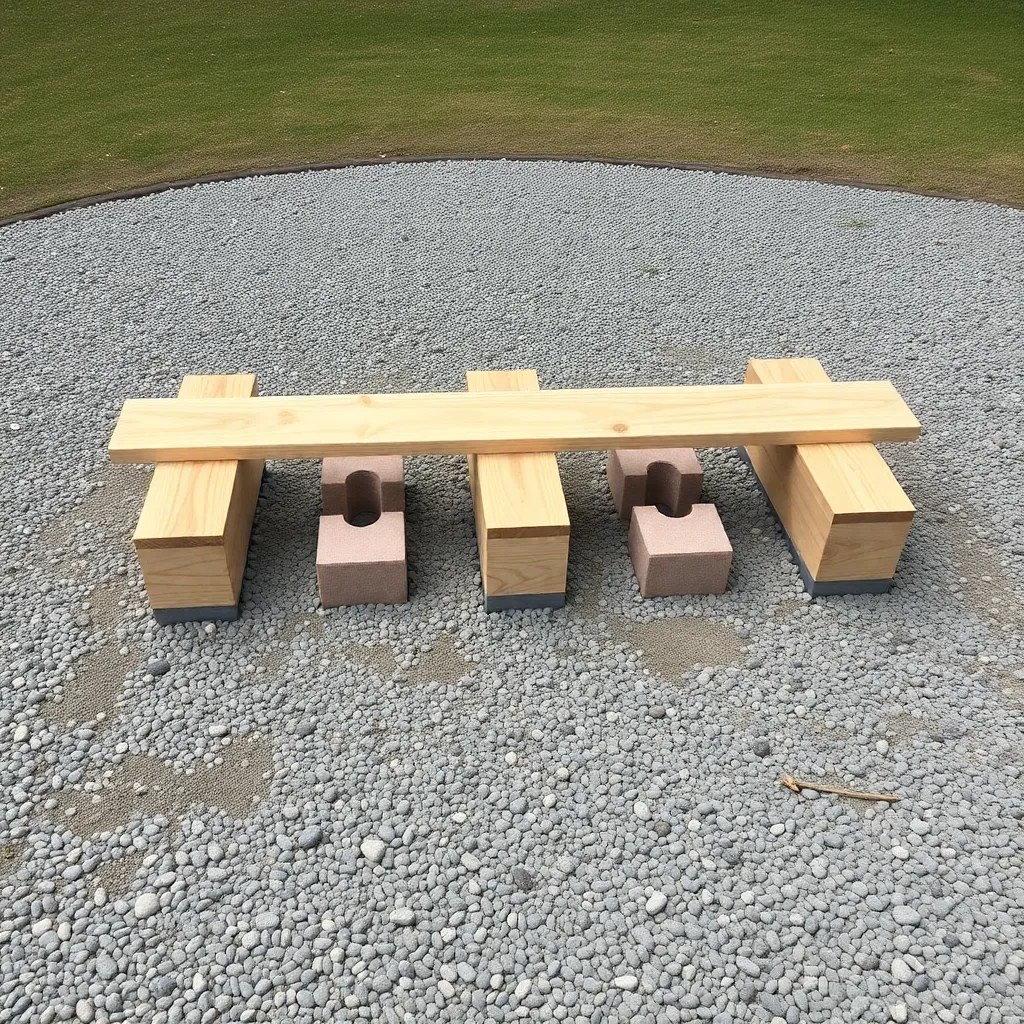
Lean-to sheds need no concrete — deck blocks on compacted gravel do the job. Dig out 4 inches of soil under the shed footprint and fill with compacted gravel. Set three 4×4 pressure-treated skids parallel to the house wall, spaced 3 feet apart (front, middle, rear). Level the skids by adjusting the gravel bed under each deck block. A 6-foot level across all three skids is your accuracy check.
Once the skids are level, frame the floor with 2×6 pressure-treated joists on 16-inch centers spanning the 6-foot width. Nail a rim joist to each end. Check for square by measuring diagonals — they should match within 1/8 inch. Sheathe the floor with 3/4-inch pressure-treated plywood and secure it with construction screws every 12 inches along each joist.
Step 3: Install the Rear Ledger Board
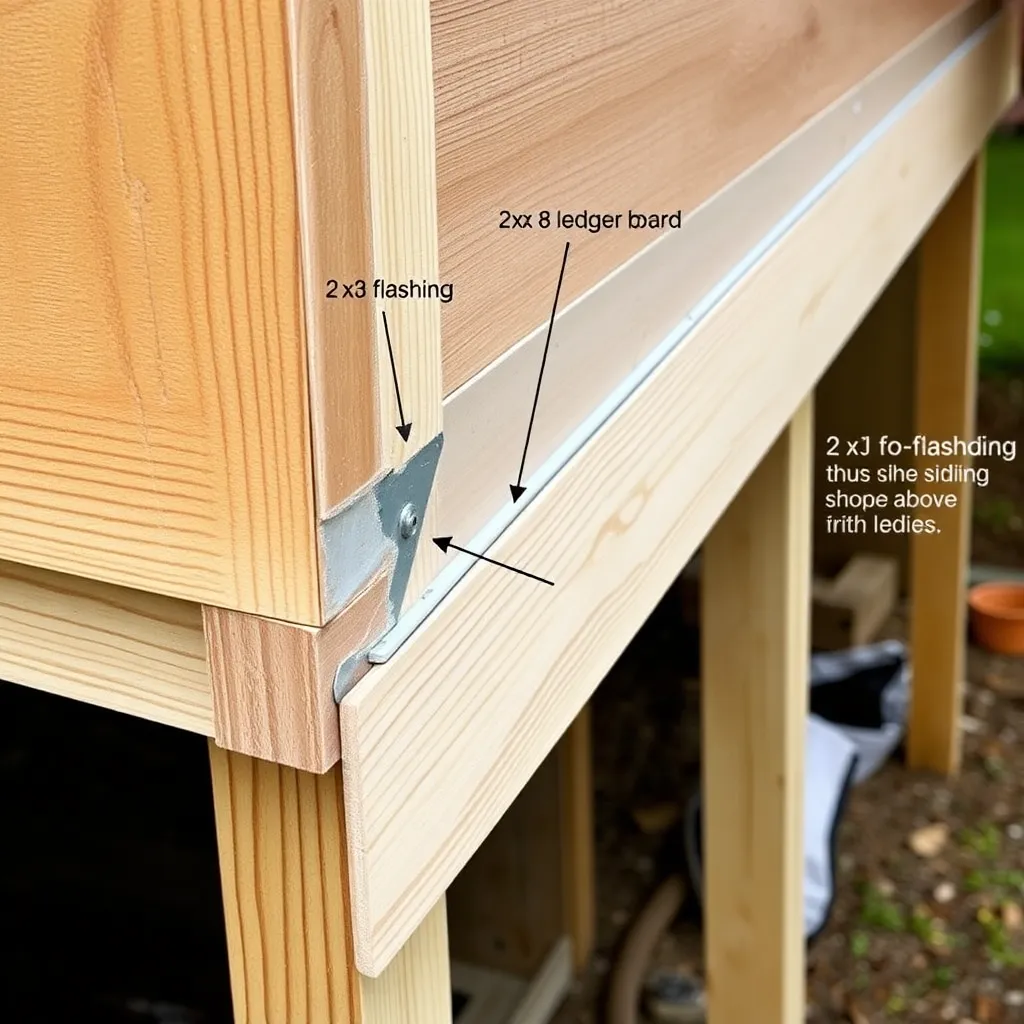
The rear ledger is the backbone of a lean-to. It carries the top of all the rafters and transfers the roof load back to the existing structure. Use 2×8 or 2×10 lumber. Locate the studs in the host wall with a stud finder, snap a level chalk line at your target rear-wall height, and bolt the ledger with 1/2-inch lag screws into every stud — minimum 3 inches of penetration into the framing behind the siding.
Use flashing above the ledger to prevent water infiltration: tuck Z-flashing under the siding course above the ledger and let it lap over the top face of the ledger by at least 1 inch. This is the most leak-prone joint in any lean-to — flash it properly and you’ll never have a problem.
Step 4: Frame the Front and Side Walls
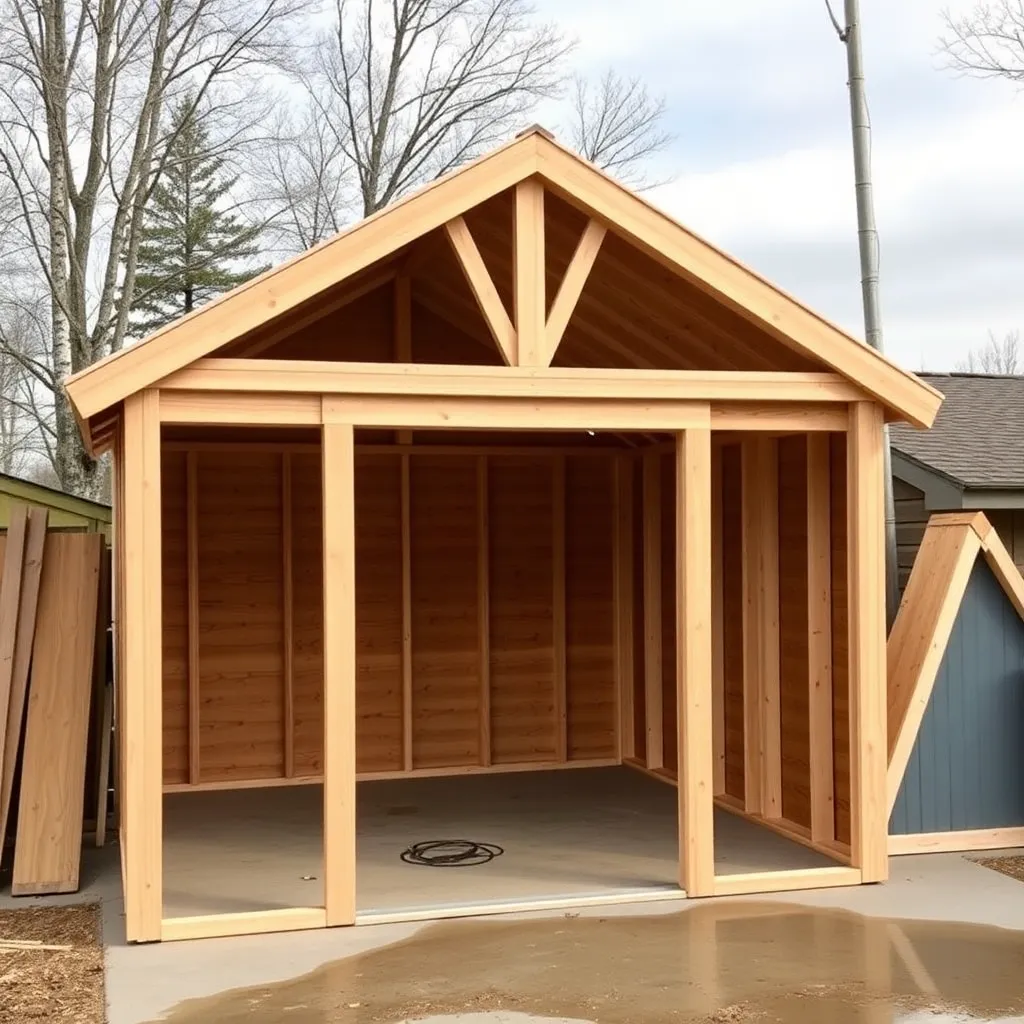
The front wall is the full-height wall that determines your clearance. Frame it flat on the floor, tip it up, and brace it plumb with a 2×4 kicker. Standard 7-foot front wall height gives comfortable access for most storage. Add a 4-foot-wide opening at one end for the door — a pair of 2×4 king and jack studs, a doubled 2×8 header, and a cripple stud above.
The two side walls are triangular — they follow the slope from the tall rear to the low front. Measure the slope angle from the ledger to the front wall plate (it should be the same 3/12 you planned). Cut each stud to the appropriate length following the slope. Side wall studs land on the floor frame at the rim joists. Sheathe all three walls with T1-11 siding before raising — it’s much easier to work flat on the ground.
Step 5: Install Rafters and Roof Sheathing
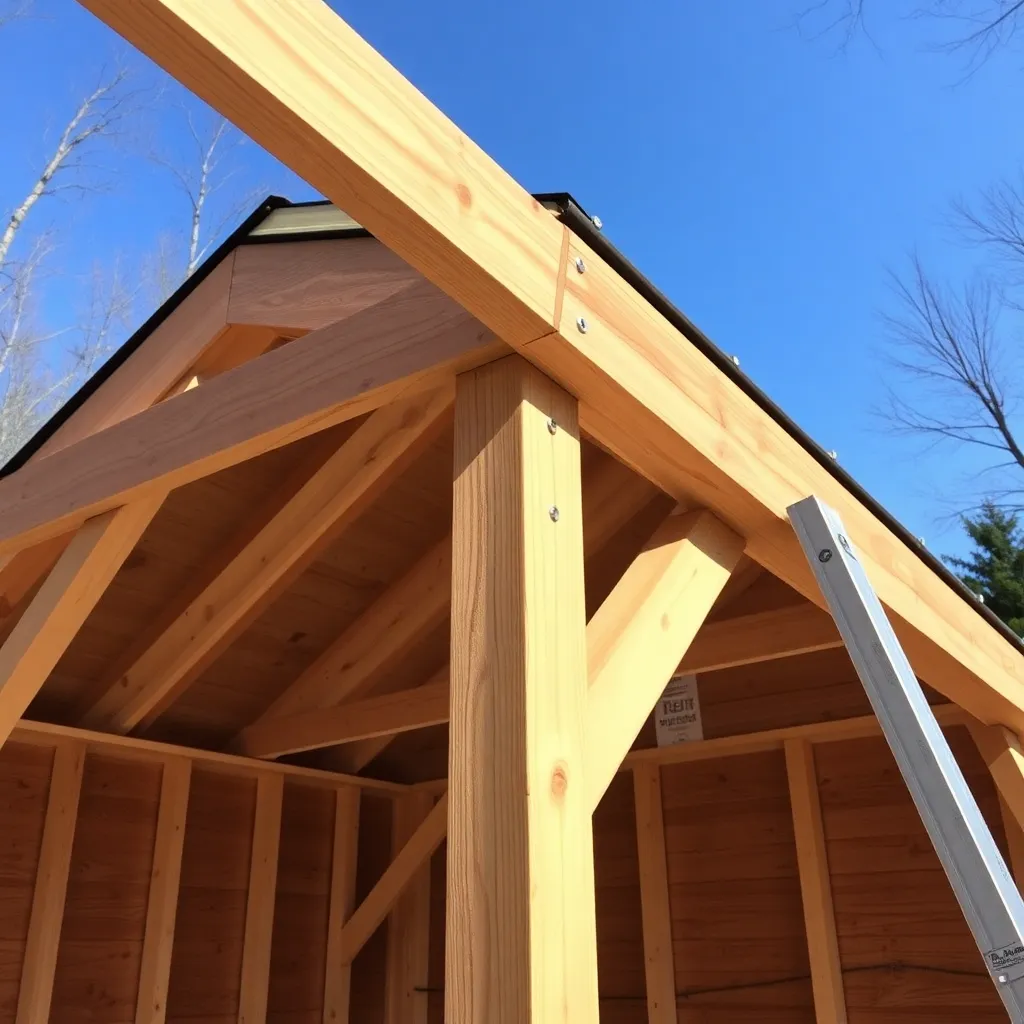
Rafters span from the ledger to the front wall top plate. Cut them to length with the seat cut at the front plate and the bird’s mouth notch at the ledger. Space rafters on 24-inch centers — that’s 7 rafters for a 12-foot-wide shed. Toenail each rafter to the ledger with three 3-inch nails and hurricane-tie it to the front wall plate.
Once the rafters are in, sheathe the roof with 1/2-inch OSB. Start at the low (front) edge and work up toward the house. Leave a 3/4-inch gap at the top where the roof meets the house wall — this gap, covered by counter-flashing, allows for expansion and prevents water from wicking up under the siding. Roll on roofing felt and finish with drip edge and asphalt shingles, or use a single layer of corrugated metal roofing for a cleaner look.
Step 6: Install the Door, Trim, and Finish
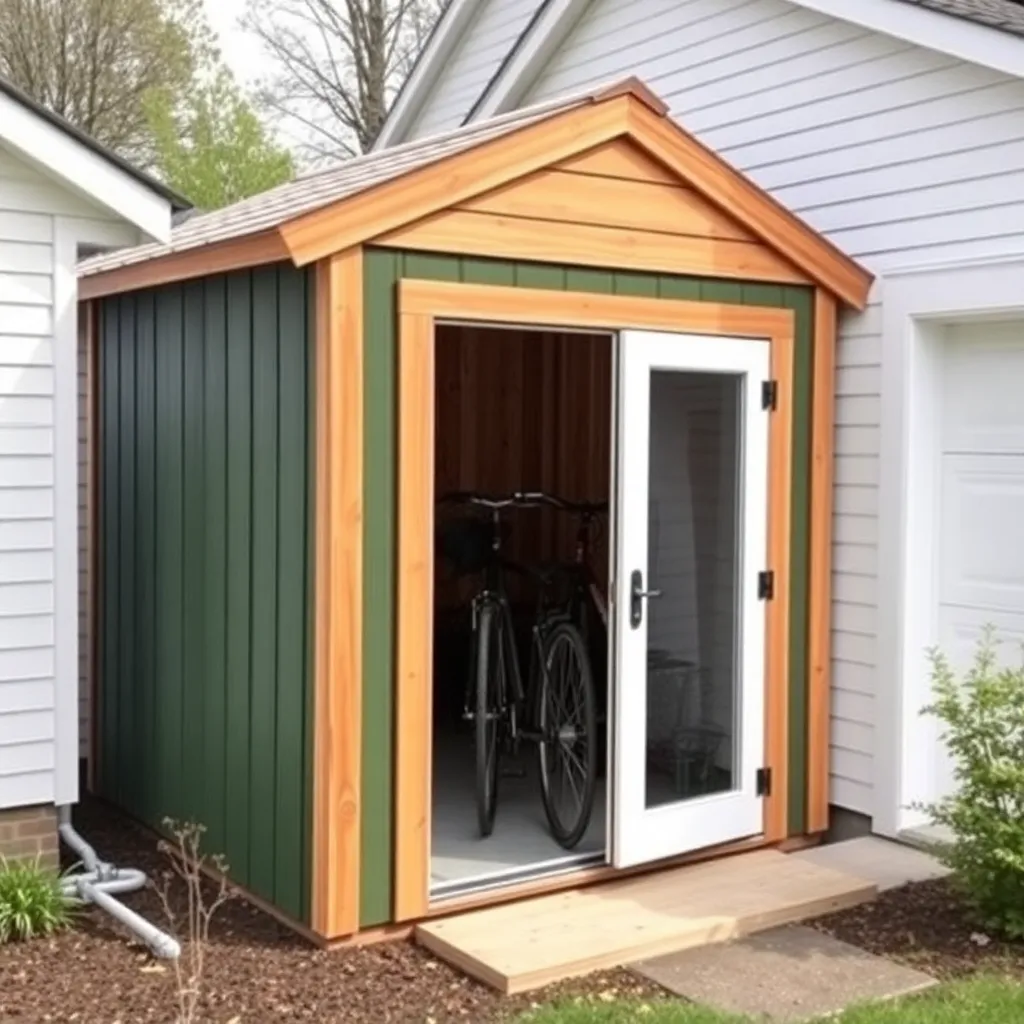
Hang a pre-hung 36-inch exterior door in the rough opening or build a simple Z-brace board-and-batten door from 1×6 cedar boards. Paint or stain all exterior surfaces before installing trim — it’s much easier to coat all four edges of each trim board before it’s nailed in place. Run 1×4 corner boards at all outside corners, 1×4 fascia along the front rafter tails, and 1×6 frieze board under the eaves at the rear. Caulk all joints where trim meets siding.
Install a simple hasp-and-padlock on the door, add a couple of interior hooks on the wall studs for hanging tools, and the lean-to is done. Total build time for most first-time builders: 12–16 hours spread across two days.
Want 16,000+ step-by-step woodworking plans?
Ted’s Woodworking has plans for every skill level — from simple shelves to full bedroom sets. Each plan includes a cut list, material list, and detailed diagrams. Browse Ted’s plans →
Lean-To Shed Plans FAQ
How close to the house can a lean-to shed be?
Typically 3 feet minimum from the property line and 2 feet from the house foundation, but local codes vary. If you’re attaching directly to the house wall (true attached lean-to), building codes in most jurisdictions treat it as a house addition and may require a permit.
What is the best slope for a lean-to roof?
Minimum 3/12 for asphalt shingles (3 inches of rise per 12 inches of run). Metal roofing can go as low as 2/12. Steeper is better for drainage and snow shedding — a 4/12 or 5/12 slope is ideal where winter snow is common.
Can I build a lean-to against a vinyl fence?
Not with a bolted ledger — vinyl fence posts won’t carry the point loads from a roof. Instead, set your own rear post row 6 inches away from the fence, build the lean-to off those posts, and let the fence serve only as a visual backdrop.
Do I need a floor in a lean-to shed?
No — a gravel floor with landscape fabric underneath is adequate for dry storage of bikes, garden tools, and non-rusting items. Add a pressure-treated wood floor if you’re storing anything that needs to stay level or if you’ll be walking in and out frequently.
How much does a 6×12 lean-to shed cost to build?
Materials for a 6×12 lean-to shed typically run $400–$700 at current lumber prices — deck blocks, pressure-treated skids, framing lumber, T1-11 siding, OSB roof sheathing, and asphalt shingles. A pre-hung door adds another $100–$200. Compare that to a comparable freestanding shed at $1,200–$2,000.

“DIY woodworking enthusiast who started with zero experience and a YouTube tutorial.
I build simple, practical projects for my home and share free plans
so other beginners can skip the guesswork.If I can build it, you can too.”