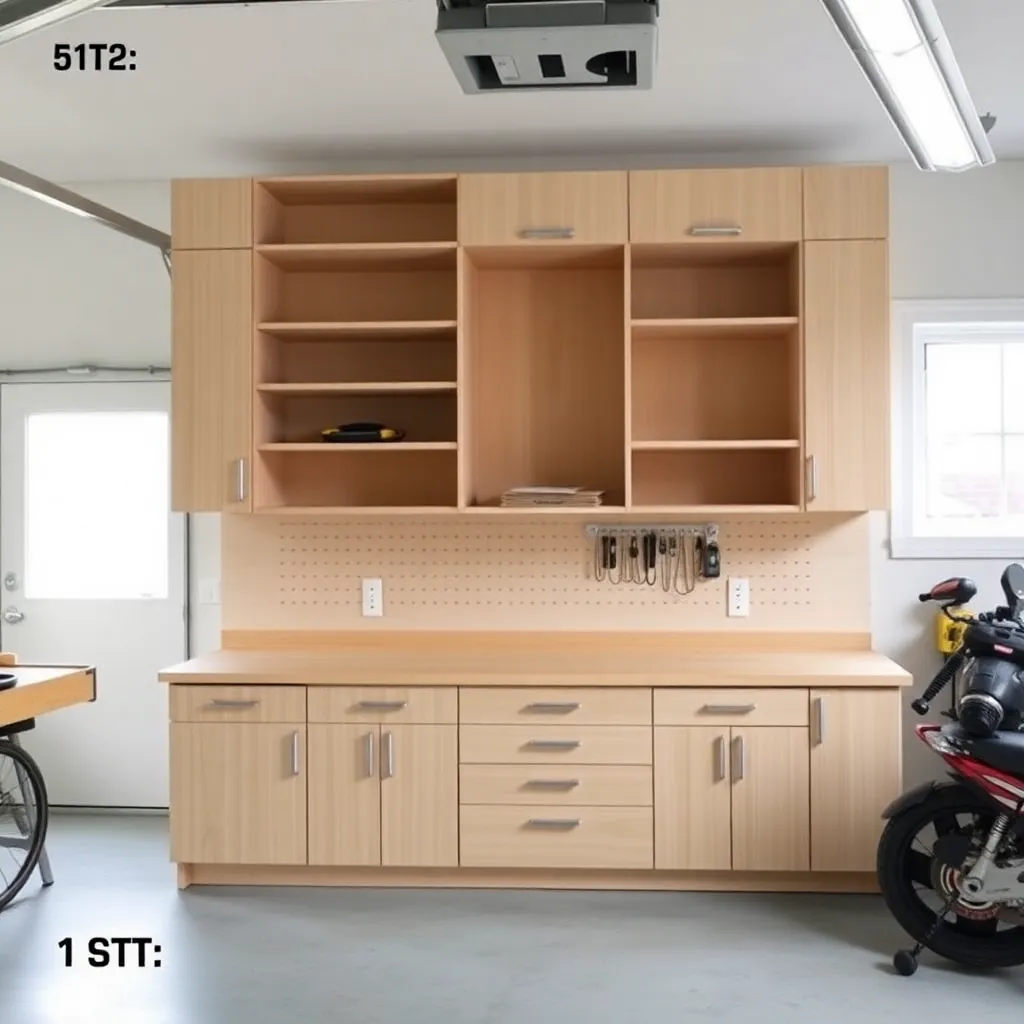
Garage cabinets do what open shelves can’t — they hide the mess, protect tools from dust and moisture, and lock. A plywood cabinet system built in a weekend costs $400–$600 in materials and delivers what a commercial steel cabinet system sells for $2,000–$4,000. These garage cabinet plans cover a base cabinet with drawers, a tall broom/tool cabinet, and a wall cabinet with pegboard insert doors — all built on the same 24-inch-deep carcass so they line up flush and look like a custom built-in.
Ted’s Woodworking has full garage cabinet plans with cut lists, hardware specs, and finishing guides. Browse Ted’s cabinet plans →
Step 1: Design the Cabinet Layout
Ted’s Woodworking has over 16,000 step-by-step plans with cut lists, materials lists, and detailed diagrams. Browse Ted’s plans →
Plan the cabinet run before cutting anything. Sketch the wall with total width and ceiling height. Standard cabinet dimensions for a garage:
- Base cabinet height: 34½ inches (matches kitchen standard — comfortable working height)
- Base cabinet depth: 24 inches
- Wall cabinet height: 30–42 inches (taller = more storage)
- Wall cabinet depth: 12–16 inches
- Countertop overhang: 1½ inches front and sides
A typical 16-foot garage wall fits:
- 2 × base cabinet sections (each 8 feet wide)
- 2 × wall cabinet sections above
- 1 × tall cabinet at one end (floor to ceiling, for mops, rakes, long-handled tools)
Sheet count for a 16-foot run: approximately 12–15 sheets of ¾-inch plywood and 4 sheets of ½-inch plywood (for backs and drawer bottoms).
Step 2: Build the Base Cabinet Carcass
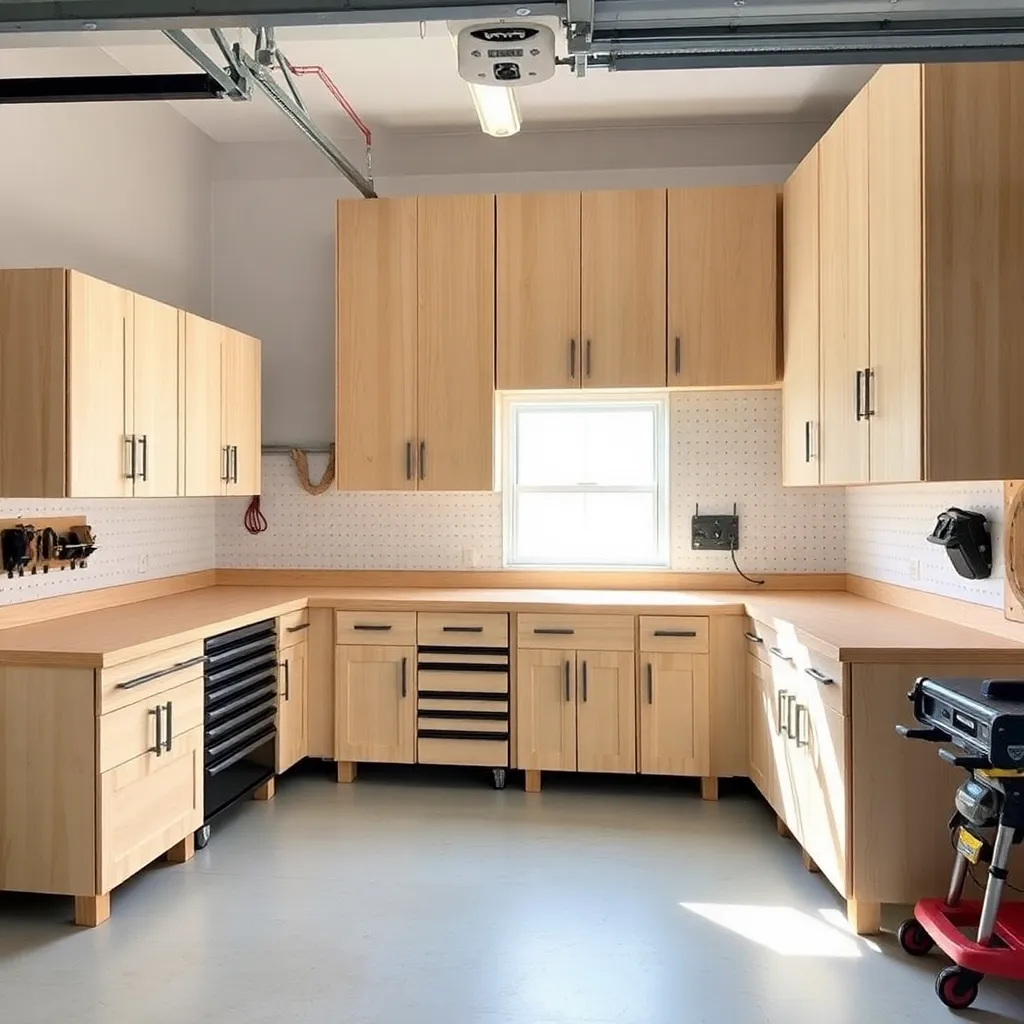
All cabinets in this system share the same carcass construction: two side panels, a top panel, a bottom panel, and a ¼-inch or ½-inch plywood back. The back is structural — it squares the carcass and keeps it from racking.
Cut list for one 24-inch-wide base cabinet:
- 2 × sides: ¾-inch plywood at 23¼×34½ inches
- 1 × top: ¾-inch plywood at 22½×22½ inches (set back from front)
- 1 × bottom: ¾-inch plywood at 22½×22½ inches (set 4 inches up from floor for toe kick)
- 1 × back: ½-inch plywood at 24×34½ inches
- 1 × face frame (optional): 1×2 pine around the front opening
Assemble with glue and 1½-inch pocket screws (Kreg jig). Clamp and check for square before the glue sets. The back panel goes on last and pulls the whole carcass square.
Step 3: Build and Install the Drawers
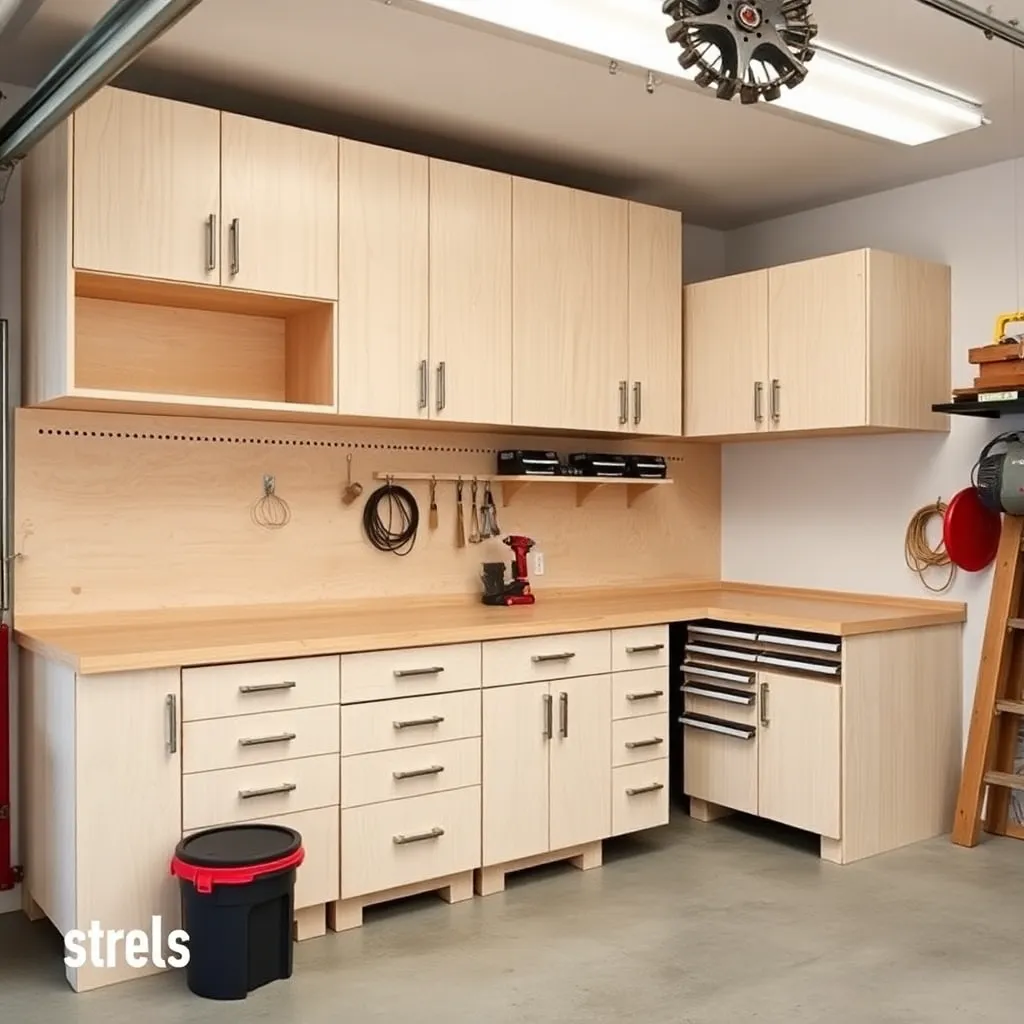
Drawers are the most useful feature of a garage base cabinet — far more practical than doors and shelves for storing hand tools, fasteners, tape, and small parts.
Drawer construction (for a 20-inch-wide × 6-inch-tall drawer):
- 2 × sides: ½-inch plywood at 6×22 inches
- 1 × front: ½-inch plywood at 6×19 inches
- 1 × back: ½-inch plywood at 6×19 inches
- 1 × bottom: ¼-inch plywood at 19×22 inches (slides into a dado groove)
Use full-extension undermount drawer slides (Blum 563 or equivalent) for garage drawers — side-mount slides allow sawdust to accumulate in the track. Full-extension slides open completely and hold 100 lbs per pair.
Step 4: Build the Tall Cabinet
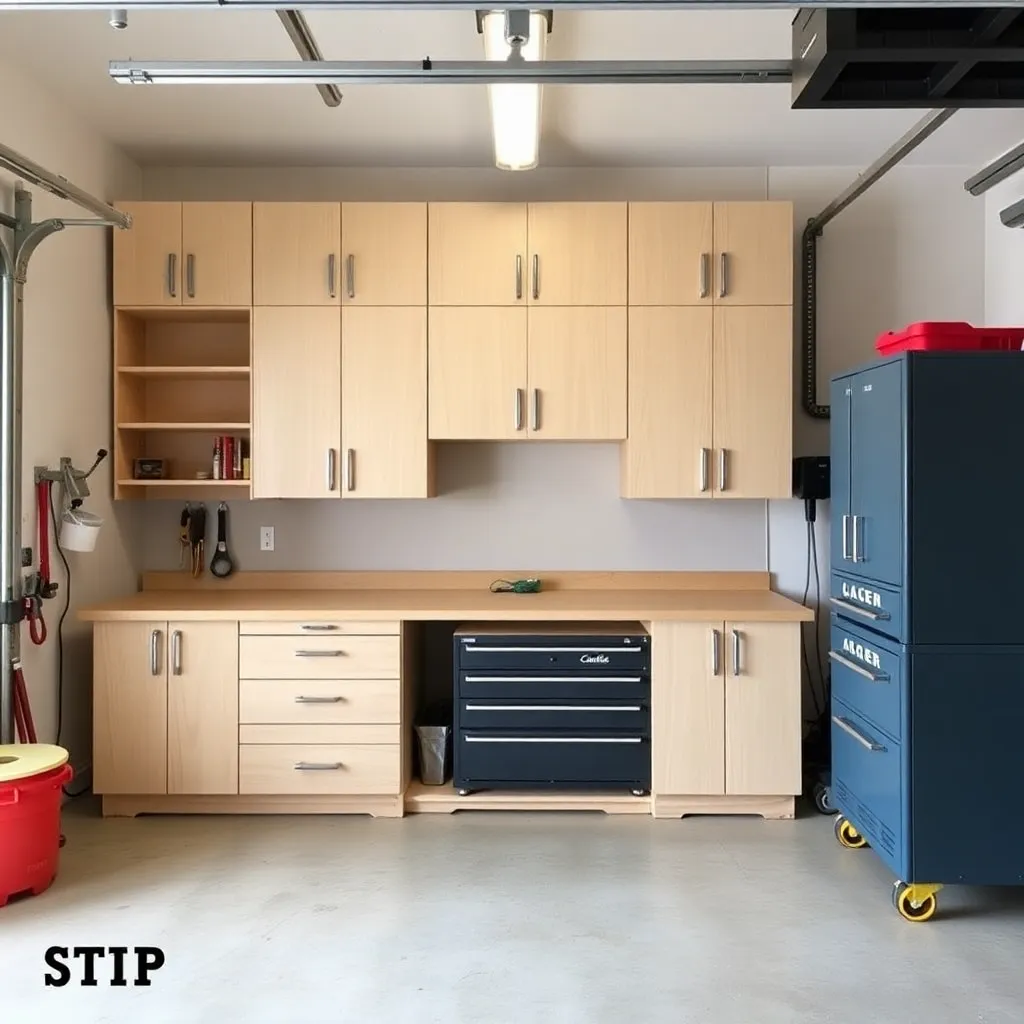
The tall cabinet stores items that don’t fit anywhere else: extension cords, garden hoses, folding chairs, brooms, and long-handled tools. It runs floor to ceiling (or close to it) and uses the same carcass construction as the base cabinet, scaled up.
Cut list for a 24×24×84-inch tall cabinet:
- 2 × sides: ¾-inch plywood at 23¼×84 inches
- 3 × horizontal dividers: ¾-inch plywood at 22½×22½ inches (top, middle, bottom)
- 1 × back: ½-inch plywood at 24×84 inches
- 2 × doors: ¾-inch plywood at 41×23½ inches each
Add a full-length vertical divider inside to create two zones: one narrow (for brooms and rakes) and one wider (for extension cords on hooks and folding chairs). Doors on piano hinges keep everything enclosed.
Step 5: Build the Wall Cabinet
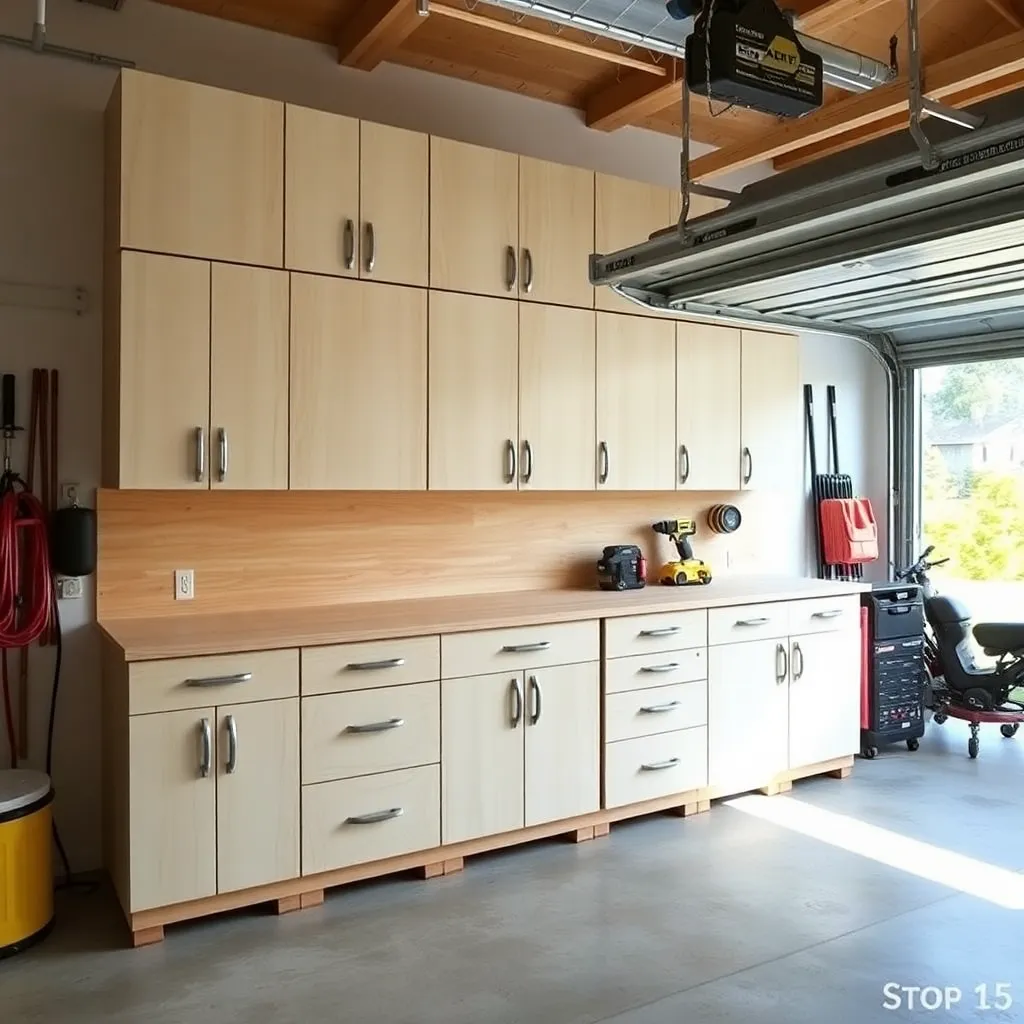
Wall cabinets mount above the base cabinets and provide a huge amount of storage for lighter items: paint cans, automotive fluids, cleaning supplies, power tool cases.
Mount wall cabinets with a ledger board: screw a 2×4 to the wall studs at the desired bottom height of the wall cabinets. Rest the cabinet on the ledger while fastening — this keeps cabinets level and takes the weight while you drive screws.
Fasten wall cabinets through the top inside rail into wall studs with 3-inch screws. Two screws per stud minimum — wall cabinets in garages see heavy loads (paint cans, automotive chemicals) and vibration from power tools.
Pegboard door insert: replace solid door panels with ¼-inch pegboard. This turns wall cabinet doors into additional tool storage — when the door opens, hooks on the pegboard are accessible from the front. Use ½-inch standoffs between the pegboard and the door frame.
Step 6: Finish and Install
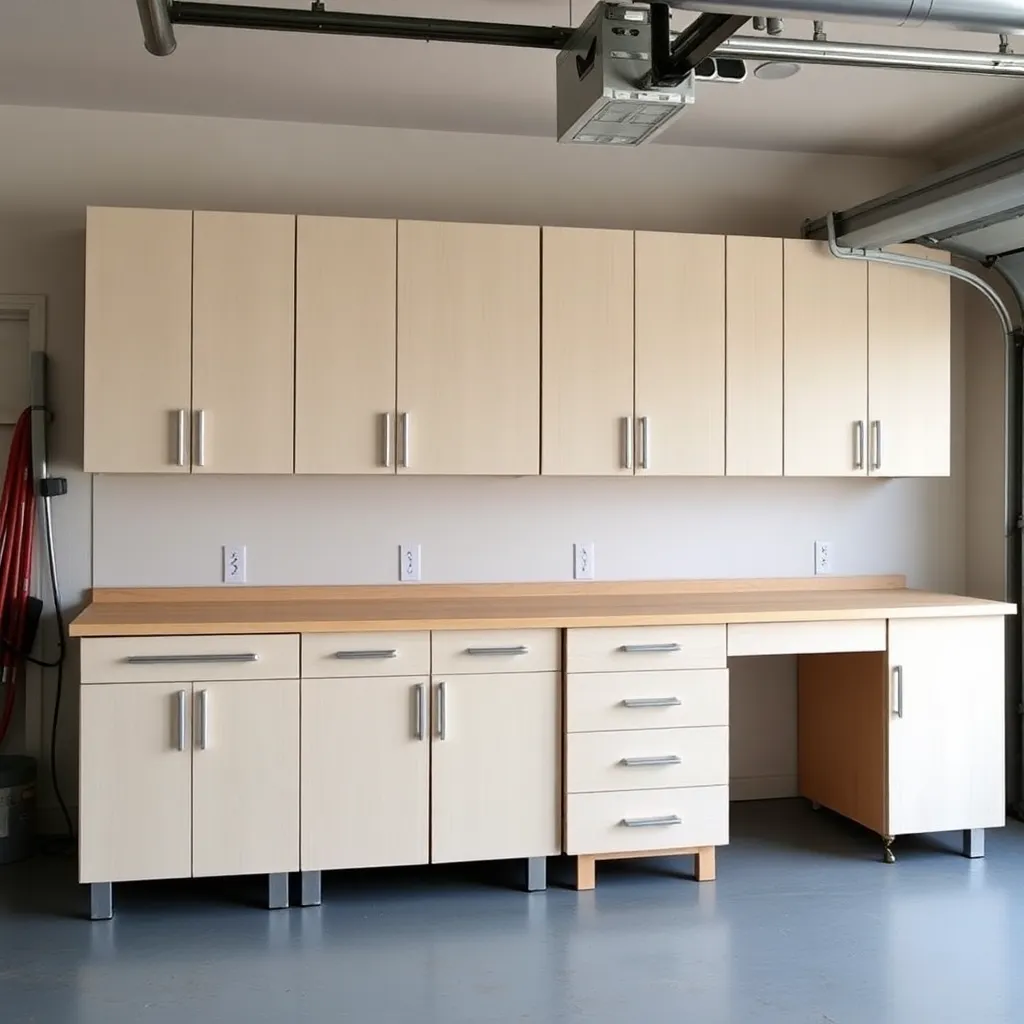
For raw plywood cabinets in a garage: sand all exterior surfaces to 120-grit, apply one coat of oil-based primer, two coats of cabinet-grade enamel (oil-based or water-based alkyd). Gloss or semi-gloss finish cleans easily and resists chemicals.
Install base cabinets first, shim level, and anchor to the wall. Install the countertop (¾-inch plywood with a hardboard top for durability). Then install wall cabinets above. Caulk the joint between cabinets and wall for a clean built-in look.
Ted’s Woodworking has over 16,000 step-by-step plans with cut lists, materials lists, and detailed diagrams. Browse Ted’s plans →
Garage Cabinet Plans FAQ
What plywood should I use for garage cabinets?
¾-inch BC-grade or better plywood for the carcass. The B face goes on the outside (visible) and the C face goes inside. Avoid MDF and particleboard for garage cabinets — they swell in humidity and are too heavy for wall mounting. Baltic birch plywood is the premium option: no voids, smooth faces, and very stable.
How do I make garage cabinets look built-in?
Install a continuous countertop across all base cabinets, run cabinets tight to the ceiling (or add a filler strip at the top), and caulk the gap between cabinets and walls. Add a consistent toe kick (4-inch recessed base) across all base cabinets. Spray paint or roll all cabinets the same color.
Are DIY garage cabinets as good as metal cabinets?
For most garage uses, yes — and often better. Plywood cabinets are heavier and more rigid than thin-gauge steel cabinets, can be customized to any size, and are repairable. Metal cabinets dent, the thin doors flex, and drawer slides on budget steel cabinets fail within a few years. The main advantage of metal cabinets is moisture resistance — in very damp garages, a sealed plywood cabinet still outperforms budget metal.
How much does it cost to build garage cabinets?
A full 16-foot base and wall cabinet run: $400–$700 in materials (plywood, hardware, paint). Comparable commercial systems cost $1,500–$4,000. The cost difference is primarily labor — plan for 3–4 weekends of work.
Do I need a face frame on garage cabinets?
No. Frameless (European-style) construction is faster and provides slightly more interior space. Face frames add a traditional look and make hinge mounting simpler, but they reduce the opening width by 1½ inches on each side. For garage cabinets where function matters more than aesthetics, frameless is the better choice.

“DIY woodworking enthusiast who started with zero experience and a YouTube tutorial.
I build simple, practical projects for my home and share free plans
so other beginners can skip the guesswork.If I can build it, you can too.”