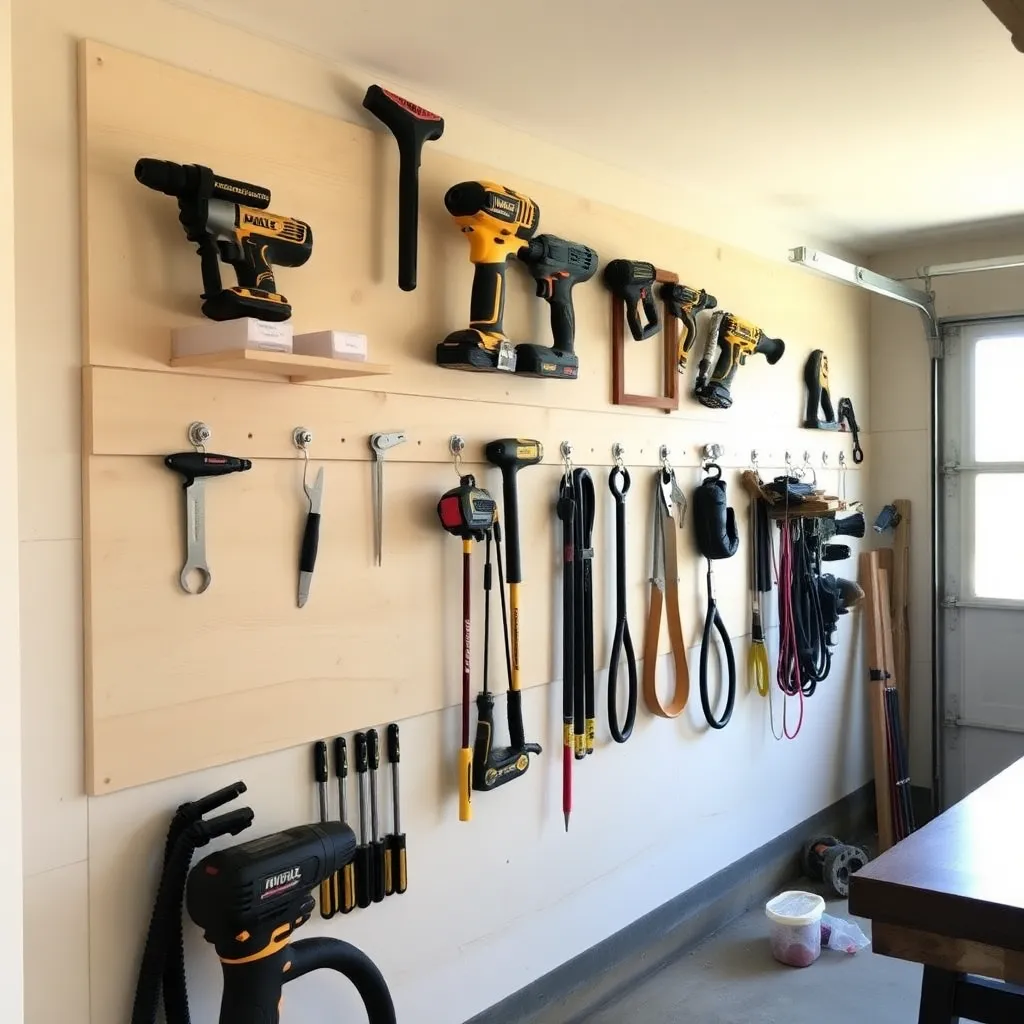
Power tools without dedicated storage end up on the floor, on shelves where they slide and fall, or stacked in a pile under the bench where nothing is accessible. A proper garage tool storage system gives every tool a home — close to where it’s used, protected from damage, and quick to grab. These plans cover three systems: a French cleat wall for mounting custom tool holders, a rolling tool cart for corded tools that travels to the work, and a battery charging station with built-in organization for cordless tool packs.
Ted’s Woodworking has detailed shop storage plans including French cleat systems, rolling carts, and charging station builds. Browse Ted’s shop plans →
Step 1: Build a French Cleat Wall
Ted’s Woodworking has over 16,000 step-by-step plans with cut lists, materials lists, and detailed diagrams. Browse Ted’s plans →
A French cleat is the most flexible tool storage system ever invented. A cleat is a strip of plywood with a 45-degree bevel cut along the top edge. Matching 45-degree hooks and holders hang anywhere on the cleat and can be repositioned without tools in seconds. Build a full French cleat wall and you have infinite, reconfigurable tool storage.
Materials for an 8×4-foot French cleat wall:
- 3 sheets ¾-inch birch plywood (cut into strips)
- Circular saw with 45-degree bevel fence setting
- Screws: 2½-inch for wall mounting, 1½-inch for custom holders
Cut the cleats: Set the circular saw bevel to 45 degrees. Rip ¾-inch plywood into strips 3–4 inches wide. Each strip has one 45-degree bevel along the top edge (the “hook” edge). Strips with the bevel pointing up mount to the wall; strips with the bevel pointing down attach to the back of holders.
Mount the wall cleats: Screw horizontal cleat strips to the wall at 4-inch vertical intervals, bevel up and facing out. Drive 2½-inch screws into wall studs at every stud crossing — minimum 2 screws per stud per cleat. Cover the entire 8×4-foot area from bench height to ceiling.
Step 2: Build Custom Tool Holders
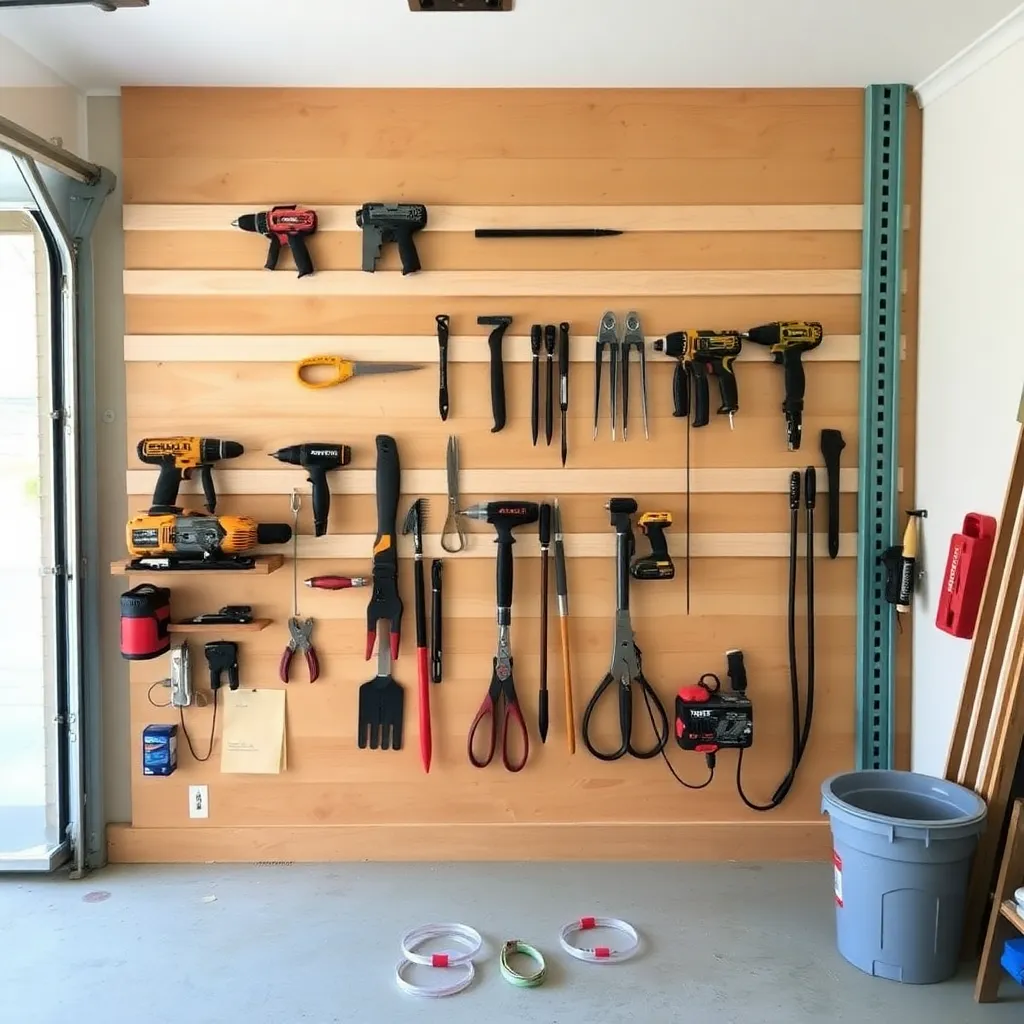
The holders are the genius of the French cleat system — every holder is custom-fit to the specific tool it holds, made from scrap plywood in 15 minutes.
Circular saw holder:
Cut a plywood shelf with two vertical sides that cradle the base of the saw. Add a 45-degree cleat strip to the back. The saw sets flat on the shelf and is held by the sides.
Drill holder:
A simple plywood box with a hole sized to the drill’s barrel — the drill drops in barrel-first and hangs by its flange. One strip of cleat on the back. Takes 10 minutes to make.
Hand plane holder:
A horizontal cradle with two V-notches — the plane rests on its side so the blade is never touching anything. Keeps the edge sharp between uses.
General-purpose holder bins:
Cut small boxes from ¼-inch plywood (5×5×3 inches). Attach cleats to the back. These hold drill bits, router bits, sandpaper, jigs, and small accessories.
The advantage: If your workflow changes, you move holders in 10 seconds. No tools required, no new holes in the wall.
Step 3: Build the Rolling Tool Cart
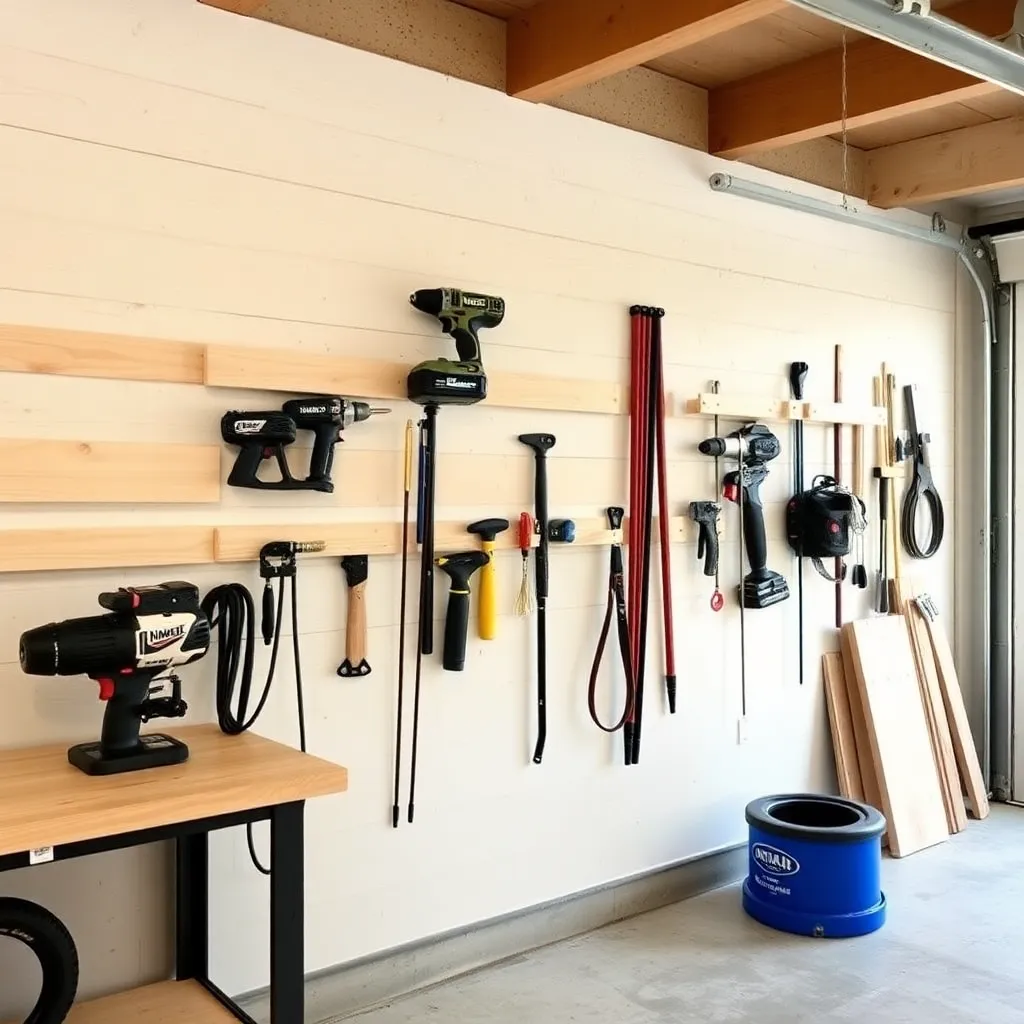
Corded power tools need to move to the work — not the other way around. A rolling cart with specific bays for each tool keeps the saw, drill press, and router accessible without hauling them across the garage for every project.
Materials for a 24×36-inch rolling cart:
- 2 × sides: ¾-inch plywood at 36×36 inches
- 2 × top and bottom: ¾-inch plywood at 22½×36 inches
- 2 × internal dividers: ¾-inch plywood at 22½×34½ inches
- 1 × back: ½-inch plywood at 36×36 inches
- 4 × heavy-duty locking casters rated 150 lbs each (600 lbs total — necessary for a loaded cart)
- 1 × countertop: ¾-inch plywood or MDF at 24×37 inches (overhang front and sides)
Cart layout:
- Bottom bay: router, jigsaw, and random orbital sander (heaviest tools at the bottom)
- Middle bay: extension cords, power strip, hearing protection, safety glasses
- Upper bay (narrower dividers): drill, impact driver, right-angle drill
Attach casters to the bottom panel before assembly. Use 3-inch screws for all carcass joints. No glue needed — this cart will be disassembled or modified as your tool collection changes.
Step 4: Build the Battery Charging Station
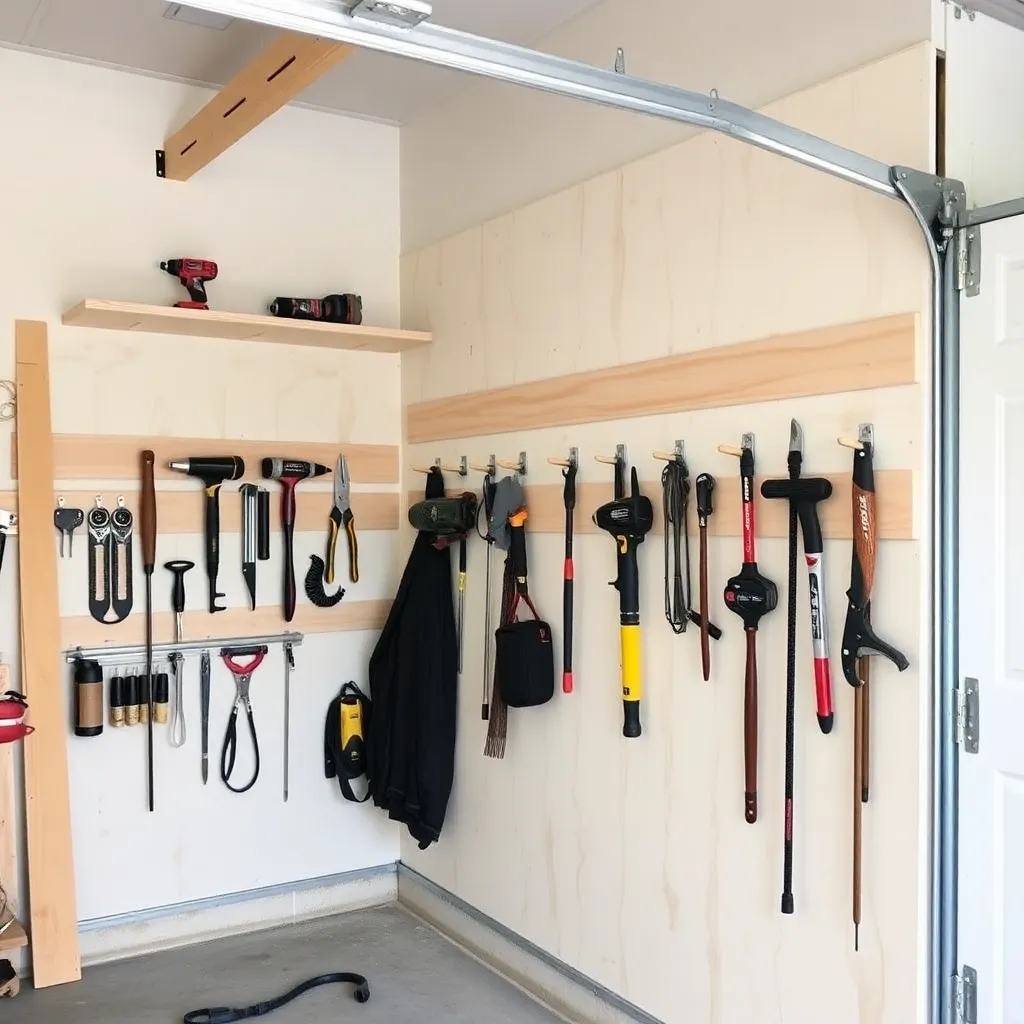
Cordless tools are only useful when batteries are charged and organized. A dedicated charging station eliminates the problem of dead batteries and tangled cords.
Station design:
- Mount a power strip inside a small cabinet (12×24×8 inches)
- Drill slots in the top panel sized to each battery pack (batteries drop in slot, charger plugs into strip inside cabinet)
- Add a surge protector between the wall outlet and the power strip — batteries and chargers are sensitive to voltage spikes
- Label each slot by brand/voltage (18V DEWALT, 20V MAX, etc.)
Tool-specific holders above the station:
- Cordless drill in a barrel holder (same as corded drill — barrel drops into a hole)
- Impact driver in a matching holder next to it
- Circular saw in a horizontal shelf cradle
Group the charging station with the cordless tool holders so the complete “cordless kit” — charger, batteries, and tools — lives in one zone.
Step 5: Organize by Frequency of Use
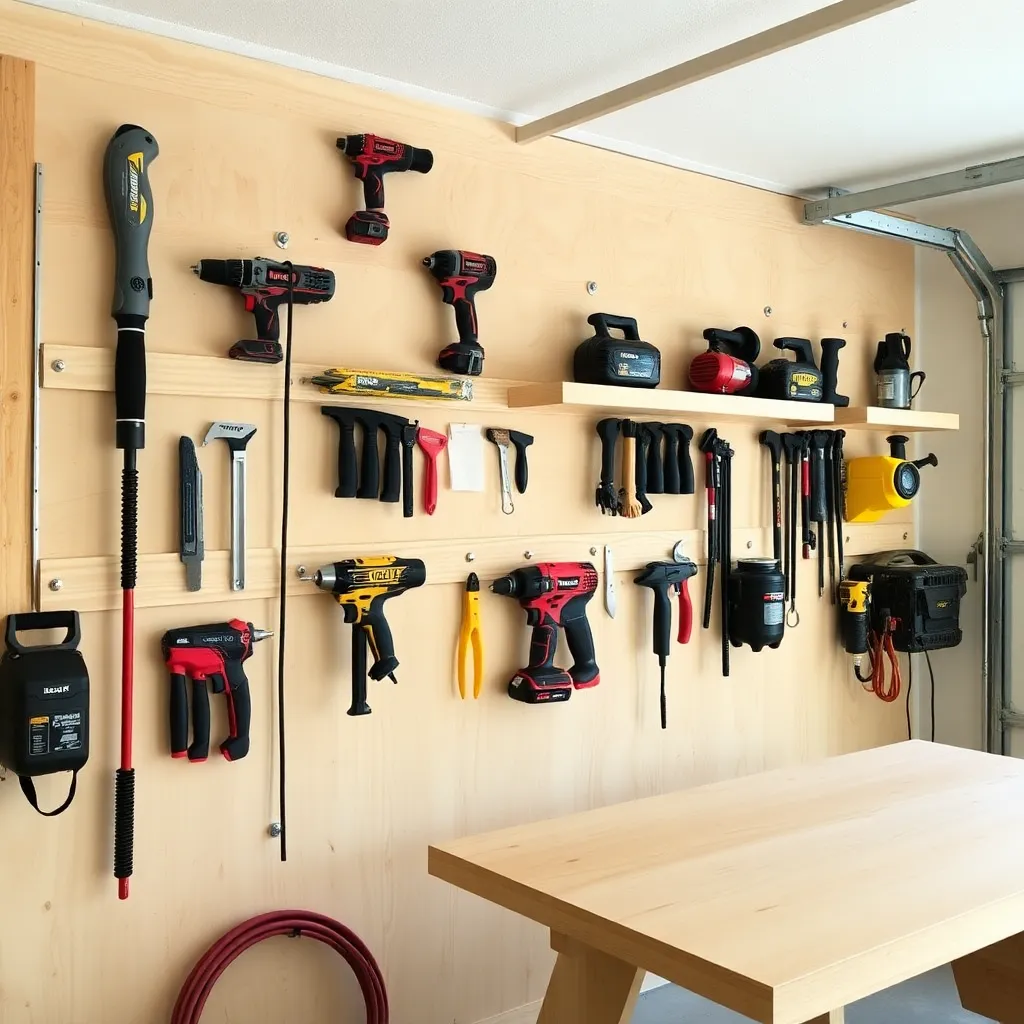
The most common mistake in tool storage: organizing by tool category (all saws together, all drills together) instead of by frequency. A better system:
Zone 1 — Daily use (front and center, arm’s reach from the bench):
Tape measure, square, pencil, clamps, utility knife, hammer, cordless drill/driver
Zone 2 — Weekly use (within 3 steps of the bench):
Circular saw, jigsaw, router, brad nailer, random orbital sander
Zone 3 — Monthly use (further away, higher up, or in cabinet):
Table saw accessories, specialty jigs, router bit collection, biscuit joiner, oscillating multi-tool
Zone 4 — Seasonal or project-specific (overhead storage or back of cabinet):
Scroll saw, lathe tools, specialty hand tools, paint sprayer
Ted’s Woodworking has over 16,000 step-by-step plans with cut lists, materials lists, and detailed diagrams. Browse Ted’s plans →
Garage Tool Storage FAQ
What is a French cleat system?
A French cleat is a wall-mounted strip of plywood with a 45-degree bevel along the top edge. Custom tool holders with matching beveled backs hang on the cleats anywhere along the wall and can be repositioned without tools. A full French cleat wall costs $60–$100 in plywood and can hold and organize every tool in the shop. It’s the storage system used in professional woodworking shops because it’s infinitely reconfigurable as the shop evolves.
How do I store power tools without damaging them?
Store tools off the floor, protected from sawdust and moisture, with blades and bits not contacting any surface. For circular saws: store blade-down in a cradle so the blade hangs free. For routers: store upside-down in a holder so the bit hangs clear. For drills: store barrel-in-hole so the chuck hangs. Never stack tools — the weight causes blade contact and dulling.
What casters should I use for a tool cart?
3-inch or 4-inch rigid and swivel casters rated at 150 lbs each minimum — two rigid (for straight-line stability) and two swivel with locks (for maneuverability and parking). For a loaded tool cart, use 4-inch casters for better floor clearance over sawdust and shop debris.
How many outlets do I need in a garage tool storage area?
Plan for one dedicated 20-amp circuit per major stationary tool (table saw, dust collector, air compressor) plus a general 20-amp circuit for portable tools. Never run two high-draw tools on the same circuit. A surge-protected power strip at the workbench handles cordless chargers and small tools — connect it to its own 20-amp circuit, not shared with a 13-amp saw.
Should I lock up power tools?
For theft prevention: yes, if the garage is accessible from the street or you store high-value tools. A locked cabinet (or locking French cleat holders with a hasp) deters opportunistic theft. For child safety: absolutely — all power tools should be inaccessible to children. A keyed lockbox or cabinet with a padlock is standard practice in any household with young children.

“DIY woodworking enthusiast who started with zero experience and a YouTube tutorial.
I build simple, practical projects for my home and share free plans
so other beginners can skip the guesswork.If I can build it, you can too.”