A handmade gift works for a father because it’s specific. A cutting board engraved with his initials, a tool caddy built for his exact shop setup, a bottle opener mounted where he opens beer every Friday — these objects land differently than purchased gifts because they required someone to think about him specifically. These ten builds are sized for a weekend, priced at $10–$30 in materials, and each one has a clear personalization angle.
Ted’s Woodworking has complete plans for all ten builds here, plus engraving templates, personalization ideas, and finish guides. Browse Ted’s gift plans →
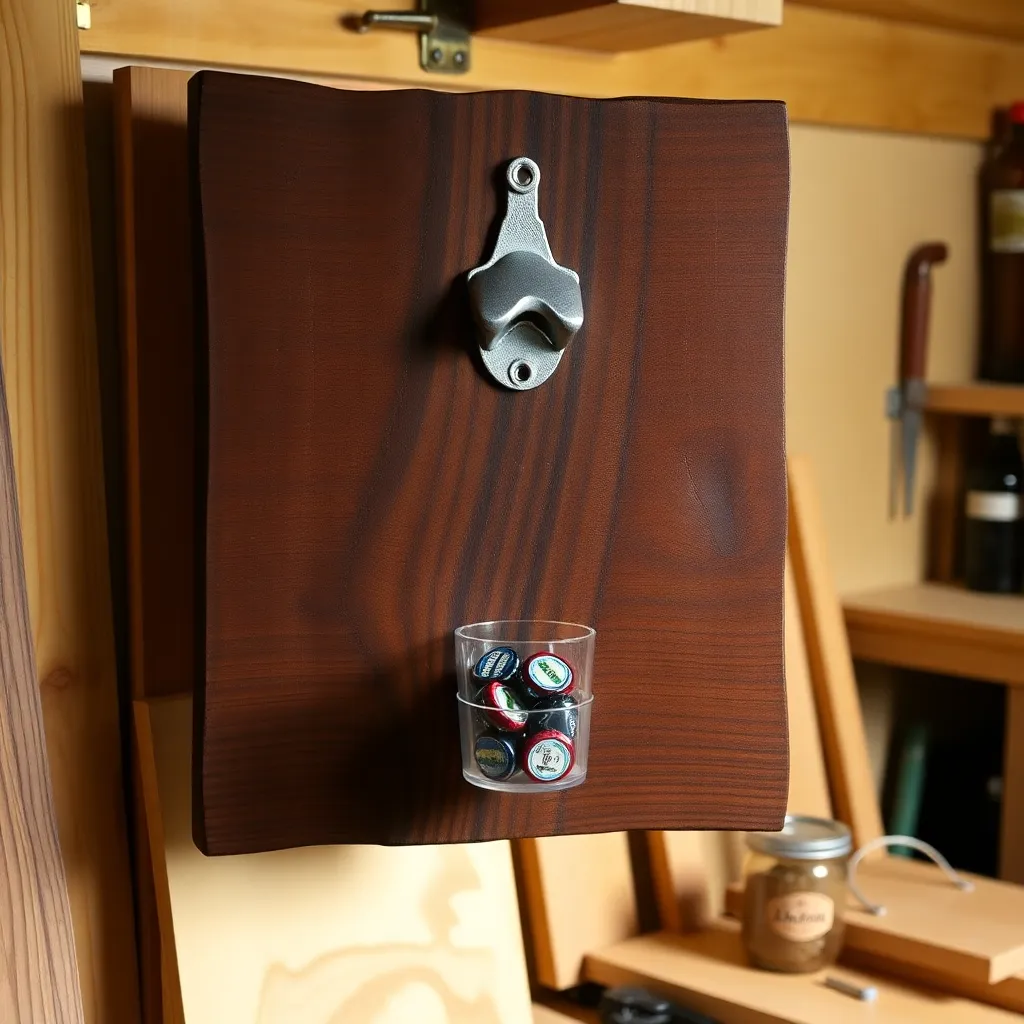
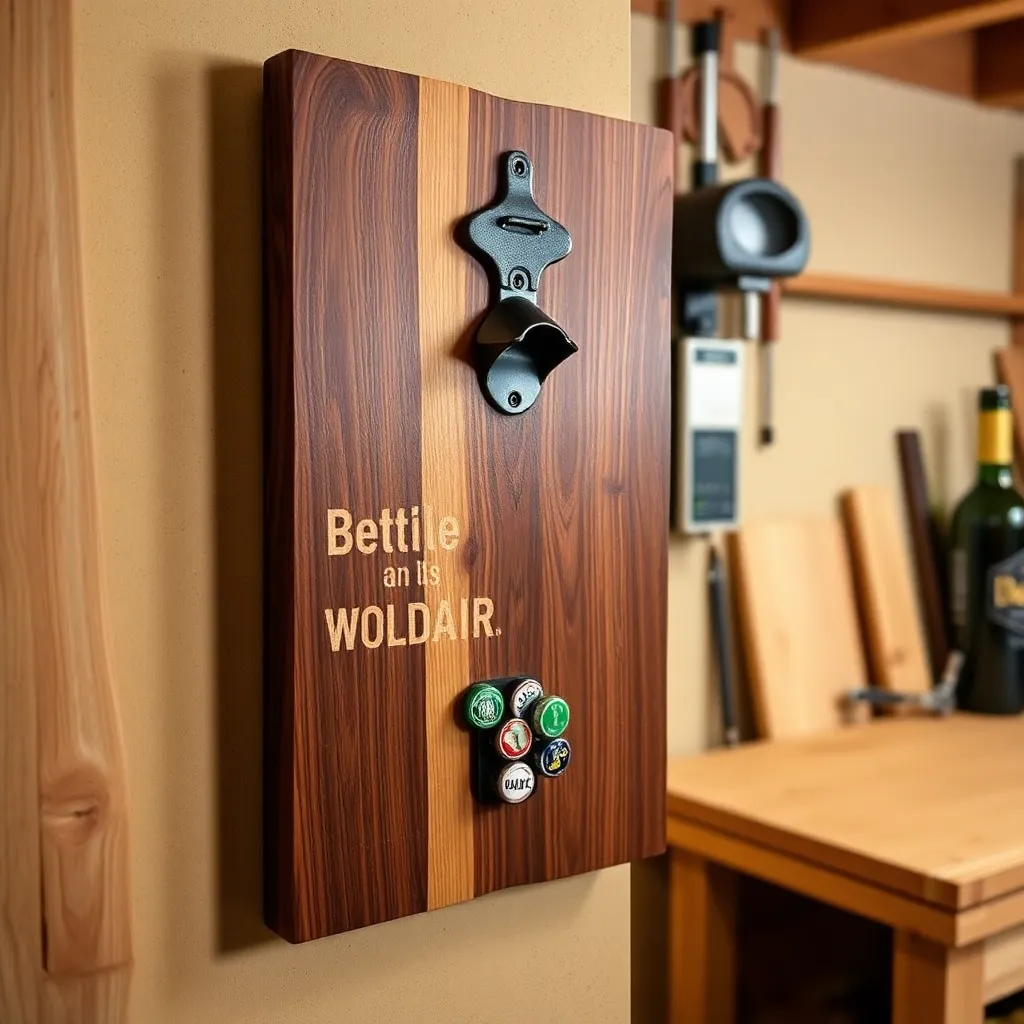
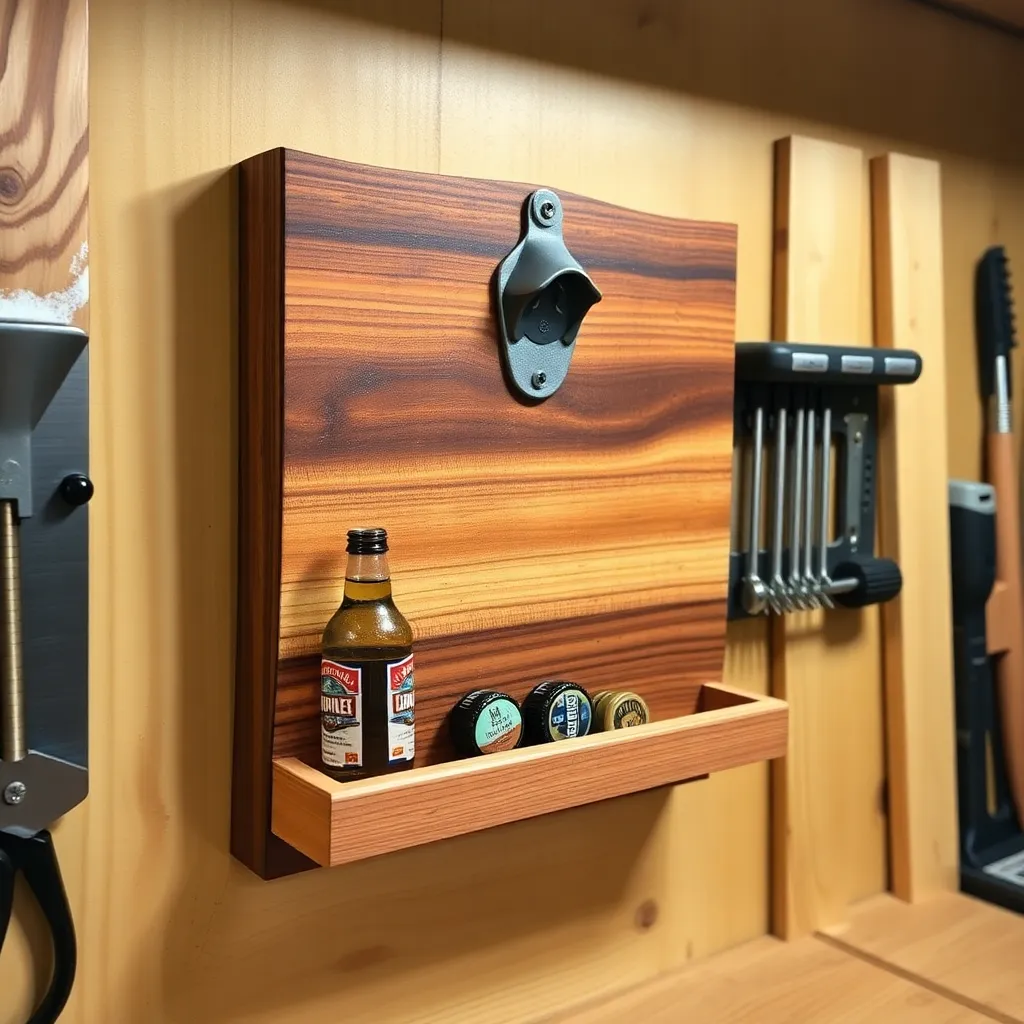
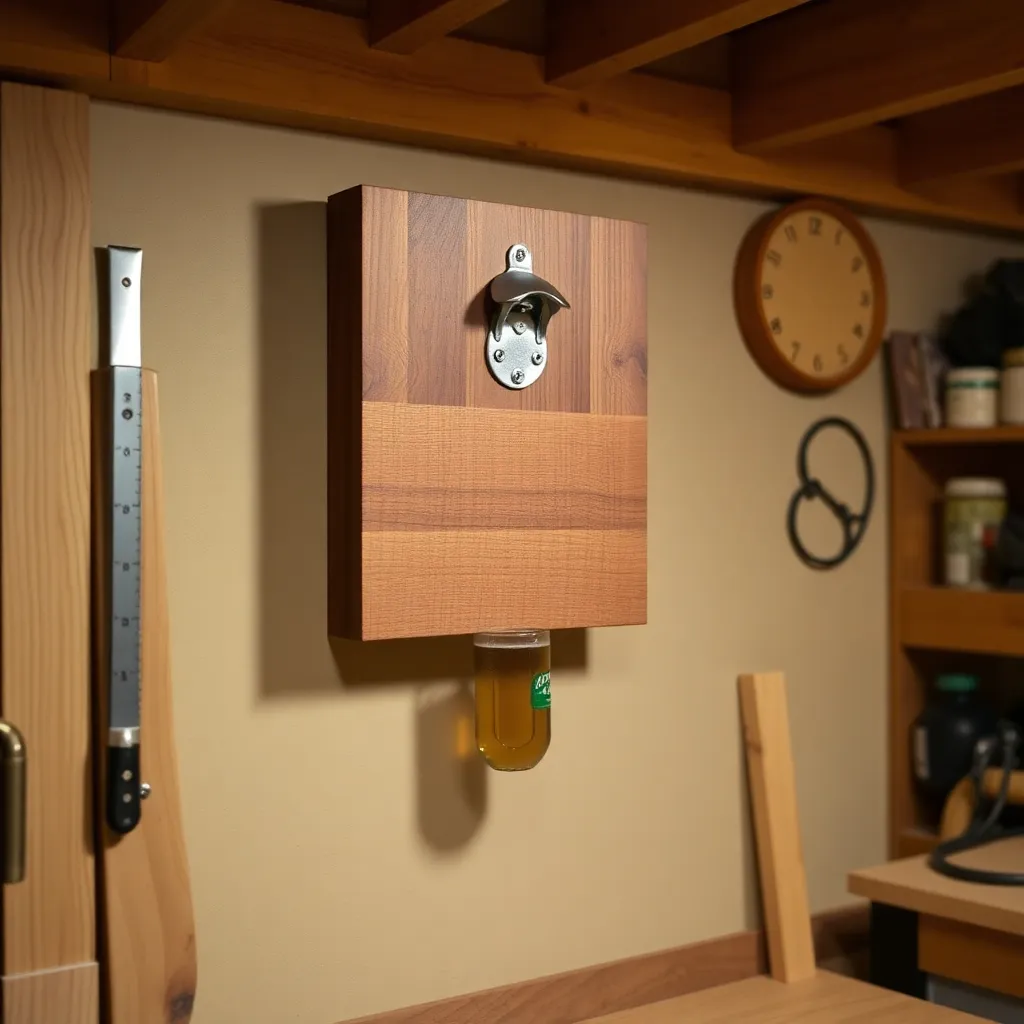
Step 1: Build a Bottle Opener Board
Goal: A wall-mounted bottle opener with a cap catcher — functional every single day.
Cut a 1×6 oak or walnut board to 14 inches. Route a decorative edge on three sides. Sand to 220-grit. Apply one coat of stain (Minwax Dark Walnut works well on oak) and two coats of wipe-on polyurethane. Mount a heavy-duty wall-mount bottle opener 4 inches from the top, centered. Below it, drill a 2½-inch hole. Glue a small catchbox from ¼-inch plywood (4 × 3 × 1½ inches) under the hole to catch caps. Personalize with pyrography or a metal nameplate. Mount with a keyhole bracket into a stud.
Milestone: An opener that’s mounted, functional, and personalized — not a generic opener from a gift shop.
Step 2: Build a Personalized Cutting Board
Goal: An end-grain or face-grain board with his name, initials, or a family date engraved.
Glue up three 1×3 maple strips at 12 inches long. After curing, flatten and sand to 220-grit. Apply a food-safe mineral oil coat and let absorb overnight. Wipe dry. Engrave the personalization using a laser engraver, CNC, or pyrography pen — names, coordinates, a family initial, or a date. Apply a second coat of mineral oil after engraving (fills the engraved channels slightly, giving a depth effect). Add four rubber non-slip feet to the bottom. Package with a small bottle of board oil.
Milestone: A board with visible grain, clean engraving, and four non-slip feet that sits flat.
Step 3: Build a Shop Tool Caddy
Goal: A portable caddy that holds the hand tools he uses most — drill bits, chisels, squares, markers.
Build from ¾-inch oak or pine plywood: a box 8 × 14 × 5 inches deep with a central divider and a dowel handle across the top. Cut a ½-inch groove along the bottom of each side for the ¼-inch plywood bottom. Interior: one section for chisels and pencils (narrow slots routed at the bottom of the divider), one section for larger tools. Sand to 180-grit. Apply two coats of Danish oil. Optionally burn his name into the side panel with a pyrography pen before finishing.
Milestone: A caddy that carries 12–15 hand tools without sliding and sits stable on a bench.
Step 4: Build a Floating Workshop Shelf
Goal: A shelf for his shop — sized for a specific wall, built from the same species as his workbench.
Measure the available wall space in his shop — note the stud locations. Cut a 1×8 to the appropriate length (24–48 inches). Sand to 180-grit. Match the finish to his existing shop furniture if possible. Mount with heavy-duty floating shelf brackets rated for 50+ lbs (tools are heavy). Add a lip strip (¾ × ¾-inch strip glued along the front edge) to prevent tools from rolling off. A shelf above his outfeed zone, his finishing station, or his drill press is almost always useful.
Milestone: A shelf installed in his shop at the right height for his specific workflow.
Step 5: Build a Handmade Wooden Mallet
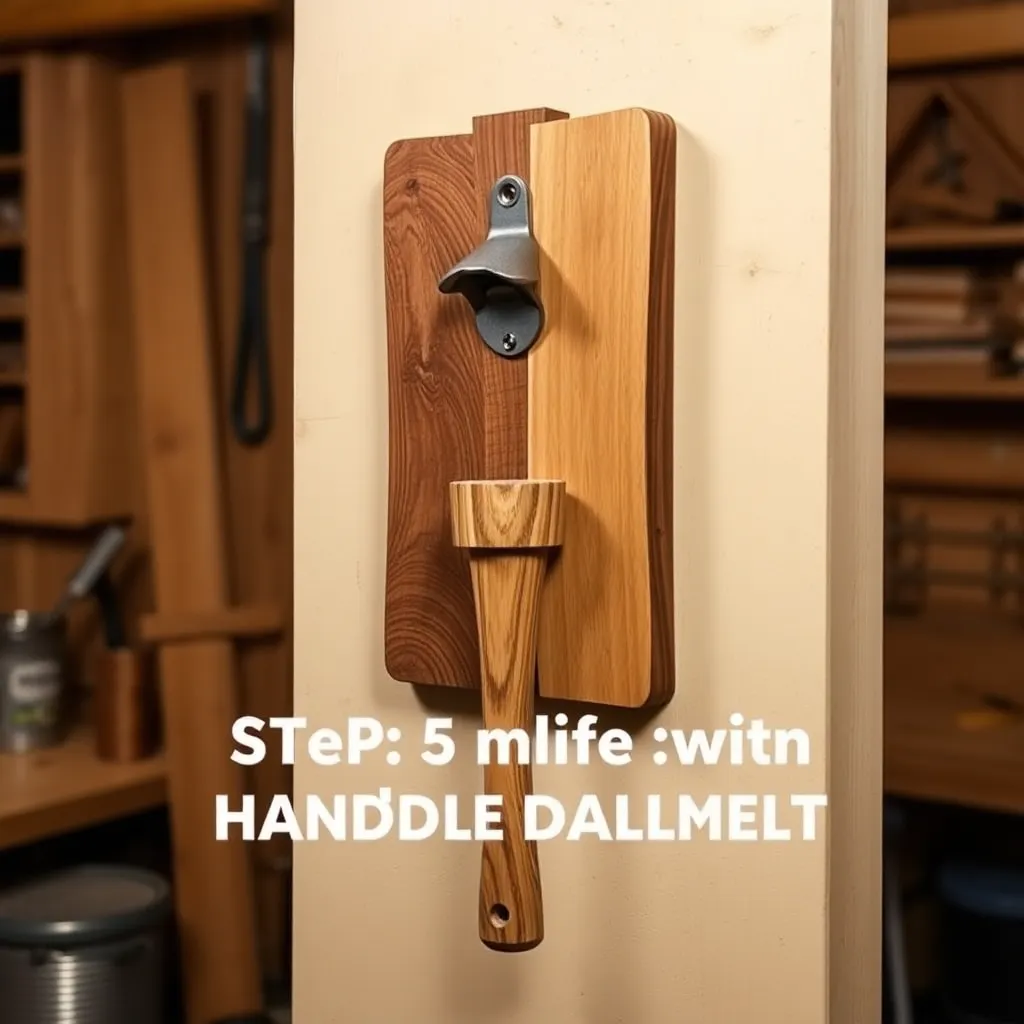
Goal: A shop mallet he’ll use every time he chisels — and that he didn’t buy from a catalog.
Turn the head from a 3½ × 3½ × 5-inch hardwood block (hard maple or white oak) on the lathe — a barrel shape with a slight crown at each striking face. Turn the handle from a 1¼ × 10-inch blank — a comfortable oval cross-section with a slight swell at the grip end and a shoulder that fits snugly into the head bore. Bore a 1¼-inch hole through the head, slightly tapered. Drive the handle through and add a wooden wedge at the top to lock it. No finish on the head (oil will soften the wood fibers); two coats of Danish oil on the handle.
Milestone: A mallet that feels balanced in the hand and drives chisels cleanly without bounce.
Step 6: Build a Shaving Stand
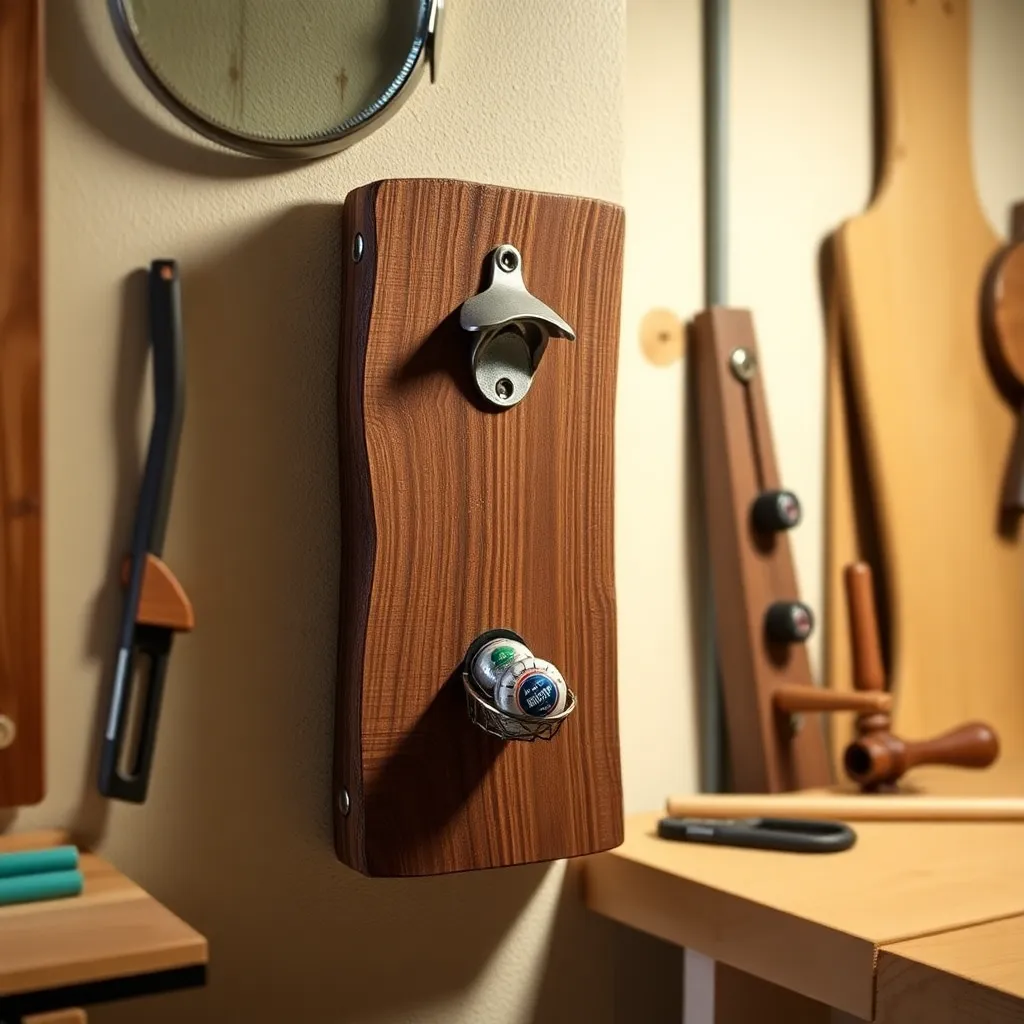
Goal: A tabletop stand that holds a brush, razor, and soap dish in his exact bathroom layout.
Cut a base from ¾-inch walnut or cherry: 5 × 7 inches. Turn three upright posts from 1-inch dowel at varying heights (brush holder tallest at 8 inches). Drill angled holes in the base for the posts at 10° outward — this fans the posts for stability and appearance. On a lathe, turn a cup for the brush on top of the tallest post. Add a horizontal arm for the razor from ¼-inch brass rod bent at 90°. Apply three coats of wipe-on polyurethane — a bathroom item needs water-resistant finish.
Milestone: A three-piece shaving stand that fits his specific razor, brush, and soap puck.
Step 7: Build a Phone and Watch Charging Dock
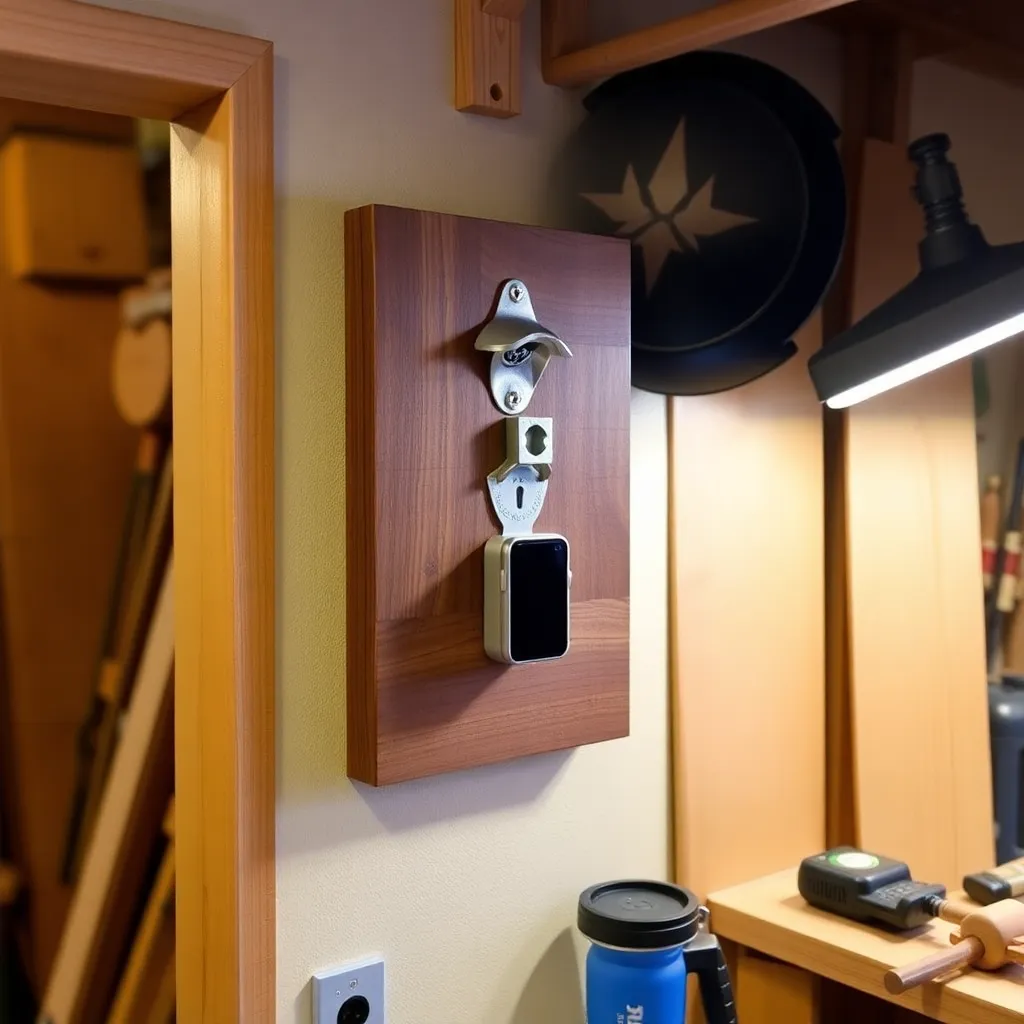
Goal: A bedside dock that charges his phone, watch, and earbuds without cable clutter.
Cut a main platform from ½-inch walnut or maple: 4 × 8 inches with rounded corners (¼-inch roundover bit). Rout a slot at the back for a cable pass-through. Add a watch holder from a 1-inch dowel cut at 2 inches and mounted vertically in a routed hole. Add a phone slot by routing a ½-inch channel 1 inch deep, 2 inches from the watch stand. Sand to 220-grit. Apply three coats of wipe-on polyurethane. Route the cable through the slot from a hidden USB hub underneath, secured with two screws.
Milestone: A dock that charges three devices simultaneously with one cable visible.
Step 8: Build a Cigar Box
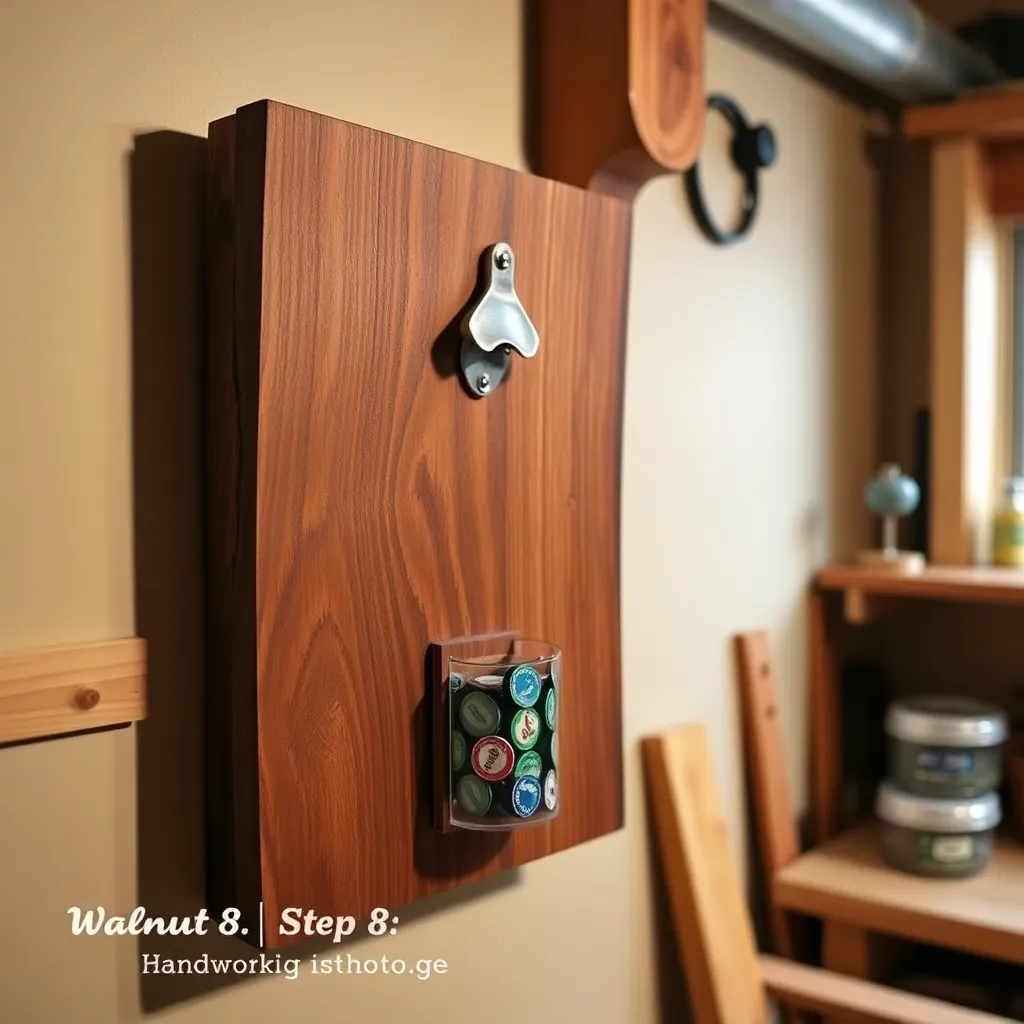
Goal: A humidor-style box that stores 15–20 cigars and looks worth displaying on a desk.
Build from Spanish cedar (traditional humidor wood — its oils suppress tobacco beetles and add a pleasant aroma) or secondary options: untreated red cedar or just Baltic birch with a cedar liner. Box dimensions: 8 × 11 × 4 inches. Dovetail or box-joint the corners. Fit the lid precisely by gluing up the box solid, then running it through the table saw to separate the lid — ensures a perfect fit. Line the interior with unfinished cedar strips. Install a small brass piano hinge and a magnetic clasp. Finish the exterior with shellac (not polyurethane — the interior must breathe).
Milestone: A box where the lid closes with a satisfying flush click and smells of cedar inside.
Step 9: Build a Fishing Lure Display
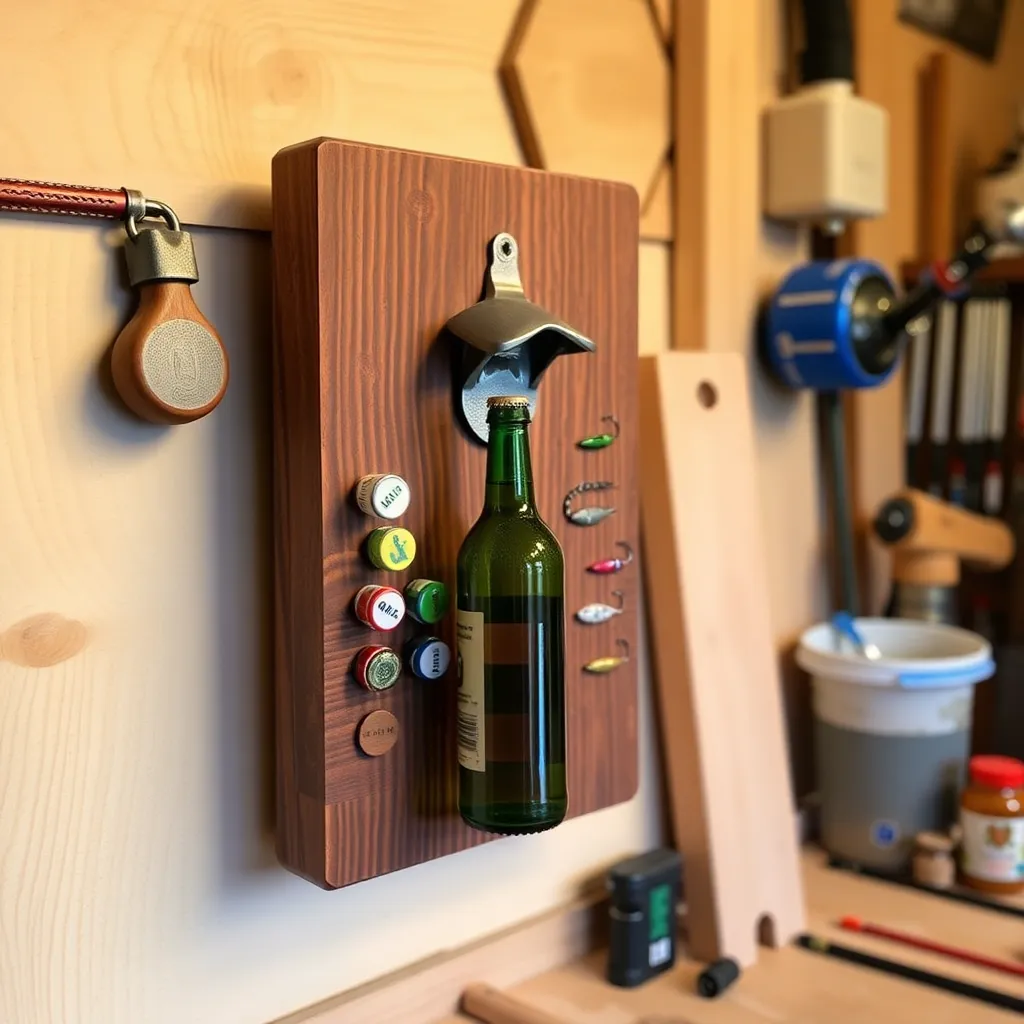
Goal: A wall-mounted display case for his favorite fishing lures — the ones that are too good to lose and too beautiful to store in a tackle box.
Build a shadow box from ¾-inch pine or poplar: 12 × 16 × 2 inches deep with a ¼-inch plywood back and a 1×2 frame. Line the back with cork board (available at craft stores) — lures can be pinned or mounted with small hooks. Add a glass or plexiglass front on a hinged frame. Paint the interior flat black or a dark color to make the lures stand out. Add a hand-lettered label at the bottom: his name + “Best Catches” or specific lake names. Mount with two D-ring hangers.
Milestone: A display that holds 20+ lures and looks like a gallery piece in a fishing cabin.
Step 10: Build a Set of Hardwood Coasters
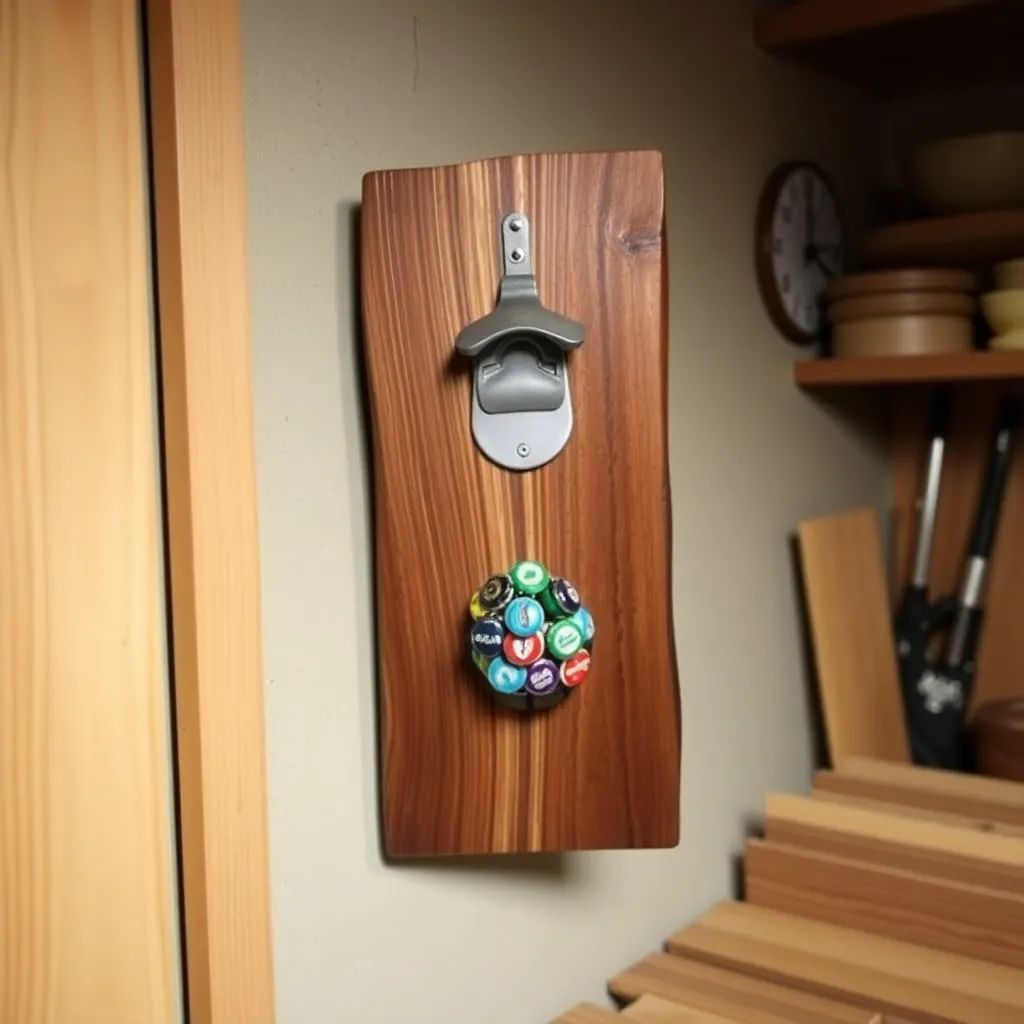
Goal: A matched set of four coasters that protects his coffee table and shows off wood grain.
Resaw or slice ¾-inch hardwood into 4-inch squares — use contrasting species for variety: walnut, maple, cherry, padauk. Route a ⅛-inch cove on all edges of each coaster. Sand to 220-grit on all faces. Apply four coats of wipe-on polyurethane, sanding with 400-grit between coats — coasters need a durable, waterproof finish to survive cold glasses. Add self-adhesive cork to the bottom of each coaster. Package in a set with a rubber band or a small wooden holder built from the same scraps.
Milestone: A set of four matched coasters where the finish repels water completely after 24 hours.
Gifts for Fathers FAQ
What is the best last-minute woodworking gift for a father?
A set of hardwood coasters (Project 10) — four coasters can be cut, sanded, finished, and ready to give in 3–4 hours including drying time between finish coats. A phone charging dock (Project 7) is the second-fastest at 4–5 hours. Both can be started the morning of and presented that afternoon, assuming you have offcut hardwood and wipe-on polyurethane already in the shop.
How do I personalize a wood gift without a laser engraver?
Pyrography (wood burning) is the most accessible personalization method — a quality pen costs $25–$40 and produces professional results within a few hours of practice. Vinyl stencils + spray paint work well for larger lettering (names, initials over 1 inch tall). Metal letter stamps pressed into soft wood (pine, poplar) while the wood is slightly moistened create embossed text without any specialized tool. Routing with a V-bit and a router table template works for clean lettering in hardwood.
What wood makes the best gifts?
Walnut is the most universally admired gift wood — its dark color and fine grain photograph beautifully and appeal to people who don’t know anything about wood. Cherry is a close second — it starts honey-colored and darkens to a rich reddish-brown over months of light exposure. For cutting boards and kitchen items, hard maple is the functional choice. For items that will get wet, teak or properly finished cedar are the most durable.
Should I apply finish before or after engraving?
Apply finish after engraving for pyrography and CNC work — the engraving channels need to be sealed with finish. Apply finish before laser engraving if you want the engraved area to remain lighter (raw wood) against a darker finished background — the laser burns away the finish in the engraved area. Apply finish after laser engraving if you want the engraved area to darken with the finish — and use a water-based finish (not oil-based) which won’t leave residue in fine laser channels.

“DIY woodworking enthusiast who started with zero experience and a YouTube tutorial.
I build simple, practical projects for my home and share free plans
so other beginners can skip the guesswork.If I can build it, you can too.”