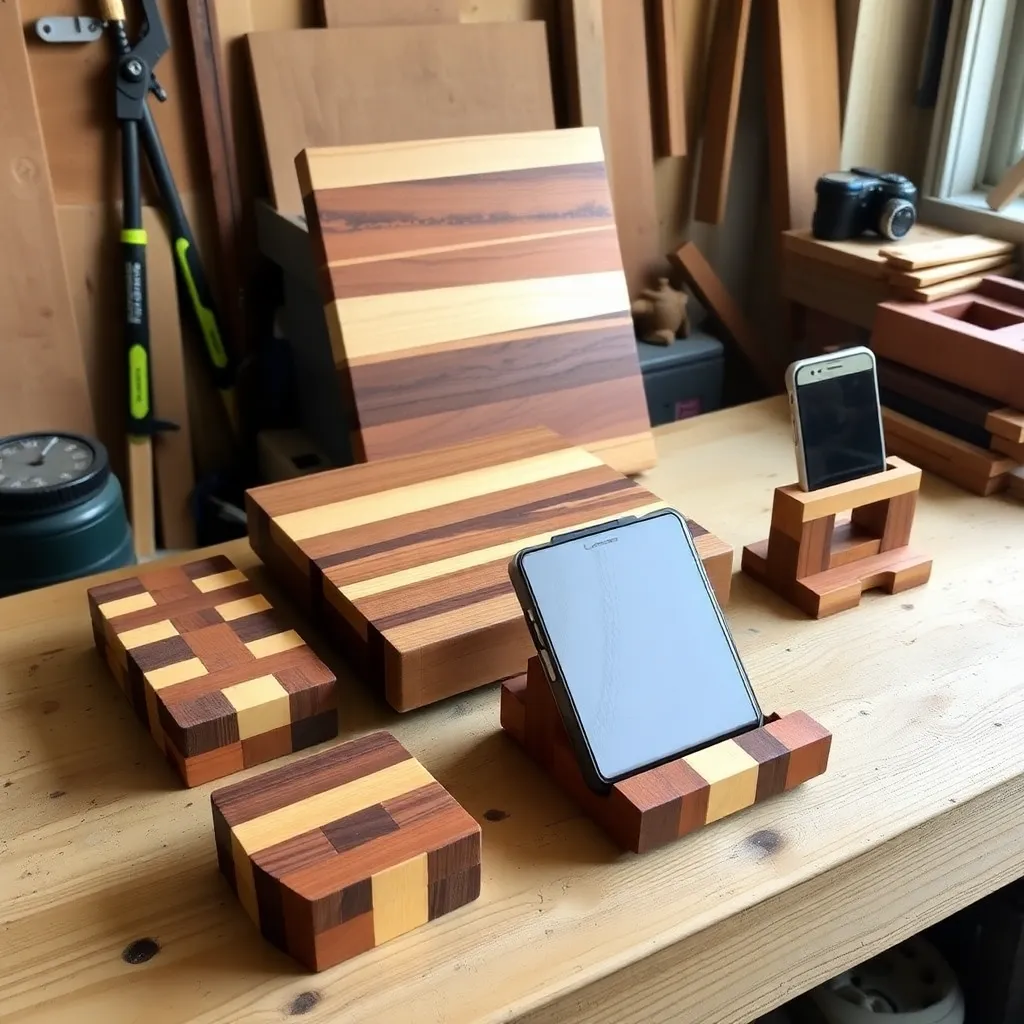
The scraps from a furniture build are often the most interesting pieces of wood in the shop — figured maple ends, short walnut lengths, cherry offcuts with tight grain. These twelve projects are designed specifically for pieces under 24 inches: none require going back to the lumber yard, and all produce something genuinely worth keeping or giving. Each build uses a different technique, so working through the list also builds skills.
Ted’s Woodworking has complete scrap-wood project plans with cut lists sized for offcut dimensions. Browse Ted’s plans →
Step 1: Build a Jenga Set
Goal: A classic stacking game from identical offcuts — a great batch project.
Cut 54 blocks from 2×4 lumber, each exactly 7½ inches long. The standard Jenga block is 1½ × 2½ × 7½ inches — a 2×4 cut to 7½ inches is the right size. Use a miter saw with a stop block for consistent length. Sand all faces and edges to 120-grit. Round the long edges slightly with a sanding block — this prevents splitting during the game. Stack in a cardboard box or build a simple pine tower tray from ¼-inch plywood as packaging. Wax the blocks with paste wax (no other finish needed) for smooth pulling.
Milestone: 54 blocks with consistent dimensions — any three blocks span the same width when laid side-by-side.
Step 2: Build a Hardwood Cheese Board
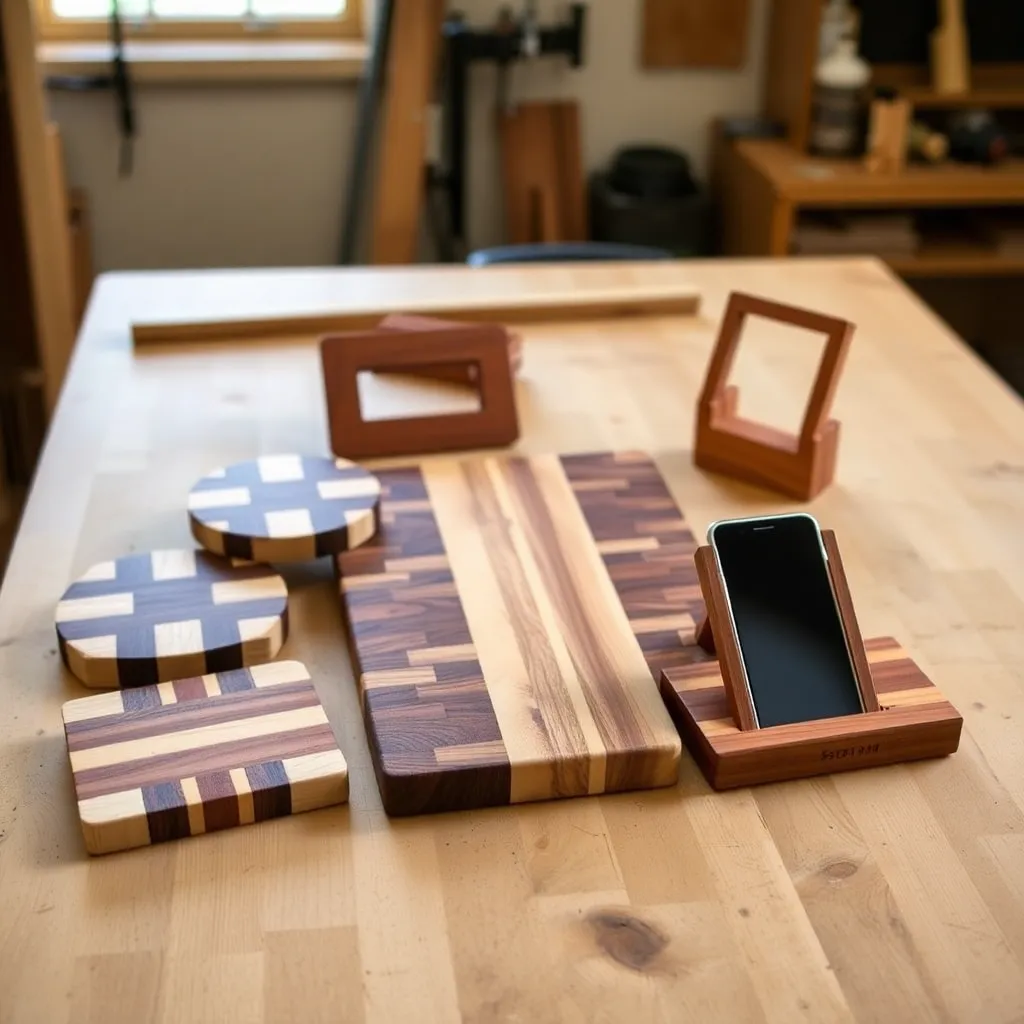
Goal: A serving board from hardwood scraps that’s as functional as a retail board costing $60+.
Glue up 3–5 hardwood strips (maple, walnut, cherry, or any combination) at 12–16 inches long. After curing, sand both faces flat. Cut to a rectangular, oval, or irregular organic shape (jigsaw or band saw for curves). Route a ⅛-inch roundover on all edges. Add a juice groove (¼-inch cove router bit, ½ inch from the edge) on the serving face. Optionally add a handle by shaping one end with a jigsaw. Apply four coats of food-safe mineral oil, letting each coat soak overnight. Wipe dry and apply a beeswax polish.
Milestone: A board with flush glue lines, a functional juice groove, and a food-safe finish.
Step 3: Build a Set of Coasters
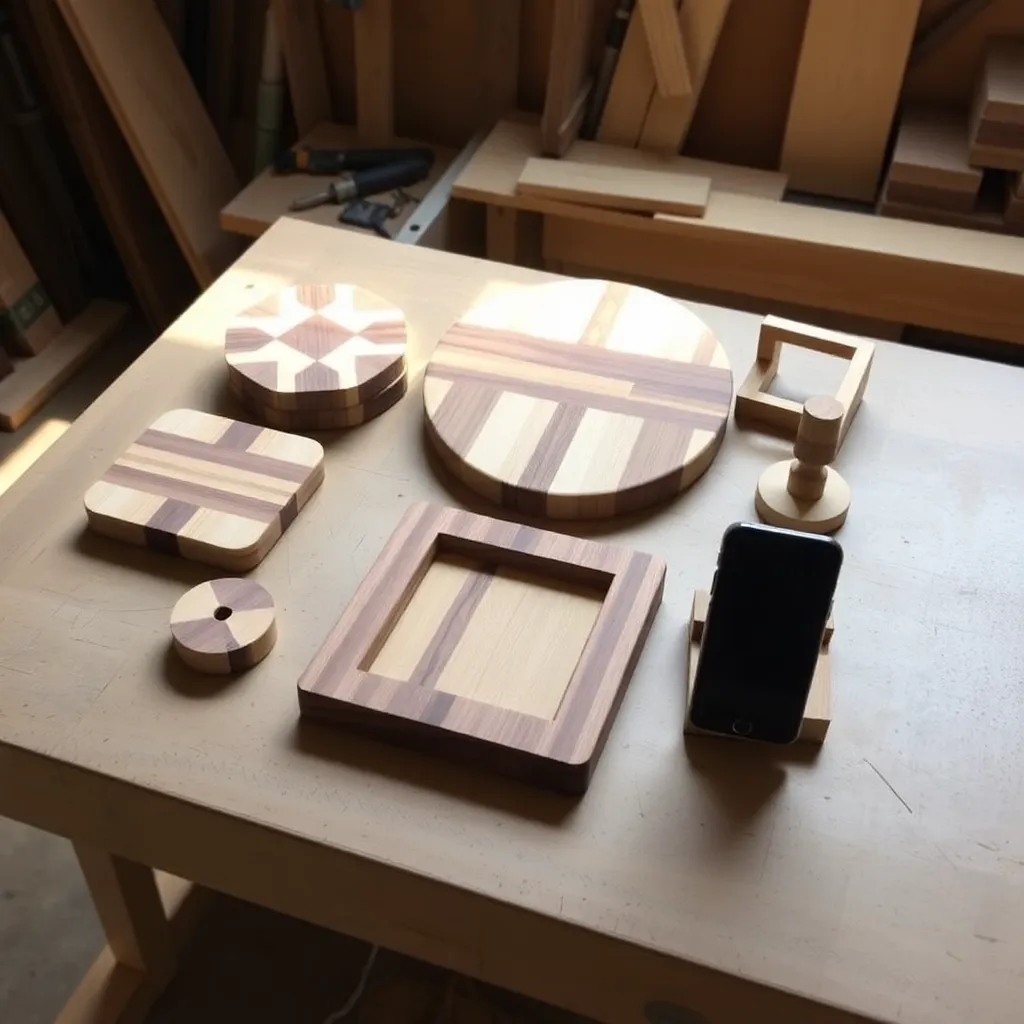
Goal: Four matched coasters from one species or mixed offcuts — the most-gifted scrap wood project.
Cut four 4-inch squares from ¾-inch hardwood. (For a mixed set, use four different species.) Route a ¼-inch cove on all edges. Sand to 220-grit on all faces. Apply four coats of wipe-on polyurethane — coasters need a fully waterproof surface. Between coats 1 and 2, sand lightly with 400-grit to knock down grain raise. After the final coat dries for 24 hours, stick cork pads (1-inch diameter, self-adhesive) to the bottom corners of each coaster. Package with a rubber band or in a small holder made from the same offcuts.
Milestone: A set where cold water beads on the surface immediately after curing.
Step 4: Build a Key Holder
Goal: A small wall piece that holds 3–5 keys next to the door — ends the “where are my keys” problem.
Cut a 1×4 at 14 inches. Route a decorative edge on the top. Drill 3–5 holes for Shaker cup hooks at 2½-inch spacing, starting 2 inches from each end. Apply stain and polyurethane. Install cup hooks. Add two sawtooth hangers on the back. To personalize: burn or engrave a family name or initial on the board before finishing. Mount into a stud with two 2½-inch screws from the back, countersunk.
Milestone: A mounted holder where every key has a specific hook and none overlap.
Step 5: Build a Small Picture Frame
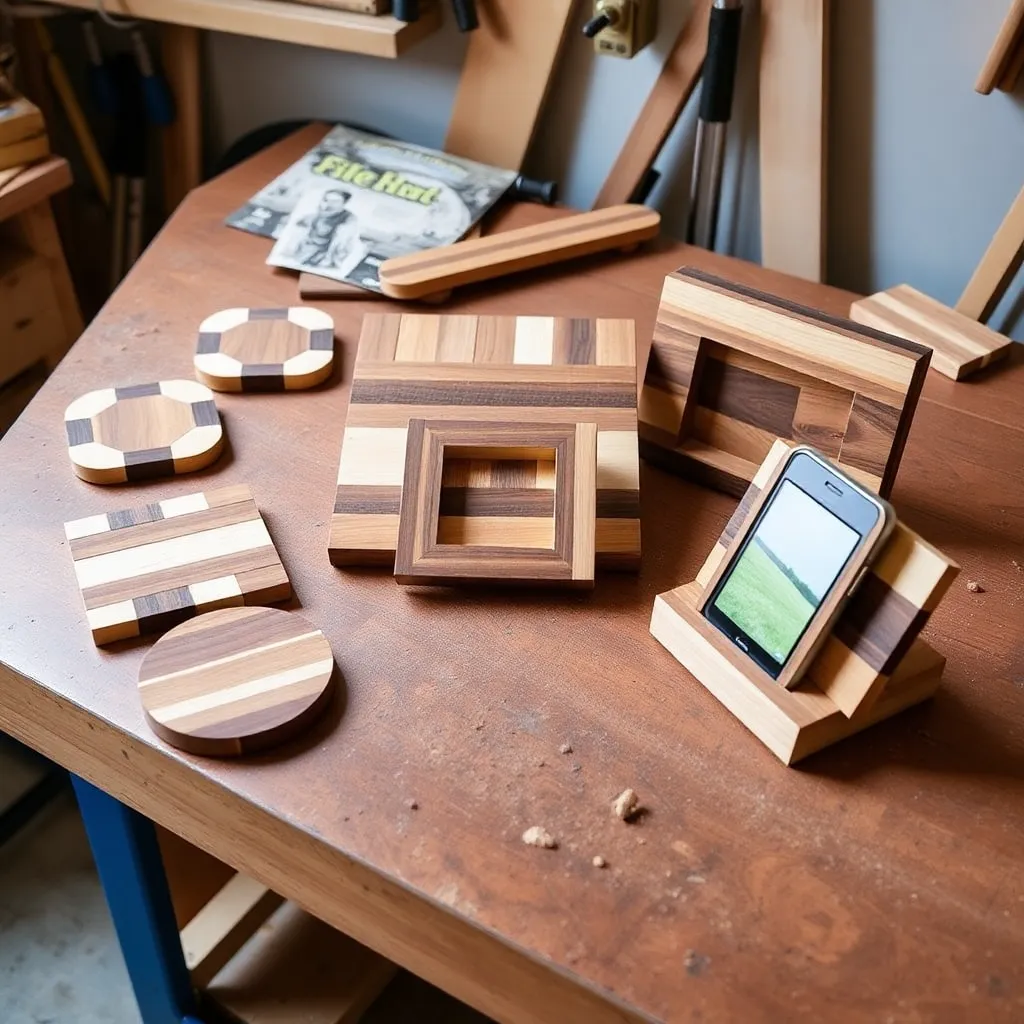
Goal: A frame for a 4×6 or 5×7 photo from 1×2 offcuts.
Cut four pieces of 1×2 hardwood (oak or walnut preferred for grain) with 45° miters: two at 8 inches (long point), two at 6 inches (long point) for a 4×6 frame. Apply wood glue to miter faces and clamp with corner clamps or a strap clamp for 30 minutes. Reinforce each corner with two ½-inch pin nails from the back. Sand to 220-grit. Apply two coats of Danish oil to show the wood grain. Route a ¼-inch rabbet on the inside back edge to hold glass and a ¼-inch plywood backing. Add a sawtooth hanger.
Milestone: A frame with four tight miters and a properly fitted backing that doesn’t bow.
Step 6: Build a Tealight Holder Set
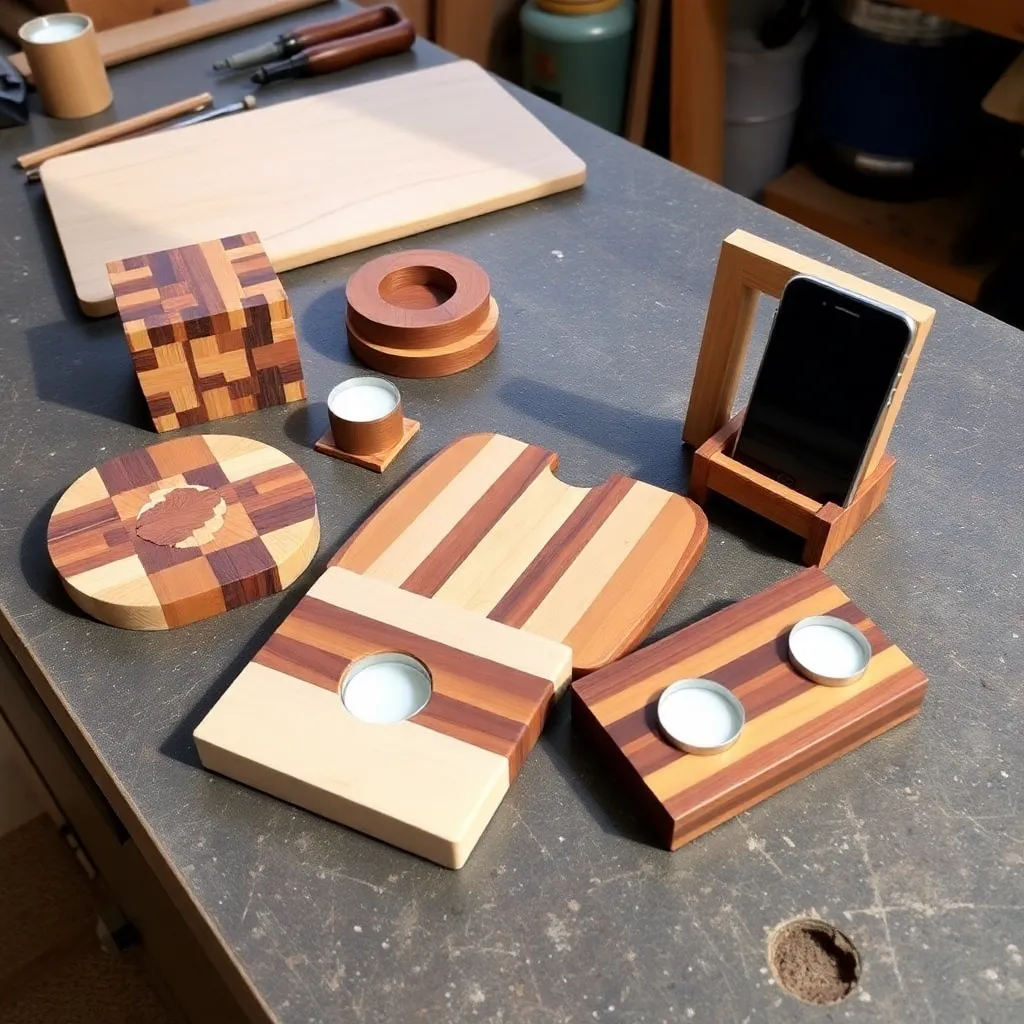
Goal: Three matching holders at different heights from 2×2 or 3×3 offcuts.
Turn three blanks on the lathe (or drill-press alternative): 3 × 3 × 4-inch, 3 × 3 × 6-inch, 3 × 3 × 8-inch blocks. Shape to a tapered cylinder on the lathe — wider at the base, narrowing toward the top. On the top face, drill a 1½-inch diameter flat-bottomed hole (Forstner bit), ½ inch deep, centered — this holds a standard tealight candle. Sand to 220-grit on the lathe. Apply two coats of Danish oil. Lathe alternative: leave blocks square, chamfer the top and bottom edges with a router, and drill the tealight hole on a drill press.
Milestone: Three holders where the tealight sits flush at the rim, not proud or recessed.
Step 7: Build a Pencil and Pen Holder
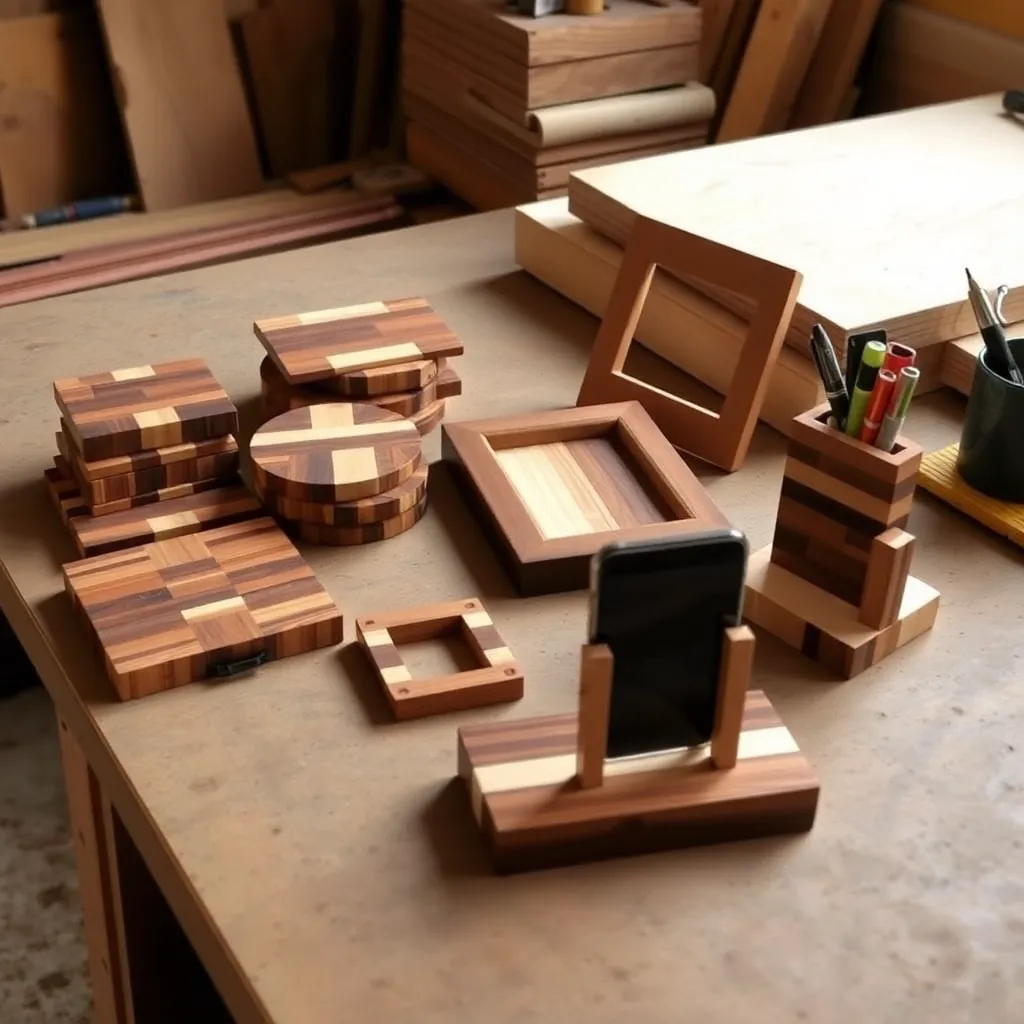
Goal: A desktop organizer from small offcuts that holds 15–20 writing instruments.
Build a box from ½-inch hardwood: 4 × 4 × 4 inches square with finger joints (box joints) at all four corners. Cut box joints on the table saw with a dado blade and a box joint jig (shop-made or commercial). Glue and assemble. Add a ¼-inch plywood bottom. Sand to 220-grit. Apply two coats of wipe-on polyurethane. Optionally add a divider inside the box — a ¼-inch plywood strip glued across the diagonal — to create two compartments.
Milestone: A box with box-joint corners where none of the finger joints have visible gaps.
Step 8: Build a Phone Stand
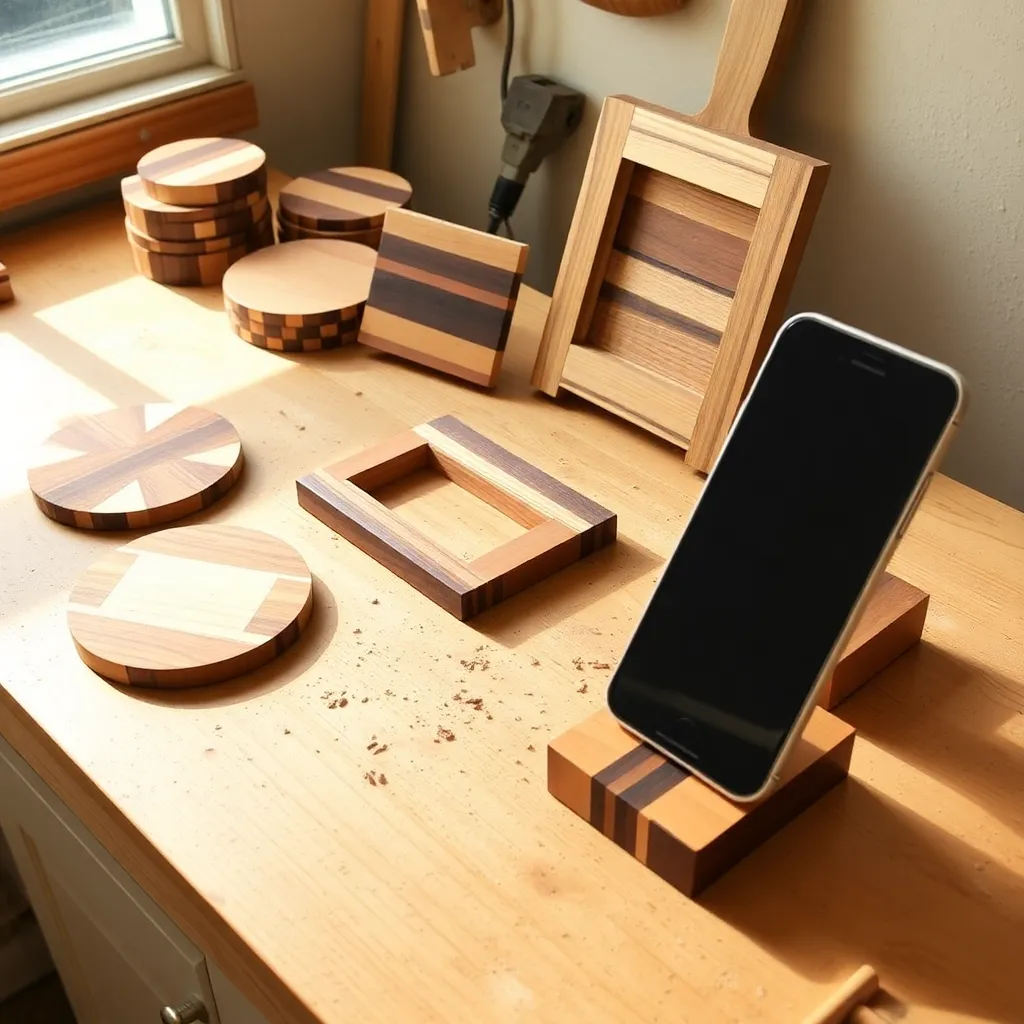
Goal: A simple angled stand that holds a phone at reading angle on a desk.
Cut the base from ¾-inch hardwood: 4 × 6 inches. Cut a phone cradle support from the same stock at 3 × 3 inches with a 30° bevel on the bottom edge (sits at 30° from vertical). Rout a ¼-inch slot across the base 2 inches from the front, ¼ inch deep — the phone’s bottom edge rests in this slot. Drill a ½-inch cable hole through the slot bottom for charging cable pass-through. Glue the support to the base. Sand to 220-grit. Apply three coats of wipe-on polyurethane.
Milestone: A stand that holds the phone at a comfortable reading angle without tipping.
Step 9: Build a Wall Hook
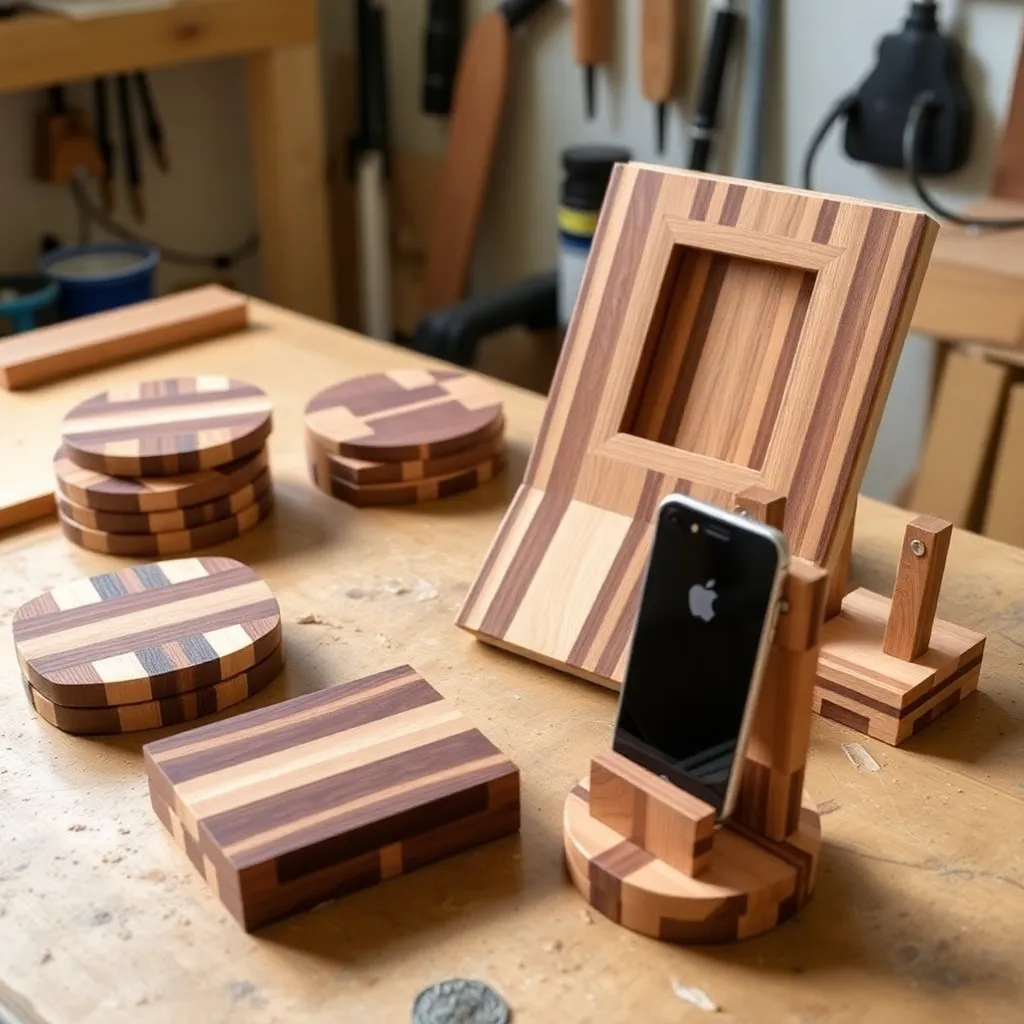
Goal: A single decorative hook for a coat, bag, or hat — from one piece of figured wood.
Find a scrap with interesting grain or figure — a crotch piece, a curved offcut, a piece with a natural knot. Cut to approximately 4 × 8 inches. Sand to 220-grit. Drill a pilot hole and drive a 3-inch hand-forged iron hook ($4–$8 at a hardware store) into the face at the visual center of the piece. Apply Danish oil to highlight the figure. Mount with two keyhole brackets on the back, into studs.
Milestone: A hook that looks like a found object — not a manufactured hook in a package.
Step 10: Build a Small Floating Shelf
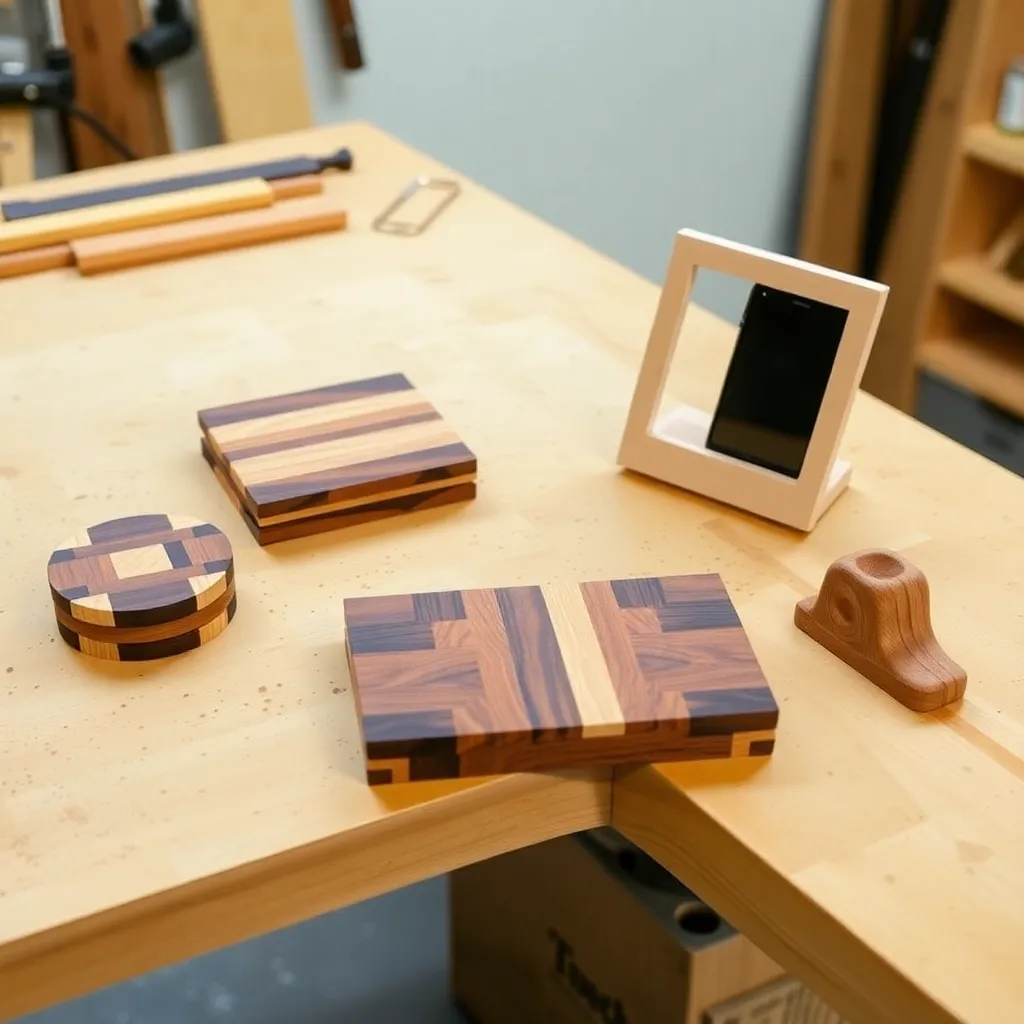
Goal: A small display shelf — 12–18 inches — for a specific corner or above a door.
Cut a 1×6 at 16 inches. Rout a decorative edge profile on the front. Sand to 220-grit. Apply finish to match the room. Mount with two flush-mount brackets (the kind with a keyhole slot in the shelf and a matching screw in the wall) — these make the shelf appear to float with no visible hardware. Load capacity: 15–20 lbs. Add a small lip strip (¾ × ½-inch strip glued to the front bottom edge) to prevent small objects from rolling off.
Milestone: A shelf with no visible mounting hardware that holds a small plant or collection.
Step 11: Build a Spice Rack
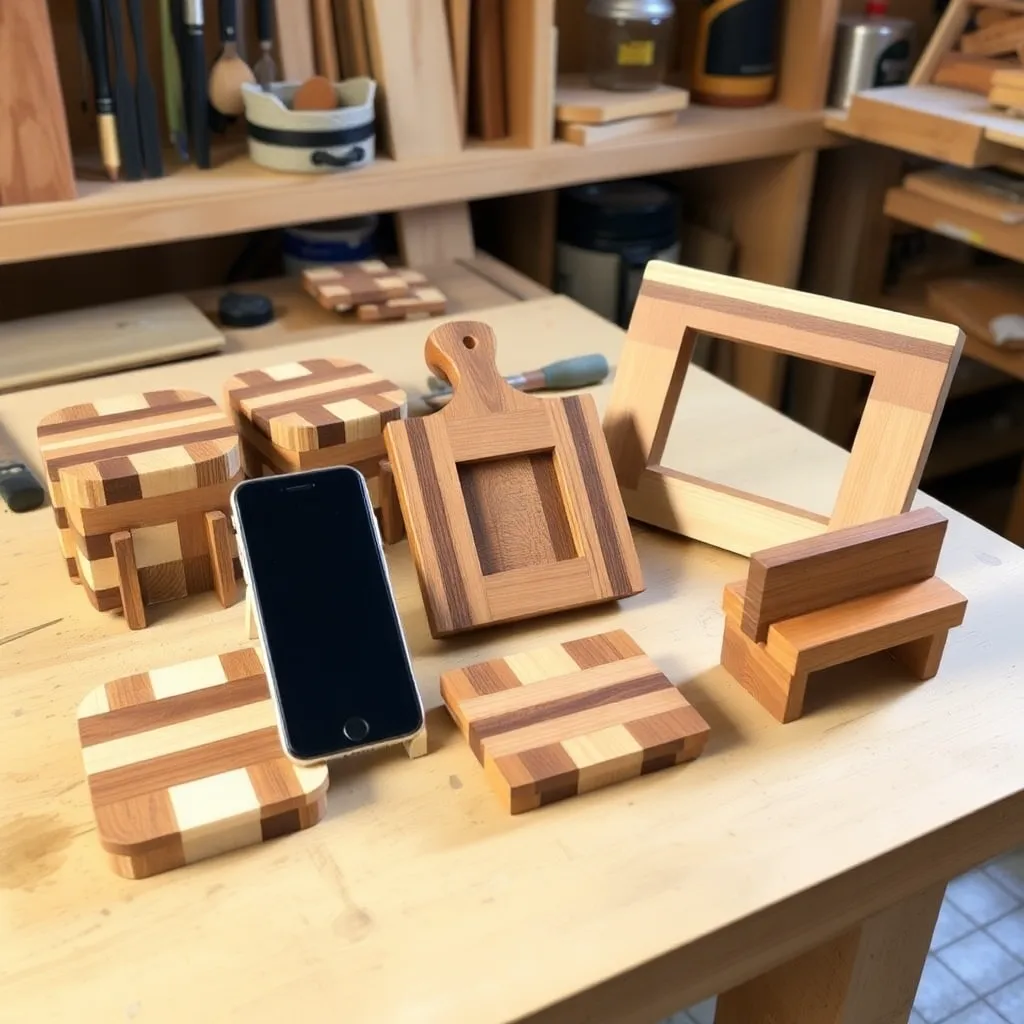
Goal: A small wall-mounted rack that holds 6–8 spice jars — useful in any kitchen.
Build from ¾-inch pine or maple: a back panel 6 × 18 inches, two side rails 3 × 6 inches, and two dowel rails across the front of each shelf level (¾-inch dowel at 18 inches). Drill holes for the dowels 1½ inches from the front edge of each shelf. Space shelves 4 inches apart (fits most standard spice jars). Glue and assemble. Apply two coats of polyurethane — kitchens need a wipeable surface. Mount with two D-ring hangers into studs.
Milestone: A rack where full spice jars don’t tip forward when the dowel rail is in place.
Step 12: Build a Magnetic Knife Strip
Goal: A wall-mounted strip that holds knives magnetically — frees up drawer and counter space.
Route a channel 1 inch wide × ½ inch deep along the center length of a 2 × 18-inch hardwood blank. Glue four rare-earth magnets (¾-inch diameter) into the channel at 3-inch spacing — use epoxy, not wood glue. Let cure completely. Fill the channel with a matching wood strip and glue flush. Sand the entire face to 220-grit. Apply three coats of wipe-on polyurethane. Mount with two 2½-inch screws directly into studs (the magnetic force is enough to pull a screw from drywall anchor — use studs only).
Milestone: A strip where a chef’s knife holds firmly when placed at any angle along the length.
Scrap Wood Projects FAQ
What is the minimum scrap size worth keeping?
Any piece larger than 4 × 4 inches is worth keeping for small projects — coasters, tealight holders, and phone stands all fit in that footprint. Short lengths (6–18 inches) are useful for frames, handles, and holder components. Very small pieces (under 3 inches in any dimension) have limited uses except for inlay work or wood turning pen blanks. Maintain a “scrap bin” separate from project lumber — keep it sorted by species so you can quickly find what you need.
How do I flatten small scrap pieces that are cupped or twisted?
A hand plane (No. 4 or No. 5) is the fastest tool for flattening small pieces that are too short or too narrow for a planer. Secure the piece with a bench hook or clamp it to the bench. Work diagonally across the face first (45° to the grain) to remove high spots, then with the grain to clean up. A belt sander with 80-grit followed by an orbital sander works as an alternative. Avoid sending small pieces through a thickness planer — pieces shorter than the planer’s infeed-to-outfeed distance can kick back.
Should I sort scraps by species?
Yes — this is the most useful organizational strategy for scrap wood. Separate bins for pine/softwood scraps, hardwood scraps by species (maple, walnut, cherry, oak each in their own section), and sheet good scraps (plywood, MDF). Label bins clearly. When a project requires a specific species (food-safe maple for a cutting board, durable oak for a tool holder), you can find it immediately instead of digging through a pile.
What’s the best finish for scrap wood gifts?
Match the finish to the use: food-safe mineral oil for kitchen items, wipe-on polyurethane for display and desk items, Danish oil for tool handles and shop items. For gifted items specifically, Danish oil is the best all-purpose choice — it penetrates the wood (doesn’t sit on top), so it can’t chip or peel, and it enhances grain beautifully. Apply two coats with a rag, let cure 24 hours, and buff with a soft cloth.

“DIY woodworking enthusiast who started with zero experience and a YouTube tutorial.
I build simple, practical projects for my home and share free plans
so other beginners can skip the guesswork.If I can build it, you can too.”