Most online table plans either skip the extension mechanism or hand-wave it. The slides are exactly what separates this build from a static tabletop, and exactly where most builds go wrong. Looking for other table builds? See the full overview of dining and outdoor table plans.
This guide walks you through a complete extendable dining room table in farmhouse style, seating 6 closed and 8 open. Closed, it measures 84″ x 40″ x 30″ tall. Add the two 18″ leaves and it opens to 120″ x 40″.
Four extension systems can drive a table like this. Equalizer rack-and-pinion slides move both halves at once with one hand. Standard wooden accordion slides cost less but need two people. Hybrid standard-equalizer slides keep a center leg stationary on 5-legged tables. Geared ball-bearing metal slides give the smoothest action and suit pedestal bases.
This build assumes you are comfortable with mortise-and-tenon joinery, panel glue-ups, and a router. You get the full cut list, exact hardware specs and prices, wood-movement math, and troubleshooting for every step.
Cut List
| Part | Quantity | Dimensions | Material |
|---|---|---|---|
| Tabletop halves | 2 | 42″ x 40″ x 7/8″ | Hardwood (walnut) |
| Leaves | 2 | 18″ x 38.5″ x 7/8″ | Hardwood (walnut) |
| Breadboard ends | 2 | 40″ x 3″ x 7/8″ | Hardwood (walnut) |
| Legs | 4 | 3.5″ x 3.5″ x 28.25″ | Hardwood (walnut) |
| Long aprons (split) | 4 halves | 4″-5″ tall x 3/4″ thick | Hardwood (walnut) |
| End aprons | 2 | 4″-5″ tall x 3/4″ thick | Hardwood (walnut) |
| Corner blocks | 4 | Sized to fit | Hardwood scrap |
Hardware: Rockler 38″ Equalizer Slides (one pair), 3/8″ table pins, table latches, figure-8 fasteners or Z-clips, paste wax, finish.
Step 1: Choose Your Extension Mechanism
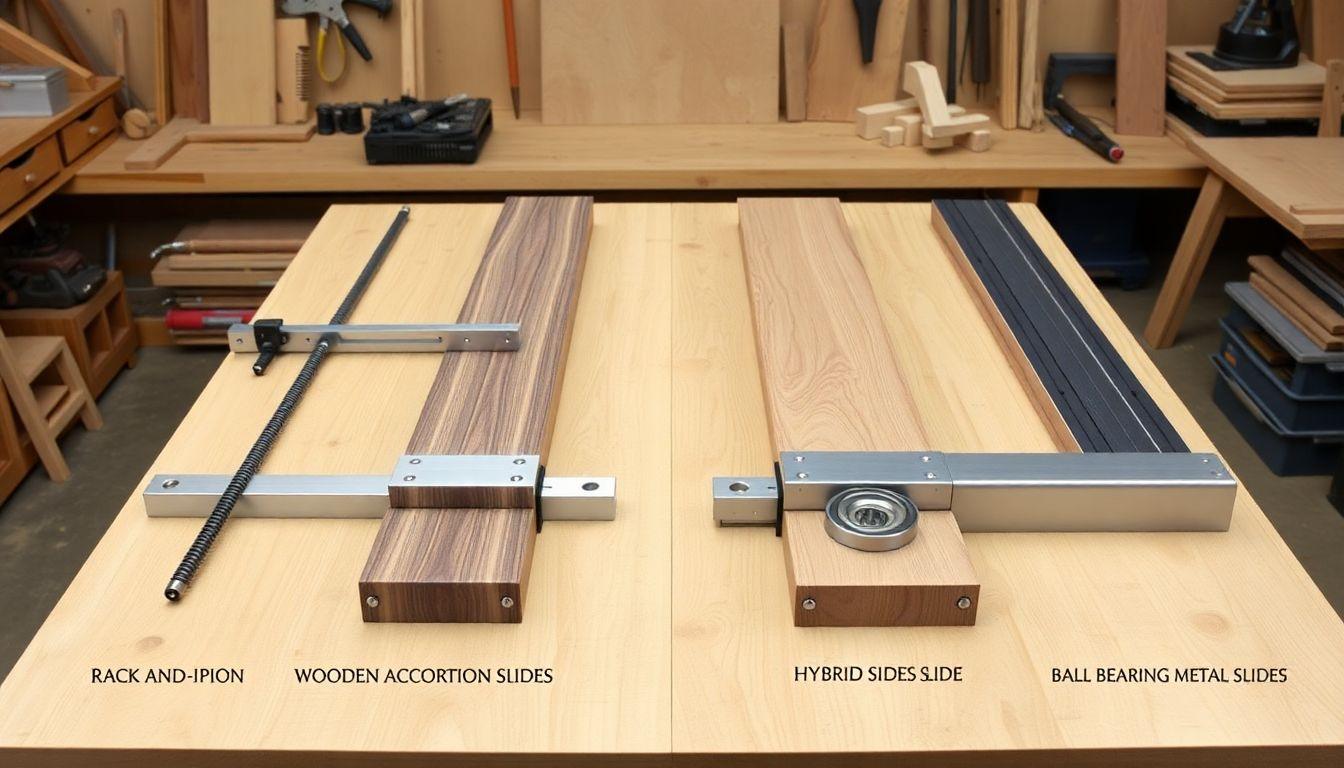
The mechanism you pick dictates your base design. This decision comes before a single board is milled, because each system needs a different apron layout and leg count.
Four systems are worth knowing. Each trades cost, operation, and base style differently.
- Equalizer slides (rack-and-pinion): Rockler sells these at $109.99 for the 28″ pair (handles two 12″ leaves) or $179.99 for the 38″ pair (handles three 12″ or two 18″ leaves). One person operates them, and both halves move at the same time. They suit pedestal, trestle, or 4-leg bases. Profile runs about 3″ wide by 2-3/8″ tall.
- Standard wooden slides: These staggered accordion rails run $40 to $60 a pair from Rockler in 20″ or 36″ lengths. They need two people, one on each end, but they handle expansions beyond 12 feet. Best for 4-legged tables carrying multiple leaves.
- Standard Equalizer hybrid (Osborne): This pairs wooden accordion rails with a rack-and-pinion center. It is built for 5-legged tables, where the center stays stationary so a center support leg never moves.
- Geared ball-bearing metal slides: The most common system in modern furniture. They support self-storing butterfly leaves, give the smoothest operation, and work best under pedestal or trestle bases.
This build uses the Rockler 38″ Equalizer Slides at $179.99. One person can open the table, the rack-and-pinion keeps both halves square, and the 38″ rails handle the 36″ of opening the two 18″ leaves create.
That choice shapes everything downstream. Because the equalizer pulls both top halves apart evenly, your woodwork dining table needs a split apron and a 4-leg base sized so both halves travel free. Lock this in before milling.
Step 2: Mill Your Stock and Plan Grain Matching
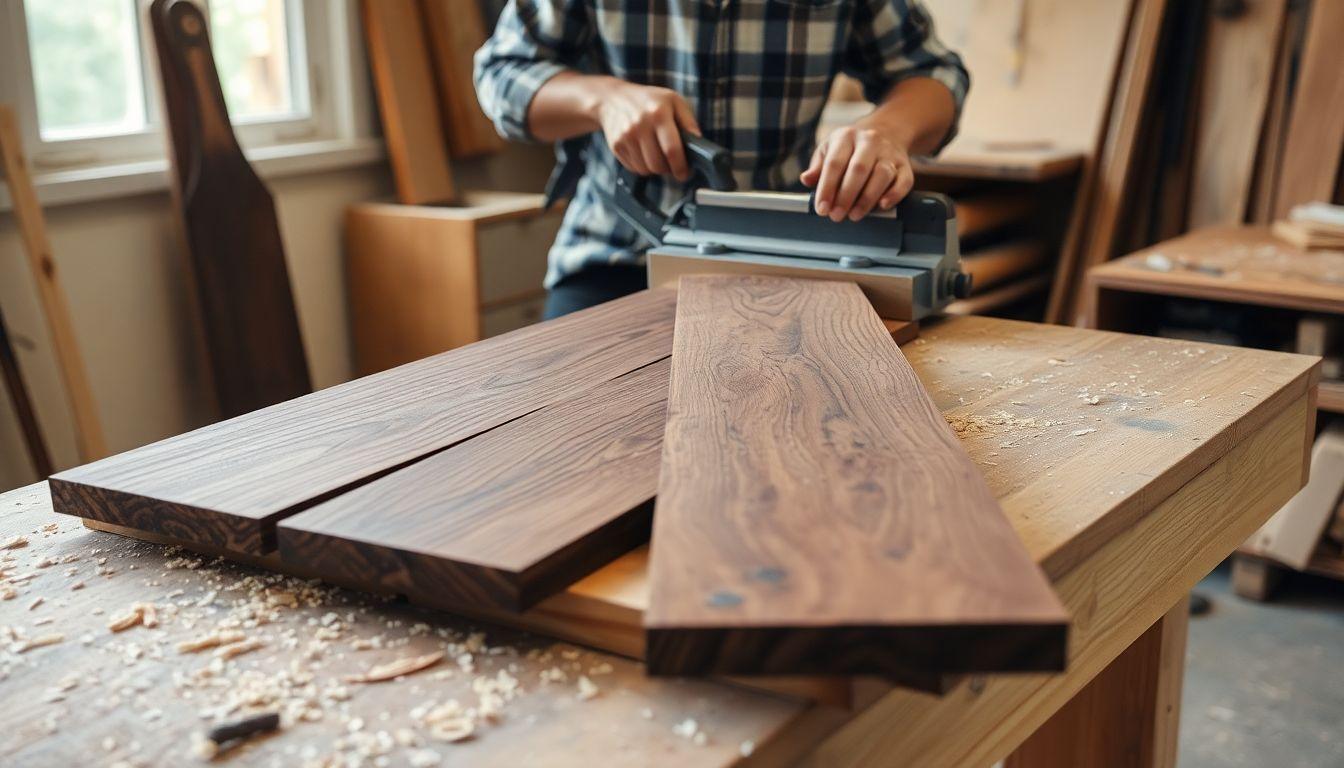
The difference between a seamless-looking table and an obvious add-a-leaf table is decided here, before glue-up. Grain that runs continuous across the seam is what fools the eye.
Start with kiln-dried hardwood. Walnut works well, and we use its movement numbers later in the build. Acclimate your boards flat in the shop for one to two weeks so they reach equilibrium with your space before you cut.
Grain matching is the heart of this step. Plan the layout so the wood table top reads as one surface even when the leaves drop in.
- Cut both tabletop panels and all leaves from the same wide boards before any glue-up. One source board keeps color and figure consistent.
- Lay the boards out in cutting order, mark the underside, then flip and rotate pieces until the grain flows continuously across each seam.
- Glue up the leaf panels from the split center of the full-width panel, so the leaf grain picks up exactly where the top grain leaves off.
Run a disciplined milling sequence. Rough-cut every part to length plus a few inches of oversize, joint one face and one edge, then plane the top and leaves to 7/8″. Let the stock rest a day, then re-flatten before final glue-up to catch any movement that surfaced.
Label every board with a triangle mark drawn across the full layout. When the triangle lines up, the boards are in the right order and orientation. That single mark protects your grain match through every later step on the top of wooden table parts.
Step 3: Build the Legs and Base
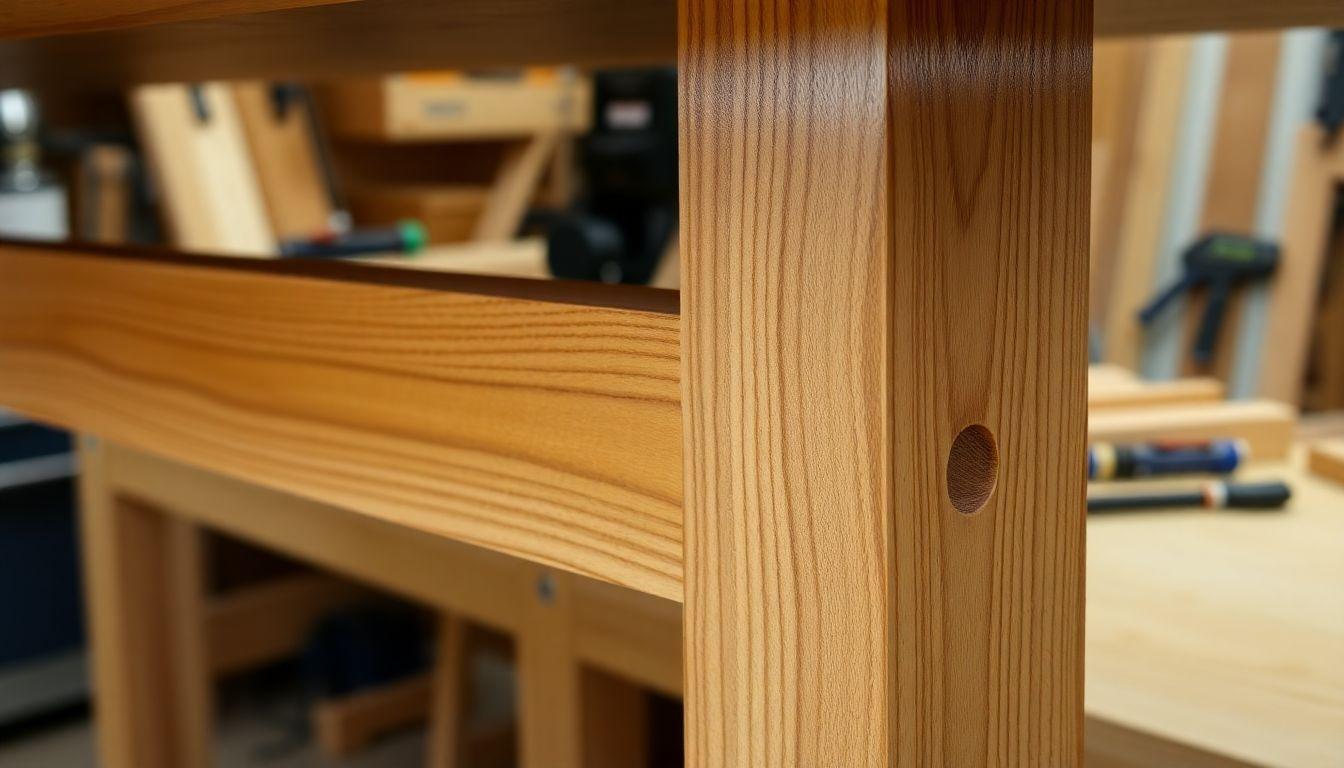
This is a weld-free path to a base rigid enough to hold solid when the table is fully extended. Solid wood joinery does the work a steel frame would, and it stays in any home shop.
Each leg finishes at 3.5″ x 3.5″ square and 28.25″ long. Cut an angled mortise into each leg for a 6-degree splay. That outward kick is the farmhouse signature, and it widens the footprint so the table resists tipping when leaves are in.
You have two options for leg stock. Glue up from 8/4 boards for a clean grain match to the rest of the table, or use a solid 4×4. Either way, orient the grain vertically so the leg carries load along its length.
Joinery holds this base together.
- Cut mortises in the legs and matching tenons on the apron ends.
- Angle the apron mortises 6 degrees so the legs splay outward.
- Aim for tight shoulders. A gap-free shoulder is what makes the joint rigid rather than just attached.
Rigidity matters more on this table than on a fixed one. A weak base feels fine closed, then wobbles the moment the leaves go in and the load moves outboard. Build stiffness in now so you are not chasing wobble later.
A welded steel base like craftedworkshop.com uses reaches rigidity through metal. A wood base with deep aprons and tight mortise-and-tenon joints reaches the same place without welding gear. Dry-fit the whole base, check it for square in both diagonals, and confirm all four legs sit at equal height. Your final height target is 30″ once the top is on.
Step 4: Construct the Split Apron
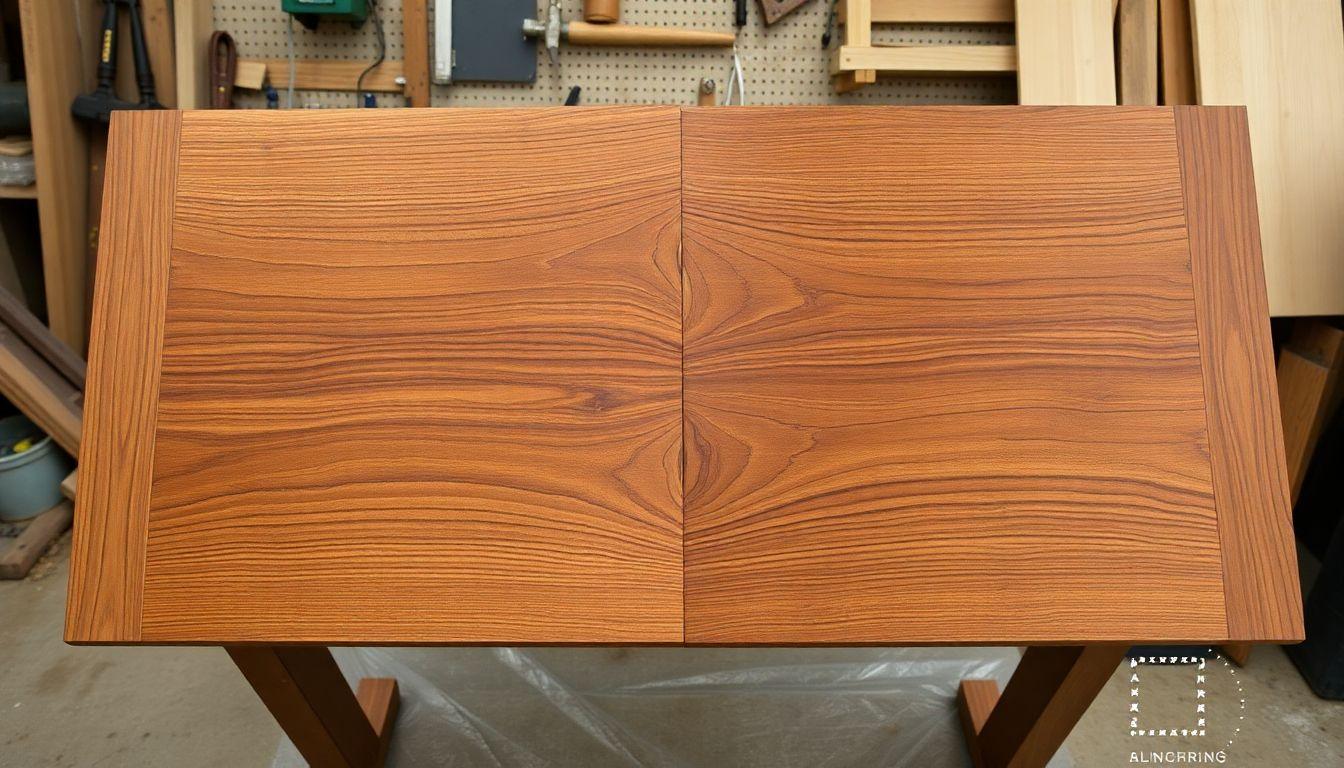
On an extendable table the apron cannot be one solid rectangle. Understanding why is the key to the whole mechanism.
The aprons stand 4″ to 5″ tall and 3/4″ thick. The two long aprons are each cut into halves. Each half travels with its own tabletop half, and the slides bridge the gap between them underneath.
The split-apron concept drives the build. When you pull the table open, one apron half and one top half move together as a unit. The end aprons stay fixed to their legs.
Joinery ties it together on two fronts. Each apron half attaches to its legs with mortise-and-tenon and to the slide carriages with screws. That apron stiffness is what prevents the extended table from wobbling, so treat it as structural, not decorative.
Add cross-bracing and corner blocks for stiffness, but place them so they never block slide travel. A corner block at each leg pulls the apron and leg tight. Keep the centerline clear for the slides.
Plan your clearances before you commit. Confirm the slide hardware has room to mount under the apron, and that the two halves do not collide along their faces when the table is closed. This dining table woodworking step is where clearance problems are cheap to fix.
Dry-fit the assembly and slide both halves apart by hand. They should separate cleanly along the slide axis with nothing catching. If they bind here, fix it before any hardware goes on.
Step 5: Glue Up the Split Tabletop and Leaves
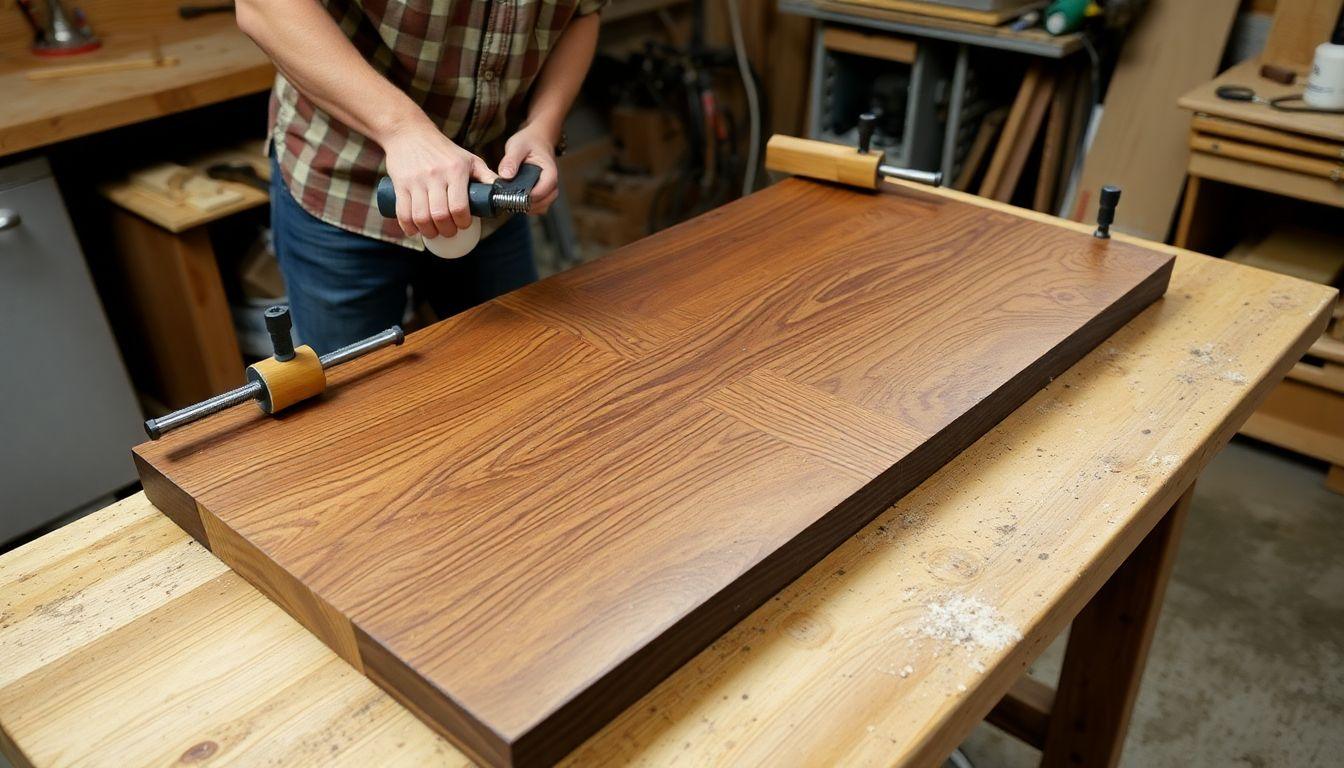
A 36″-wide walnut top moves roughly 1/4″ to 3/8″ between dry and humid seasons. On a split top that movement either lands harmlessly at the seam or cracks something where it should not.
Hold these dimensions exactly:
- Tabletop: two halves, each 42″ x 40″ x 7/8″, making 84″ x 40″ closed.
- Leaves: 18″ x 38.5″ x 7/8″, cut from the same source board as the top for the grain match you planned in Step 2.
- Breadboard ends: 40″ x 3″ x 7/8″.
Wood movement sets the rules here. Walnut moves about 7.8% tangentially across its full moisture range, which is where the 1/4″ to 3/8″ seasonal figure comes from. Orient the grain so it runs perpendicular to the slide direction. Then seasonal change shows up as a slightly wider or tighter seam, not as a top that binds in the slides.
Glue up the panels with care. Alternate the growth-ring direction board to board, use cauls across the width to keep the panel flat, and clamp the leaf panels dead flat. If a leaf still cups, the 48-hour clamp fix in the FAQ recovers it.
Attach the breadboard ends to allow movement. Use elongated mortise holes or a draw-bore so the ends stay put while the top expands behind them. Never glue a breadboard across the full width, or the top will crack the first humid week.
Leave a 1/8″ gap at the center seam when the wood is dry. As humidity rises and the wood table grows, that gap closes instead of crushing the two halves together. A dry-season gap is the relief valve for a wood table top this wide.
Step 6: Mount the Extension Slides
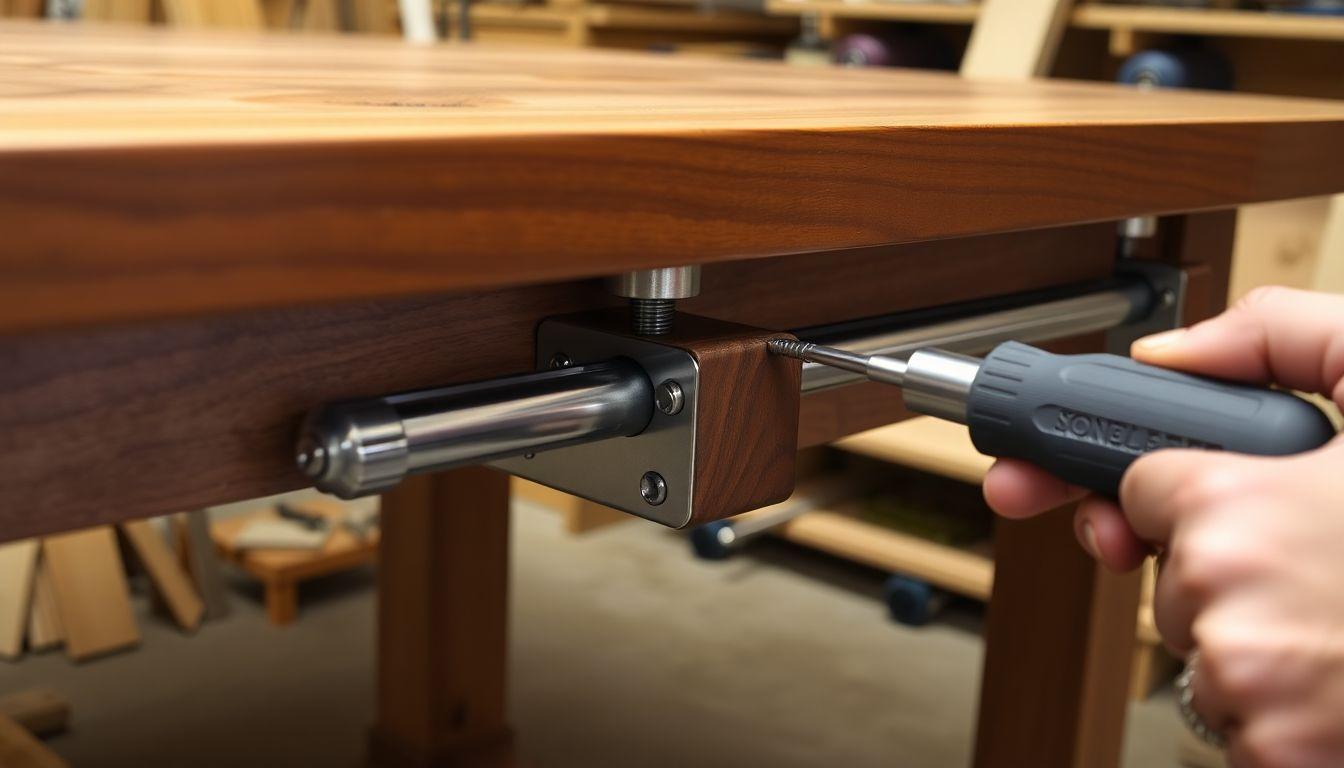
Get this alignment right and the table glides open with one hand. Get it wrong and it racks and binds for the life of the table.
Mount the 38″ Rockler Equalizer Slides with a careful layout.
- Mark centerlines on the underside of both top halves and on the aprons. These lines are your reference for everything that follows.
- Mount the slide rails to the underside of each top half and apron half. Check that both rails sit parallel by measuring across them with a straightedge front and back.
- Confirm the rack-and-pinion center engages so both halves move at the same time. That synchronized travel is the whole point of the equalizer.
Square the slides before driving final screws. Use a straightedge and measure equal distances front and back across the rails. If the measurements differ, the corrective loop is simple: loosen the rail, realign to the centerline, and re-attach. Repeat until front and back match.
Test the full travel open and closed with the screws still loose. Verify you get the full 36″ of opening for the two 18″ leaves. Only when the action is smooth and square do you drive the final screws.
Lubricate from day one. Apply paste wax to every contact surface during assembly so the slides never run dry. For long-term smoothness, add HDPE strips to the bearing surfaces, which cut friction far below bare wood on wood.
Drill pilot holes for every screw in the hardwood aprons. Walnut splits readily, and a split apron at the slide mount is hard to repair on an extendable dining room table.
Step 7: Fit the Leaves and Alignment Hardware
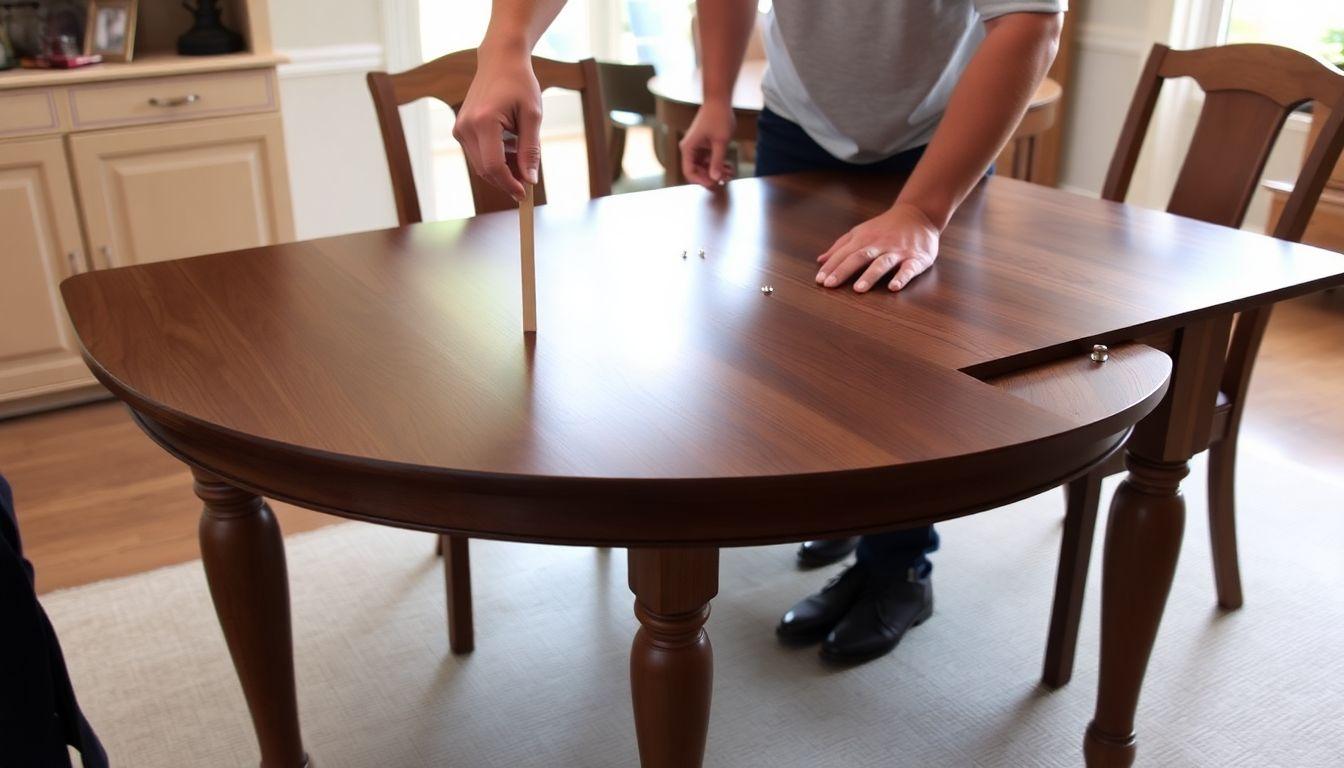
A leaf that sits a hair proud is the flaw your hand finds every meal. Fit is where a good woodwork dining table earns its keep.
Two pieces of alignment hardware do this job.
- Table pins, also called alignment dowels, in the standard 3/8″ diameter from Rockler or Lee Valley. They register each leaf to its neighbor so the surfaces land flush.
- Table latches or clips, from Rockler or Lee Valley, to lock the two halves together when the table is closed.
Fit the leaves by dry-setting both 18″ leaves into the open table. Check that the seams stay continuous and the grain match from Step 2 reads across every joint. Shim or sand each contact face until the surfaces sit flush.
Fasten the top to the apron for movement, never against it. Do not glue the split tabletop halves to the apron. Use figure-8 fasteners or Z-clips so each top half can expand and contract with the seasonal change from Step 5 while staying held down. Figure-8 fasteners pivot in their seats, which lets the top move while staying secured.
A few fixes handle a leaf that will not sit flush. Clamp a warped leaf dead flat for 48 hours during glue-up. Add c-channel to the underside to straighten a stubborn panel. Install leaf levelers when tolerance stacking leaves a small step you cannot sand out.
Run a final fit test. Open the table, drop in both leaves, close it back down, and confirm every surface is flush and the latches hold the halves tight.
Step 8: Sand, Finish, and Protect the Top
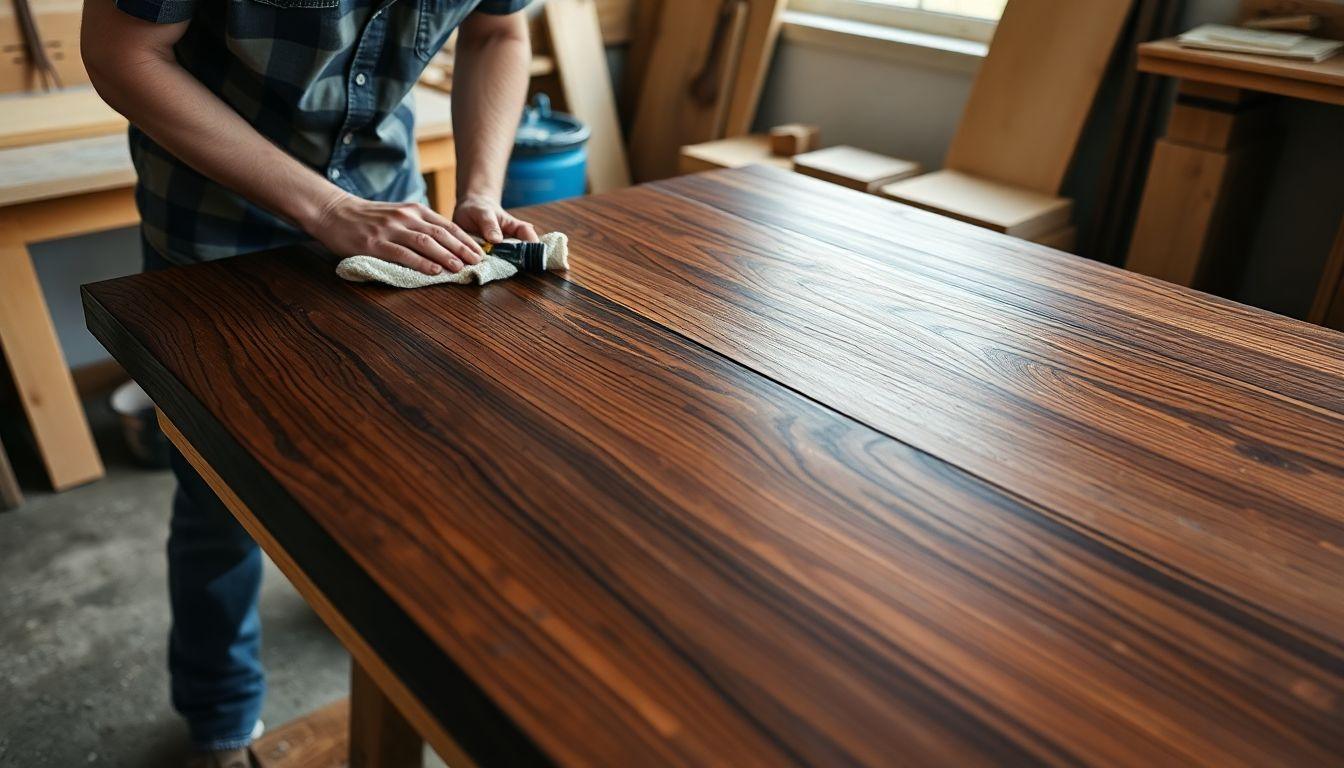
The finish step keeps the seam invisible and the surface dinner-proof. Do it carefully and the leaves disappear into the top.
Sand through the grits in order: 120, then 180, then 220. Break all the edges so no corner is sharp. If you are using a water-based finish, raise the grain with a damp rag, let it dry, and knock it back at 220.
realwoodworkplans.com recommends a hardwax oil, a wiping varnish, or polyurethane. All three are durable, repairable, and food-safe once fully cured, which matters on a surface that holds meals.
Finish every surface, including the leaf edges and the undersides. Even moisture exchange across the whole panel keeps the wood movement balanced and the top flat. Skipping the undersides invites cupping.
Match the leaves to the top by finishing them in the same session from the same batch. Sheen and color drift between batches, and that drift shows the moment you extend the table. Keep the seam edges finished but not built up with film, so the 1/8″ gap can still close in humid weather on the top of wooden table.
Maintain the table over time. Re-wax the slides periodically, use coasters and trivets on the surface, and store the leaves flat so they never warp out of fit.
Frequently Asked Questions
How much does it cost to build an extendable dining room table?
Hardware runs about $220 to $280: the Rockler 38″ Equalizer Slides at $179.99, plus 3/8″ table pins, latches, figure-8 fasteners, and finish. Lumber is the variable. Expect $300 to $700 in walnut depending on your supplier and board width. A full build typically lands between $520 and $980, well under the $2,000 to $4,000 retail price for a comparable solid-walnut extendable table.
Why does my table mechanism bind or rack when I open it?
The slides are misaligned. When the two rails are not parallel, the rack-and-pinion fights itself and the top racks instead of gliding. Fix it by loosening the rail screws, laying a straightedge across both rails, and realigning them to your centerlines with equal measurements front and back. Re-attach and test the travel before driving the screws home again.
Why won’t my leaf sit flush with the tabletop?
The leaf is warped, or tolerance has stacked up across the joints. For a warped leaf, clamp it dead flat for 48 hours during glue-up to reset it. For a stubborn panel, add c-channel to the underside to straighten it. When small steps remain from tolerance stacking, install leaf levelers to dial each leaf flush by hand.
Why does the table wobble when extended?
Either the aprons lack rigidity or the open span needs center support. Closed, the base feels solid because the load sits over the legs. Extended, that load moves outboard and finds any weakness. Add a center support leg under the open seam, or cross-brace the aprons to stiffen them. Tight mortise-and-tenon shoulders at the legs prevent most of this from the start.
My slides have stiffened over time. How do I fix it?
Friction has built up on the bearing surfaces. Pull the table open, clean the contact faces, and apply fresh paste wax to every surface where the rails ride. If the stiffness returns or you want a permanent fix, install HDPE strips on the contact surfaces. HDPE slides far more easily than bare wood on wood and rarely needs re-waxing.
Which extension mechanism is best for a beginner-friendly farmhouse table?
Equalizer slides are the friendliest choice because one person can open the table and the rack-and-pinion keeps both halves square automatically. Standard wooden slides cost less and extend further for very long tables, but they need two people working in sync. For a farmhouse dining room table with two leaves, the equalizer is the easier, more forgiving build.

“DIY woodworking enthusiast who started with zero experience and a YouTube tutorial.
I build simple, practical projects for my home and share free plans
so other beginners can skip the guesswork.If I can build it, you can too.”