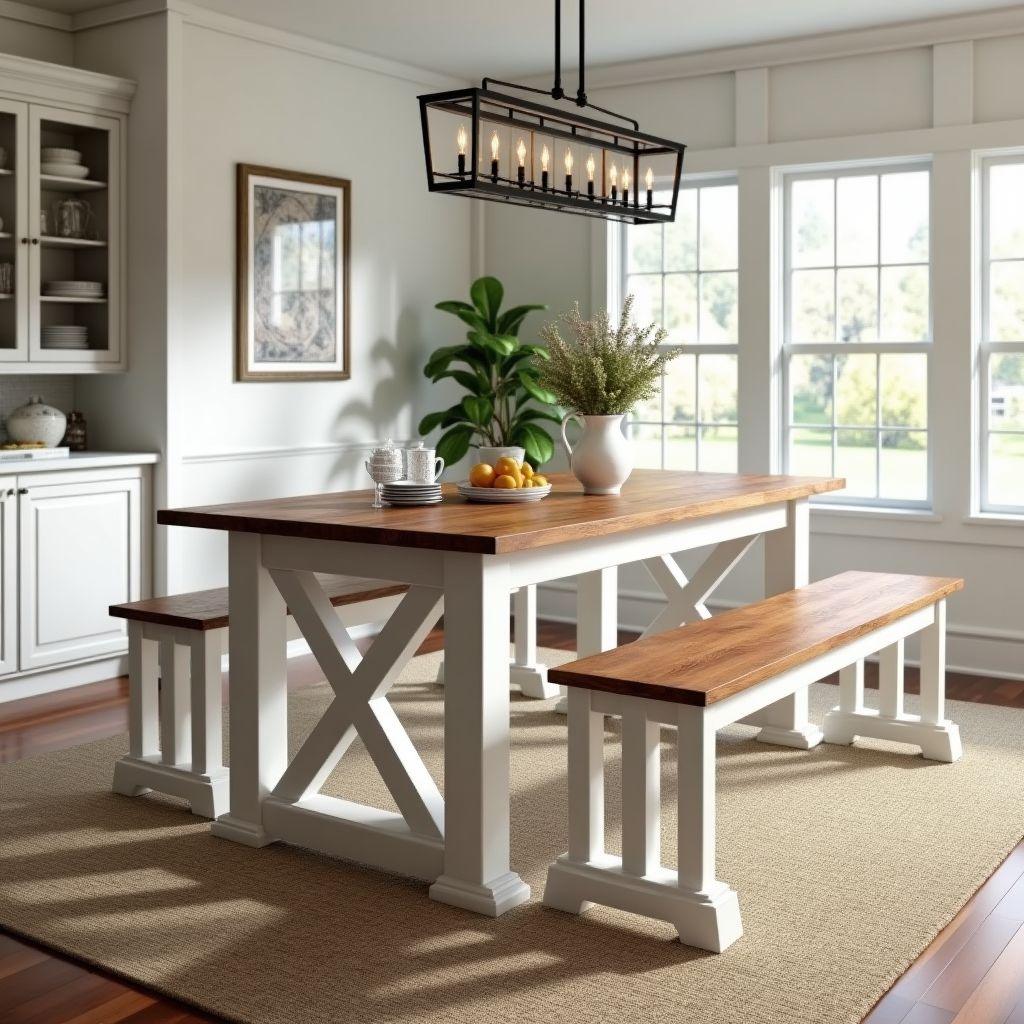
A store-bought farmhouse table runs $1,500 or more, and Pottery Barn versions climb well past $2,000. These farmhouse dining table plans get you the exact same look for $130 to $220 in materials. No table saw required. Part of our best DIY furniture plans guide.
You need three tools: a drill, a circular saw, and a pocket hole jig. This plan covers two builds in one, the dining table and a matching bench, so you finish with a complete set in one afternoon.
Everything scales. Build the 6-person version at 72 by 38 inches, or size up to an 8-person table at 96 by 40 inches. You get a complete cut list, current 2026 lumber costs, and the wood movement guidance most plans skip, the detail that keeps your top from cracking a year later.
Building it yourself saves $1,200 to $2,200 versus a Pottery Barn equivalent. The table costs $130 to $220 in materials; add $40 to $60 for the bench. For more projects in this family, see our dining and outdoor table plans guide.
Step 1: Choose Your Table Size for 6 or 8 People
Looking for more furniture ideas?
This guide is part of our complete best DIY furniture plans series — compare all options by skill level, cost, and build time.
Want 16,000+ woodworking plans?
Ted’s Woodworking has step-by-step plans for every skill level. Browse Ted’s plans.
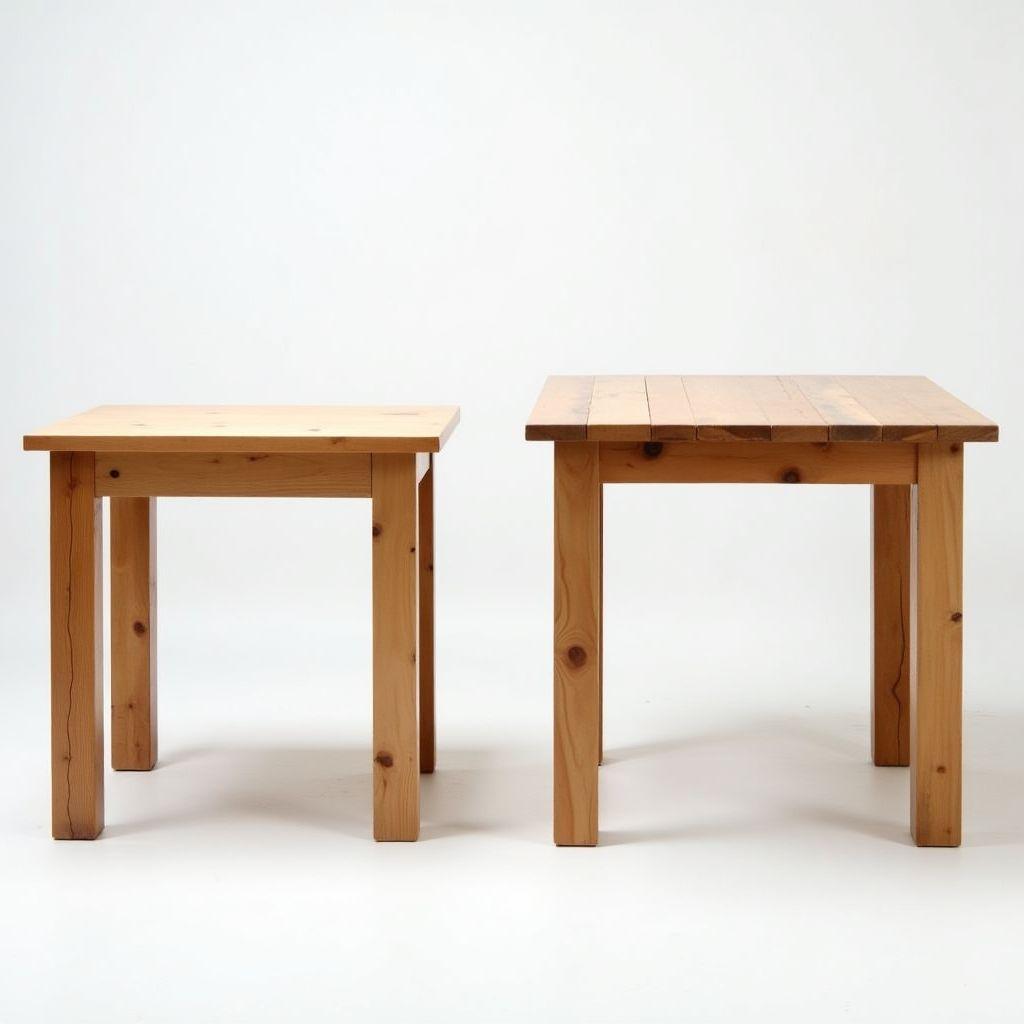
Two numbers decide your size in 30 seconds: how many seats you need, and how much clearance your room allows.
Allow about 24 inches of table edge per person. A 72-inch-long table seats 6 comfortably, three per long side. A 96-inch table seats 8, four per side. Add end seats only if you don’t mind chairs bumping the legs.
Here are the two target sizes this plan builds:
| Size | Dimensions (L x W x H) | Seats | Rough material cost |
|---|---|---|---|
| 6-person | 72 x 38 x 30 in | 6 | $130 to $220 |
| 8-person | 96 x 40 x 30 in | 8 | $170 to $270 |
Before you commit, measure your room. Leave 36 inches from every table edge to the nearest wall so chairs can pull out and people can walk behind them. If your dining space is under 11 feet in the long direction, the 72-inch table is your ceiling.
Height is fixed for both sizes. Cut 28.5-inch legs from 4×4 stock, then add a 1.5-inch-thick top. That gives you the standard 30-inch dining height that fits every dining chair sold.
Milestone: you have picked a size and confirmed your room fits it.
realwoodworkplans.com recommends the 6-person, 72-inch table for most rooms. It seats a family plus guests and fits a typical dining space. Go 8-person only if you regularly host large dinners and have the floor to clear 36 inches on all sides.
Step 2: Choose and Acclimatize Your Lumber
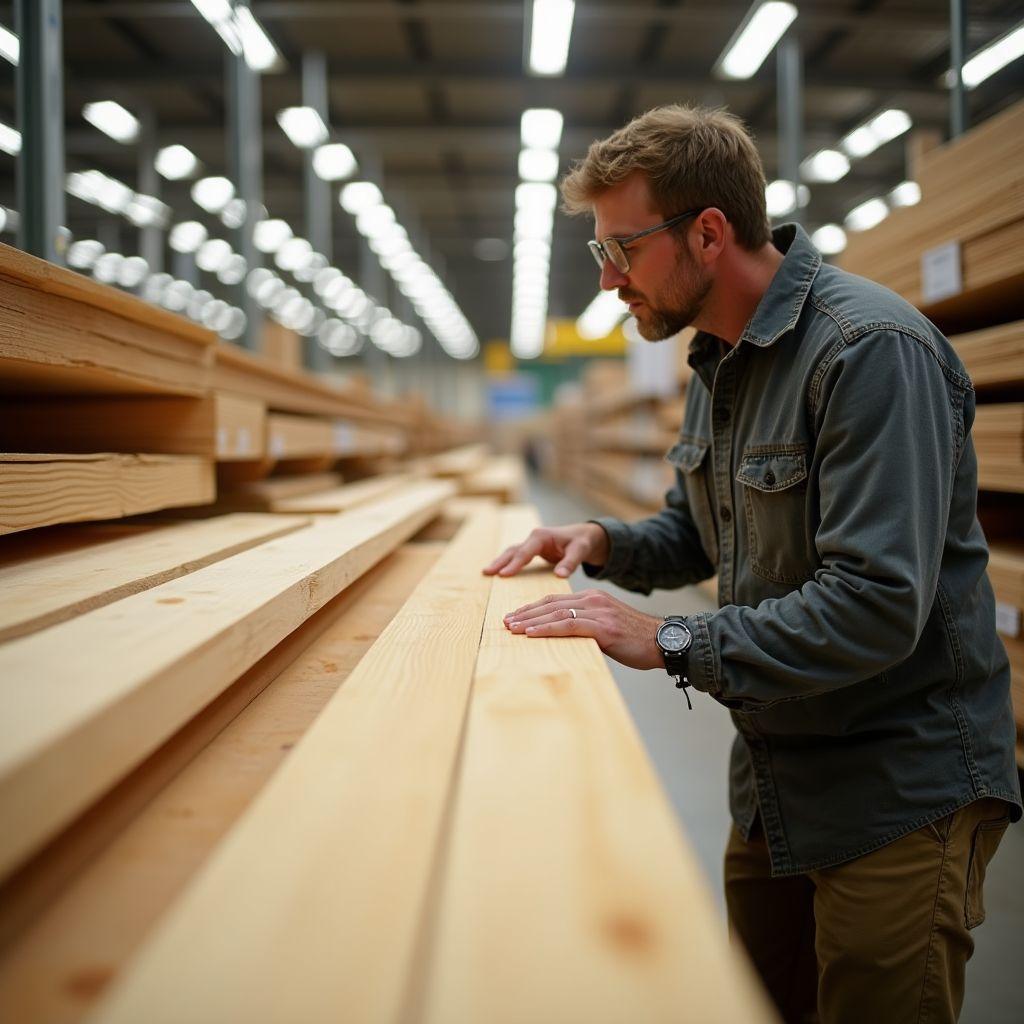
Skipping acclimation is the single biggest cause of a failed farmhouse table. Boards that go from a humid store rack straight into your build will shrink, cup, and split after you assemble them.
Buy your lumber 7 to 14 days before you build. Stack it indoors where the table will live and place spacers, called stickers, between each board so air reaches all four faces. This equalizes the wood’s moisture with your home, so the boards move now instead of after glue-up.
Species matters for the finish you want. Compare the two common choices:
| Species | Cost | Hardness | Staining |
|---|---|---|---|
| Pine | Cheapest, everywhere | Soft, dents easily | Blotches without pre-stain conditioner |
| Douglas fir | Costs more | Harder, more durable | Stains evenly, no conditioner needed |
Pick your boards by hand at the store. Sight down each one for straightness and lay it flat to check for cupping. Reject anything twisted or heavily bowed; you cannot cut those flaws out with a circular saw.
One detail runs through the entire cut list: nominal versus actual dimensions. A 2×6 is actually 1.5 by 5.5 inches, a 2×4 is 1.5 by 3.5 inches, and a 4×4 is 3.5 by 3.5 inches. Every measurement below already accounts for this, so cut to the numbers as written.
realwoodworkplans.com recommends Douglas fir for the top and pine for the base if you want a two-tone stained-and-painted look. To paint the whole table one color, use all pine and save the money.
Step 3: Complete Cut List and Materials for the Table
Take this table to the store and shop in one trip. It lists every part for both sizes.
| Part | Lumber | Qty (6-person) | Length (6-person) | Qty (8-person) | Length (8-person) |
|---|---|---|---|---|---|
| Tabletop boards | 2×6 | 6 | 72 in | 7 | 96 in |
| Legs | 4×4 | 4 | 28.5 in | 4 | 28.5 in |
| Long aprons | 2×4 | 2 | 65 in | 2 | 89 in |
| Short aprons | 2×4 | 2 | 31 in | 2 | 33 in |
| Center stretcher | 2×4 | 1 | 65 in | 1 | 89 in |
The apron lengths come from a simple formula. Long aprons equal the table length minus 7 inches. Short aprons equal the table width minus 7 inches. The 7 inches accounts for two 3.5-inch legs plus the inset. The center stretcher matches the long apron length.
Here is the 2026 material cost at Home Depot and Lowe’s:
- Pine 2x6x8: $8 to $12 each
- Pine 4x4x8: $15 to $20 each
- 2x4x8: $4 to $7 each
- Pocket screws, glue, fasteners: $20 to $30
That puts the 6-person pine table at $130 to $220 total. Use our board foot calculator to price out Douglas fir or hardwood upgrades before you shop. Set your pocket hole jig to the 1.5-inch setting for all of this standard dimensional lumber.
Milestone: you have an itemized, priced cut list for your chosen size.
The 8-person table adds one more tabletop board, longer aprons, and roughly $40 to $50 in lumber over the 6-person build. Everything else stays identical.
Step 4: Complete Cut List and Materials for the Matching Bench
The bench reuses the same tools and even your offcuts. It is a half-day add-on, not a second project.
Size the bench to the table. Bench length equals the table length minus 12 inches, leaving 6 inches of clearance at each end so it tucks fully underneath. Seat height sits at 18 inches, the comfortable standard under a 30-inch table.
| Part | Lumber | Qty | Length (6-person table) | Length (8-person table) |
|---|---|---|---|---|
| Seat boards | 2×8 | 2 | 60 in | 84 in |
| Legs | 4×4 | 4 | 16.5 in | 16.5 in |
| Long aprons | 2×4 | 2 | 53 in | 77 in |
| Short end aprons | 2×4 | 2 | 5 in | 5 in |
| Stretchers | 2×4 | 2 | 12.5 in | 12.5 in |
The bench uses the same apron math. Long aprons equal the bench length minus 7 inches. Short end aprons equal the 12-inch bench width minus 7 inches, which gives you 5 inches. Two 2×8 seat boards laid side by side make a bench about 14.5 inches deep before edge sanding.
Cost adds up fast because the parts are small. Budget $40 to $60 for the bench, mostly one 4×4 and a pair of 2x8s.
Milestone: you have a priced, sized cut list for a bench that matches your exact table.
realwoodworkplans.com recommends building the bench in the same session as the table. Your saw is already set up, your jig is dialed to 1.5 inches, and you can pull leg and apron stock from table offcuts.
Step 5: Build the Table Base and DIY 4×4 Legs
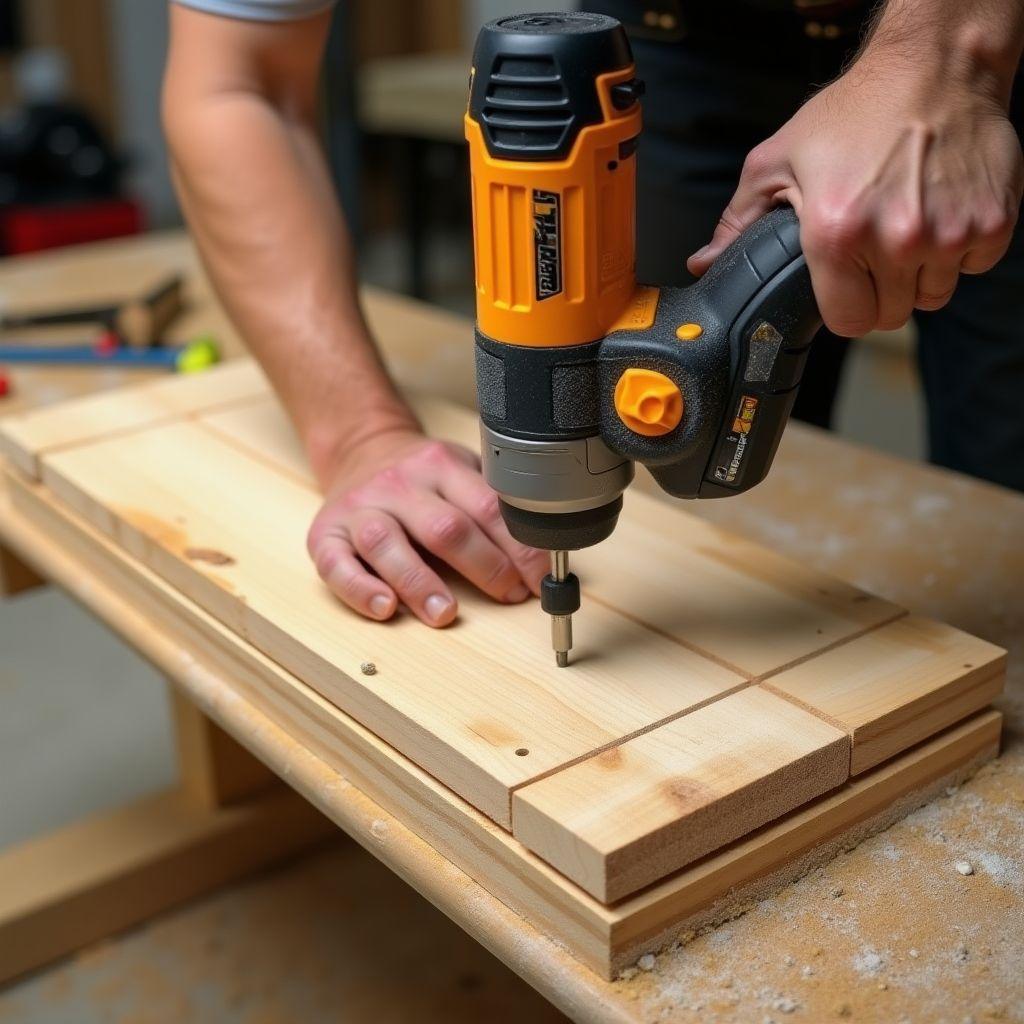
You can get furniture-strong legs from $18 worth of 4x4s using pocket holes. No mortise-and-tenon, no table saw. Kreg Tool rates a properly glued pocket joint as strong as traditional mortise-and-tenon joinery.
Build the two end leg assemblies first. Each end joins two 4×4 legs to a top and bottom apron rail. Follow these steps:
- Set your pocket hole jig to 1.5 inches and drill two pocket holes in each end of every apron and stretcher.
- Run a bead of glue on each joint face. Glue every joint, no exceptions.
- Join a short apron across the top of two legs and another across the bottom, driving 2.5-inch pocket screws.
- Check each corner with a square before the screws lock it. A 90-degree end assembly keeps the whole base true.
Now connect the two ends. Attach the two long aprons between them, then run the center stretcher down the middle for rigidity. Drive 2.5-inch pocket screws and glue every joint here too.
Set the base on a flat floor and check that all four feet touch. Confirm the base is square by measuring both diagonals corner to corner. Equal diagonals mean a square base.
Use a 3/4-inch scrap as a spacer to set the apron inset from the outer leg face. That standard 3/4-inch reveal gives the base its finished furniture look instead of a boxy frame.
Milestone: a freestanding, square, stable table base.
realwoodworkplans.com recommends DIY 4×4 legs for the authentic farmhouse look and the lowest cost. Choose pre-made legs only if you want a turned or tapered profile you cannot cut with a circular saw.
Step 6: Glue Up the Tabletop and Plan for Wood Movement
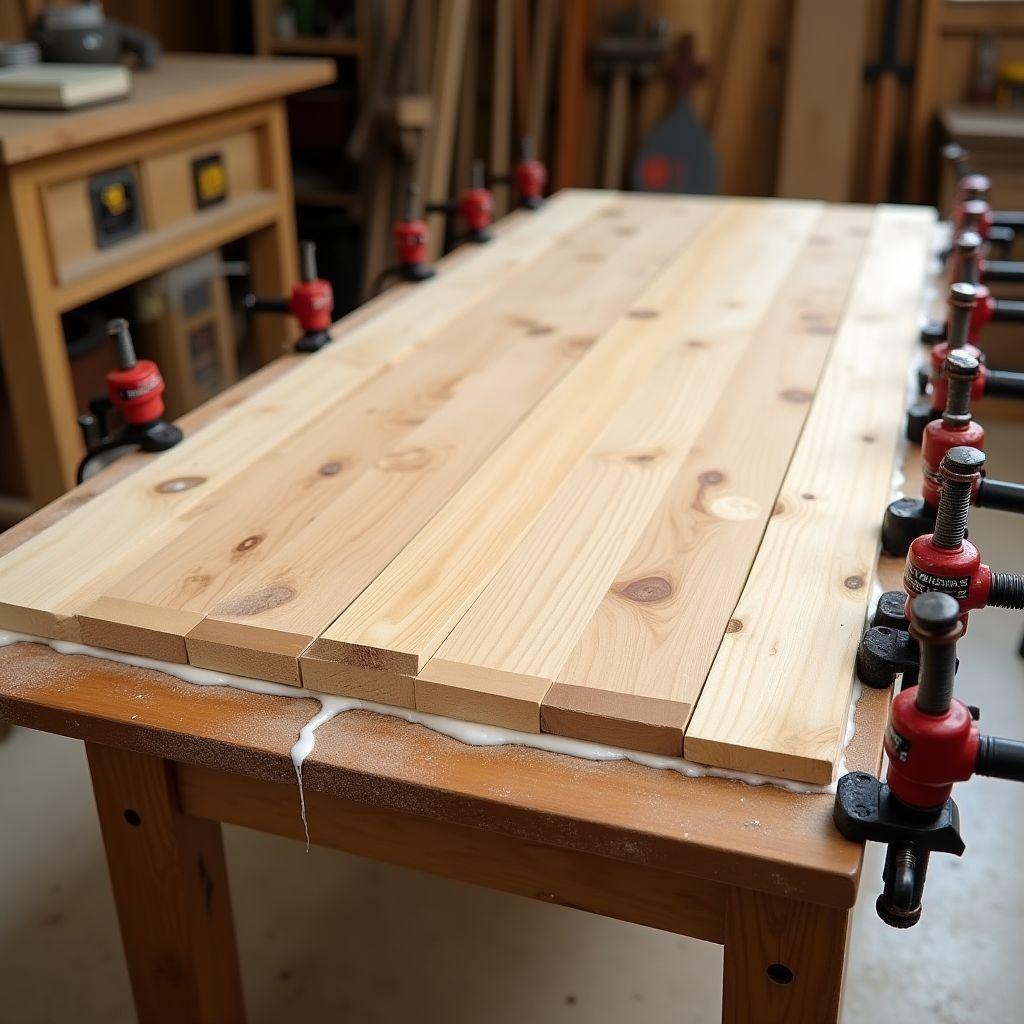
A 38-inch glued-up top moves 1/4 to 1/2 inch across its width between humid summers and dry winters. It must float on the base, never pinned solid, or it will crack. This step separates a table that lasts from one that splits.
Glue up the tabletop boards edge to edge. Alternate the grain direction of each board, flipping every other one so the end-grain arcs point opposite ways. This balances cupping across the whole top.
- Run glue along each mating edge and clamp the boards tight.
- Scrape the squeeze-out with a putty knife before it hardens.
- Cure the glue a full 24 hours before you unclamp.
- Sand the top flat, starting where any boards sit proud of their neighbors.
Now fasten the top to the base the right way. Never glue or rigidly screw the top down. Use figure-8 fasteners or screws through slotted holes in the aprons so the top can expand and contract freely.
Figure-8 fasteners cost about $0.50 to $1.00 each. Space your fasteners every 8 to 12 inches along the aprons. That spacing holds the top firmly while still letting it slide as it moves.
Breadboard ends are optional. If you add them, glue only the center 4 to 6 inches of the breadboard. Pin the outer sections through elongated slots so the end can move sideways with the top instead of fighting it.
Milestone: a flat, glued-up top fastened to the base with room to move.
realwoodworkplans.com recommends slotted screw holes as the simplest reliable method for beginners. Breadboard ends look great but add complexity you don’t need for a solid table.
Step 7: Build the Matching Bench
The bench is a scaled-down table base. You already know every joint from Step 5, so this goes fast.
- Build two short leg ends from 16.5-inch 4×4 legs and the 5-inch short end aprons, using the same pocket hole method. Keep the jig at 1.5 inches.
- Connect the two ends with the long 2×4 aprons and the two stretchers to form a rigid frame.
- Check the frame for square across the diagonals, just like the table base.
- Glue up the two 2×8 seat boards edge to edge into a solid seat, alternating grain direction.
Attach the seat with slotted holes, exactly like the tabletop in Step 6. Even a narrow bench seat moves seasonally, so give it room. Space fasteners every 8 to 12 inches along the aprons.
Confirm two measurements before you finish. The seat should sit at 18 inches off the floor. The bench should run the table length minus 12 inches, so it tucks under with 6 inches clearing at each end.
Milestone: a finished, stable bench that matches the table’s proportions and slides underneath.
For seating, you have two options. Run one long bench on one side plus chairs on the other for an everyday mix. Or build two benches, one per side, for the full farmhouse look that seats the most people in the least floor space.
Step 8: Sand, Stain, and Finish (Two-Tone or All-Stained)
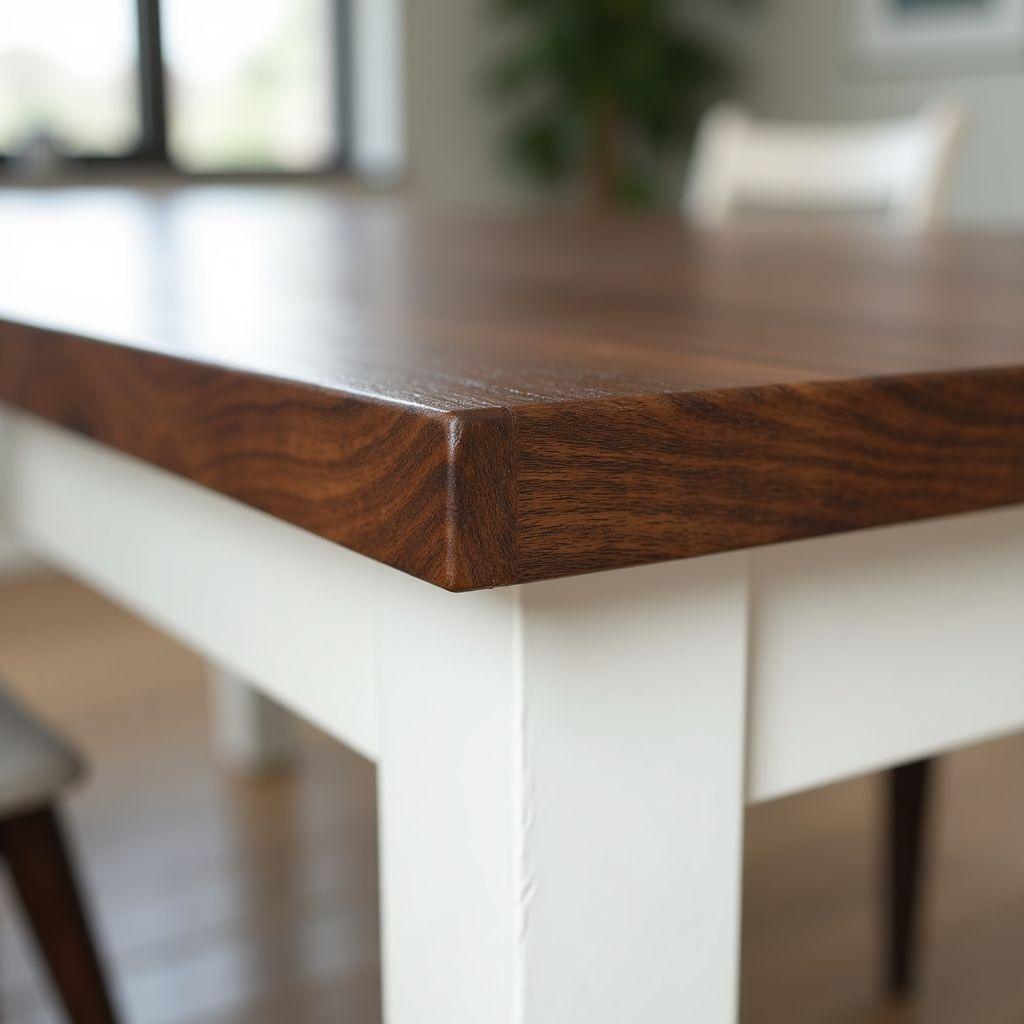
Pick one of two finishing recipes below and follow it start to finish.
First, sand everything in this progression: 80 grit, then 120, then 150, then 220. Always sand with the grain, never across it. On pine, apply Minwax Pre-Stain Wood Conditioner after your final sanding, because pine blotches badly without it. Douglas fir does not need conditioner.
Two-tone recipe for the Pottery Barn look:
- Stain the tabletop and bench seat in Minwax Special Walnut or Pecan.
- Paint the base and bench legs in chalk paint or semi-gloss white.
- Seal every surface with 3 coats of Polycrylic.
- Sand lightly with 220 grit between each coat.
All-stained recipe to show the wood grain everywhere:
- Apply pre-stain conditioner to the whole piece if using pine.
- Stain the entire table and bench in Special Walnut or Weathered Oak.
- Seal with 3 coats of Polycrylic, sanding with 220 between coats.
Polycrylic needs 2 hours of dry time between coats. Use 3 coats minimum on the tabletop, because a dining surface takes daily abuse from plates, spills, and elbows. Fewer coats wear through within a year.
Milestone: a fully finished, sealed table and bench ready for daily use.
realwoodworkplans.com recommends the two-tone finish for the classic farmhouse look most people picture. Choose all-stained if you love visible wood grain and want it on every surface, base included.
If you want even more plans than what’s shown here, Ted’s Woodworking has a large library of dining table, bench, and furniture plans with detailed cut lists and step-by-step guides. It’s a good reference if you plan to build several pieces. If you’re drawn to tables that grow with your family, also check out our extendable dining room table plans for a sliding-leaf design.
FAQ
Can you really build a farmhouse table without a table saw?
Yes. A circular saw, a drill, and a pocket hole jig handle every cut and joint in this plan. The circular saw makes all straight crosscuts, and the pocket hole jig replaces any joinery a table saw would normally cut.
How much does it cost to build a farmhouse dining table in 2026?
The 6-person table costs $130 to $220 in materials at Home Depot or Lowe’s. The matching bench adds $40 to $60. The 8-person table runs $40 to $50 more than the 6-person for the extra lumber.
What size farmhouse table seats 6 vs 8?
A 72 by 38 inch table seats 6. A 96 by 40 inch table seats 8. Allow about 24 inches of table edge per person, and leave 36 inches from each table edge to the wall for chairs.
Pine or Douglas fir for a farmhouse table?
Douglas fir stains evenly and is the better choice for a stained top. Pine is cheaper but blotches without pre-stain conditioner, so it works best painted. A fir top over a painted pine base gives you the best of both.
How do I stop my tabletop from cracking?
Do two things. Acclimatize your lumber 7 to 14 days indoors before building, with stickers between boards. Then attach the top with slotted holes or figure-8 fasteners so it can expand and contract with the seasons instead of splitting.
Do I need breadboard ends?
No, breadboard ends are optional. If you add them, glue only the center 4 to 6 inches of the breadboard. Pin the outer sections through elongated slots so the ends can move with the top rather than cracking it.
How long does the build take?
The table base is a weekend project. The tabletop needs a 24-hour glue cure before you can fasten it. The matching bench is a half-day add-on once you know the joints from the table.
What is the standard farmhouse table and bench height?
The table stands 30 inches tall, from 28.5-inch legs plus a 1.5-inch top. The bench seat sits at 18 inches. Both are standard dimensions that fit alongside any dining chairs.
Related Articles

“DIY woodworking enthusiast who started with zero experience and a YouTube tutorial.
I build simple, practical projects for my home and share free plans
so other beginners can skip the guesswork.If I can build it, you can too.”