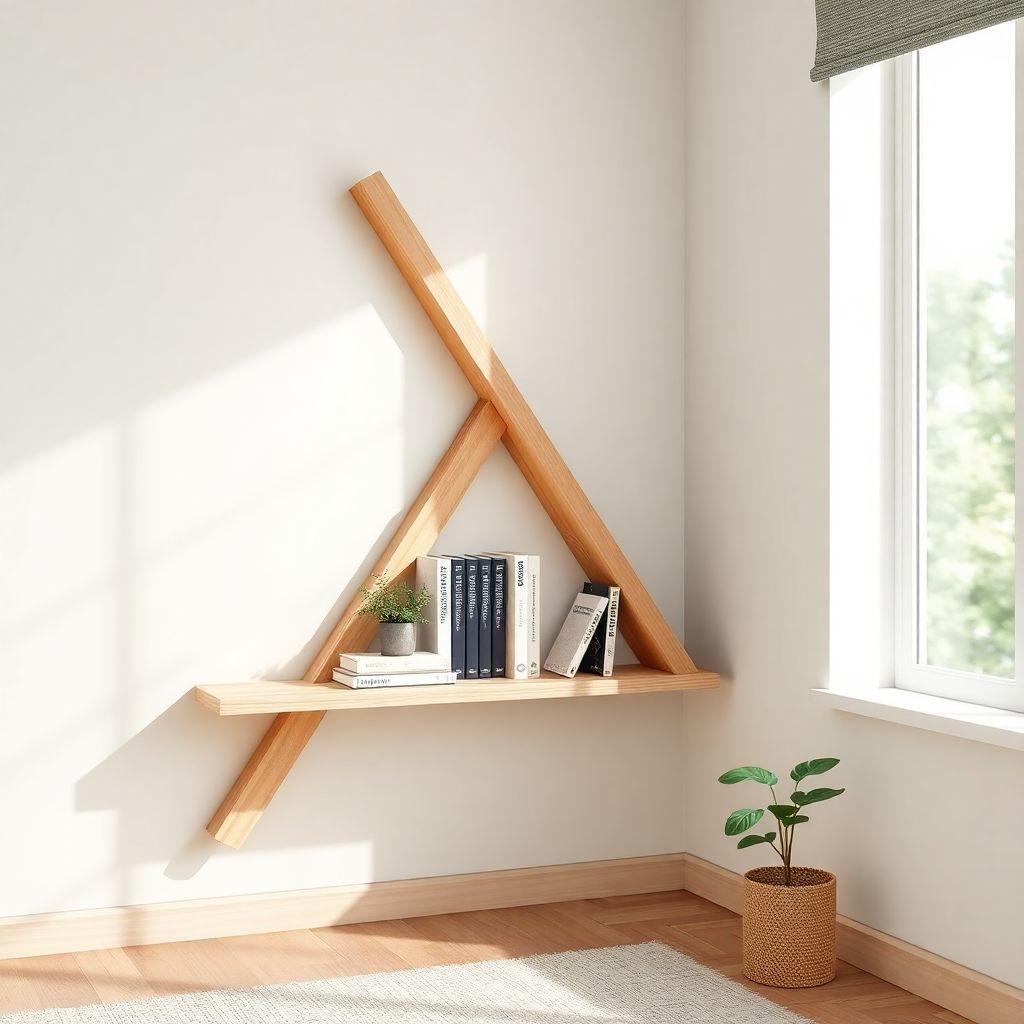
A corner shelf is the best first shelving project you can pick. It uses less material than a straight shelf, forgives rough cuts because two edges tuck into a corner, and turns dead space above a nightstand or behind a door into storage. This guide walks you through a corner shelf diy build from a single scrap of plywood or a pine offcut, start to finish, for about $25 and half a day of work.
You will build a triangle wall shelf with two 45-degree mitered edges that sit flush against a 90-degree corner. We will also cover the quarter-circle version, how to check that your corner is actually square, three ways to mount the shelf, and how to stack several into a corner tower. If you want the full range of shelving projects, this is one of many builds in our bookshelf and shelving plans hub.
This is a beginner project. If you can cut a straight line and drive a screw, you can build it.
Triangle vs Quarter-Circle: Which Shape to Build
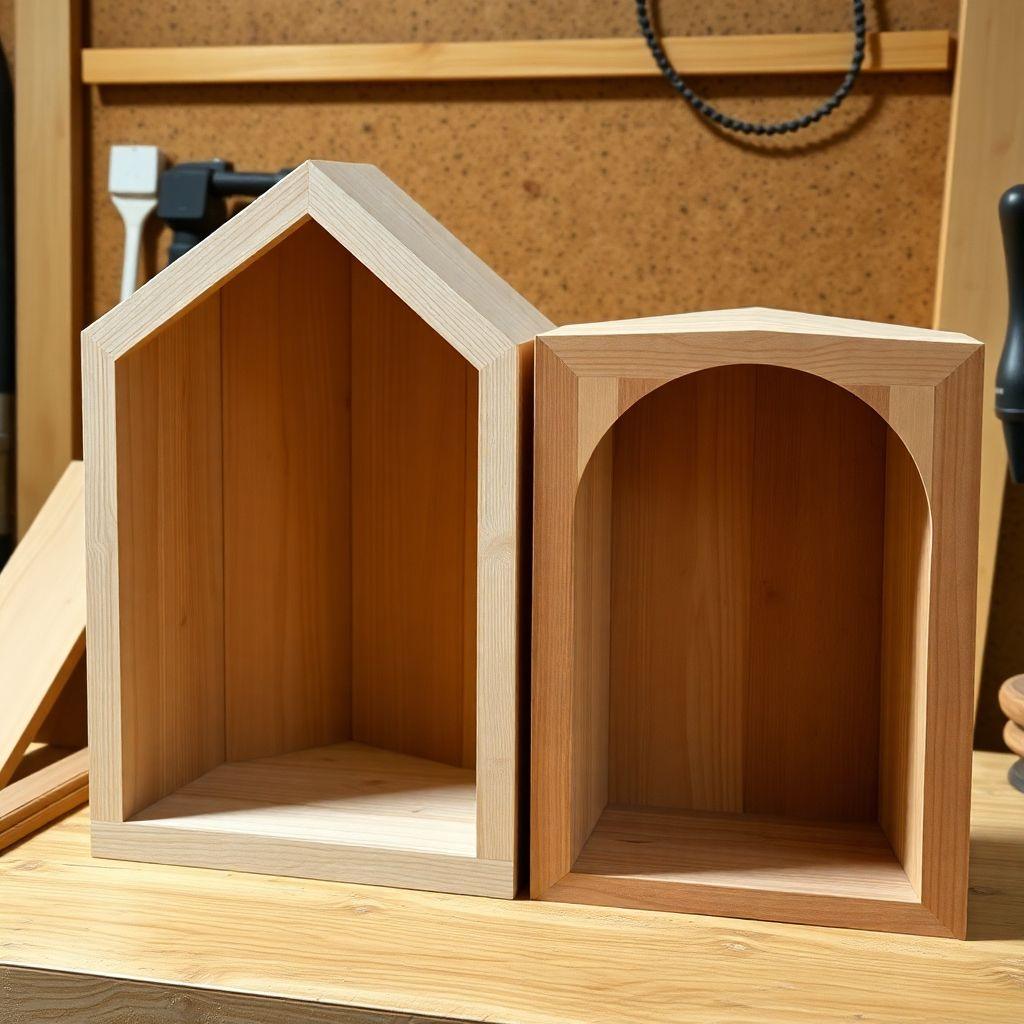
Every corner shelf starts as the same right-triangle blank. Two sides are straight and meet at a 90-degree corner. Those two sides press against your walls. The only decision is what the front edge looks like.
Triangle (straight front). The front is a straight diagonal line connecting the two wall edges. You cut it with a single pass on a miter saw, circular saw, or even a hand saw. No curves, no special tools. This is the shape a beginner should build.
Quarter-circle (curved front). The front is a rounded arc instead of a straight line. It looks softer and is friendlier in a walkway where a sharp point would catch a hip. But the curve has to be cut with a jigsaw, then sanded smooth, which adds a step and a tool most beginners cut poorly on their first try.
Build the triangle. It is faster, needs no jigsaw, and once it is finished and holding books nobody will notice it is not curved. Save the quarter-circle for your second shelf when you want the practice. Everything else in this guide applies to both shapes. The only difference is one cut.
Materials and Cut List
You need one flat panel and a way to hang it. That is the whole bill of materials.
Board: 3/4-inch plywood or a 1×12 pine board. A 1×12 is actually 11.25 inches wide, which gives you a shelf roughly 11 inches per side once cut. Plywood you can rip to any size. Scrap works fine here, which is why this is such a cheap build.
Cut list for a single triangle shelf:
- 1x shelf blank: 3/4-inch plywood or 1×12 pine, 12 inches on each of the two wall sides, with a 45-degree miter on both back ends so they meet cleanly in the corner
- 2x L-brackets, 4-inch or 6-inch, with the screws they ship with
- 4x wall screws or drywall anchors rated for your wall type
Sizing note. Anywhere from 10 to 16 inches per side works. Ten inches is a small accent shelf for a candle or a photo. Sixteen inches holds a row of paperbacks or a mid-size plant. Twelve inches is the sweet spot for a first build and is what the cut list above assumes.
Cost. If you buy new, one 1×12 pine board runs $12 to $20, a pair of L-brackets is $4 to $8, and screws are a few dollars. That lands you around $25. Using an offcut you already have drops it under $10.
Quarter-circle option. Same board, same brackets. The only change is that after squaring the blank you draw an arc across the front and cut it with a jigsaw instead of leaving the front straight.
Tools Required
- Tape measure and pencil
- Speed square or combination square for marking the 45-degree lines
- Framing square for checking the corner (covered in Step 1)
- Saw: miter saw is easiest, but a circular saw with a guide or a hand saw both work
- Jigsaw (only for the quarter-circle version)
- Drill or driver
- Sandpaper: 120 grit and 220 grit, or a sanding block
- Stud finder
- Level
- Optional: wood filler for plywood edges, and a finish (paint, stain, or polyurethane)
Step 1: Check Your Corner Angle
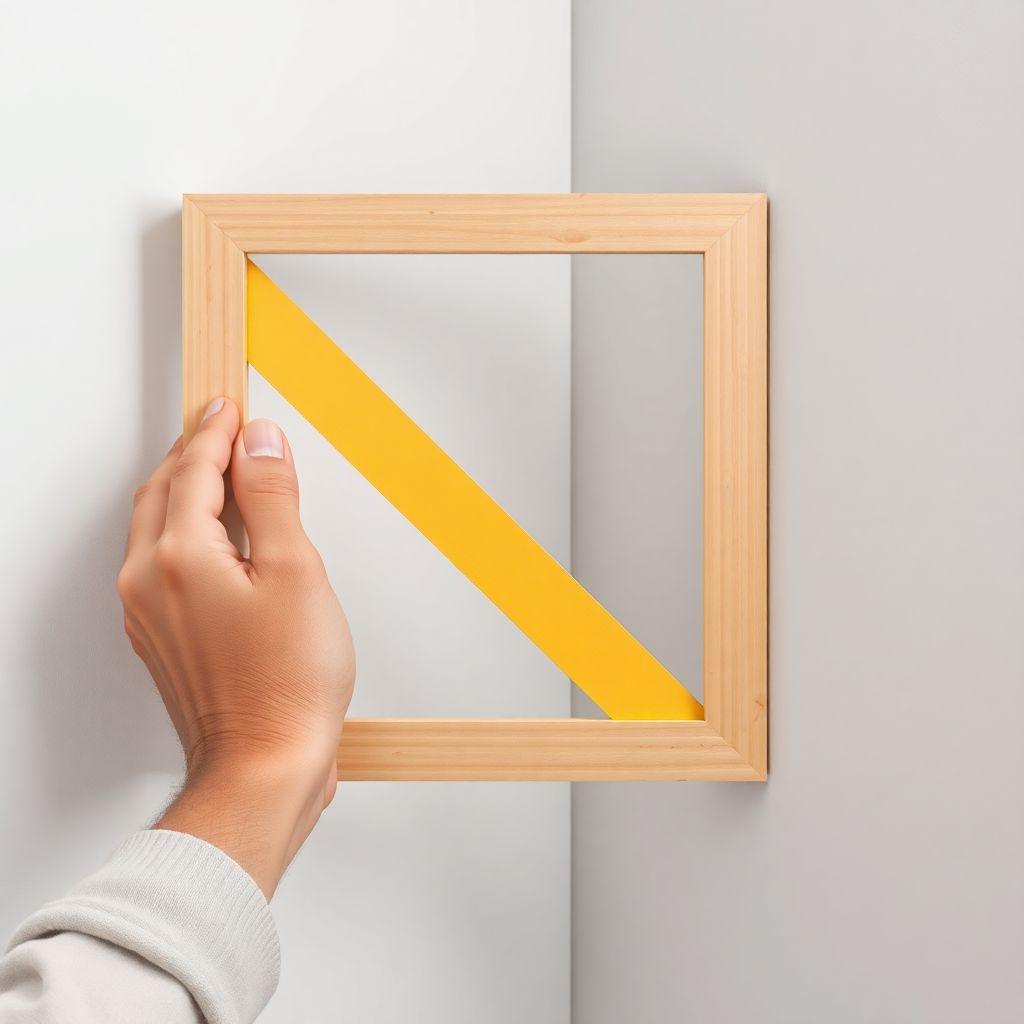
Do not skip this. The whole reason a corner shelf works is that your walls meet at 90 degrees, and the shelf is cut to match. If your corner is off and you cut a perfect 90-degree shelf, one wall edge will show a gap.
Hold a framing square into the corner with one leg flat against each wall, pushed all the way into the joint. Look at where the two legs meet the walls. If both legs sit flush along their whole length, your corner is square and you can cut a standard shelf. If you see a gap at the tip or at the outer ends, the corner is out.
Most modern interior corners are close enough to 90 degrees that a standard cut works. Small gaps hide behind the shelf and nobody sees them. You only need to worry if the gap is wide enough to notice, which is rare and usually means an old house with settled framing.
If the corner is noticeably off, you have two easy fixes. Trim a hair off one wall edge of the shelf until it drops into place, testing as you go. Or run a thin bead of paintable caulk along the back edges after mounting to close a small gap. Either beats trying to calculate a compound angle, which a beginner does not need to do here.
Step 2: Cut the Shelf (Miter Method)
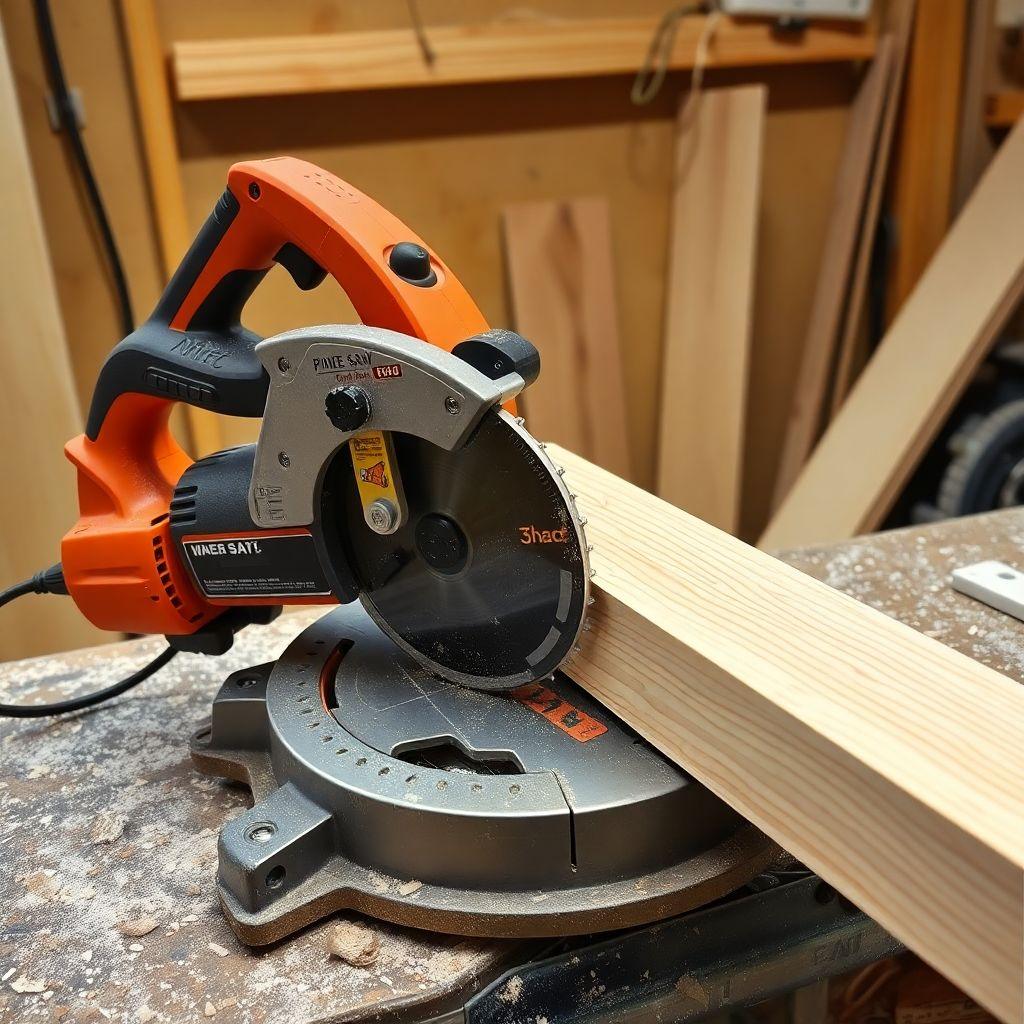
Start with a square blank. If you are using a 1×12, cut a square roughly 12 by 12 inches. Plywood, rip a 12 by 12 square. Getting a true square first makes every other cut land right.
Now cut the blank corner to corner. Mark a diagonal line from one corner to the opposite corner and cut along it. That single diagonal gives you two triangle shelf blanks from one square, so you can build a pair or keep a spare. The two short edges of each triangle are your wall edges. The long diagonal edge is the front.
The 45-degree miters. The two back ends where the wall edges would meet in the corner get a 45-degree miter so they close up tight against a 90-degree corner. Set your miter saw to 45 degrees, or mark the angle with a speed square and cut by hand. Test-fit the two mitered ends together. They should form a clean point with no gap. This is where many corner shelves diy builds go sideways, so dry-fit before you commit.
The critical mistake to avoid. Cut the miter from the correct face. A saw blade splinters the wood on the side where it exits, so tearout lands on the bottom face if you cut with the good side up. Always cut with the face you want to show pointing up on a miter saw, or down on a circular saw, so the visible front stays clean. Cutting from the wrong face is the number one reason a first corner shelf looks rough along the front edge.
Quarter-circle cut. If you want the curved front, mark an arc from one front corner to the other using a pencil on a string as a compass, then cut the line with a jigsaw. Take it slow and let the blade do the work so the curve stays fair.
Step 3: Sand and Finish the Edges
Sand every face and edge with 120 grit, then again with 220 grit until smooth. Round the sharp front corner slightly so it does not catch clothing or ding a wall.
Plywood edges need extra work. A cut plywood edge shows the raw layered plies, which look unfinished and soak up paint unevenly. You have two options. Fill the edge with wood filler, let it dry, and sand it flat before finishing, which gives a paintable smooth edge. Or glue on a strip of iron-on edge banding to hide the plies entirely, which looks the most like solid wood.
Solid pine does not have this problem. The edge is the same wood as the face, so you just sand and finish it directly. This is one quiet reason a beginner may prefer a 1×12 pine board over plywood for a first shelf.
Finish to taste. A coat of stain plus two coats of polyurethane protects the wood and looks warm. Paint hides plywood edges well if you filled them. Even a single coat of clear poly is enough to keep the shelf from soaking up dust and moisture. Let the finish fully cure before you load the shelf.
Step 4: Mount the Brackets
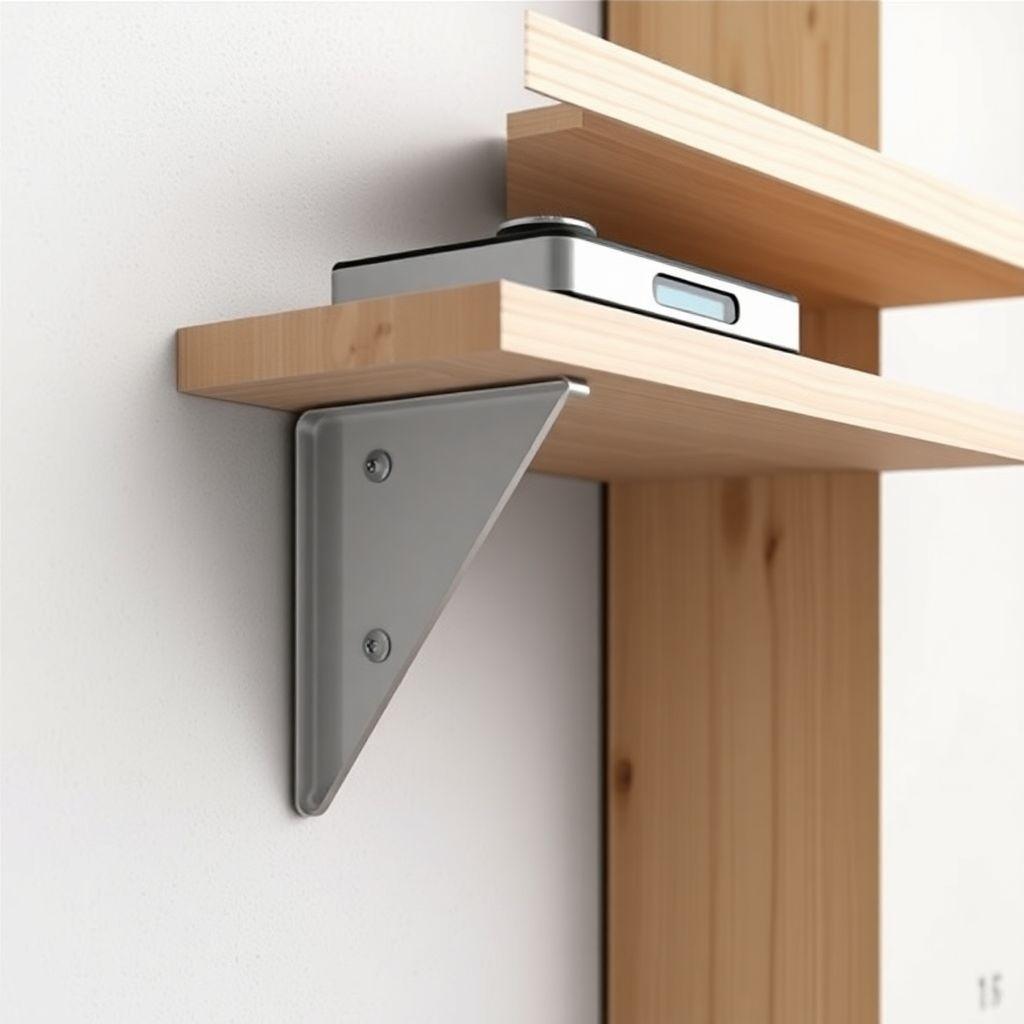
You have three mounting options, from easiest to cleanest.
L-brackets (easiest, start here). Two small L-brackets screw to the underside of the shelf and then to the walls. They are visible under the shelf but they are cheap, strong, and impossible to get wrong. This is the right choice for your first corner wall shelf. Screw the flat leg of each bracket to the bottom of the shelf near each wall edge, then hold the shelf in place and drive the wall screws.
Keyhole brackets (hidden, floating look). A keyhole bracket routes into the back of the shelf so the shelf hangs on screw heads set in the wall, with nothing visible underneath. This gives you a floating corner shelf with no bracket showing. It takes more precision because the screw spacing has to match the keyhole slots exactly, so measure twice.
French cleat (strongest, also hidden). A French cleat is a strip of wood ripped at 45 degrees, split into two halves. One half screws to the walls, the other to the back of the shelf, and they interlock. It hides completely, holds a lot of weight, and lets you lift the shelf off to rearrange. It is the most work but the best long-term mount for a heavy shelf.
Find the studs. Whatever you choose, screw into a wall stud wherever you can. Run a stud finder along both walls and mark the studs. If no stud lands where you need it, use drywall anchors rated for the weight you plan to hold. A corner has two walls, so you usually catch at least one stud, and that plus an anchor on the other wall is plenty for a light shelf.
Step 5: Install the Shelf
Decide your height and mark it. Around 48 to 60 inches off the floor works for a display shelf you want at eye level. Lower it for something you reach into often.
Hold the shelf in the corner at your marked height and rest a level on top. Adjust until the bubble is centered, then mark your screw locations through the brackets onto both walls. Set the shelf down, drill pilot holes at your marks, then hold the shelf back up and drive the screws. Pilot holes keep the wall from cracking and make the screws go in straight.
Once mounted, put the level back on top and confirm it is still flat. Push down on the front edge to test that it holds. If it flexes or pulls, you missed the studs. Back the screws out, add anchors, and remount. Load it slowly the first time and keep heavy items near the corner where the shelf is strongest, not out on the front point.
Building a Stacked Corner Shelf Tower
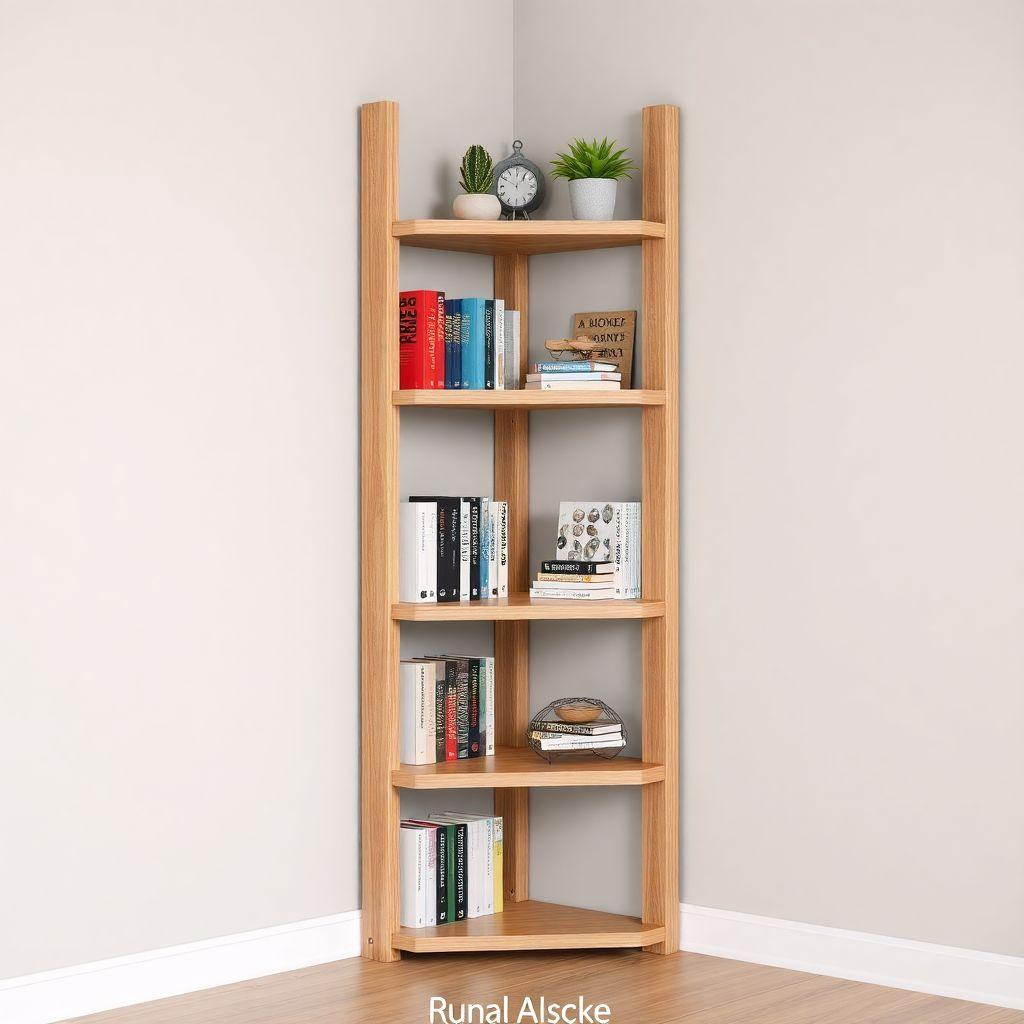
Once you have built one, a stacked tower is just the same shelf repeated up the corner. Three shelves spaced 12 to 16 inches apart turn an empty corner into a display column that draws the eye upward and holds a surprising amount without taking any floor space.
Cut three identical triangle blanks using the Step 2 method. Finish them all at once so the color matches. Then plan your spacing before you drill anything. Twelve inches between shelves suits small items and paperbacks. Sixteen inches gives room for taller books, framed photos, or a trailing plant.
Mount from the bottom up. Install the lowest shelf first using Step 5, then measure up from it for the next, using your level every time so the stack stays parallel. A common trick is to cut a spacer block to your gap height and rest it on the shelf below to position the next one, which keeps the spacing perfectly even without re-measuring.
For a tower, vary the shelf sizes if you want a tapered look. A 16-inch shelf on the bottom, a 13-inch in the middle, and a 10-inch on top reads like a built-in and keeps the heaviest storage low where it belongs. Keep them all the same size for a cleaner, more modern grid. Either way, screw into studs on at least one wall per shelf, because a tower holds more weight than a single shelf.
Looking for more shelf ideas?
This guide is part of our complete bookshelf and shelving plans series — 7 shelf types compared by skill, cost, and build time. Find the right build for your space before you buy a board.
Want 16,000+ woodworking plans?
Ted’s Woodworking has step-by-step plans for every skill level — furniture, shelves, outdoor projects, and more. Browse Ted’s plans.
FAQ
How much weight can a corner shelf hold?
A 3/4-inch plywood or pine triangle shelf mounted into at least one stud with L-brackets easily holds 15 to 25 pounds, which covers a row of books or a mid-size plant. Keep weight near the corner, not out on the front point, and the shelf will outlast the wall.
Do I really need to cut a 45-degree miter?
Only on the two back ends that meet in the corner, so they close up tight. The wall edges themselves are straight. If your corner is dead square you can sometimes skip the miter and just butt the two edges into the walls, but the miter gives a cleaner joint at the point.
Can I make a floating corner shelf with no visible brackets?
Yes. Use keyhole brackets or a French cleat instead of L-brackets. Both hide behind or inside the shelf so nothing shows underneath, giving you a true floating corner shelf. They take more precise measuring, so build one with L-brackets first to learn the shape.
What if my corner is not exactly 90 degrees?
Most corners are close enough that a standard cut works and any tiny gap hides behind the shelf. If the gap is noticeable, trim a little off one wall edge until the shelf drops in, or run a bead of paintable caulk along the back edge after mounting. You almost never need to calculate a compound angle for a home corner.
Plywood or solid pine for a beginner?
Pine is more forgiving because the cut edge is finished wood you can sand and stain directly. Plywood is cheaper and flatter but the raw edge shows layered plies you have to fill or edge-band. For a first corner shelf diy build, a 1×12 pine board is the easier path to a clean result.
How high should I hang it?
For a display shelf, 48 to 60 inches off the floor puts it near eye level. Lower it if you reach into it often, like beside a bed or desk. In a stacked tower, start the bottom shelf around 36 inches and work up from there.

“DIY woodworking enthusiast who started with zero experience and a YouTube tutorial.
I build simple, practical projects for my home and share free plans
so other beginners can skip the guesswork.If I can build it, you can too.”