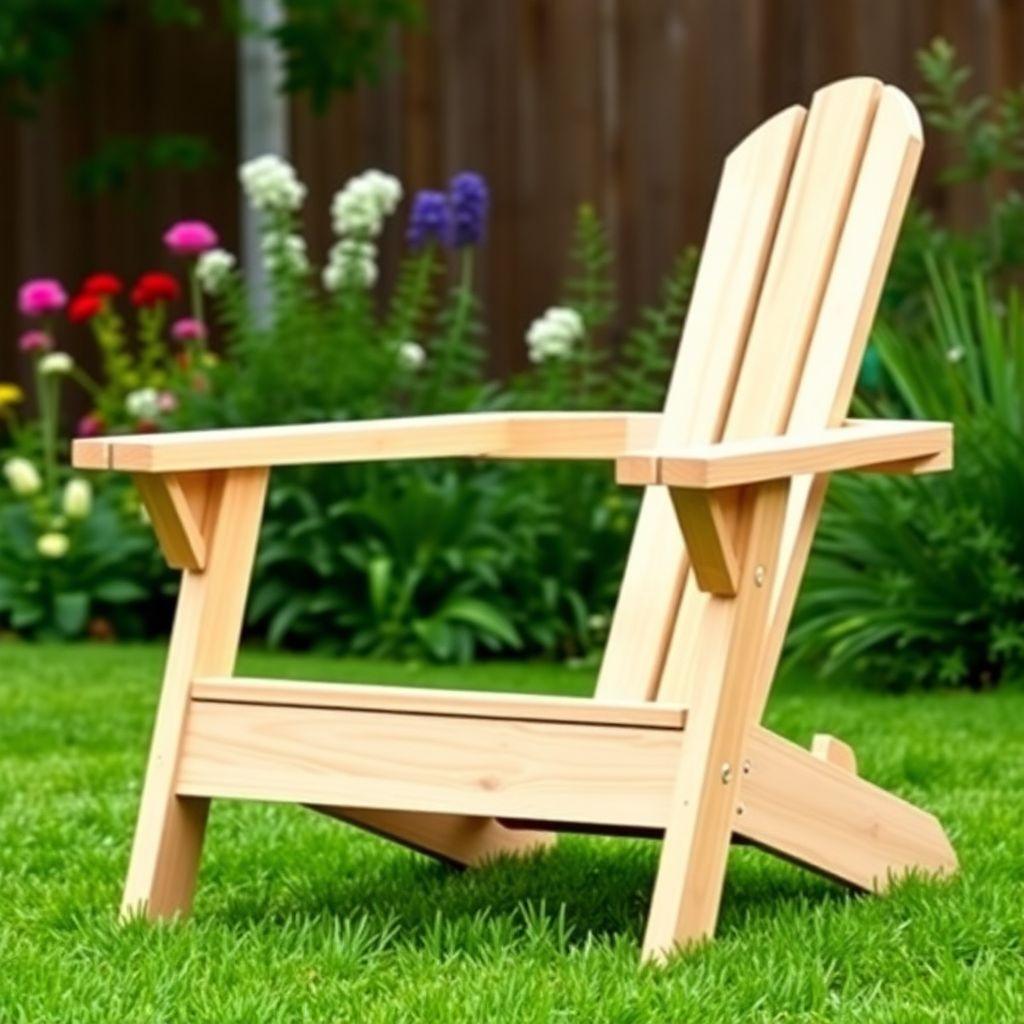
An Adirondack chair is one of the best first outdoor furniture projects you can take on. The wide slat back, the deep recline, and the flat armrests wide enough to hold a drink are all built from straight cuts and screws. There are no complicated joints, no glue-ups that have to cure overnight, and no lathe work. If you can cut a board to length and drive a screw, you can build this chair.
This guide gives you a complete set of DIY Adirondack chair plans: a full cut list, the tools you need, and six build steps from the back legs to the final finish. Using cedar, one chair costs about $80 in lumber and takes a confident weekend, roughly 6 to 8 hours spread over two days if you let a finish coat dry. This guide is part of our chair and stool plans series, so if you want to compare this build against other seating projects, start there.
The details that separate a chair that lasts ten years from one that rots in two are all in the small choices: the wood, the gap between slats, the screws, and the finish. We cover each one as it comes up.
Wood Selection for an Outdoor Chair
Looking for more chair ideas?
This guide is part of our complete chair and stool plans series — compare all options by skill level, cost, and build time.
Want 16,000+ woodworking plans?
Ted’s Woodworking has step-by-step plans for every skill level. Browse Ted’s plans.
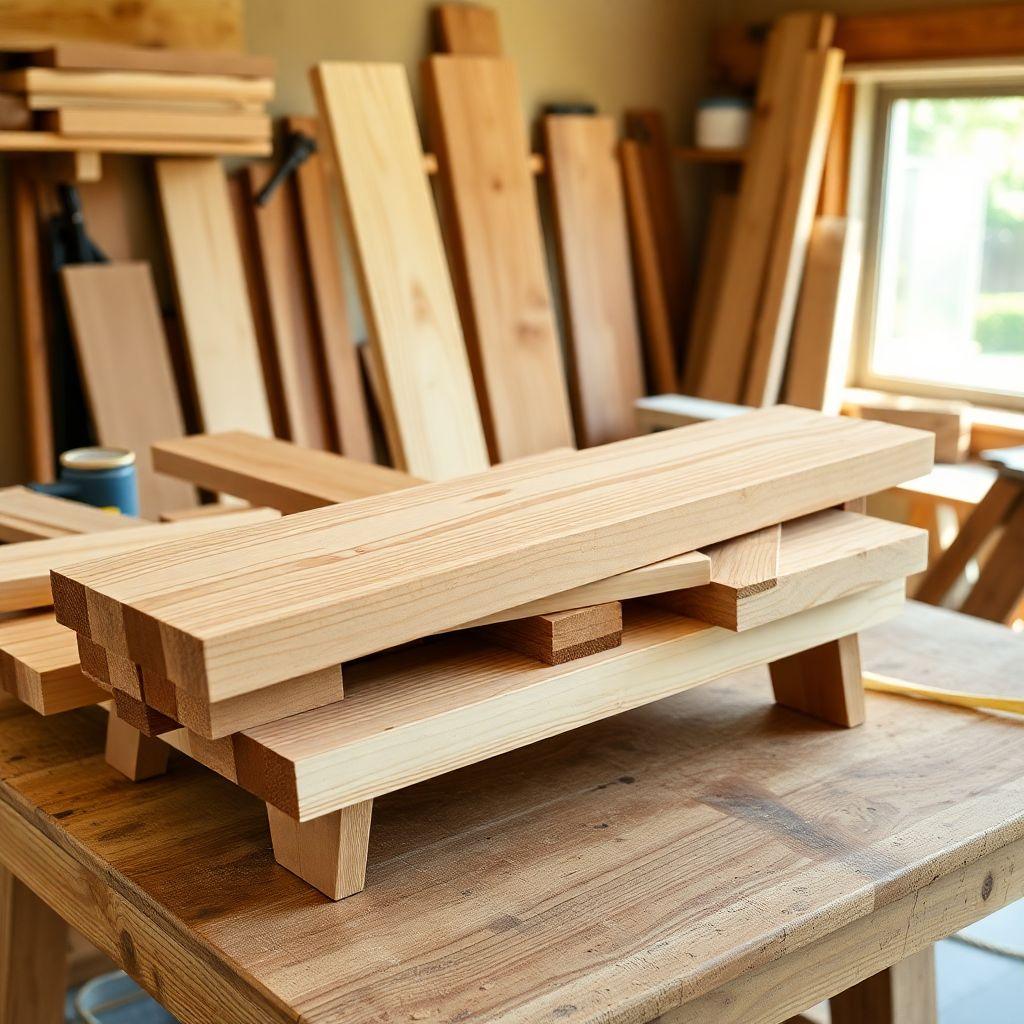
This chair lives outside, so the wood has to handle rain, sun, and ground moisture. Not every board at the home center is suited for it.
Cedar is the best choice for most builders. It is naturally rot-resistant, so it survives outdoors without chemical treatment. It is lightweight, which matters on a chair you will move around the yard, and it takes a finish well. Expect to spend around $80 on cedar for a single chair. If you only build with one wood, build with this one.
Pine is the cheapest option and fine for a first build, but it has no natural rot resistance. If you go with pine, you must seal every surface well, including the end grain and the underside, and plan to recoat it more often. Untreated pine left exposed will not last a season.
Teak is beautiful and nearly indestructible outdoors, but it is expensive and heavy. For a backyard chair it is overkill, and the cost can run several times what cedar does.
Composite lumber requires no woodworking to speak of and never rots, but it is not really a woodworking project at that point, and it is heavy and flexes under load in a chair frame. Skip it for this build.
One wood to avoid: pressure-treated lumber. It resists rot well, which is why people reach for it, but the chemicals used to treat it are not something you want in constant skin contact on a seat and armrests. Use pressure-treated for a deck frame, not for a chair.
Materials and Cut List
This is the cut list for a standard Adirondack chair in 3/4-inch-thick cedar. Buy your boards, then cut to these dimensions. Cutting the back slats to their fan shape happens after assembly, so leave those long for now.
| Qty | Part | Dimensions | Length |
|---|---|---|---|
| 2 | Back legs | 3/4″ x 5-1/2″ cedar | 35-1/2″ |
| 2 | Front legs | 3/4″ x 3-1/2″ cedar | 21″ |
| 2 | Armrests | 3/4″ x 5-1/2″ cedar | 28″ |
| 2 | Armrest braces | 3/4″ x 3-1/2″ cedar | 10″ |
| 2 | Seat supports (side rails) | 3/4″ x 3-1/2″ cedar | 20″ |
| 5 | Seat slats | 3/4″ x 3-1/2″ cedar | 21″ |
| 7 | Back slats | 3/4″ x 3-1/2″ cedar | 36″ (trim to fan after assembly) |
| 1 | Back cross brace | 3/4″ x 3-1/2″ cedar | 19-1/2″ |
Fasteners: Use stainless steel or hot-dipped galvanized screws only, in 1-5/8″ and 2-1/2″ lengths. This is not optional outdoors. Zinc-plated interior screws will rust in one or two seasons, weaken the joints, and bleed black streaks down your cedar. Stainless costs a few dollars more per box and is worth every cent.
Tools Required
You do not need a full shop for this build. The essentials:
- Miter saw or circular saw (for the angled cuts)
- Drill/driver
- Countersink bit (so screw heads sit flush)
- Tape measure and a speed square
- Clamps (two or three)
- A 1/4″ spacer for setting slat gaps; a spare washer works
- Sandpaper (120 and 220 grit) or a random orbit sander
- A pencil and a scrap of cardboard for a curve template
Step 1: Cut the Back Legs and Set the Recline Angle
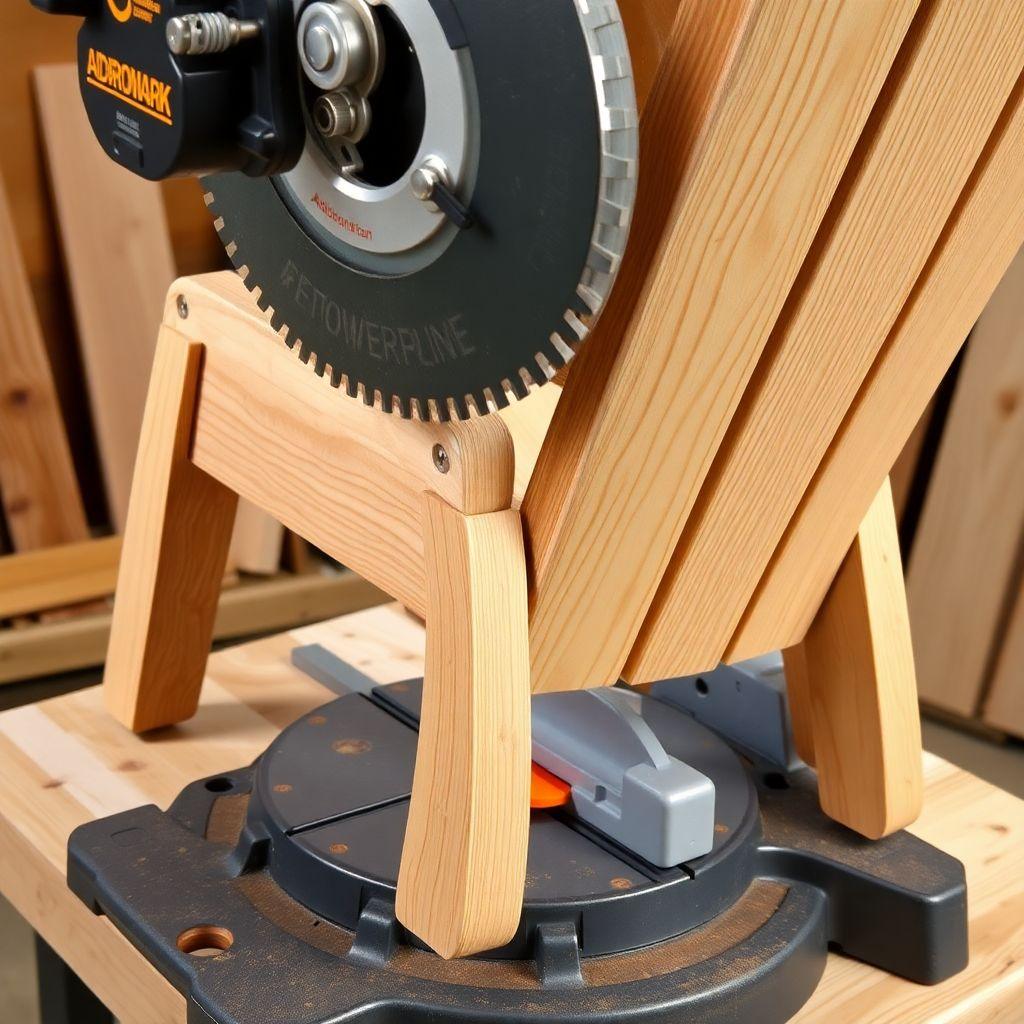
The back legs are the backbone of the chair. They run from the ground up under the seat and set two things at once: how far the seat sits off the ground and how far the back reclines.
Cut both back legs to 35-1/2″ from your 5-1/2″-wide stock. The front end of each leg sits on the ground and the seat rides on top toward the back. The recline you are aiming for is a back angle of 105 to 110 degrees measured from the seat. That is the classic Adirondack lean, relaxed but not so far back you feel trapped.
Here is the detail most first-time builders miss: the back angle and the front leg height are linked. If you increase the recline without shortening or adjusting the front legs, the whole seat tips forward or back and the chair sits wrong. Do not freehand a “more relaxed” angle partway through and expect it to work. Cut to the plan, and if you want to experiment, change both dimensions together and test with a mock-up first.
Mark the seat angle on each back leg with your speed square, then cut. Sand the cut edges before moving on.
Step 2: Cut the Front Legs and Seat Support
Cut the two front legs to 21″ from the 3-1/2″-wide stock. These stand vertically at the front of the chair and, later, carry the front of each armrest.
Cut the two seat supports (side rails) to 20″. These attach to the inside of the back legs and run forward to meet the front legs, forming the frame the seat slats rest on. Attach each seat support to the inside face of a back leg using 2-1/2″ screws, countersunk. Then attach the front legs to the front end of the seat supports so the assembly stands on its own as two side frames.
Check that both side frames are mirror images of each other, not two of the same side. It is an easy mistake and a frustrating one to undo after the screws are in.
Step 3: Build the Seat
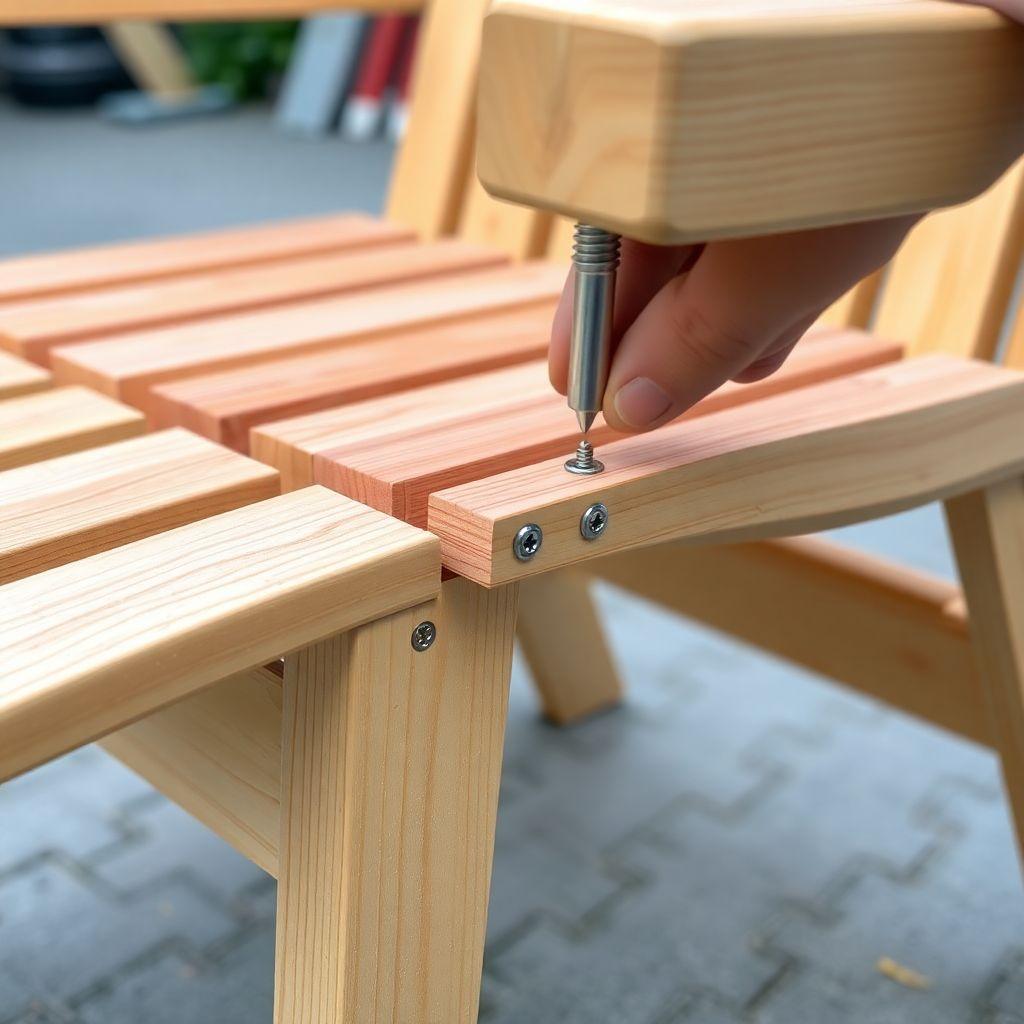
Now connect the two side frames with the seat slats. Cut five seat slats to 21″. The first slat goes at the front edge of the seat, and the rest run back toward the base of the back.
Space the slats with a 1/4″ gap between each one. This is not cosmetic. The gap lets rainwater drain straight through instead of pooling on the seat, and standing water is what rots outdoor furniture from the top down. Use a 1/4″ spacer to keep the gaps even; a spare washer of the right thickness works perfectly. Set the spacer, butt the next slat against it, drive your 1-5/8″ screws, then move the spacer along.
Screw each slat down into the seat supports with two screws per side, countersunk so the heads sit flush and nobody catches a shirt on them. Work front to back and keep the front slat flush with the front edge of the frame.
Step 4: Build the Back
The back is seven slats fanned out at the top, which is the shape everyone pictures when they think of this chair.
Cut seven back slats to 36″ and cut the back cross brace to 19-1/2″. Lay the seven slats side by side, gap them evenly, and screw them to the cross brace near the bottom, where the brace will sit hidden behind the seat. Attach a second brace or the top of the back legs to hold the upper span, keeping the slats parallel at this stage.
Once the slats are fixed at top and bottom, mark the fan curve across the top ends. The classic shape spreads the outer slats wider than the center and rounds the top edge. Draw the curve with a cardboard template so it is symmetrical, then cut all seven top ends to the line with a jigsaw. Cutting the fan after assembly is what keeps the curve smooth and even; trying to pre-cut each slat almost never lines up.
Mount the finished back between the back legs at the 105 to 110 degree angle you set in Step 1.
Step 5: Add Armrests and Braces
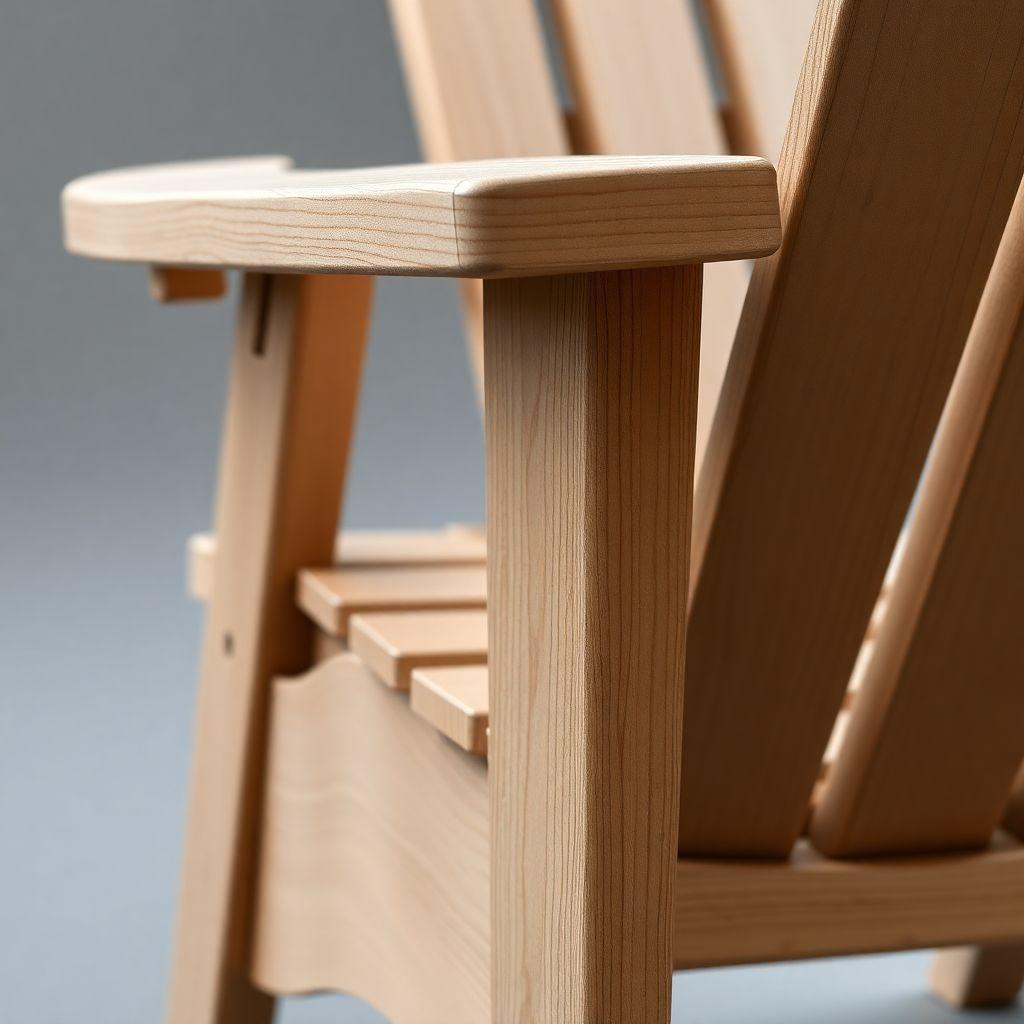
Cut the two armrests to 28″ from the 5-1/2″-wide stock and round the front corners so nobody bangs a wrist on a square edge. Each armrest sits on top of a front leg at the front and attaches to the chair back at the rear.
This is where the single most-skipped part comes in: the armrest brace. Cut two braces to 10″. Each brace mounts to the front leg and angles up to support the underside of the armrest. The front leg alone does not carry an armrest under real load. When someone leans on the arm to stand up, or sits on it, the armrest levers against the single front leg connection and cracks. The angled brace spreads that load and is the difference between an armrest that survives years of use and one that snaps in the first summer. Do not leave it out to save two cuts.
Attach each armrest to its front leg and to the back, then add the brace beneath, screwing it into both the front leg and the armrest. Countersink everything.
Step 6: Finish for Outdoor Use
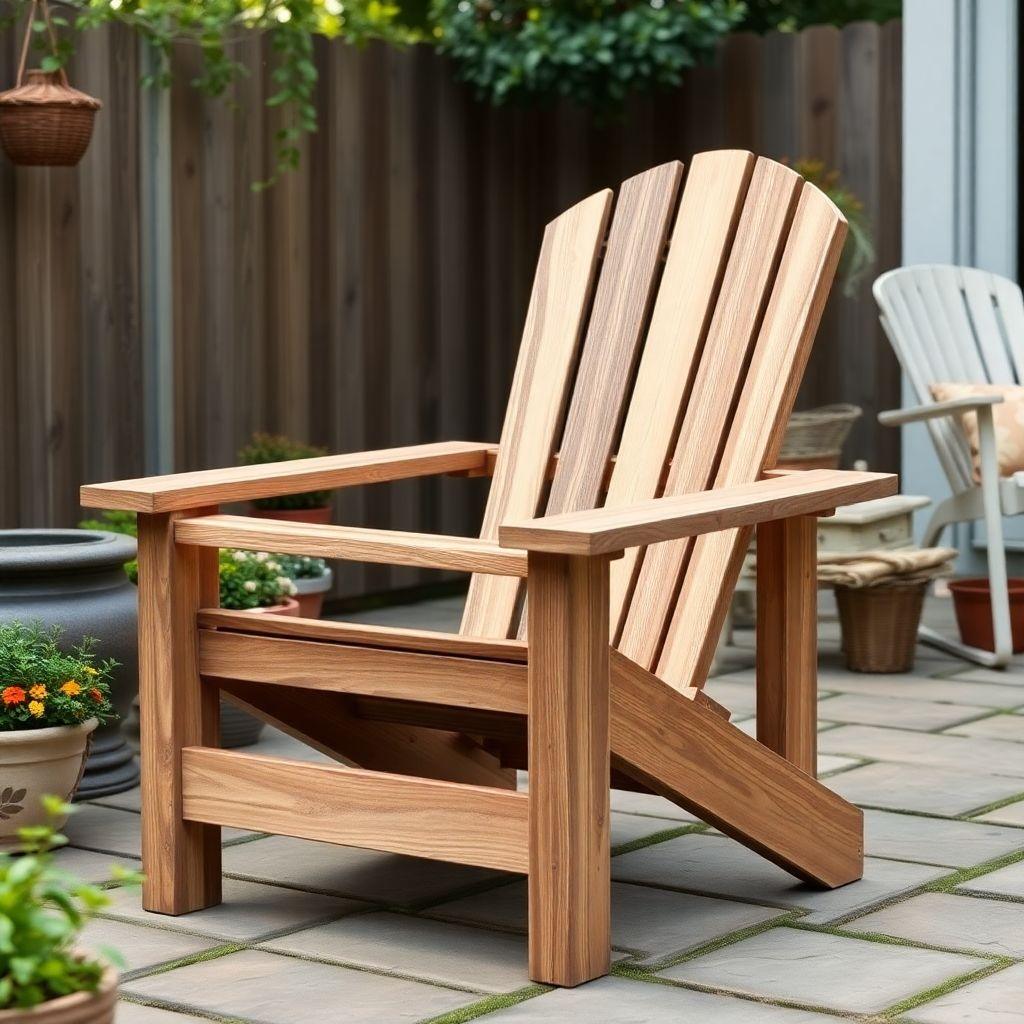
The finish is what keeps all that careful work from graying and cracking. For an outdoor chair, the type of finish matters more than the brand.
Use an exterior penetrating oil. Products like Cetol, Cabot, and Penofin soak into the wood rather than sitting on top of it. Because they penetrate, they do not peel, and when they eventually wear thin you just clean the surface and brush on another coat, no sanding or stripping required. That recoatability is what makes an oil finish practical for furniture that lives in the weather.
Film finishes, meaning paint and spar varnish, look sharp on day one and give you color options an oil cannot. The trouble is that a film sits on the surface, and outdoors it eventually cracks and peels as the wood moves with the seasons. Once it peels you are into scraping and sanding before you can recoat. If you love the painted look, go in knowing the maintenance is heavier.
Whatever you choose, coat every surface, including the underside and the end grain, since that is where water gets in. Let the first coat dry fully, then apply a second. Give it a day before you sit in it.
Looking for more chair and stool ideas?
This guide is part of our complete chair and stool plans series — 6 types compared by skill, cost, and build time.
Want 16,000+ woodworking plans?
Ted’s Woodworking has step-by-step plans for every skill level. Browse Ted’s plans.
FAQ
How much does it cost to build an Adirondack chair yourself?
In cedar, expect about $80 in lumber plus a box of stainless or hot-dipped galvanized screws and a can of exterior oil finish. Pine brings the lumber cost down but adds sealing work and shortens the chair’s life. Teak runs several times the cedar price.
What is the best wood for an outdoor Adirondack chair?
Cedar, for most builders. It resists rot naturally, stays light enough to move around the yard, and takes a finish well. Avoid pressure-treated lumber for a chair because of constant skin contact with the treatment chemicals.
What angle should the back of an Adirondack chair be?
Aim for 105 to 110 degrees measured from the seat. Remember the back angle and the front leg height are linked, so if you change the recline you have to adjust the front legs to match or the chair will sit wrong.
Why do you leave gaps between the seat slats?
The 1/4″ gap lets rainwater drain through instead of pooling on the seat. Standing water is the main cause of rot in outdoor furniture. A spare 1/4″ washer makes an easy, consistent spacer.
What screws should I use outdoors?
Stainless steel or hot-dipped galvanized only. Standard zinc-plated screws rust within one or two seasons, weaken the joints, and leave black streaks bleeding down the wood.
How long does it take to build?
A confident weekend, roughly 6 to 8 hours of work. Most of that second day is waiting on finish coats to dry rather than active building.
Related Articles

“DIY woodworking enthusiast who started with zero experience and a YouTube tutorial.
I build simple, practical projects for my home and share free plans
so other beginners can skip the guesswork.If I can build it, you can too.”