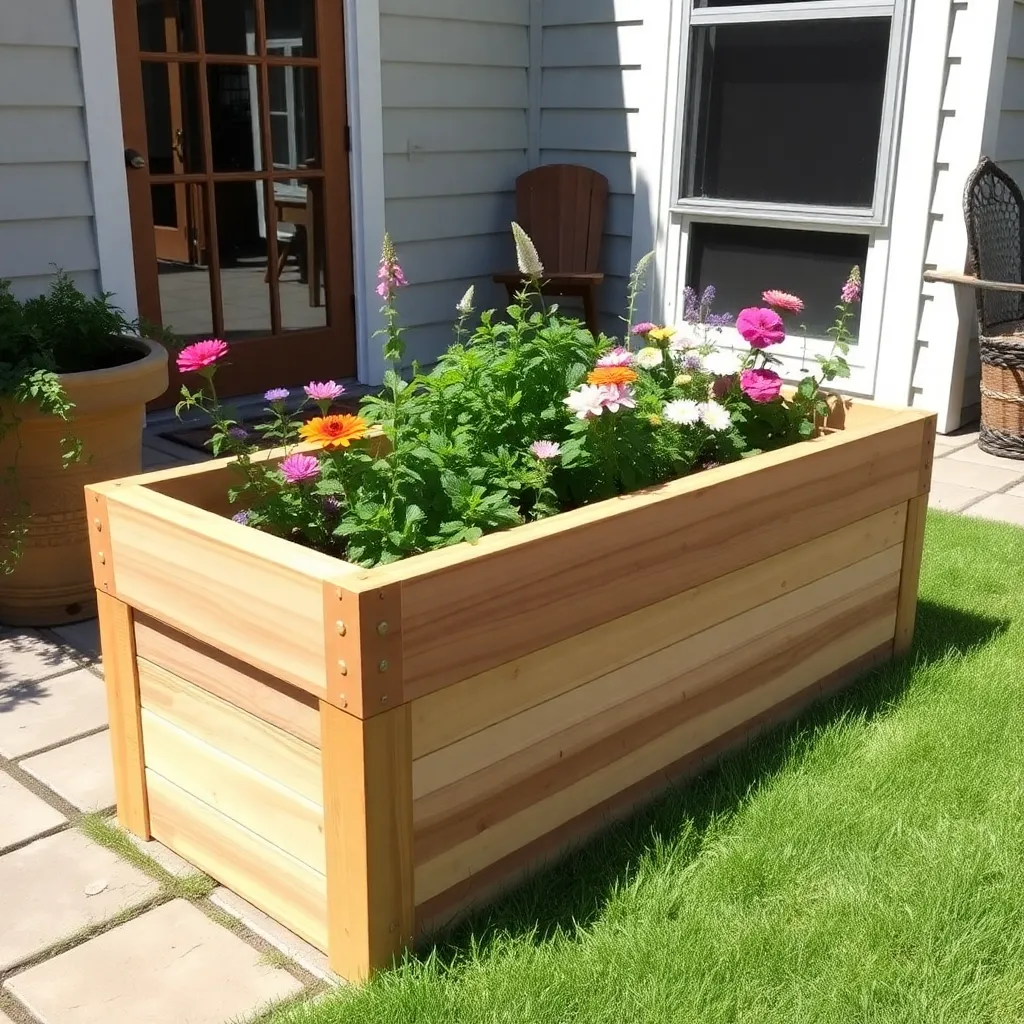
A retail cedar planter box runs $150 to $300. You can build a better one for $30 to $80 in an afternoon. These cedar planter box plans give you three complete builds with exact cut lists and step-by-step instructions: a 24x12x12 for balconies and herbs, a 36x12x12 for decks and entryways, and a 48x12x14 garden centerpiece.
Cedar is the right wood for this. It resists rot and insects naturally, lasting 10 to 15 years unfinished and 15 to 20 years or more with heartwood boards, good drainage, and a yearly coat of oil.
You do not need fancy joinery. Every joint here is a simple butt joint: drill, countersink, drive a stainless screw, done. If you can cut a straight line and run a drill, you can build all three.
Want more outdoor builds? See the hub at /planter-box-plans/ for additional designs and sizes.
Step 1: Choose Your Cedar and Planter Size
Want 16,000+ step-by-step woodworking plans?
Ted’s Woodworking has plans for every skill level — from simple shelves to full bedroom sets. Each plan includes a cut list, material list, and detailed diagrams. Browse Ted’s plans →
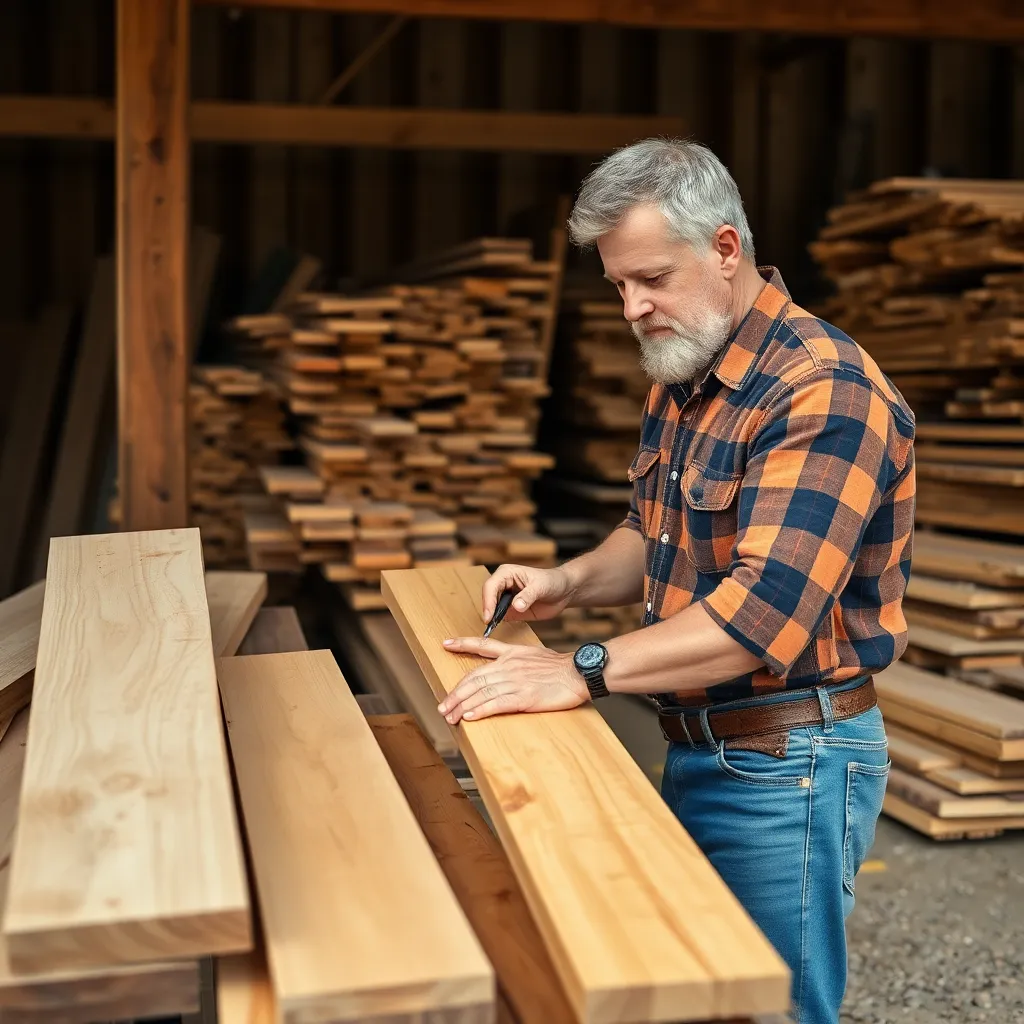
Get the right boards and lock in your size before you spend a dollar. The wrong cedar rots in a few seasons no matter how well you build.
Cedar has two parts, and only one lasts. Heartwood is the dark, reddish-pink wood from the center of the tree, and it holds the natural oils that resist rot. Sapwood is the pale, cream-colored wood near the bark, and it rots almost as fast as pine. Sort the pile at the lumber yard and pull boards with the most heartwood you can find.
You need two board sizes. Use 1×6 boards for the sides, ends, and bottom slats. Use 2×2 stock for the corner posts and any legs.
Now pick your size:
- 24x12x12: Perfect for a balcony, patio, or herb garden. Costs about $15 to $25 in cedar.
- 36x12x12: Fits a deck rail line or entryway. Costs about $25 to $40.
- 48x12x14: A garden centerpiece with real presence. Costs about $35 to $55.
One more thing to grab: stainless steel screws. They matter more than you think, and Step 3 explains why. For now, put them in the cart.
You have a size committed and you know which boards to grab. Head to the cut list.
Step 2: Cut List and Board Counts for All Three Sizes
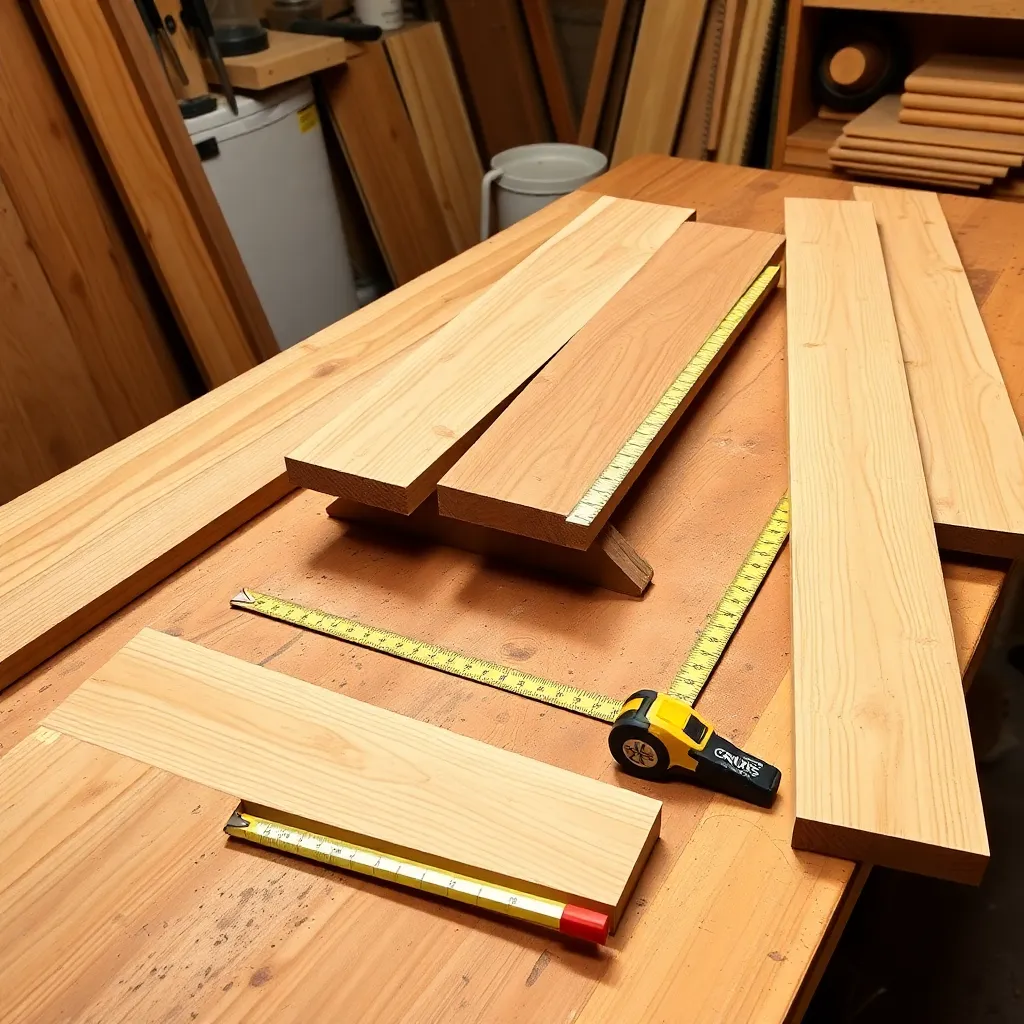
Everything you cut is in one table. Print it or keep it on your phone at the saw so you never guess a length twice.
| Part | 24x12x12 | 36x12x12 | 48x12x14 |
|---|---|---|---|
| Side boards (1×6, long sides) | 4 @ 24″ | 4 @ 36″ | 6 @ 48″ |
| End boards (1×6, short sides) | 4 @ 10.5″ | 4 @ 10.5″ | 6 @ 10.5″ |
| Corner posts (2×2) | 4 @ 12″ | 4 @ 12″ | 4 @ 14″ |
| Center braces (2×2) | none | 2 @ 12″ | 2 @ 14″ |
| Bottom slats (1×6) | 3 @ 22.5″ | 4 @ 34.5″ | 5 @ 46.5″ |
| Top trim (1×2, optional) | 2 @ mitered | 2 @ mitered | 4 @ mitered |
Here is how it fits together. The long side boards and short end boards wrap around four corner posts to form the box. The bottom slats sit inside the frame, cut short so they leave drainage gaps around the edges.
The 36-inch and 48-inch boxes add two center braces each. Longer panels need them, and Step 5 covers why.
One note on lumber math: a nominal 1×6 is only about 5.5 inches wide in reality. Stacking two boards per side gives you a panel about 11 inches tall, which is where the 12 and 14 inch heights come from once you add posts and trim.
With this table in hand, your shopping list and cutting list are the same thing, done in one trip.
Step 3: Tools and Hardware You Need
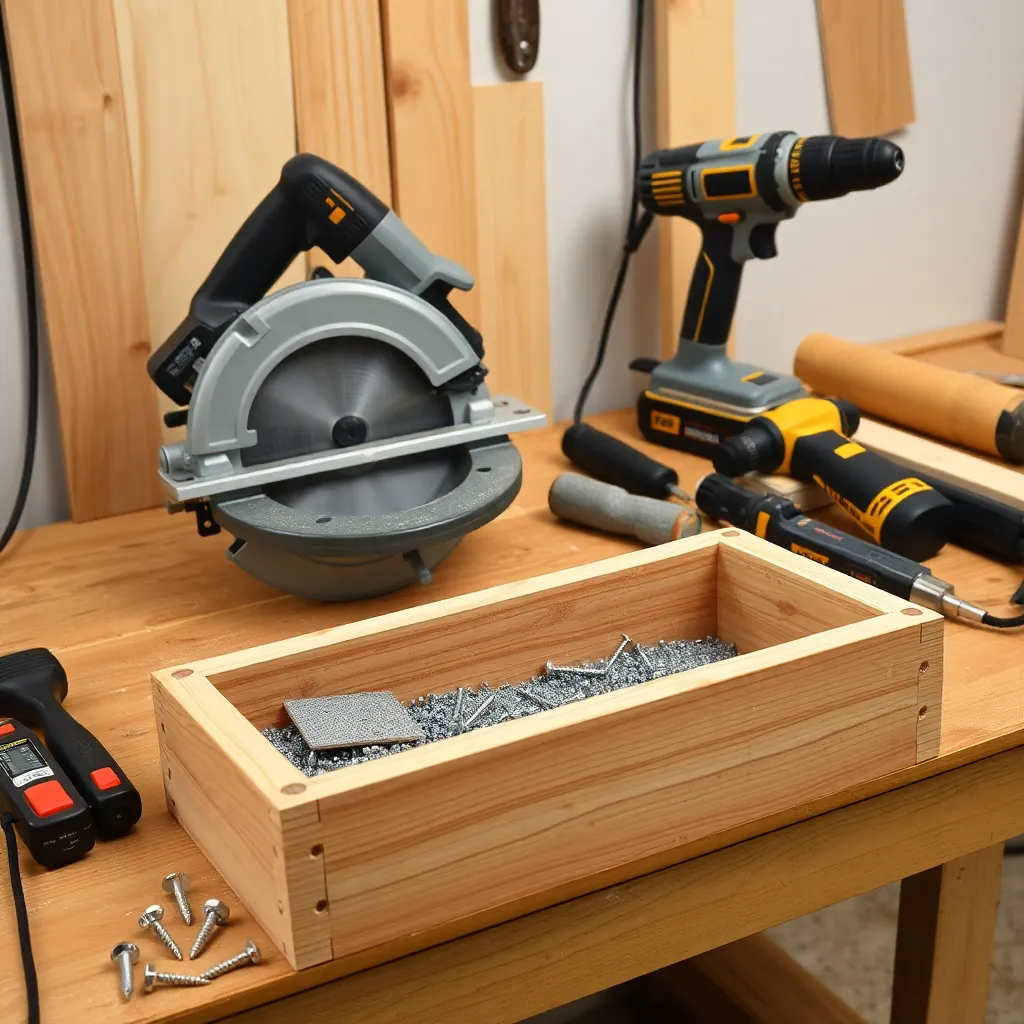
You do not need a full woodshop for this. Every cut is a straight crosscut, so a basic kit handles all three builds.
Here is the tool list:
- Miter saw or circular saw for all the straight cuts.
- Drill/driver with a countersink bit to sink screw heads flush.
- Orbital sander with 80, 120, and 220 grit.
- Tape measure, square, pencil, and clamps.
- Brad nailer (optional) if you add top trim.
Now the part that makes or breaks the finished look: use stainless steel screws only, 1.5 to 2 inches long. Regular steel and coated deck screws react with the tannins in cedar and leave black streaks bleeding out around every screw head. Stainless costs a few dollars more and keeps the wood clean for the life of the box.
Screw counts run about 40 for the 24-inch box, 60 for the 36-inch, and 80 for the 48-inch.
Once your tools and stainless fasteners are staged, you are ready to cut.
Step 4: Cut, Sand, and Build the Side Panels
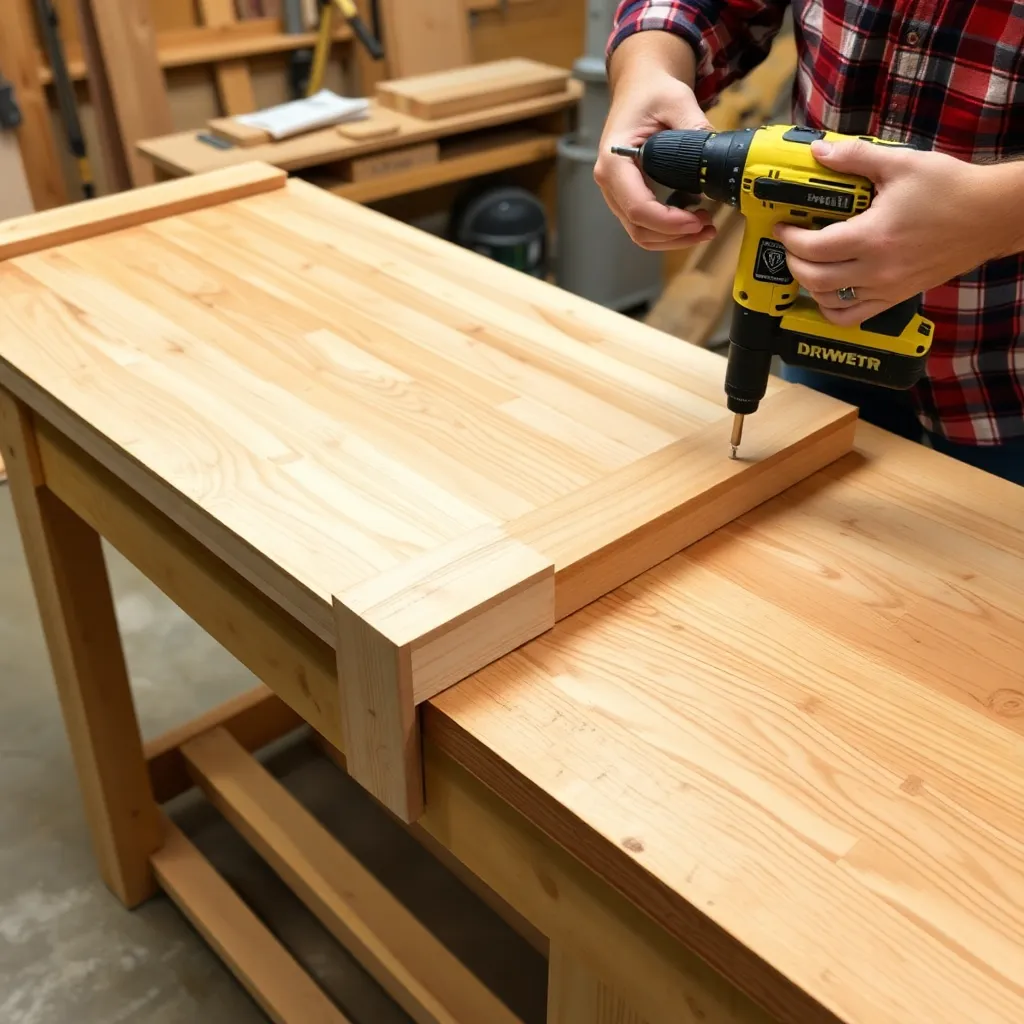
Panels are where the box gets its strength, so build them square and build them clean. Cut every part first from the Step 2 table in one batch, then label each piece so nothing gets mixed up.
Sand before you assemble. Flat, loose boards are far easier to sand than a finished box. Work up through 80, then 120, then 220 grit, and ease all the sharp edges so the wood feels smooth.
Now build each side panel. Lay two 1×6 boards edge to edge to make a panel about 11 inches tall. Set a 2×2 corner post flush against each end, then attach it with countersunk stainless screws and a bead of exterior wood glue. Build two long sides and two short ends the same way.
The center brace is the detail most builders skip and later regret. On the 36-inch and 48-inch boxes, screw a 2×2 vertically at the midpoint of each long side. Wet soil pushes outward with real force, and without that brace the long 1×6 panels bow and pull apart over time.
You now have four sanded side panels, with center braces on the larger sizes, ready to join into a box.
Step 5: Assemble the Box
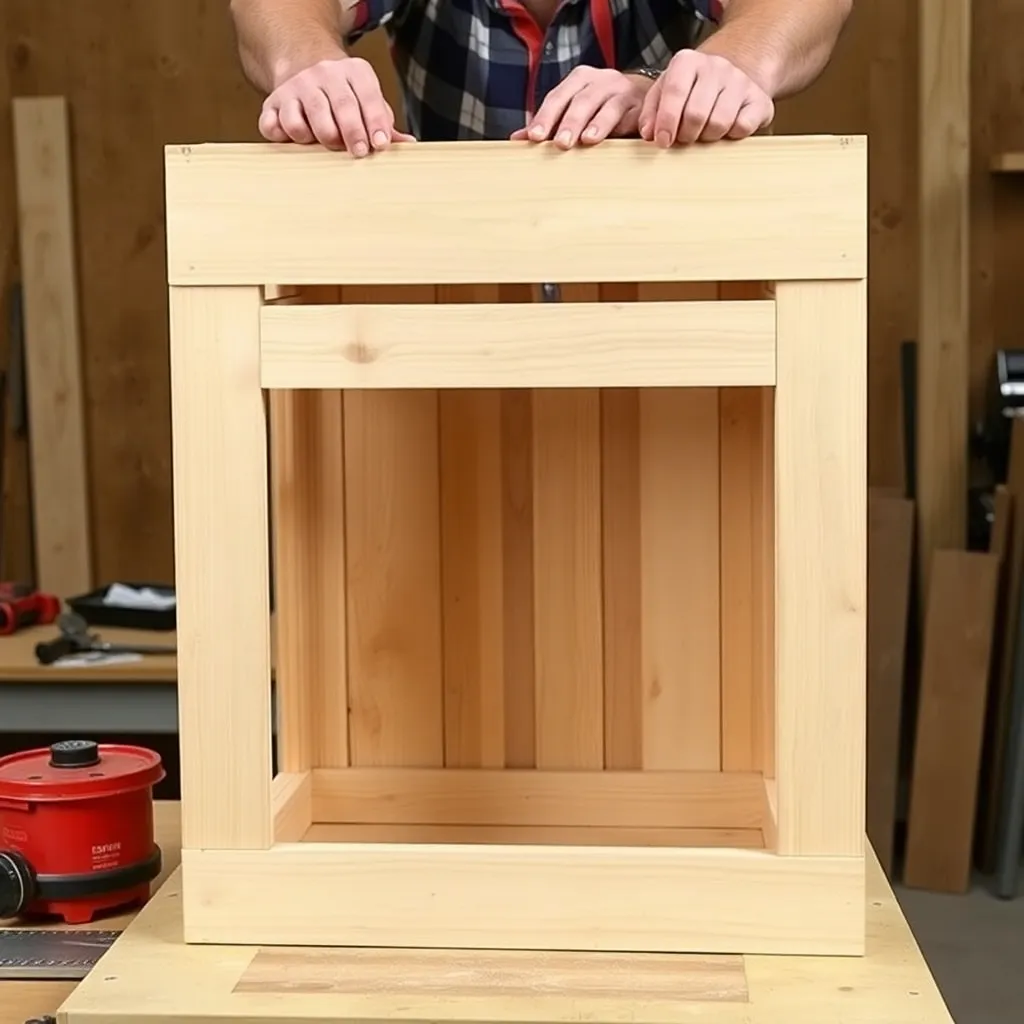
Assembling a planter solo sounds like a wrestling match, but one trick makes it easy. Stand your two long sides and two end panels up to form a rectangle, with the end boards butting against the corner posts of the long sides.
Here is the solo trick: assemble the box upside down. Flip it so the top rim faces down on a flat surface. Gravity holds every edge flush against the table, so you are not fighting clamps or a shifting frame.
Fasten the joints by driving through the end boards into the corner posts, using two to three stainless screws per board. Countersink each one and add glue at the joints.
Before the glue sets, check for square. Measure both diagonals of the box. When the two measurements match, the box is square. If they differ, nudge the frame until they line up.
Give it a gentle rack test with your hands. A little push side to side tells you the joints are tight.
You now have a square, rigid, four-sided box, open at the top and bottom.
Step 6: Add the Bottom Slats and Drainage
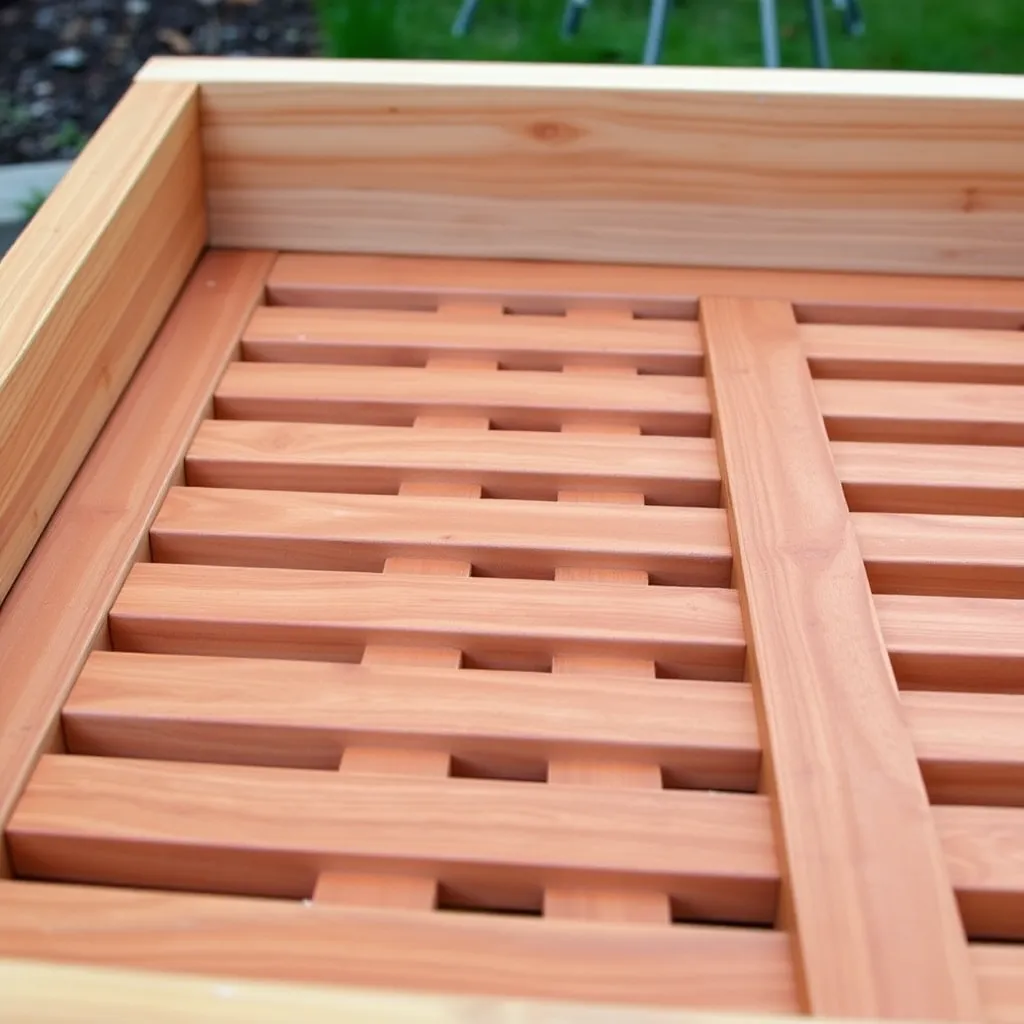
A planter has to hold soil but shed water fast, and the bottom does both jobs. Install the bottom slats (1×6) inside the box, running across the short dimension, and screw them into the frame with stainless screws.
Use the Tom Silva gap trick: leave a 1/8-inch gap between every bottom slat. That small gap does two things. It drains water so roots never sit in a puddle, and it gives the cedar room to expand when wet so boards do not cup or split.
For a fast, even gap, slide a pencil or a couple of stacked paint-stir sticks between slats as a spacer.
You may wonder whether to use slat gaps or drilled holes. For these plans, slat gaps win. They are the simplest option and they drain the best. Drill 1/2-inch holes only if you are using a solid plywood bottom or lining the entire base. For nearly every builder, gaps are the better call.
Your planter now has a self-draining bottom and a structurally complete box.
Step 7: Optional Top Trim and Cap Rail
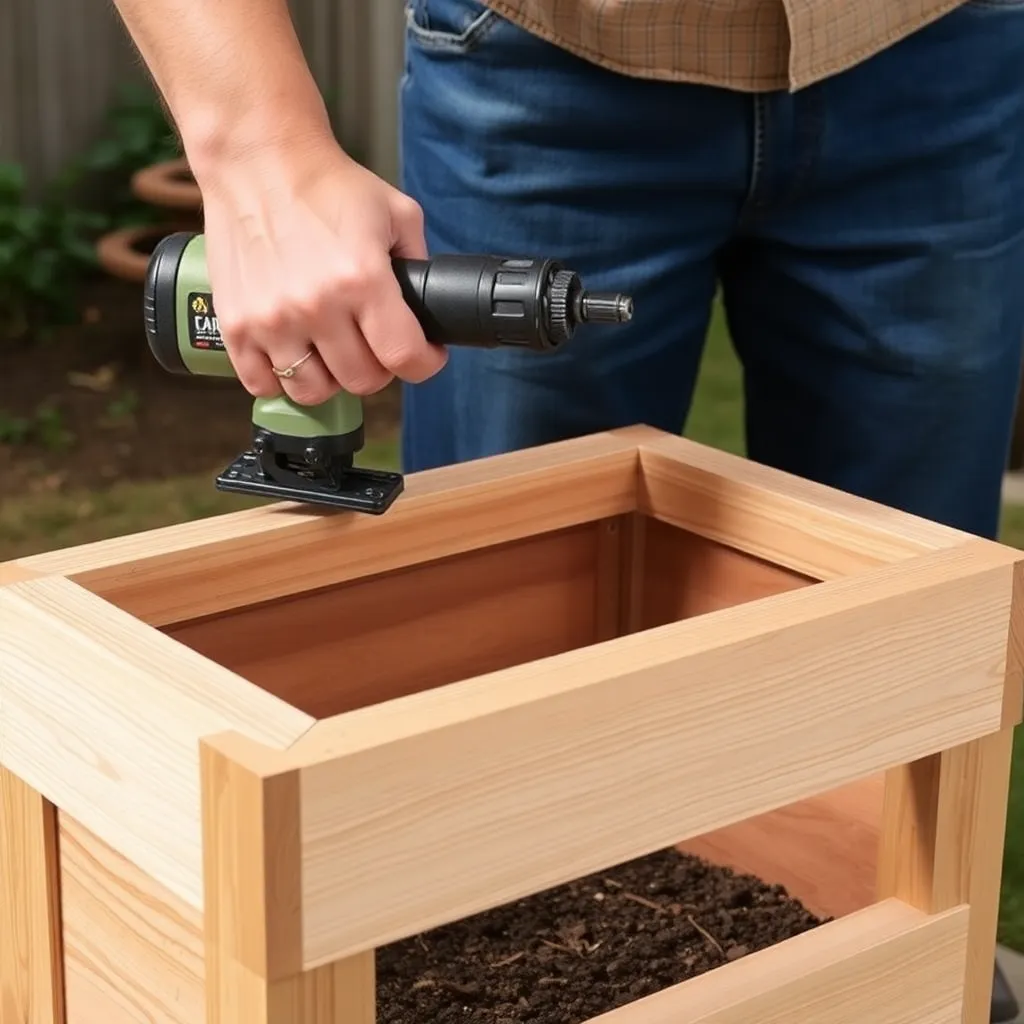
This step is a pure upgrade, and you can skip it and still have a solid planter. But a cap rail and feet are what make the box look like a $200 store piece.
Add a cap rail from 1×2 or ripped cedar along the top edge. Miter the corners for a clean picture-frame look, or butt-joint them for a simpler build. The rail hides the end grain, gives you a comfortable ledge, and dresses up the whole box. Attach it with a brad nailer or short stainless screws plus glue.
Add base trim or feet for the bottom. Run a strip of 1×2 around the base, or add short 2×2 feet by extending the corner posts down. Either lifts the box off wet surfaces, improves airflow underneath, and slows rot at the base.
With a capped rim and feet, your planter now looks like the retail version at a fraction of the price.
Step 8: Apply a Finish and Line the Interior
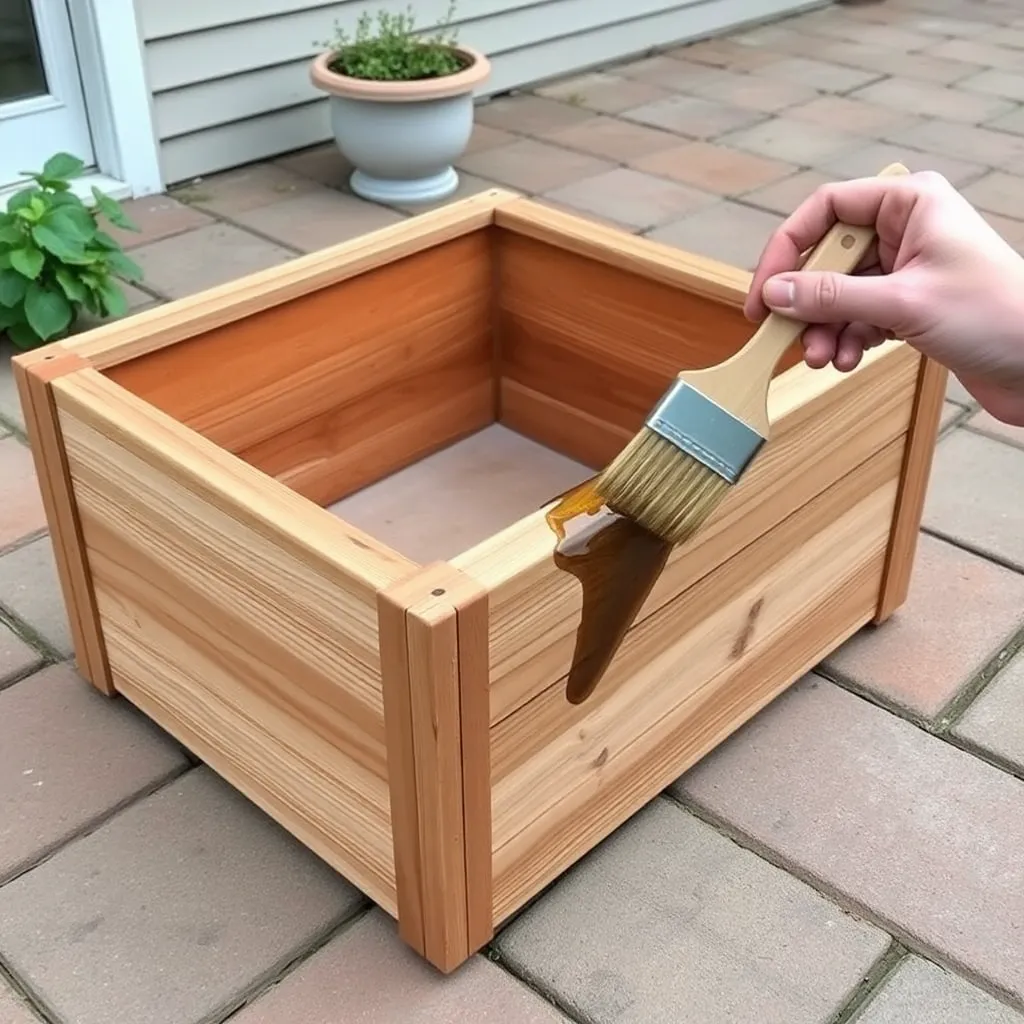
Cedar does not need a finish to survive, so this comes down to the look you want. You have four solid options:
- Leave it natural. Cedar weathers to a silvery gray, needs zero maintenance, stays food-safe, and still lasts 10 to 15 years.
- Penetrating oil. Teak or exterior oil brings out a warm color. Reapply every 6 to 12 months, and refreshing it is easy.
- Exterior stain. Lasts 2 to 3 years and re-coats without stripping. A good middle ground.
- Spar urethane. Lasts 2 to 5 years and is the toughest film, but you have to sand it fully to redo it.
If you are growing vegetables or herbs, keep it food-safe. Use mineral oil, tung oil, or orange oil, or keep any non-food-safe finish on the exterior only. When in doubt, leave the interior unfinished.
Line the interior sides with landscape fabric, but never the bottom. Lining the bottom blocks your drainage gaps and defeats Step 6. The fabric keeps soil off the wood, and you replace it every 2 to 3 years.
That is the full build. With heartwood boards, good drainage, and an annual coat of oil, this planter runs 15 to 20 years or more. For more builds like this one, see the hub at /planter-box-plans/.
Want 16,000+ step-by-step woodworking plans?
Ted’s Woodworking has plans for every skill level — from simple shelves to full bedroom sets. Each plan includes a cut list, material list, and detailed diagrams. Browse Ted’s plans →
Cedar Planter Box FAQ
How long does a cedar planter box last?
A cedar planter box lasts 10 to 15 years unfinished. Build it from heartwood boards, give it good drainage, and oil it once a year, and you can push that to 15 to 20 years or more. Poor drainage is the number one thing that shortens its life.
What size should I build?
Match the size to the spot. The 24x12x12 suits balconies, patios, and herb gardens. The 36x12x12 fits deck rails and entryways. The 48x12x14 works as a garden centerpiece with room for full plantings.
Do I need to seal or finish cedar?
No. Cedar is naturally rot-resistant and does fine left natural, aging to a silvery gray. If you want to keep the warm color or add a tougher surface, see the four finishing options in Step 8.
Is cedar safe for growing vegetables?
Yes. Natural, unfinished cedar is food-safe and a common choice for raised beds and edible planters. If you want to finish it, stick to food-safe products like mineral oil, tung oil, or orange oil.
Why are my screws leaving black stains?
Those stains come from a reaction between cedar’s natural tannins and non-stainless screws. Regular steel and coated deck screws bleed black streaks around each head. Switch to stainless steel screws and the staining stops.
Gaps or drainage holes?
Use gaps for a slat bottom, which is what these plans use, since slat gaps drain best and are simplest to build. Drill 1/2-inch holes only when you are using a solid plywood bottom that has no gaps of its own.

“DIY woodworking enthusiast who started with zero experience and a YouTube tutorial.
I build simple, practical projects for my home and share free plans
so other beginners can skip the guesswork.If I can build it, you can too.”