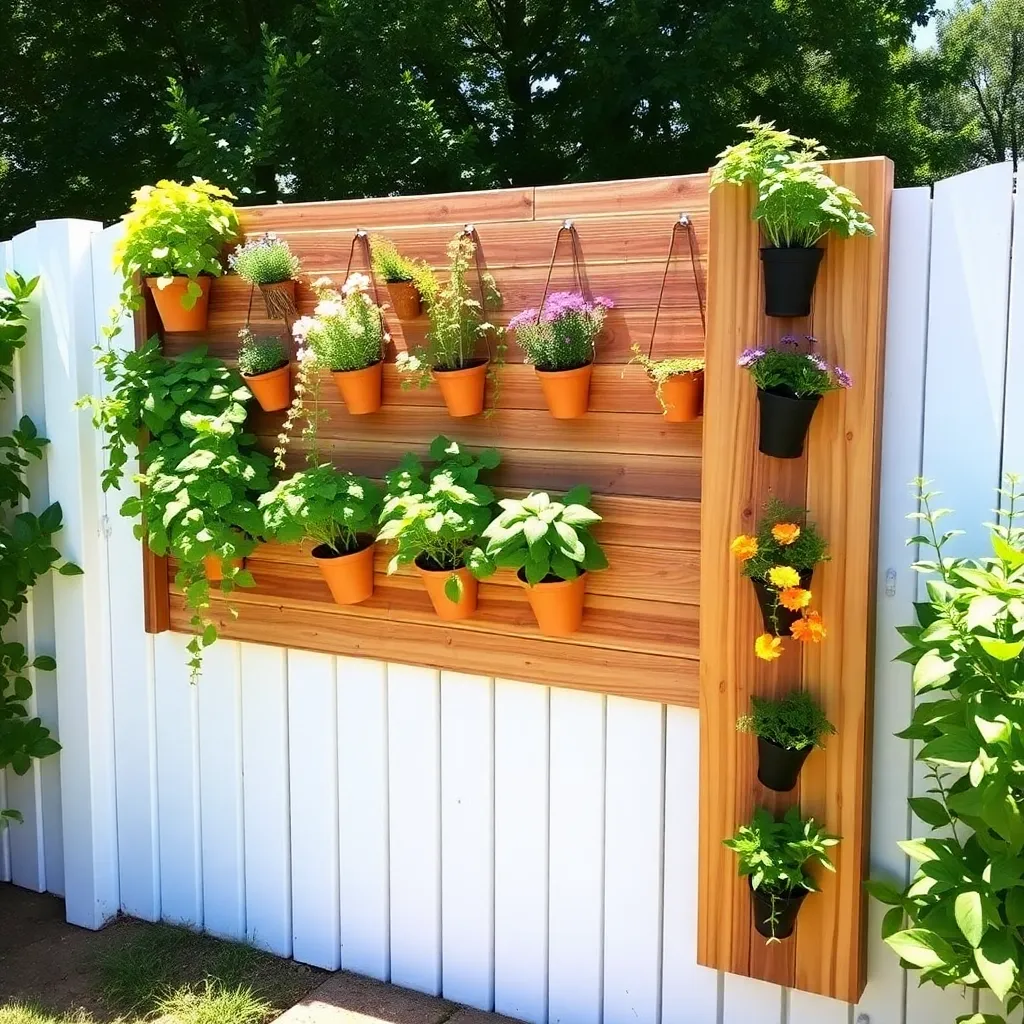
Vertical planters solve a specific problem: you want to grow more plants than your horizontal space allows. A fence, a blank wall, a narrow balcony — any of these becomes a productive garden when you go vertical. The tricky part is building one that doesn’t collapse under the weight of wet soil or rot out after one season.
These vertical planter plans cover two proven designs: a wall-mounted pocket frame that holds individual pots or soil pockets, and a freestanding tower planter with stacked planting boxes. Both use cedar for weather resistance, and both are designed so you can actually access every plant without a ladder.
Step 1: Choose Your Design
Want 16,000+ step-by-step woodworking plans?
Ted’s Woodworking has plans for every skill level — from simple shelves to full bedroom sets. Each plan includes a cut list, material list, and detailed diagrams. Browse Ted’s plans →
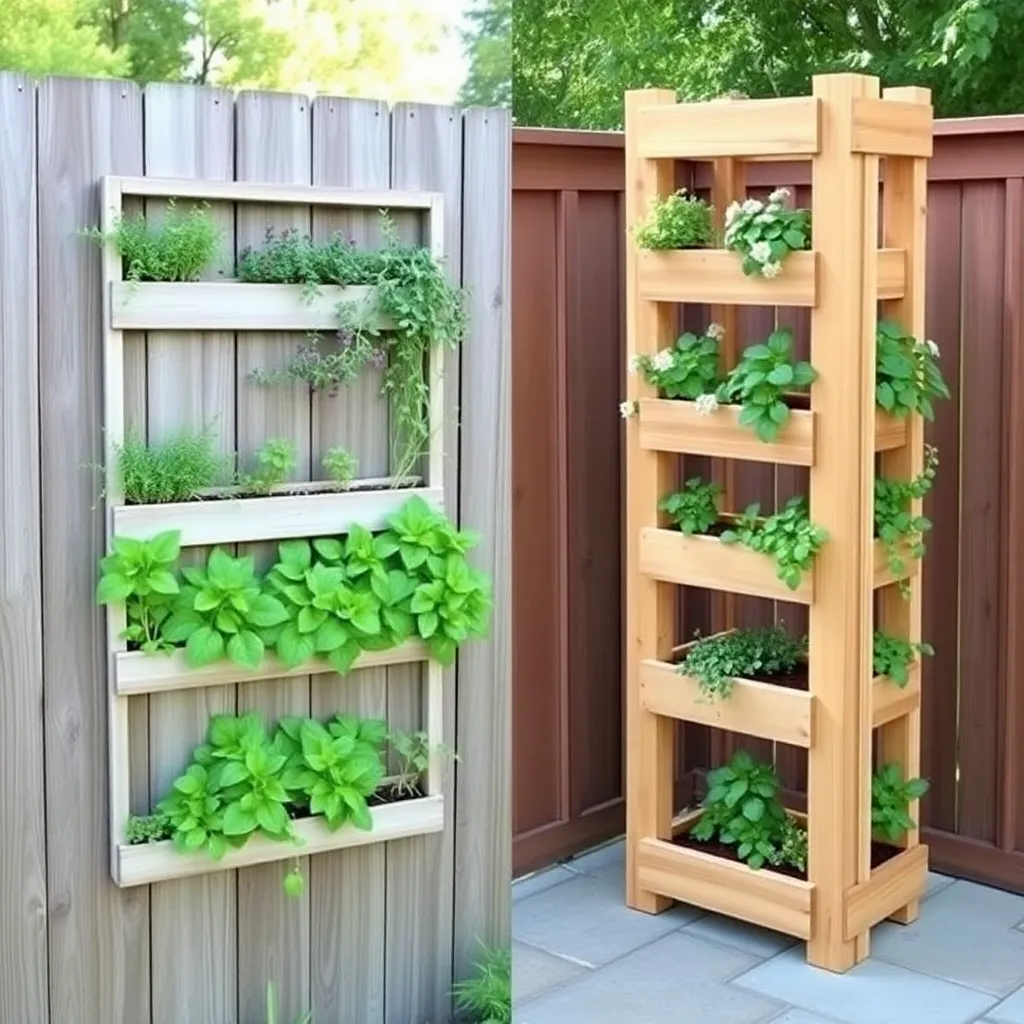
Wall-mounted pocket frame — A cedar frame screwed to a fence or exterior wall, holding a grid of individual planting pockets or small pots. Best for herbs, strawberries, succulents, and annuals. Dimensions: 36″ wide × 48″ tall, holds 12 pockets in a 3×4 grid. Requires wall studs or fence rails for mounting. Build time: 2 hours.
Freestanding tower planter — A self-supporting four-sided tower with open planting boxes on each level. Four planting faces, three tiers, stands on its own without wall attachment. Best for patios, decks, and renters who can’t drill into walls. Dimensions: 12″ × 12″ footprint, 48″ tall. Build time: 3.5 hours.
Both designs work in full sun or partial shade. The tower planter rotates easily (just lift and turn) so all four sides get even light exposure over the season.
Step 2: Materials and Cut Lists
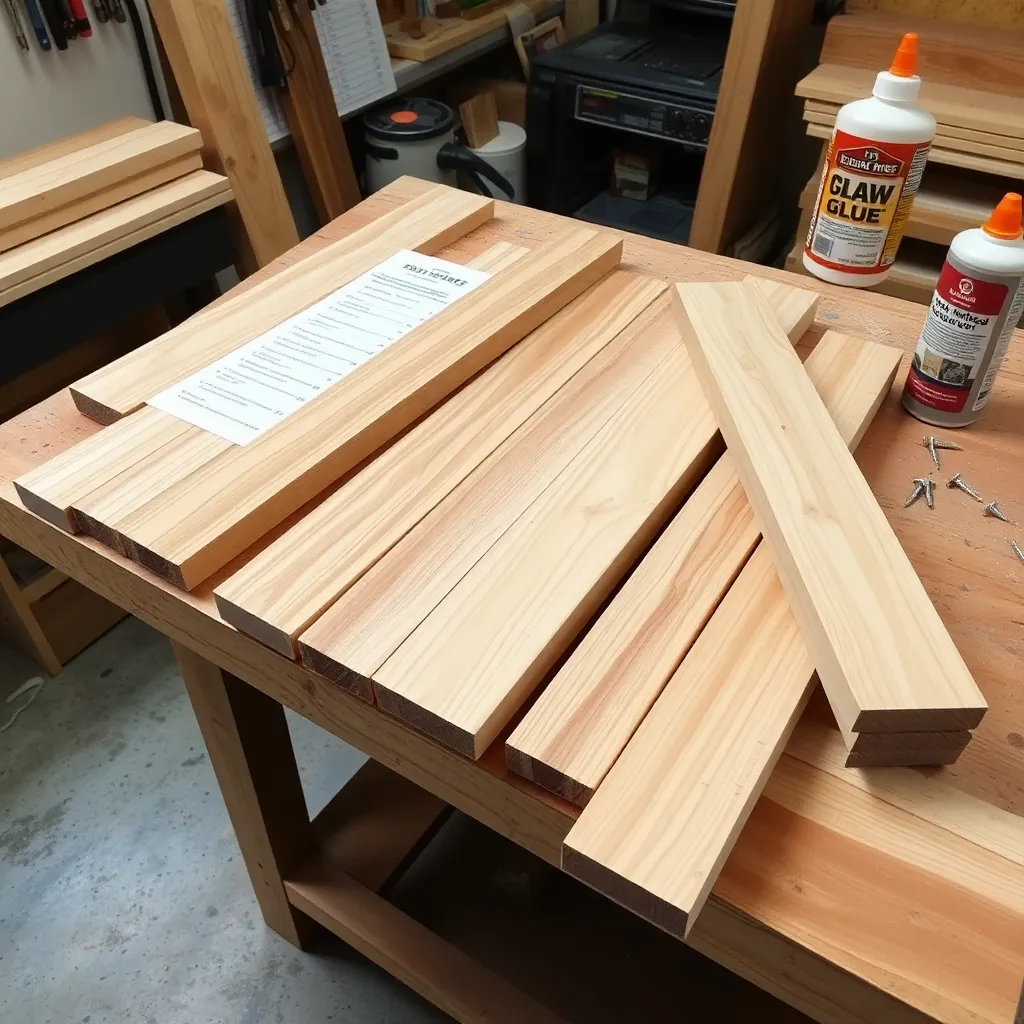
Wall-Mounted Pocket Frame
| Part | Qty | Size | Board |
|---|---|---|---|
| Vertical frame sides | 2 | 48″ × 3½” × ¾” | 1×4 cedar |
| Horizontal frame rails | 3 | 36″ × 3½” × ¾” | 1×4 cedar |
| Pocket dividers | 8 | 10″ × 3½” × ¾” | 1×4 cedar |
| Back panel | 1 | 36″ × 48″ × ¼” | ¼” cedar plywood |
| Pocket floor strips | 12 | 10″ × 1½” × ¾” | 1×2 cedar |
Hardware: 1¼” stainless screws, exterior wood glue, 3″ lag screws for wall mounting (4), stainless corner brackets (8), landscape fabric or coco liner cut to fit each pocket.
Freestanding Tower Planter
| Part | Qty | Size | Board |
|---|---|---|---|
| Corner posts | 4 | 48″ × 1½” × 1½” | 2×2 cedar |
| Planting box fronts/backs | 6 | 10″ × 5½” × ¾” | 1×6 cedar |
| Planting box sides | 6 | 10″ × 5½” × ¾” | 1×6 cedar |
| Planting box bottoms | 3 | 10″ × 10″ × ¾” | 1×12 cedar or glued-up panels |
| Top cap | 1 | 13½” × 13½” × ¾” | 1×14 cedar or glued-up panel |
| Base feet | 4 | 4″ × 3½” × ¾” | 1×4 cedar |
Hardware: 1¼” and 2″ stainless screws, exterior wood glue, sandpaper (120 and 180 grit).
Step 3: Build the Wall-Mounted Pocket Frame
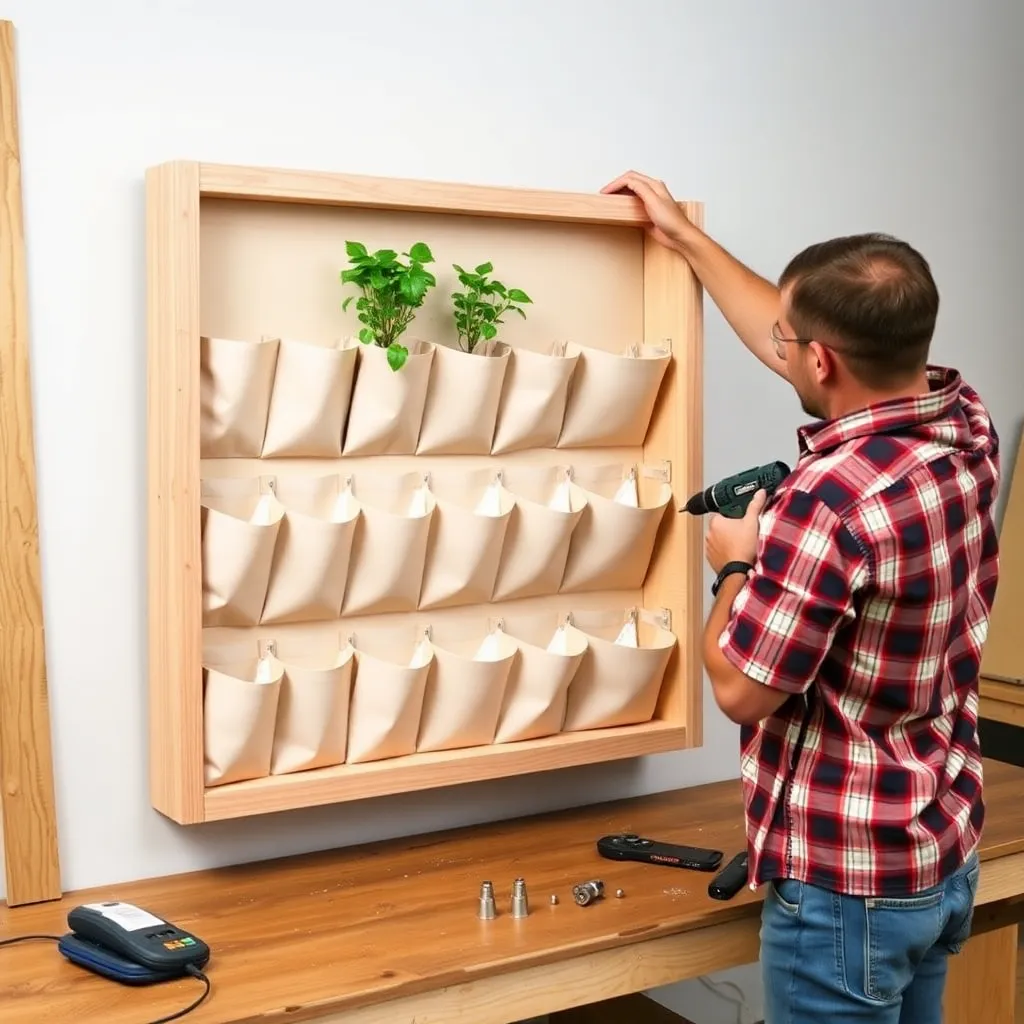
Start with the outer frame. Lay the two 48″ vertical sides parallel on a flat surface, 36″ apart (outside to outside). Attach the three horizontal rails: one flush at the top, one flush at the bottom, and one centered at 24″. Glue and screw each joint with two 1¼” screws per end — pre-drill to prevent splitting.
Add the pocket dividers. Between each pair of horizontal rails you have two open bays (top and bottom). Divide each bay into three equal pockets by installing two vertical dividers per bay, spaced 10″ apart on center. This creates a 3×4 grid of 12 pockets, each roughly 10″ wide × 11″ tall.
Attach the floor strips. Each pocket needs a small cedar strip along its bottom edge to retain soil. Glue and tack a 1×2 strip flush with the inside bottom of each pocket — this is the “floor” that keeps soil from falling straight through.
Install the back panel. Cut ¼” cedar plywood to 36″ × 48″ and screw it to the back of the frame every 8″ around the perimeter. The back panel prevents soil from pushing out the rear and gives the frame rigidity. Drill five ¼” drainage holes through the back panel in each pocket (bottom third) before attaching.
Line the pockets. Staple landscape fabric or cut coco liner to fit inside each pocket before filling with soil. This keeps fine soil particles from washing out through screw holes and gaps while still allowing drainage.
Step 4: Mount the Wall-Mounted Frame
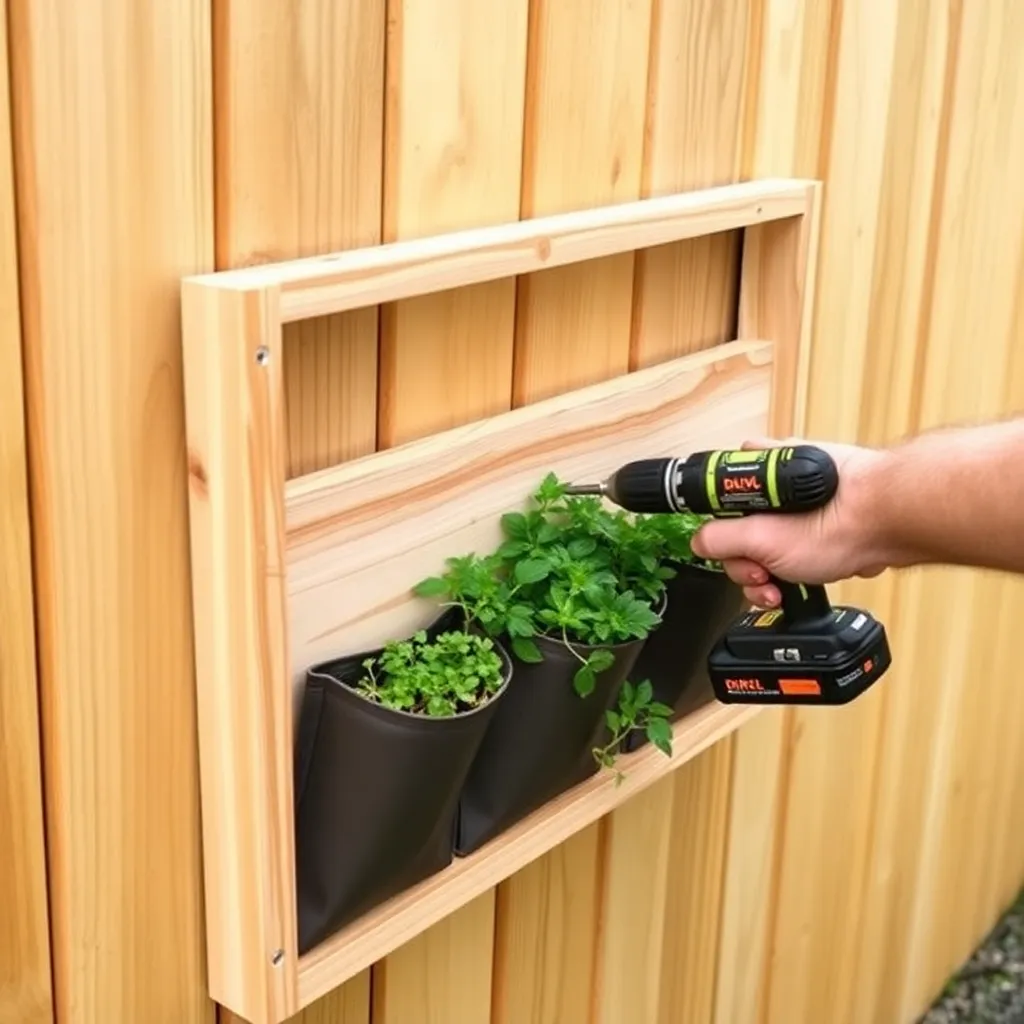
A filled 12-pocket frame with moist soil weighs 60–80 lbs. Locate wall studs before drilling anything.
On a wood fence: Drive 3″ lag screws through the frame’s vertical sides into the fence rails at top and bottom — two lag screws per side, four total. The frame should sit ½” away from the fence surface so air can circulate behind it.
On a masonry wall: Use ½” masonry anchors rated for 100+ lbs and 3″ masonry screws. Drill pilot holes with a hammer drill and masonry bit.
On wood siding: Find the studs with a stud finder, mark them, and drive 3″ lag screws into the studs — never into siding alone. Add a ½” cedar spacer strip between the frame and siding to create an air gap that prevents moisture damage to your exterior wall.
Check that the frame hangs level before tightening the final screws. A slight forward tilt (1–2 degrees) helps direct drainage away from the wall.
Step 5: Build the Freestanding Tower Planter
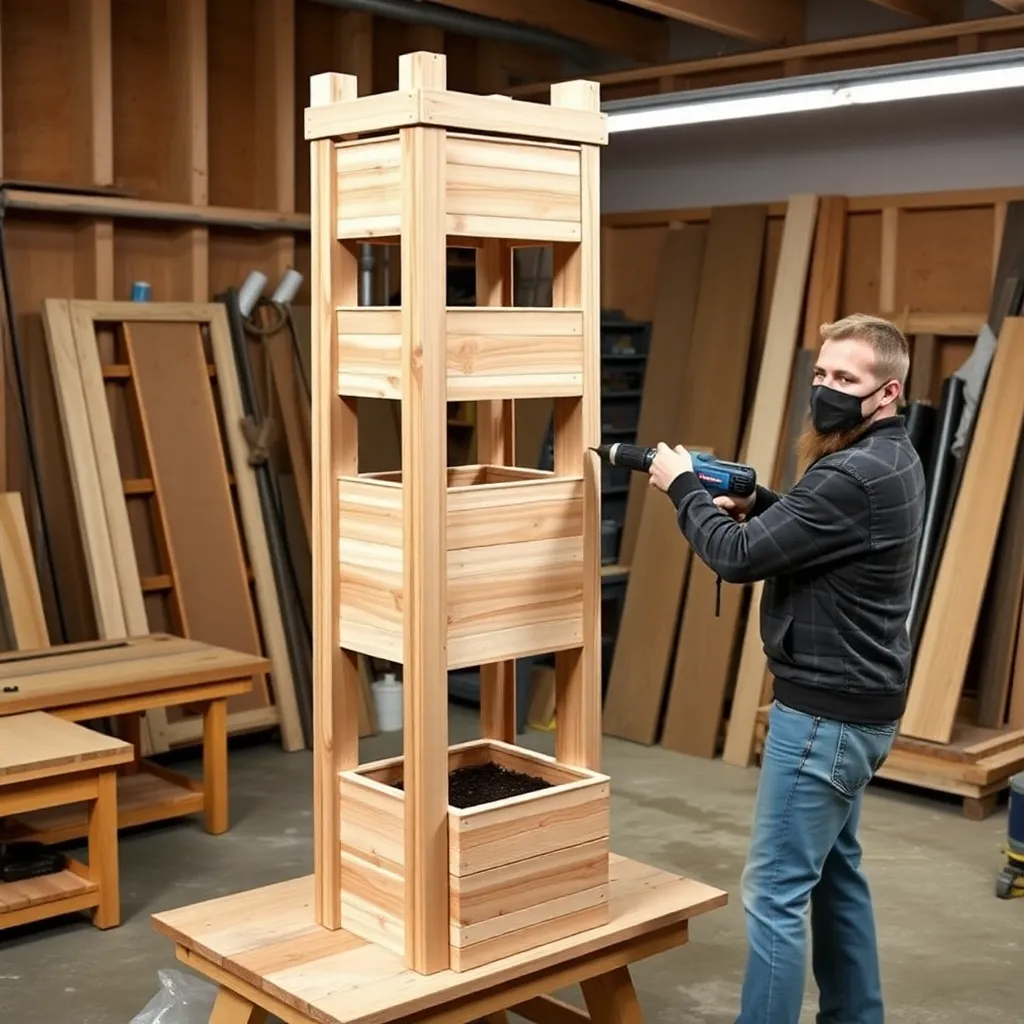
Assemble the corner posts and base. Stand the four 2×2 corner posts upright in a 10″ × 10″ square arrangement. At the base of each post, attach a 4″ × 3½” foot block on two adjacent sides — this widens the footprint and keeps the posts from sinking into soft ground. Glue and screw each foot block with two 2″ screws.
Build the planting boxes. Each of the three planting tiers is a simple open-top box: front, back, two sides, and a bottom. The box dimensions are 10″ × 10″ × 5½” tall (using 1×6 boards). Assemble each box with glue and 1¼” screws, pre-drilling corners. Drill five ¼” drainage holes in each bottom panel before assembly.
Attach boxes to the corner posts. Position the lowest box 4″ from the ground (above the foot blocks). The second box sits 16″ higher; the third sits 16″ above that. Clamp each box to the corner posts and drive two 1¼” screws through each box side into the post — eight screws per box. Check that each box is level before driving the final screws.
Install the top cap. The 13½” × 13½” cap sits on top of the four posts, overhanging ¾” on each side for a finished look. Glue and screw it down with two screws into each corner post from above.
Stability check. Push the tower gently from each side. If it rocks, add a diagonal 1×2 brace on the back face between the top and bottom boxes — this eliminates racking without being visible from the display side.
Step 6: Finish and Plant
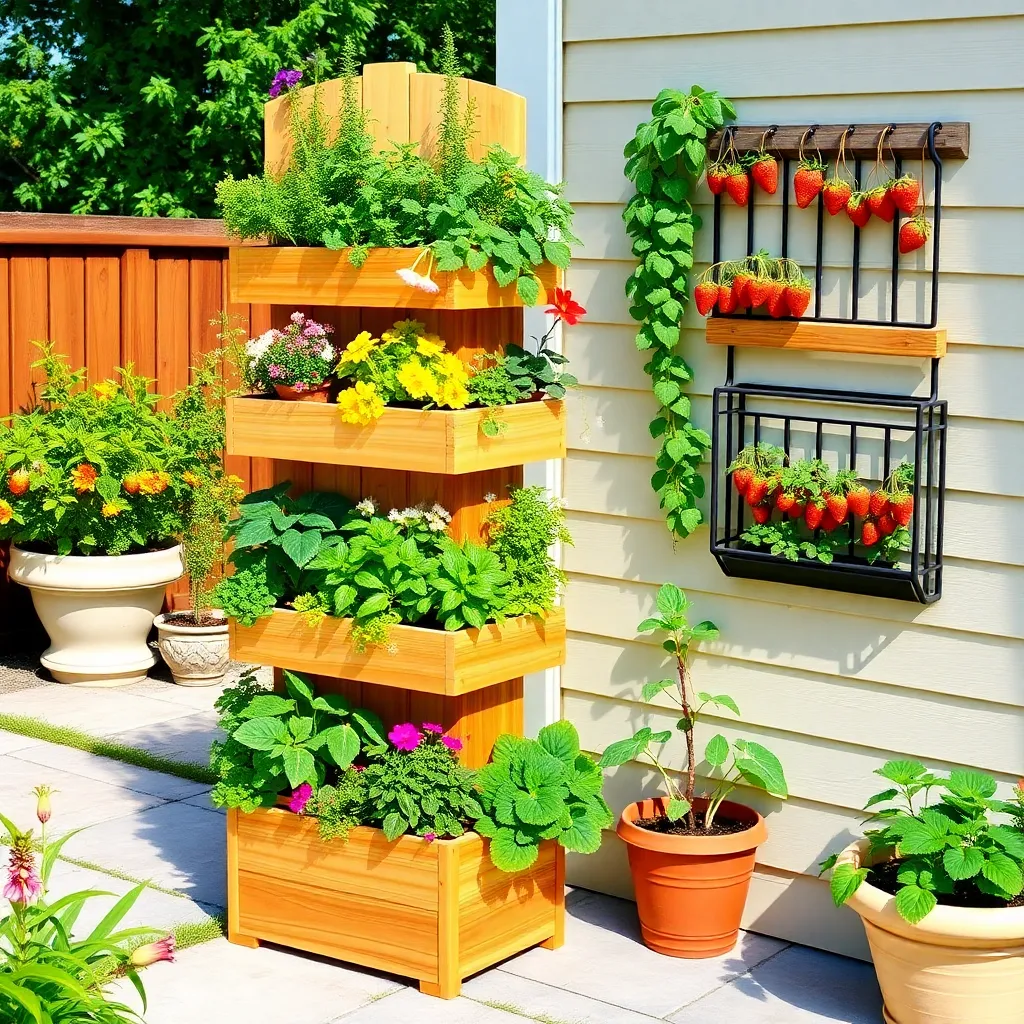
Sand all surfaces with 120-grit, then 180-grit. Pay extra attention to top edges of planting boxes where water will pool — smooth edges shed water better and resist grain raising.
Apply two coats of penetrating exterior oil to all surfaces. For cedar, teak oil or outdoor wood conditioner soaks in well and doesn’t peel. Coat the inside of all planting boxes too — constant soil contact accelerates weathering on unfinished interior surfaces.
Planting tips by structure:
For the pocket frame: herbs (basil, thyme, mint), strawberries, and shallow-rooted annuals (petunias, nasturtiums) thrive in the limited pocket depth. Fill pockets with a lightweight potting mix — regular garden soil compacts and blocks drainage. Top-dress with a thin layer of perlite to reduce watering frequency.
For the tower planter: the three box tiers allow for slightly deeper roots. Good choices include lettuce, kale, and spinach at the top (more sun), and shade-tolerant herbs or trailing plants at the lower tiers. Rotate the tower a quarter turn each week so all sides receive even sun.
For more planter building projects at every scale, visit our planter box plans hub.
Want 16,000+ step-by-step woodworking plans?
Ted’s Woodworking has plans for every skill level — from simple shelves to full bedroom sets. Each plan includes a cut list, material list, and detailed diagrams. Browse Ted’s plans →
Vertical Planter Plans FAQ
How deep should a vertical planter be?
Six to eight inches of soil depth handles most herbs, annuals, and strawberries. Tomatoes and peppers need 12″ minimum — they’re not suited to shallow vertical planters. The pocket frame in these plans provides about 8″ of effective depth with proper pocket liner installation.
What is the best wood for a vertical planter?
Western red cedar is the best choice — naturally rot-resistant, lightweight, and weathers well outdoors without chemical treatment. Redwood performs similarly but is harder to source in most regions. Avoid pine and poplar for outdoor soil-contact applications; both require heavy finishing and still won’t last more than a few seasons.
How do I prevent a vertical planter from rotting?
Finish all surfaces including interiors before planting. Use coco coir or landscape fabric liners to keep soil from direct wood contact. Ensure drainage holes are clear and functional — standing water at the bottom of any planting box is the primary rot cause. Cedar heartwood (the darker center) resists rot far better than sapwood.
Can a vertical planter be used indoors?
Yes, with modifications. You’ll need a waterproof liner in each pocket or box (heavy-duty plastic or rubber pond liner works well) to protect floors. Ensure drainage goes somewhere — most indoor vertical gardens use self-contained pockets with reservoirs rather than free-draining designs.
How much weight can a wall-mounted vertical planter hold?
The 12-pocket frame in these plans, fully planted with moist soil, weighs approximately 60–80 lbs. Mounted into two wall studs with 3″ lag screws, this is well within safe limits. Never mount into drywall or siding alone — always hit framing.
What plants grow best in a vertical planter?
For sun (6+ hours): herbs (basil, thyme, oregano, mint), strawberries, calibrachoa, petunias, portulaca. For partial shade (3–6 hours): lettuce, spinach, ferns, impatiens, begonias. For full shade: hostas, ferns, and most trailing foliage plants. Avoid deep-rooted vegetables like carrots, tomatoes, and peppers — they need more depth than vertical planters typically offer.
How often do vertical planters need watering?
More often than ground-level containers — exposed soil dries out faster due to air circulation and sun exposure on multiple faces. Expect to water a pocket frame daily in summer heat, or every other day with a layer of perlite mulch. A drip irrigation system with a simple timer is worth installing if you have more than 6–8 pockets.

“DIY woodworking enthusiast who started with zero experience and a YouTube tutorial.
I build simple, practical projects for my home and share free plans
so other beginners can skip the guesswork.If I can build it, you can too.”