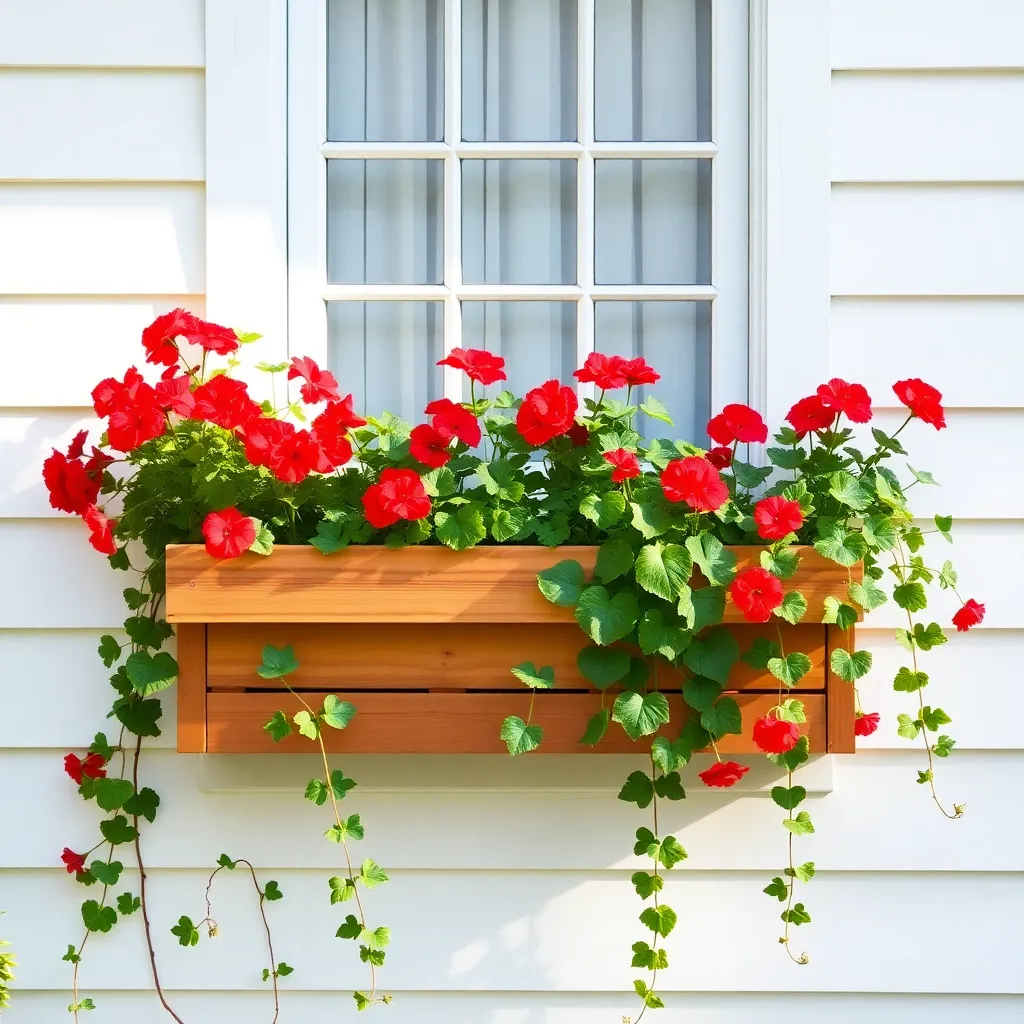
A store-bought window box looks fine for one season. Then it fades, warps, or falls apart. Building your own from western red cedar takes about three hours and produces a box that will outlast the paint on your house — without a bracket kit that doesn’t quite fit your window.
These window box planter plans cover three sizes (24″, 30″, and 36″ wide), include a full cut list for each, and walk you through mounting options that won’t pull away from the wall under the weight of wet soil.
Step 1: Choose Your Wood
Want 16,000+ step-by-step woodworking plans?
Ted’s Woodworking has plans for every skill level — from simple shelves to full bedroom sets. Each plan includes a cut list, material list, and detailed diagrams. Browse Ted’s plans →
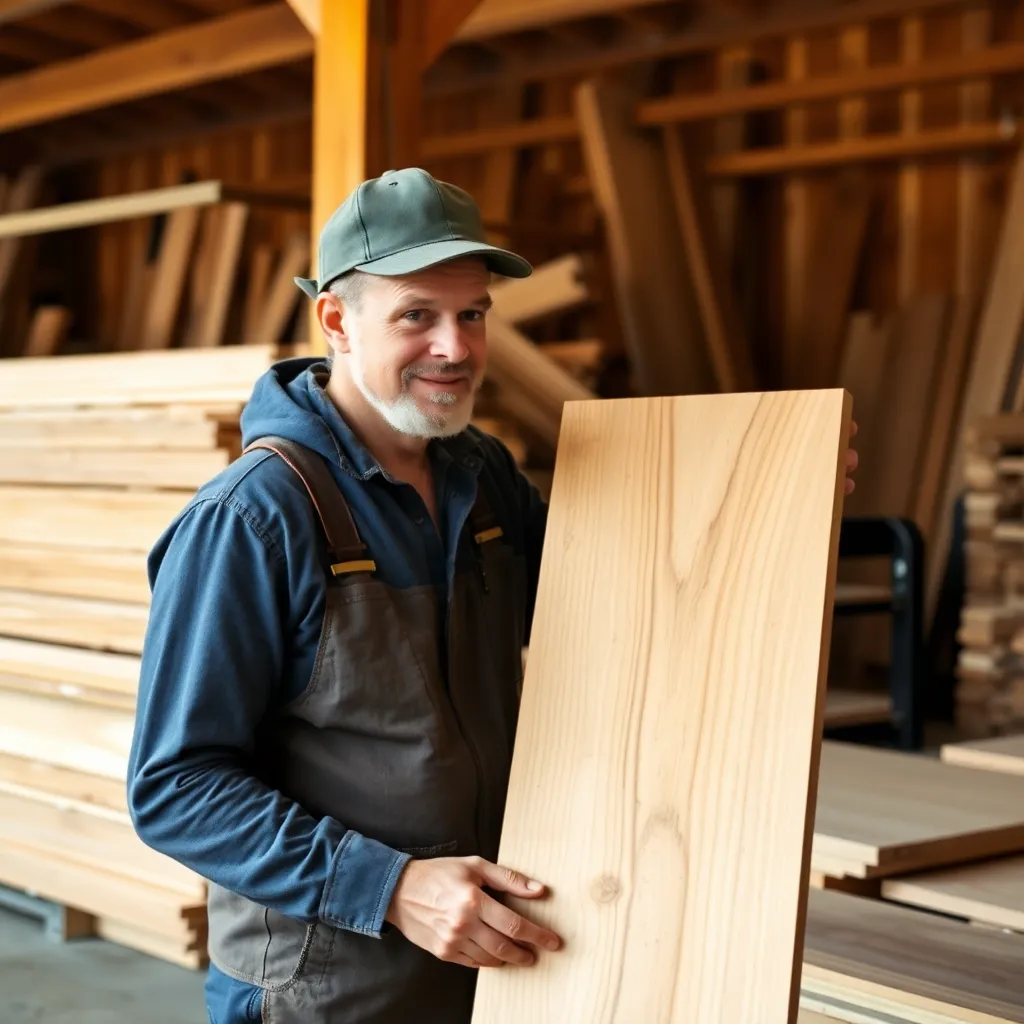
Cedar is the right call for a window box. Its natural oils resist rot and insects without any chemical treatment, and it holds paint and stain well. Western red cedar (the reddish-brown variety at most lumber yards) outperforms white cedar for outdoor longevity.
Pick heartwood, not sapwood. Heartwood is the darker center of the board — that’s where the rot-resistant oils concentrate. Sapwood (the pale outer ring) will gray and soften within two seasons. Ask your lumber yard to sort boards or check cross-cuts yourself.
Redwood is an excellent alternative if you can source it; pine and poplar will work but need a quality exterior primer and topcoat every two years.
Step 2: Plan Your Dimensions
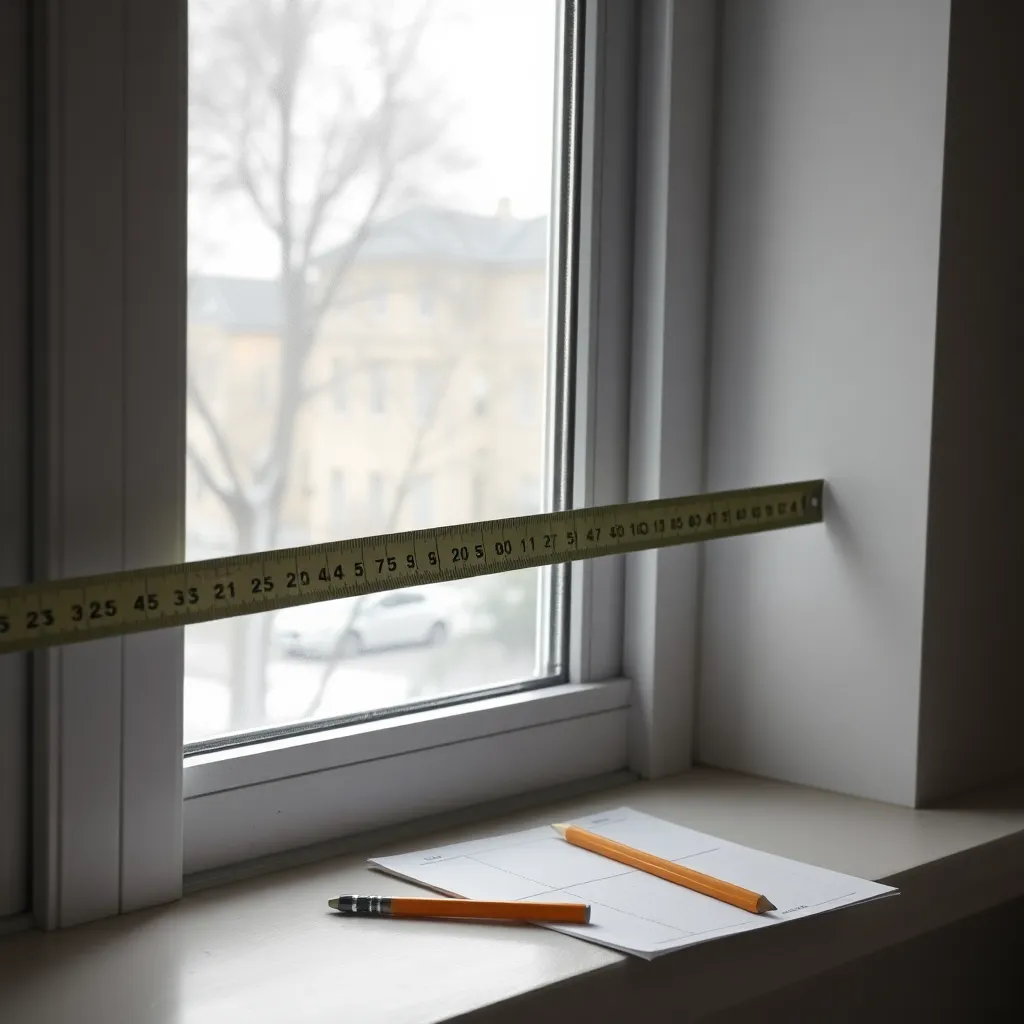
The standard rule: your window box should be the same width as your window frame, or up to 2 inches wider on each side for a fuller look. Depth and height stay consistent across sizes — 7.5 inches deep (the actual width of a 1×8 board) and 7.25 inches tall works perfectly for most flowering annuals and herbs.
| Size | Box Width | Box Depth | Box Height | Good For |
|---|---|---|---|---|
| 24″ | 24 in | 7½ in | 7¼ in | Single casement, small sash windows |
| 30″ | 30 in | 7½ in | 7¼ in | Standard double-hung windows |
| 36″ | 36 in | 7½ in | 7¼ in | Wide picture windows, bay windows |
If your window falls between sizes, build to the actual window width — cut the front and back boards to match.
Step 3: Cut List and Materials
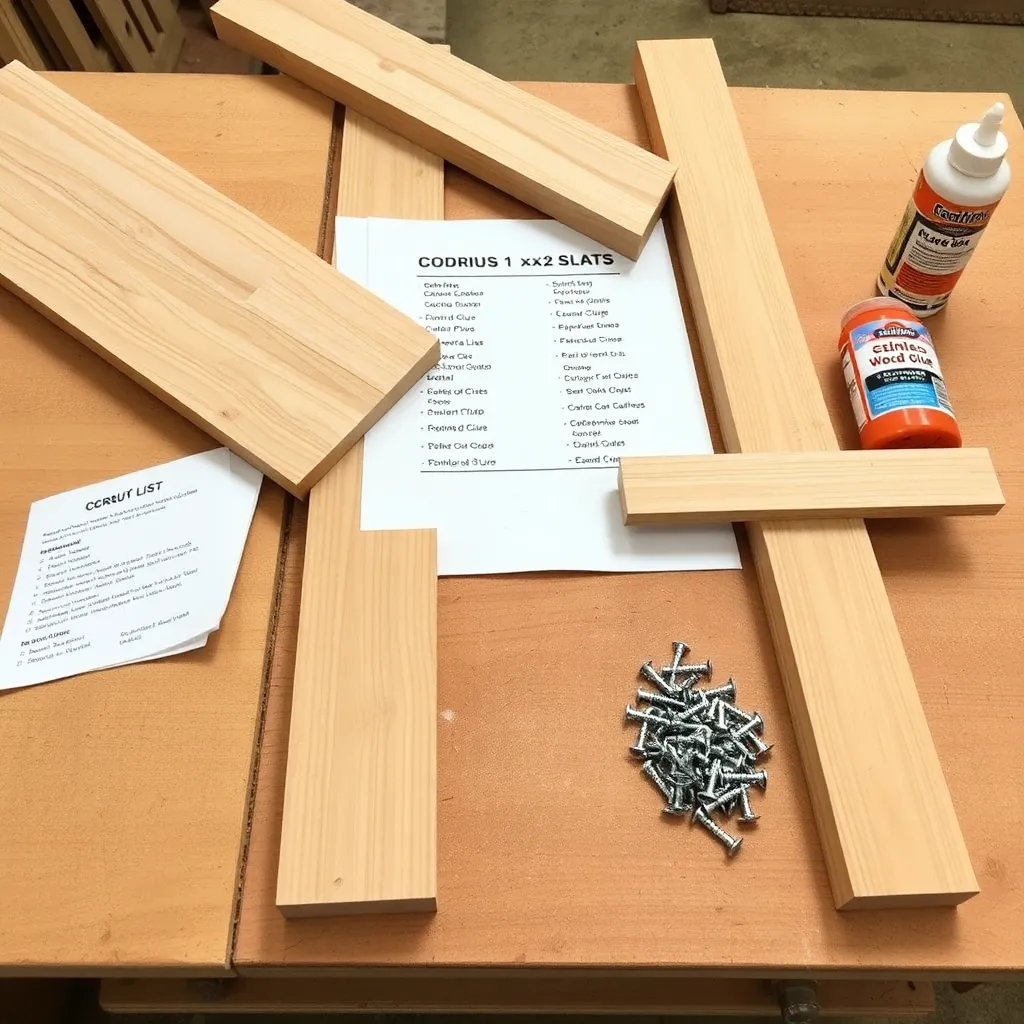
All lumber dimensions are nominal. Actual 1×8 boards measure 7¼” × ¾”; 1×6 boards measure 5½” × ¾”. A miter saw or circular saw with a guide makes clean cuts; a table saw works too.
24-inch box:
| Part | Qty | Size | Board |
|---|---|---|---|
| Front | 1 | 24″ × 7¼” | 1×8 cedar |
| Back | 1 | 24″ × 7¼” | 1×8 cedar |
| Sides | 2 | 7½” × 7¼” | 1×8 cedar |
| Bottom | 3 | 24″ × 1½” | 1×2 cedar |
| Bottom cleats | 2 | 7½” × 1½” | 1×2 cedar |
30-inch box:
| Part | Qty | Size | Board |
|---|---|---|---|
| Front | 1 | 30″ × 7¼” | 1×8 cedar |
| Back | 1 | 30″ × 7¼” | 1×8 cedar |
| Sides | 2 | 7½” × 7¼” | 1×8 cedar |
| Bottom | 3 | 30″ × 1½” | 1×2 cedar |
| Bottom cleats | 2 | 7½” × 1½” | 1×2 cedar |
36-inch box:
| Part | Qty | Size | Board |
|---|---|---|---|
| Front | 1 | 36″ × 7¼” | 1×8 cedar |
| Back | 1 | 36″ × 7¼” | 1×8 cedar |
| Sides | 2 | 7½” × 7¼” | 1×8 cedar |
| Bottom | 4 | 36″ × 1½” | 1×2 cedar |
| Bottom cleats | 2 | 7½” × 1½” | 1×2 cedar |
Hardware: 1¼” stainless steel deck screws (exterior, won’t rust or stain cedar), exterior wood glue, two heavy-duty L-brackets or a purpose-made window box bracket per box.
Step 4: Assemble the Box Sides
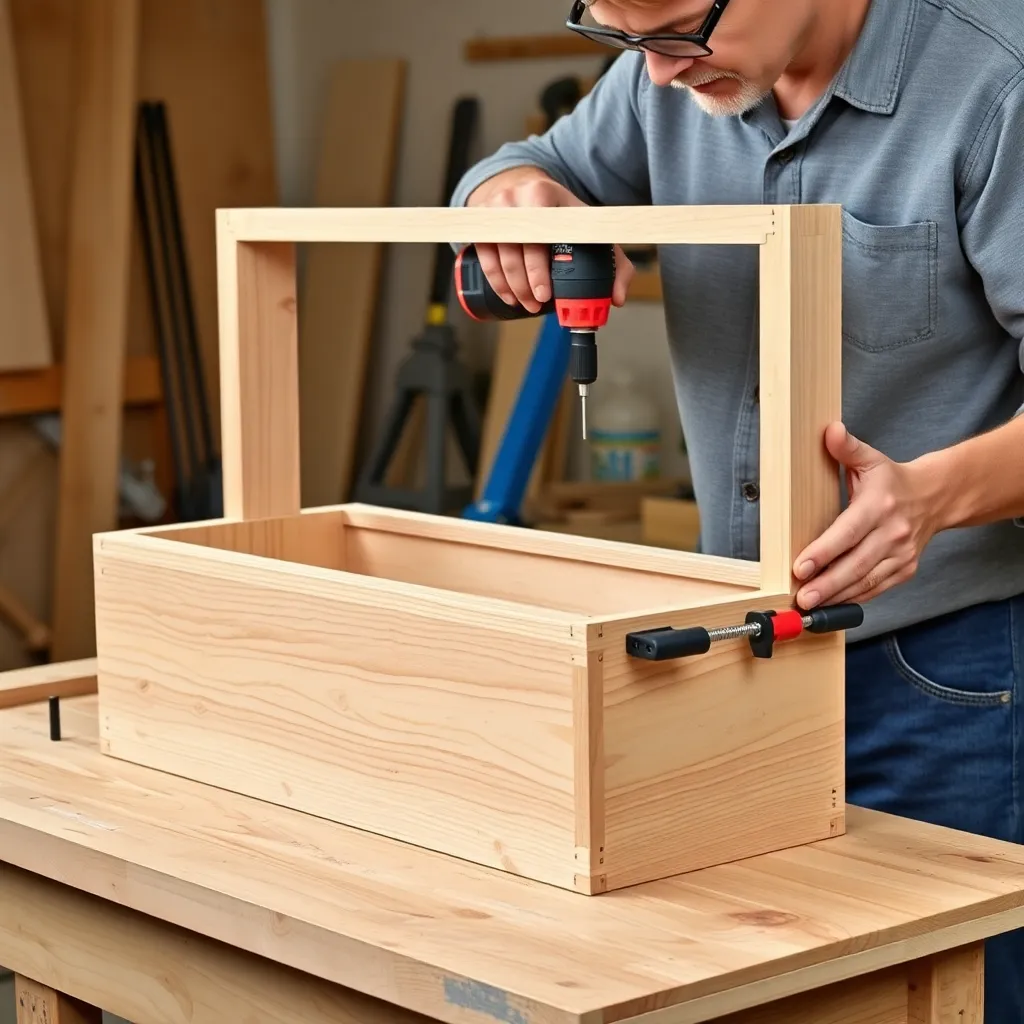
Dry-fit before glue. Lay the back board flat, then stand one side board perpendicular to its end. The side board should be flush with the back’s outside face — the side sits between front and back, not outside them.
Apply a thin bead of exterior wood glue to the joint, clamp, and drive two 1¼” screws through the back into the side end grain. Repeat for the other side, then attach the front the same way.
Pre-drill everything. Cedar splits easily at end grain. A 3/32″ pilot hole before each screw prevents blowouts and keeps joints tight.
Check the assembled frame for square by measuring both diagonals — they should match within 1/16″. If they don’t, clamp across the longer diagonal and recheck before the glue sets.
Step 5: Install the Bottom Slats
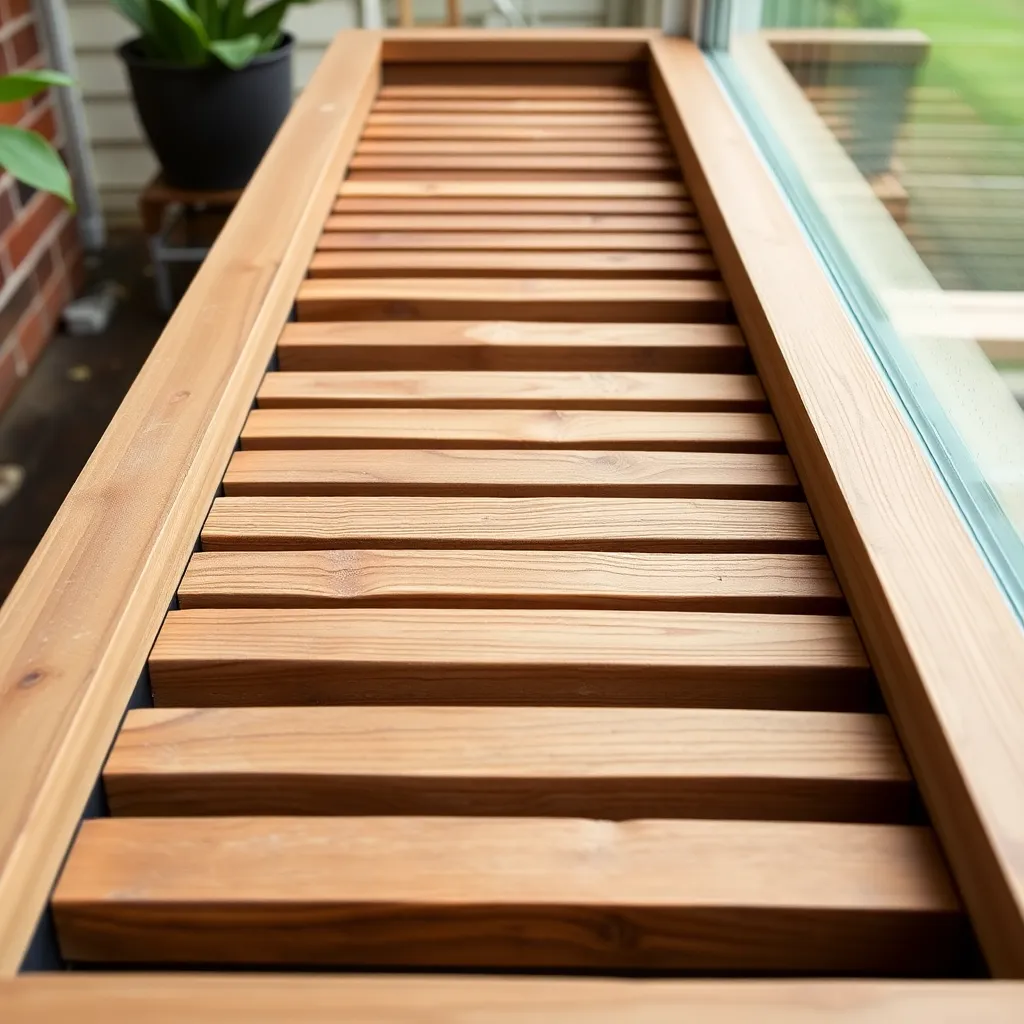
The bottom uses 1×2 cedar slats (not a solid panel) with 3/8″ gaps between them. Gaps provide drainage without a separate drilling step — standing water is the main enemy of any window box.
First, glue and screw the two bottom cleats inside the box, flush with the bottom edge, running front-to-back. These give the bottom slats something solid to land on.
Lay the slats across the cleats, spacing them evenly. For the 24″ box, three slats with ⅜” gaps fills the span neatly. Secure each slat with one screw into each cleat — two screws per slat total.
Step 6: Sand and Apply Finish
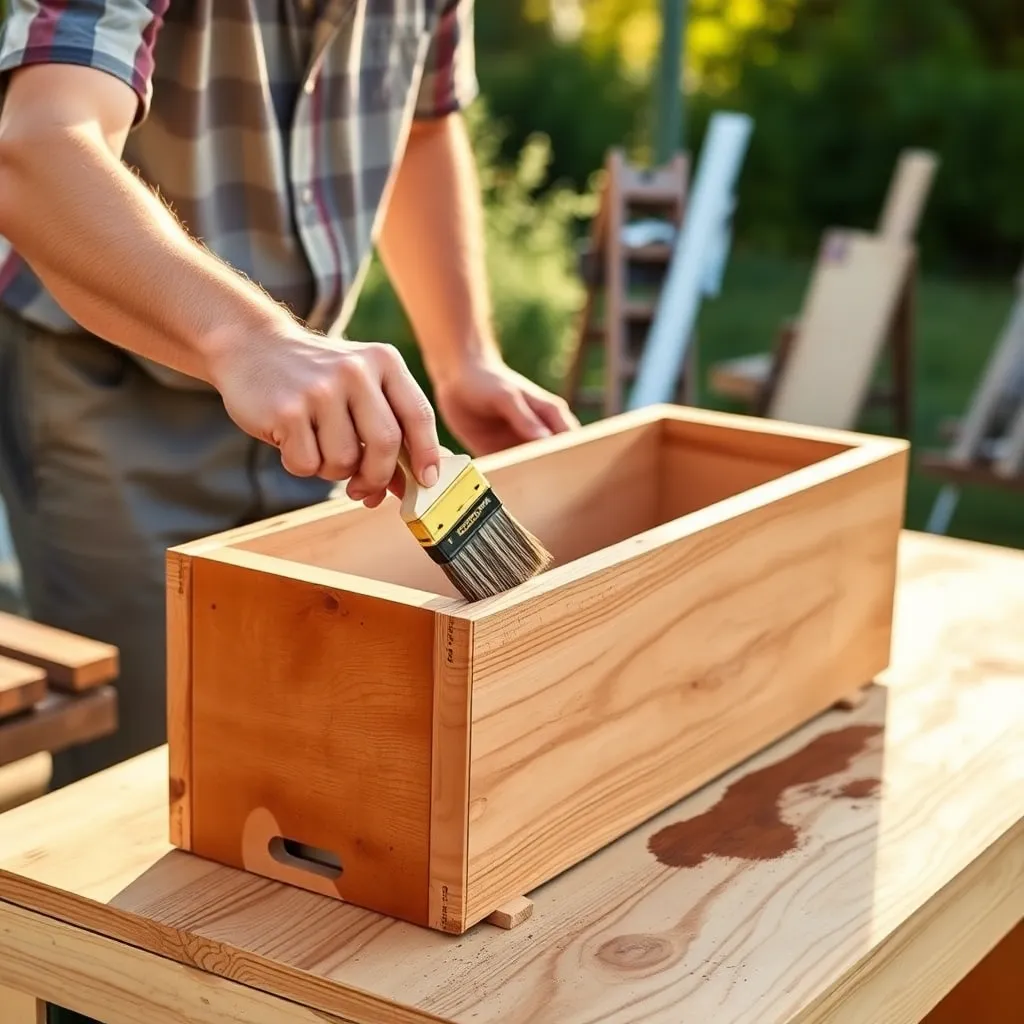
Sand all exterior surfaces with 120-grit, then 180-grit. Round every exposed edge slightly — sharp corners absorb water and peel finish first.
Cedar works with four finish types:
- Penetrating oil (teak oil, linseed oil): soaks in rather than forming a film, can’t peel, re-apply every 1-2 seasons. Best for a natural wood look.
- Exterior latex paint: most durable option for color. Prime with an exterior bonding primer first; cedar’s tannins bleed through without it.
- Exterior semi-transparent stain: shows wood grain, better UV protection than oil alone. Re-apply every 2-3 years.
- Unfinished: western red cedar will silver naturally and still resist rot for 10+ years. Perfectly valid choice.
Whatever you choose, coat all six surfaces including the inside — an unfinished interior wicks moisture and shortens the box’s life.
Step 7: Mount the Window Box
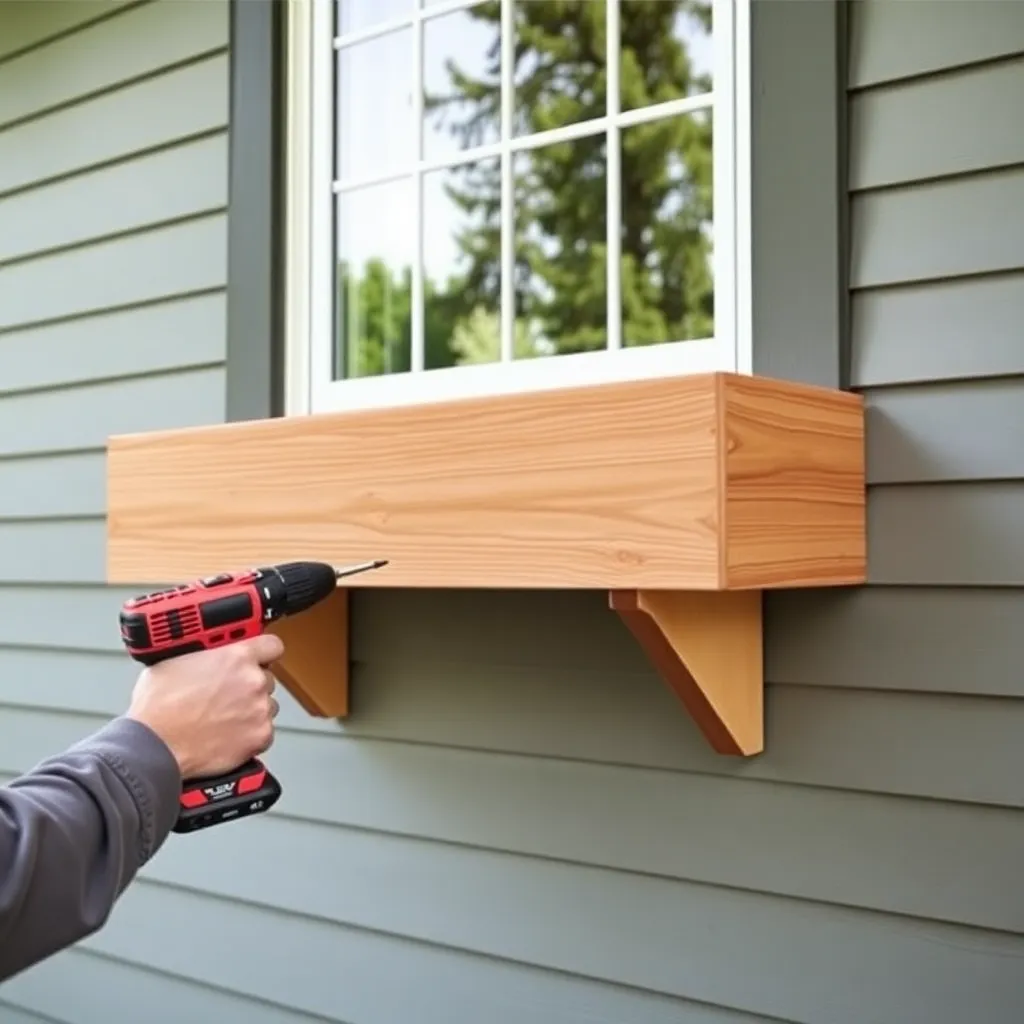
A filled window box with soil is heavy — plan for 15-25 lbs per linear foot. Two L-brackets per box minimum; add a third for boxes over 36 inches.
Locate the studs. Window boxes mounted to siding need to hit framing behind it, not just drywall or sheathing. Use a stud finder and mark the locations before you drill anything.
Bracket height: Position the top of the bracket so the box face sits just below your window sill. Most window sills extend ¾” to 1″ beyond the wall — your box top should clear it without touching, so the sill can still shed water away from the wall.
Attach brackets to the studs first with 3″ exterior screws, then set the box onto the brackets and screw up through the bracket into the bottom cleats with 1¼” screws. This makes the box removable for replanting in fall.
If you have a brick or masonry exterior, use masonry anchors rated for exterior use and at least ¼” diameter.
Step 8: Line and Plant
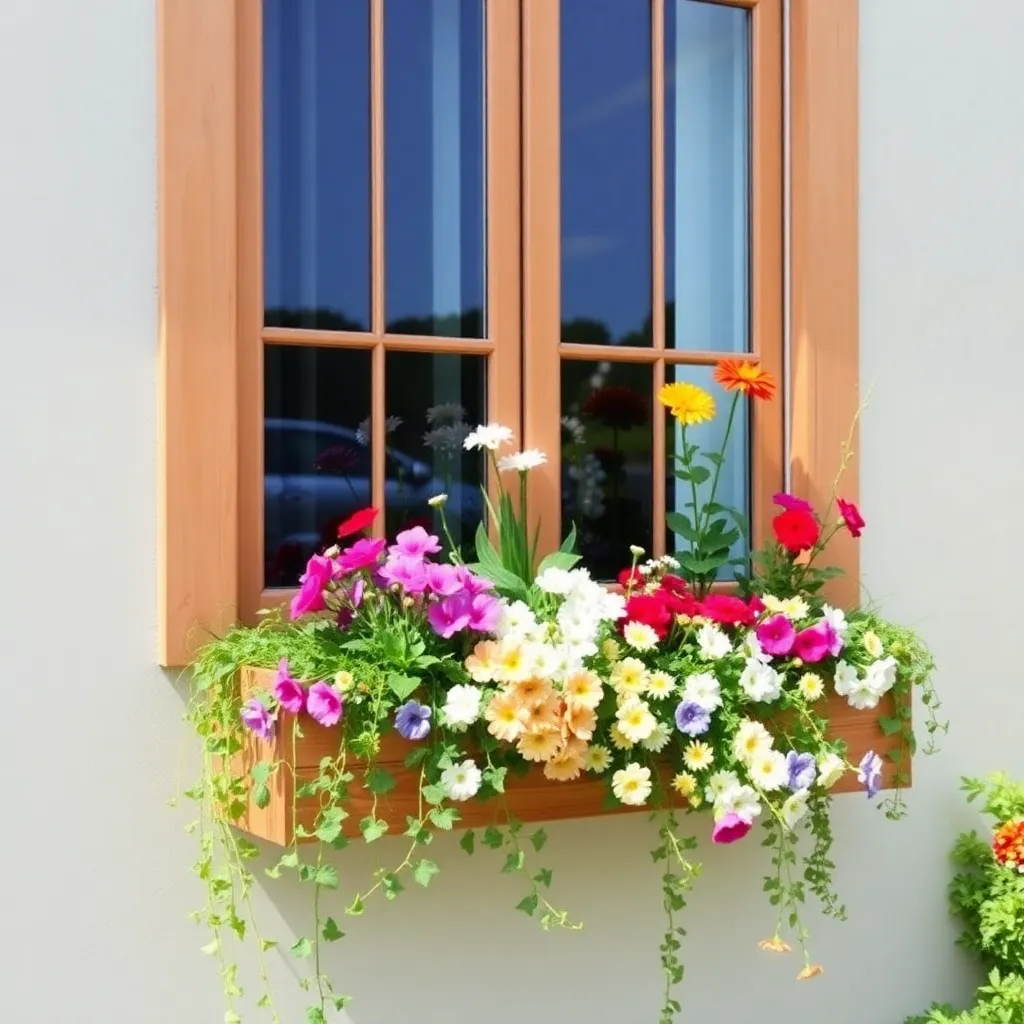
Cedar is not rot-proof against constant wet soil contact. A coco coir liner or landscape fabric layer extends the box interior life significantly — staple it to the inside walls before planting.
Fill with a lightweight potting mix, not garden soil (too heavy, compacts badly in containers). For full-sun windows, drought-tolerant trailing plants like calibrachoa, portulaca, or sweet potato vine work well in the shallow depth. For shadier spots: impatiens, ferns, or trailing coleus.
Water until it drains freely through the bottom slats. In hot weather, window boxes dry out fast — plan to water every 1-2 days in summer.
For a complete set of outdoor planter projects, see our planter box plans hub — including raised beds, vertical planters, and self-watering designs.
Want 16,000+ step-by-step woodworking plans?
Ted’s Woodworking has plans for every skill level — from simple shelves to full bedroom sets. Each plan includes a cut list, material list, and detailed diagrams. Browse Ted’s plans →
Window Box Planter Plans FAQ
How wide should a window box be?
Match the window frame width or go up to 2 inches wider on each side for a fuller look. Narrower boxes look unbalanced; going much wider than 36″ in a single box creates mounting challenges and excessive weight.
What is the best wood for a window box planter?
Western red cedar is the best choice for most builders — naturally rot-resistant, lightweight, and widely available. Redwood performs similarly but costs more. Avoid untreated pine; it will rot within 2-3 seasons in a planter application.
How deep should a window box be?
7 to 8 inches of interior depth is the practical minimum for most annuals and herbs. Deeper boxes are heavier and harder to mount safely; shallower ones limit root depth and dry out faster.
Do window boxes need drainage holes?
Yes — standing water kills roots faster than drought. These plans use spaced bottom slats that provide continuous drainage without drilling. If you prefer a solid bottom, drill five or six ¾” holes along the center line.
How much weight can a window box bracket hold?
A typical heavy-duty L-bracket rated for exterior use holds 50-75 lbs each. A filled 36″ box can weigh 40-60 lbs — use three brackets and always anchor into wall studs, not just siding.
How do I keep my window box from rotting?
Finish all six surfaces (including the inside) before planting, use a coco coir liner to separate soil from wood, choose heartwood cedar or redwood, and ensure drainage so water doesn’t pool. With those steps, a cedar window box routinely lasts 10-15 years.
Can I use pressure-treated wood for a window box?
Modern ACQ (alkaline copper quaternary) treated lumber is approved for contact with soil and food-safe for vegetables. However, cedar is lighter, easier to work, and nearly as durable — most builders prefer it for window boxes where rot risk is lower than a ground-contact raised bed.

“DIY woodworking enthusiast who started with zero experience and a YouTube tutorial.
I build simple, practical projects for my home and share free plans
so other beginners can skip the guesswork.If I can build it, you can too.”