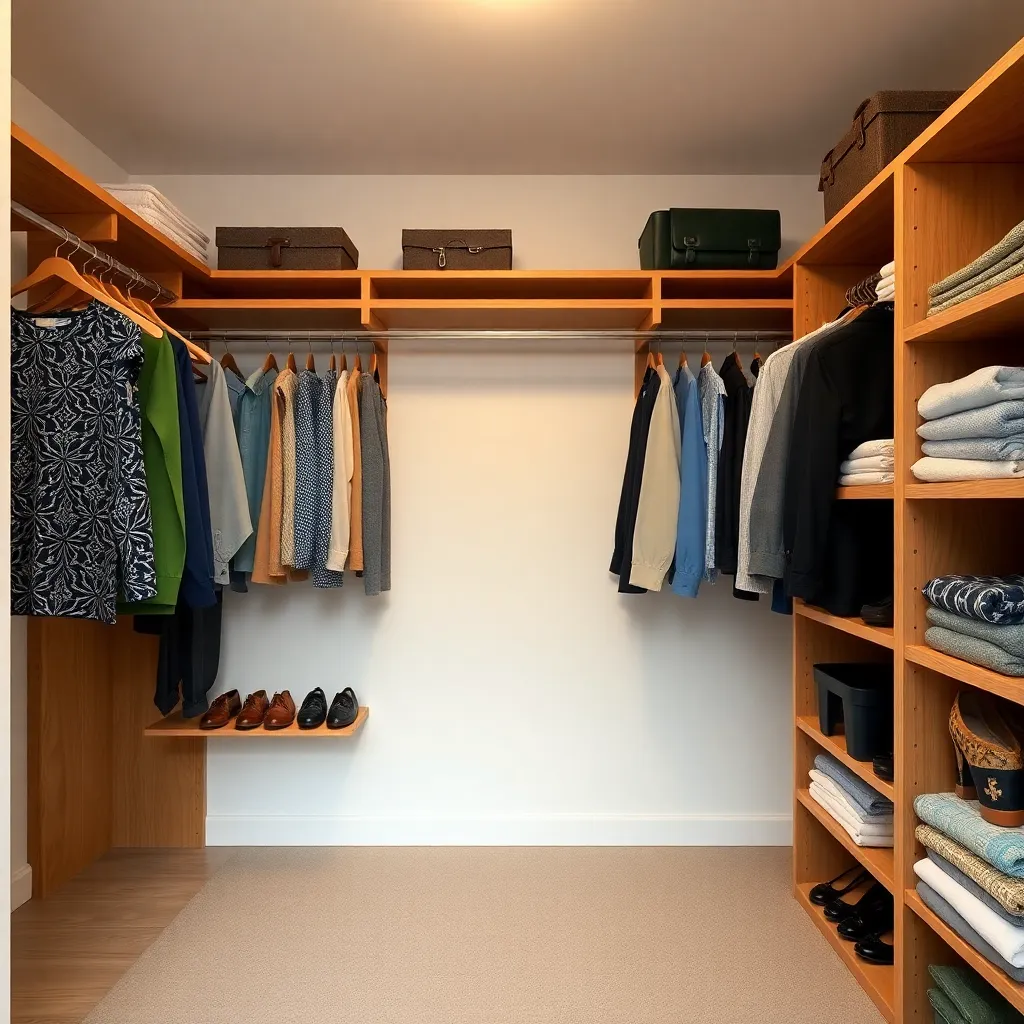
The most effective closet organization ideas are built, not bought — a plywood system built to the exact dimensions of your closet outperforms any off-the-shelf kit. These eight projects cover every closet type: the standard reach-in closet, the small hall closet, the walk-in, the linen closet, the entryway coat closet, and the under-bed storage that functions as a closet substitute.
Ted’s Woodworking has complete closet organization plans with zone layout guides and cut lists. Browse Ted’s plans →
Step 1: Organize a Standard Reach-In Bedroom Closet

Goal: A full organization system for a 6-foot wide × 24-inch deep reach-in closet.
Standard layout for a 6-foot reach-in:
- Left third (24 inches): double hanging (two rods at 84 and 42 inches) for shirts and pants
- Center third (24 inches): three adjustable shelves for folded items and accessories
- Right third (24 inches): long hanging (one rod at 68 inches) for dresses and coats
Build three vertical divider panels (floor to ceiling × 22 inches deep) from ¾-inch plywood. These define the three zones. Install adjustable shelf standards on the center zone panels. Add rods in the hanging zones. Add a full-width top shelf at 78–80 inches across the entire width.
Milestone: A layout where all clothing categories have a designated zone with no overflow.
Step 2: Maximize a Small Hall Closet

Goal: A 3-foot wide hall closet converted from single rod to full storage.
A small hall closet is typically used for coats on a single rod — most of its cubic footage is wasted. Maximum-use conversion:
- Top shelf (78 inches): seasonal storage bins
- Second shelf (60 inches): everyday accessories (hats, scarves)
- Rod below second shelf (48 inches): coats and jackets
- Lower section: shoe rack (3 shelves, floor to 36 inches)
Build a narrow shoe rack unit (12 × 36 × 24 inches) and slide it into the lower section. Add two shelves above the rod using adjustable standards.
Milestone: A closet where floor-to-ceiling space is used at every height level.
Step 3: Design a Walk-In Closet System

Goal: An L-shaped or U-shaped built-in system for a walk-in closet.
Walk-in closets have two or three walls of storage. Standard layout for a 6 × 8-foot walk-in:
- Long wall (8 feet): double hanging on one side + open shelves on the other
- Short wall (6 feet): shoe shelves lower + accessories shelves upper
- Center aisle: 24–30 inches minimum for comfortable movement
Build the long-wall system first (the largest unit). Build the short-wall unit as a separate freestanding box. Screw units together where they meet at the corner. Add a center island (an optional freestanding drawer unit in the center of the closet) if the aisle width allows it.
Milestone: A walk-in where the center aisle is at least 24 inches wide with the door fully open.
Step 4: Build a Linen Closet System

Goal: A full-depth linen closet converted to adjustable shelving for towels, bedding, and supplies.
A linen closet is typically 24-inch deep with shelves — the challenge is that different items need very different shelf heights (a stack of towels needs 12 inches, a folded king duvet needs 14 inches). Solution: fully adjustable standards throughout, with shelves at irregular heights matched to the actual stored contents.
Measure the tallest item to be stored in each section. Set shelf heights to match with 1 inch of clearance. Install shelf standards on all four walls (not just two side walls) — this allows a center shelf that’s supported from the back wall as well as the sides, eliminating sag.
Milestone: Shelves at heights where all items fit without wasted vertical space.
Step 5: Build an Entryway Coat Closet System

Goal: An organized entryway closet for coats, shoes, and bags — for a busy household.
An entryway closet sees more traffic and holds more varied items than a bedroom closet. Standard organization:
- Upper shelf (80 inches): seasonal coats, travel bags
- Double rod (42 and 68 inches): current season’s coats and jackets
- Lower section: mudroom-style built-in with cubbies (one per household member), shoe drawer or rack, and hooks on the inside door
Build the lower cubby unit (each cubby 12 × 12 × 12 inches) from ¾-inch plywood. Assign one cubby per person for daily items (keys, wallet, gloves). Add a shoe rack in the base. Mount six hooks on the inside door face using door-mounted hook strips.
Milestone: Each household member has a dedicated cubby that holds a day’s accessories.
Step 6: Build a Kids’ Bedroom Closet System

Goal: A closet system that grows with the child — adjustable heights that change as the child grows.
Children’s clothes are short — two rods at 24 and 48 inches cover all items from toddler to pre-teen. As the child grows, remove the lower rod and raise the upper rod. The system must also accommodate the toys and games that inevitably end up in bedroom closets.
Standard layout:
- Ages 3–8: two short rods (24 and 48 inches) + three shelves for toys and bins
- Ages 9–14: one rod at 60 inches + four shelves for books and accessories
- Ages 15+: adult configuration (one or two rods + shelves)
Build with fully adjustable standards so every change is a 5-minute bracket reposition.
Milestone: A closet that can be reconfigured for the next age stage without removing any structural components.
Step 7: Build an Under-Bed Storage System

Goal: Wheeled storage drawers that slide under a platform bed — functioning as a closet substitute.
In rooms without a closet or with insufficient closet space, under-bed storage provides a significant capacity increase. Build four flat drawers (6 inches tall — the typical clearance under a platform bed):
- Each drawer: 36 × 20 × 5½ inches (to fit a standard queen bed)
- Build from ¾-inch plywood (sides and front) + ¼-inch plywood (bottom)
- Add four swivel casters to each drawer (low-profile casters, 1-inch height)
The drawers slide out from the foot of the bed. Add a simple drawer pull on the front face. Store folded items, seasonal clothing, and accessories in labeled fabric bins inside the drawers.
Milestone: All four drawers rolling smoothly on the floor with clearance to slide fully under the bed.
Step 8: Build a Closet With Built-In Hamper

Goal: A closet organization system that includes a built-in laundry hamper — eliminating the floor hamper.
A built-in hamper is a tilting bin mounted inside a base cabinet in the closet. The bin tilts out when the door opens, provides a place to drop laundry, and tilts back to be hidden. Build:
- A base cabinet (18 × 24 × 24 inches) from ¾-inch plywood
- A hamper bin from ¾-inch plywood (16 × 20 × 20 inches)
- Two lid hinges on the top front edge of the bin
- A door on the front face of the cabinet (with a knob)
The bin is not on slides — it just tilts forward when the door opens. The door stops the bin from over-rotating. A liner (a fabric laundry bag hung inside the bin) makes removing clothes for washing clean and easy.
Milestone: A hamper that opens and closes smoothly with the door and holds a full week’s laundry without overflowing.
Closet Organization Ideas FAQ
How do I plan a closet organization system?
Start with inventory: remove everything from the closet and sort by category (short hanging, long hanging, folded, shoes, accessories, seasonal). Count items in each category. Map the categories to zones: the largest category gets the largest zone. Draw the closet to scale (1 inch = 1 foot) and sketch the layout. Verify the layout against the inventory — if the long-hanging zone fits all your dresses with room to spare, it’s the right size. Build the tallest sections first (top shelves and high rods before lower sections) so you have room to work.
What is the most important measurement in closet planning?
The rod-to-shelf clearance: the distance from the top of the hanging rod to the underside of the shelf above must be at least 2 inches (or hangers won’t lift off the rod). The standard clearance is 2–3 inches. The rod itself must be 12 inches from the back wall minimum (so hangers don’t touch the back wall) and 12 inches from the front wall (so the closet door clears hanging clothes). Getting these three measurements right before building the shelf layout eliminates the most common installation errors.
How do I build a closet system when the walls aren’t square?
No closet has perfectly square corners. Three compensation strategies: (1) scribe the side panels — hold the panel in position and run a pencil along the wall surface to transfer the wall irregularity to the panel face; cut along the scribed line; (2) use filler strips — if the gap between the panel and the wall is under ½ inch, fill with a tapered shim strip painted to match; (3) build ½ inch short — cut all side panels ½ inch narrower than the wall width; the gap is concealed behind the molding strip (a ¾ × ¾-inch quarter round) at the wall-to-panel joint. Strategy 3 is the fastest and produces a professional result with minimal measuring.
Can I install a closet system without removing the existing shelves?
Yes, if the existing shelves are in usable positions. Add to the existing structure by clipping into existing shelf standards (if they’re metal), adding new vertical panels alongside existing ones, or building a freestanding unit that stands in front of the existing shelves. If the existing shelves are wire shelving: remove them (wire shelves pull out of plastic clips or pop off wall brackets in minutes) and replace with the new system — the existing wall anchors don’t need to be in the same locations as the new hardware.

“DIY woodworking enthusiast who started with zero experience and a YouTube tutorial.
I build simple, practical projects for my home and share free plans
so other beginners can skip the guesswork.If I can build it, you can too.”