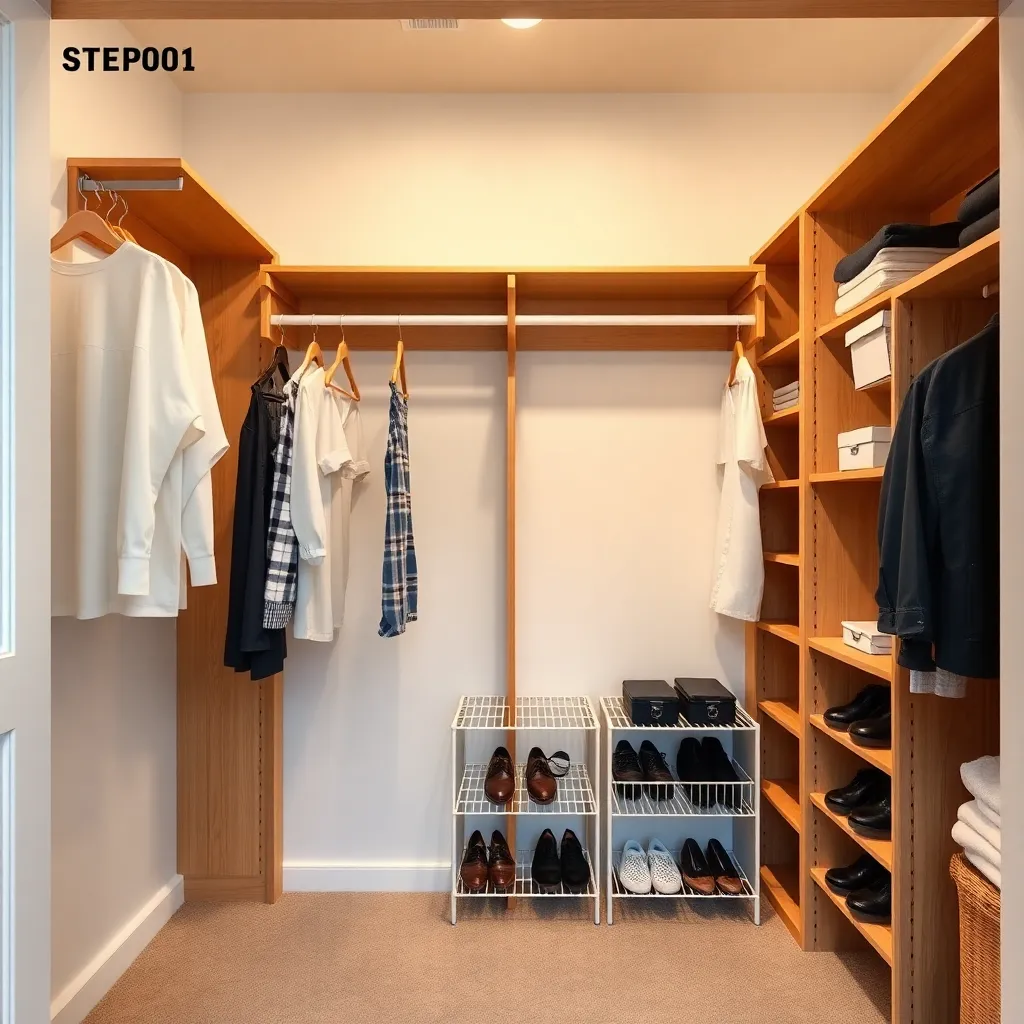
A DIY closet organizer transforms a bare rod-and-shelf closet into a fully organized system in a weekend. These six builds start with the simplest possible upgrade (replacing wire shelving with wood) and end with a complete custom organizer with a drawer tower, double hanging, and built-in lighting — all built from one sheet of plywood.
Ted’s Woodworking has complete closet organizer plans with step-by-step cutting guides. Browse Ted’s plans →
Step 1: Replace Wire Shelving With Wood Shelf + Rod

Goal: A single wood shelf and wood rod replacing existing wire — the fastest closet upgrade.
Remove the wire shelf: pull the shelf brackets off the wall clips, pull the clips off the wall standards, and unscrew the standards. Fill the holes with spackle. Install new ¾-inch wood shelf:
- Mount two shelf standards (same holes or new holes into studs)
- Cut melamine shelf to width
- Install rod cups on the side walls at rod height
- Install 1⅜-inch closet rod
Total time: 2 hours. The improvement over wire: a solid surface for folded items, no shelf lines imprinted on clothing, and a rod that supports more weight without bending.
Milestone: A shelf that’s level and a rod that supports 30 lbs without deflecting.
Step 2: Add a Shelf Divider for Zone Separation

Goal: A vertical shelf divider that creates two zones in a single-shelf closet.
Cut a vertical panel from ¾-inch plywood: full depth (same as shelf depth) × height from the shelf to the top of the closet. Position at the desired zone boundary. Attach to the shelf below with pocket screws from the underside and to the ceiling or top shelf with a small angle bracket. This simple divider allows different items in each zone — short hanging on one side, long hanging on the other — without building a full system.
Milestone: A vertical divider that’s plumb and securely attached at both top and bottom.
Step 3: Add a Second Rod for Double Hanging

Goal: A second rod below the existing rod — doubles the hanging capacity for shirts and pants.
A second rod at 42 inches (below a primary rod at 80+ inches) creates two full hanging zones for short items. Install using a rod-doubler kit (a telescoping support that attaches to the existing rod and supports a lower rod) — available at home improvement stores for $20–$30. No carpentry required: the doubler clamps to the existing rod and the lower rod clips into the doubler. Alternatively, mount fixed rod cups on the side walls at 42 inches for a permanent installation.
Milestone: A second rod level and parallel to the first, with 38 inches of hanging clearance in each zone.
Step 4: Build a Central Shelf Tower

Goal: A freestanding shelf tower in the center of the closet — the first structural addition.
Build a 12-inch wide × 60-inch tall shelf tower (as described in the DIY Closet Systems guide) and place it in the center of the closet. Add adjustable shelves. The tower divides the closet into two hanging zones (one on each side) and provides a center shelving section. This single addition increases storage capacity by 40–60% in a typical reach-in closet.
Milestone: A freestanding tower that’s square, plumb, and doesn’t tip when a shelf is loaded with 20 lbs.
Step 5: Build an Integrated Organizer With Shoe Rack

Goal: A wall-to-wall organizer with hanging zones, shelves, and a lower shoe rack.
Build the full-width organizer in place (not modular):
- Install ledger boards at shelf height on all three walls
- Cut and install vertical panels at zone boundaries (screw to floor and ceiling or top shelf)
- Install adjustable shelves in the center zone
- Mount rods in the hanging zones
- Build a 3-shelf shoe rack in the lower section of one hanging zone (floor to 24 inches)
The integrated approach produces a seamless look — no visible gaps between sections.
Milestone: A system where vertical panels are plumb, shelves are level, and the shoe rack fits 8 pairs of shoes.
Step 6: Build a Complete Custom Organizer With Drawers and Lighting

Goal: A full custom organizer with a drawer tower, double hanging, shelves, and LED strip lighting.
Add two premium features to the Step 5 system:
Drawer tower: build a 24 × 48-inch drawer unit in the center zone (replacing the shelves) with three drawers on full-extension slides.
LED lighting: install 12V LED strip lighting on the underside of the top shelf, running the full closet width. LED strip lights are adhesive-backed (peel and stick to the shelf underside). Connect to a small 12V power supply with an on/off switch mounted on the side wall. The lights illuminate the full closet when switched on, eliminating the common problem of not being able to see items in a dark closet.
Milestone: Three drawers that operate smoothly and LED lighting that illuminates all closet zones without shadows.
DIY Closet Organizer FAQ
How do I build a closet organizer in a closet with no outlets?
For LED lighting: use battery-operated LED strip lights or puck lights (motion-activated stick-on lights are the fastest solution — no wiring, easy installation). For power tools during installation: use a long extension cord from the nearest outlet. For a permanent lighting solution without an outlet inside the closet: run a low-voltage (12V DC) wire from an external power supply through a small hole in the closet wall — low-voltage wiring doesn’t require an electrician in most jurisdictions.
What is the standard closet rod height?
Single rod (for everything): 66–68 inches from the floor — accessible to most adults when reaching into the back of the closet. Double hanging (upper rod): 80–84 inches (the upper rod; long items like jackets should clear the lower rod by 2 inches). Double hanging (lower rod): 40–42 inches (shirts and pants). Children’s closets: lower rod at 36–40 inches (accessible to children 4–10 years), upper rod at 60–68 inches (parent accessible). The rod-to-shelf clearance (space between the rod and the shelf above) must be at least 2 inches for hangers to lift off the rod easily.
How do I cut plywood perfectly straight for closet shelves?
A circular saw with a straightedge guide is the most practical method for full-sheet cuts. Clamp a straight board (a factory-edge of a plywood sheet works well) to the workpiece as a guide fence, positioned so the circular saw’s base plate rides against the guide and the blade cuts on the desired line. The factory edge of a new sheet of plywood is perfectly straight — use it as your reference guide for the first cut. For crosscuts (cuts across the width of a sheet): a miter saw with a long fence extension handles panels up to 30 inches. Beyond that, use the circular saw with a guide.
Can I build a closet organizer if the closet has sloped or irregular walls?
Yes, with scribing. A sloped or irregular wall means no two vertical cuts are the same length. Measure the wall profile at multiple points (every 6 inches) and transfer those measurements to the panel face. Cut along the measured line — the panel will fit the wall profile exactly. For gentle irregularities (less than ½ inch variance over the full height): cut the panel ½ inch short and cover the gap with a thin filler strip (a ¾-inch trim strip painted to match). This is faster than scribing and produces a clean result.

“DIY woodworking enthusiast who started with zero experience and a YouTube tutorial.
I build simple, practical projects for my home and share free plans
so other beginners can skip the guesswork.If I can build it, you can too.”