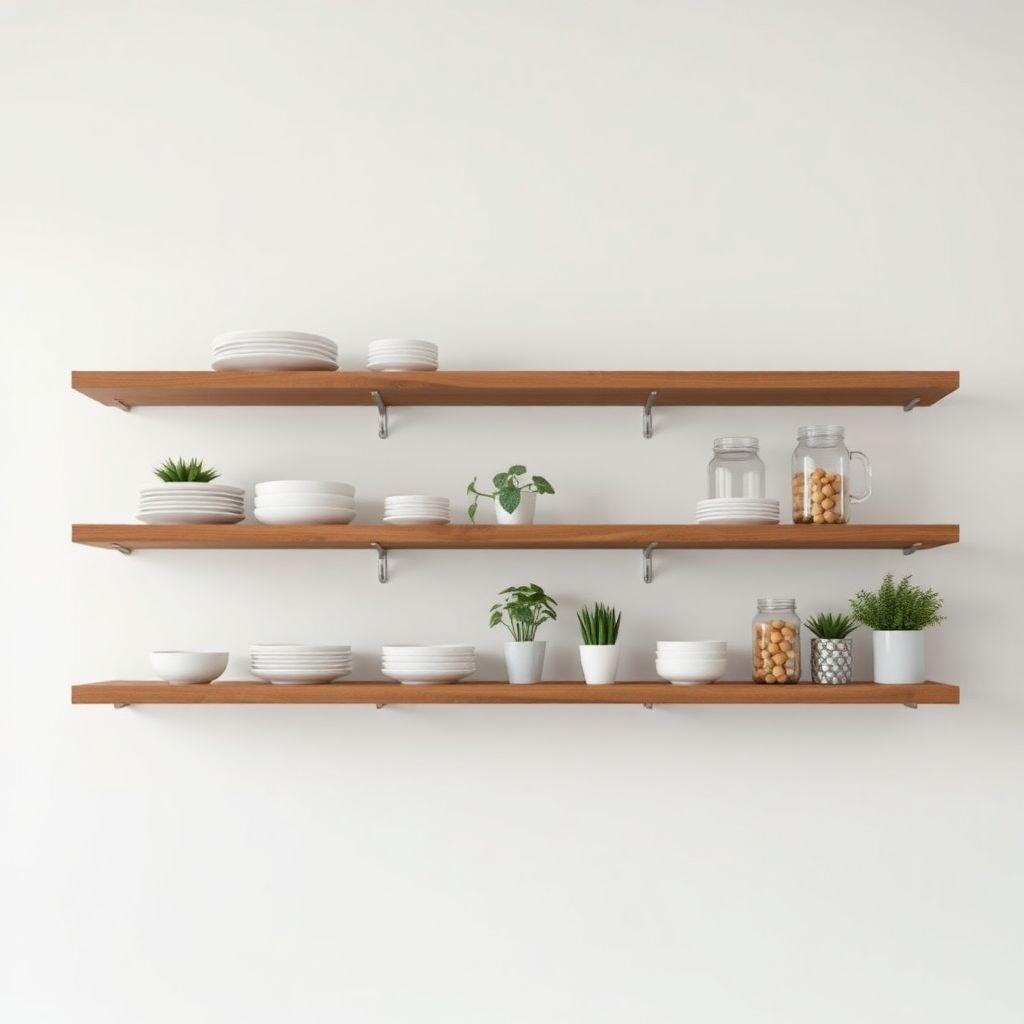
Floating kitchen shelves give you open storage with no visible brackets, and they cost a fraction of custom cabinetry. In this guide you will build and install a set of three floating shelves, each 36″ wide, 10″ deep, and 1-1/2″ thick, mounted on a hidden French cleat system so nothing hangs below the shelf. Budget about $90 to $140 in materials depending on your plywood and hardwood choices, and plan on a weekend: roughly four hours of shop time to build the blanks and finish them, plus two hours to hang and level.
This build is part of our kitchen and pantry projects series. If you want the full lineup of kitchen builds compared by skill and cost, start there. If you are ready to cut wood, keep reading.
The two things that separate a shelf that looks store-bought from one that sags or wobbles are stud placement and shelf thickness. We handle both up front so you do not end up shimming a crooked shelf or watching it bow under a stack of plates.
Plan the Shelf Layout: Stud Locations First
Looking for more kitchen ideas?
This guide is part of our complete kitchen and pantry projects series — compare all options by skill level, cost, and build time.
Want 16,000+ woodworking plans?
Ted’s Woodworking has step-by-step plans for every skill level. Browse Ted’s plans.
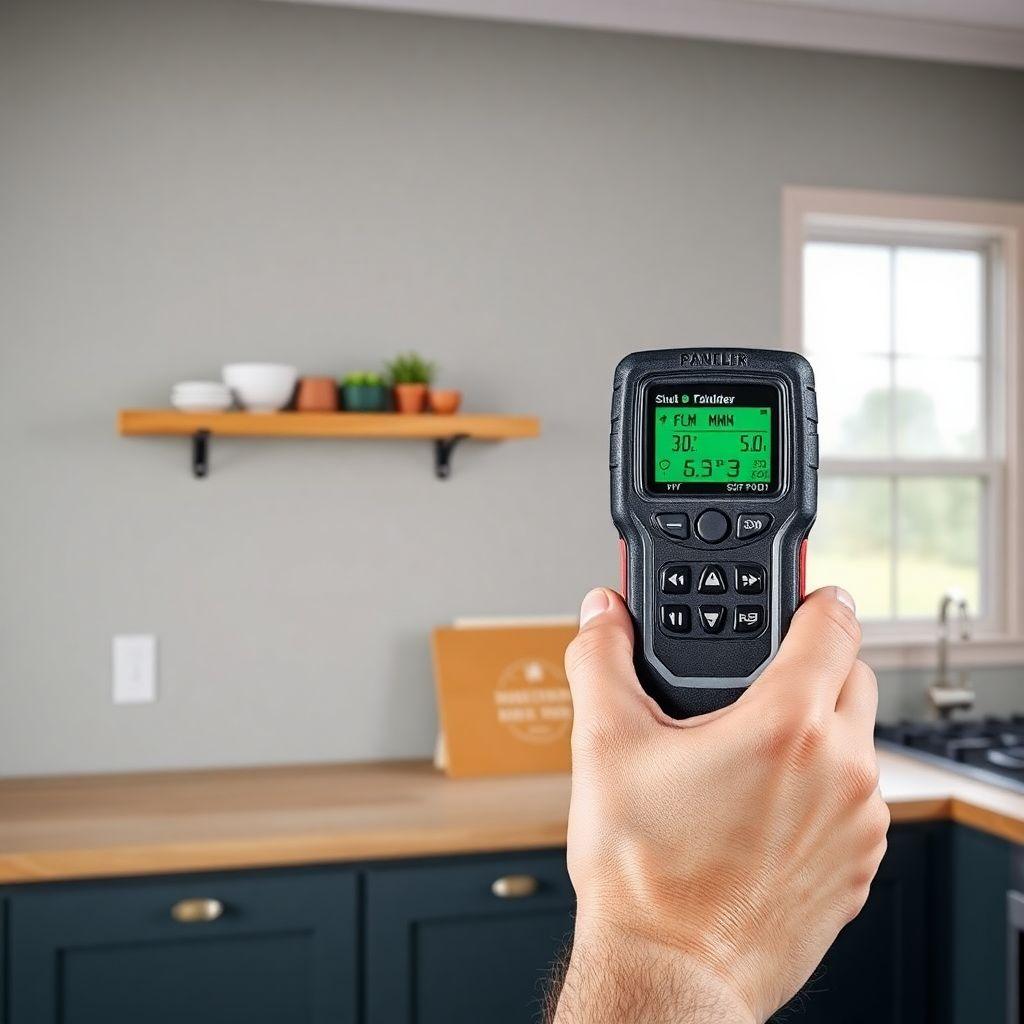
Most people pick shelf heights first and then try to hit studs. That is backwards, and it is why so many floating shelves end up shimmed, tilted, or anchored into drywall that eventually lets go.
Do it the other way around. Locate and mark every stud in the wall run before you decide where the shelves go. Studs are usually 16″ on center, sometimes 24″, but old houses and remodels are unpredictable, so verify every one. Once you have the studs marked, you have freedom to nudge each shelf up or down by an inch or two to land the cleat screws on solid framing. A shelf that sits at 51″ instead of 50″ is invisible to everyone but you. A shelf anchored only into drywall is a problem you will notice the first time you load it.
Here is the load reality you are planning around. Two studs spanning a 36″ shelf will safely carry about 50 lbs, which covers dishes, jars, a few plants, and a small appliance. Push the span to 48″ with studs only at the ends and the middle becomes a flex point that will bow over time. If you want a wider shelf, add a third stud anchor in the middle or keep the span at 36″. Drywall anchors alone top out at 20 to 30 lbs and they creep loose under the constant load of dishes. For a kitchen shelf, plan on studs. Anchors are a backup, not a plan.
Materials and Cut List
This makes a set of three shelves, each 36″ wide, 10″ deep, and 1-1/2″ thick, mounted on French cleats.
Cut list
| Part | Material | Size | Qty |
|---|---|---|---|
| Shelf layers | 3/4″ plywood | 36″ x 10″ | 6 (2 per shelf) |
| Hardwood nosing | 3/4″ x 1-1/2″ poplar or oak | 36″ long | 3 |
| Wall cleats | 3/4″ plywood | 34-1/2″ x 3″, ripped at 45 degrees | 3 |
| Shelf cleats | 3/4″ plywood | 34-1/2″ x 3″, ripped at 45 degrees | 3 |
| Edge banding (sides only) | Iron-on veneer | approx. 6 linear feet | 1 roll |
Also needed: wood glue, 1-1/4″ wood screws (for cleats into studs), 1-1/4″ pin nails, painter’s tape, sandpaper (120 and 220 grit), finish (see Step 4).
A note on shelf thickness before you buy. A single sheet of 3/4″ plywood looks thin on the wall and will visibly flex over a 24″ unsupported span. Laminating two layers to 1-1/2″ total gives you a shelf that reads as solid wood and does not bounce when you set down a cast-iron pan. If you would rather use solid wood, a 2x pine board (actual thickness 1-1/2″) works, but buy straight-grain stock and let it acclimate, or it will cup on you.
Tools Required
- Circular saw or table saw (table saw strongly preferred for the 45-degree cleat rips)
- Stud finder
- Drill/driver
- Clamps (at least four, more is better for laminating)
- Pin nailer or hammer and nail set
- Iron (household iron works for edge banding)
- 4-foot level
- Tape measure and pencil
- Random orbital sander
- Utility knife (for trimming edge banding)
The only cut that demands precision is the 45-degree rip on the cleats. A table saw with the blade tilted to 45 degrees is the reliable way to do it. A circular saw with a bevel setting can work if you clamp a straightedge guide, but take your time.
Step 1: Locate Studs and Mark Shelf Heights
Run the stud finder across the entire wall section and mark the center of every stud with a light pencil line and a strip of painter’s tape. Confirm each stud by driving a fine finish nail into the pencil mark; you should hit wood, not empty drywall. Guessing here is how people end up with a shelf anchored into nothing.
With the studs mapped, decide your shelf heights. A common layout puts the lowest shelf 18″ to 20″ above the countertop so you have room to work under it, with the next two spaced 12″ to 14″ apart. Adjust these numbers up or down as needed so each shelf’s cleat lands cleanly across at least two studs. Mark a level horizontal line at each shelf height using your 4-foot level, and double-check it. The cleat gets screwed to this line, so a crooked line means a crooked shelf.
Step 2: Build the Shelf Blanks (Laminate and Edge)
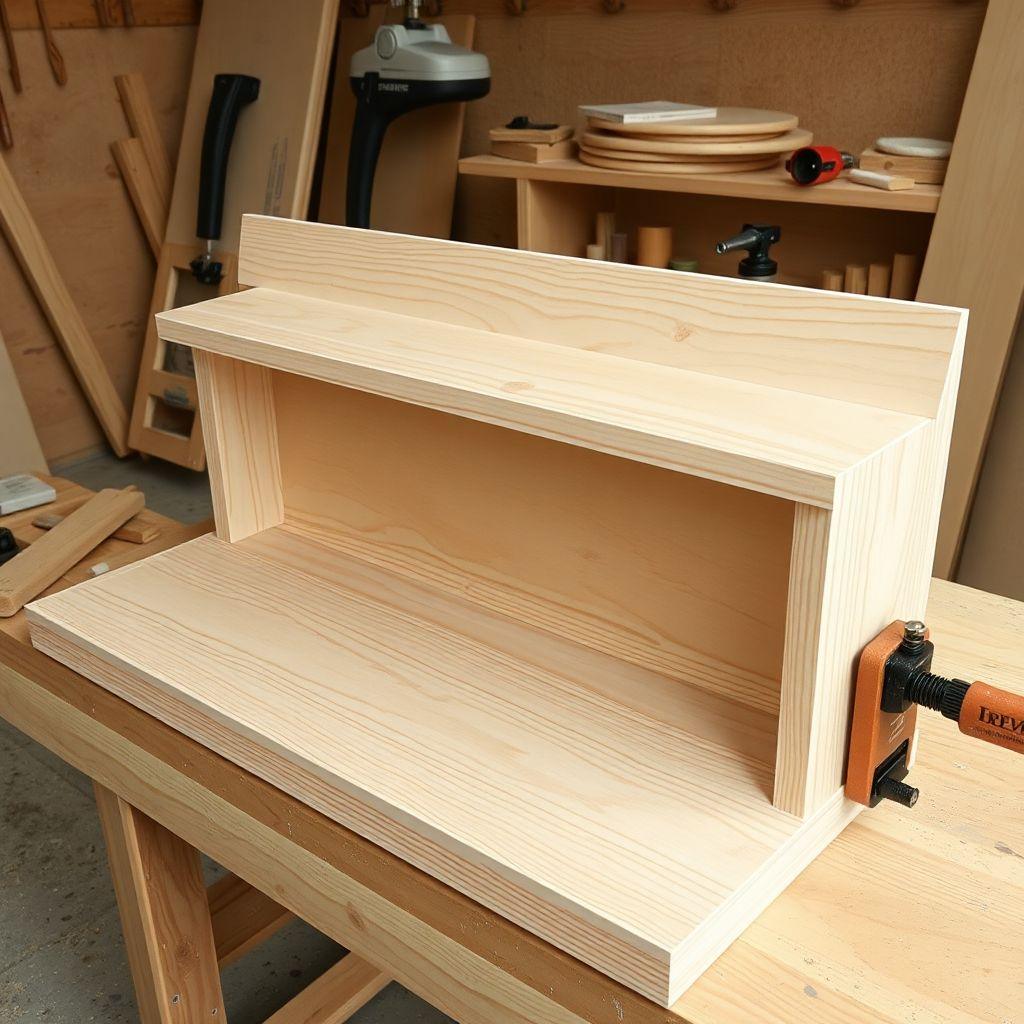
Cut all six plywood layers to 36″ x 10″. Working one shelf at a time, spread an even coat of wood glue across the full face of one layer, set the second layer on top with edges flush, and clamp. Use as many clamps as you have and add a few heavy books or a weight in the center where clamps cannot reach, so the middle bonds tight. Wipe squeeze-out with a damp rag before it skins over. Leave each blank clamped for at least an hour, ideally overnight for a rock-solid bond.
Once the blanks are dry, sand the faces and edges flush with 120 grit. Now finish the visible edges. The two side edges get iron-on veneer banding: lay a strip over the edge, run a hot iron across it to melt the adhesive, press it down as it cools, then trim the overhang with a utility knife and sand the edge flush.
For the front edge, skip the veneer and use hardwood nosing instead. Veneer banding on the front shows a seam line and chips over time right where your hands and pans hit it. A 3/4″ x 1-1/2″ strip of poplar or oak glued and pin-nailed to the front gives you a thick, durable edge that completely hides the plywood layers. It is one extra step and it is the single biggest upgrade to how the finished shelf looks. Glue the nosing to the front edge, pin-nail it every 8 inches, wipe the glue squeeze-out, and let it set. Once dry, sand the nosing flush with the top and bottom faces.
Step 3: Cut and Install the French Cleats
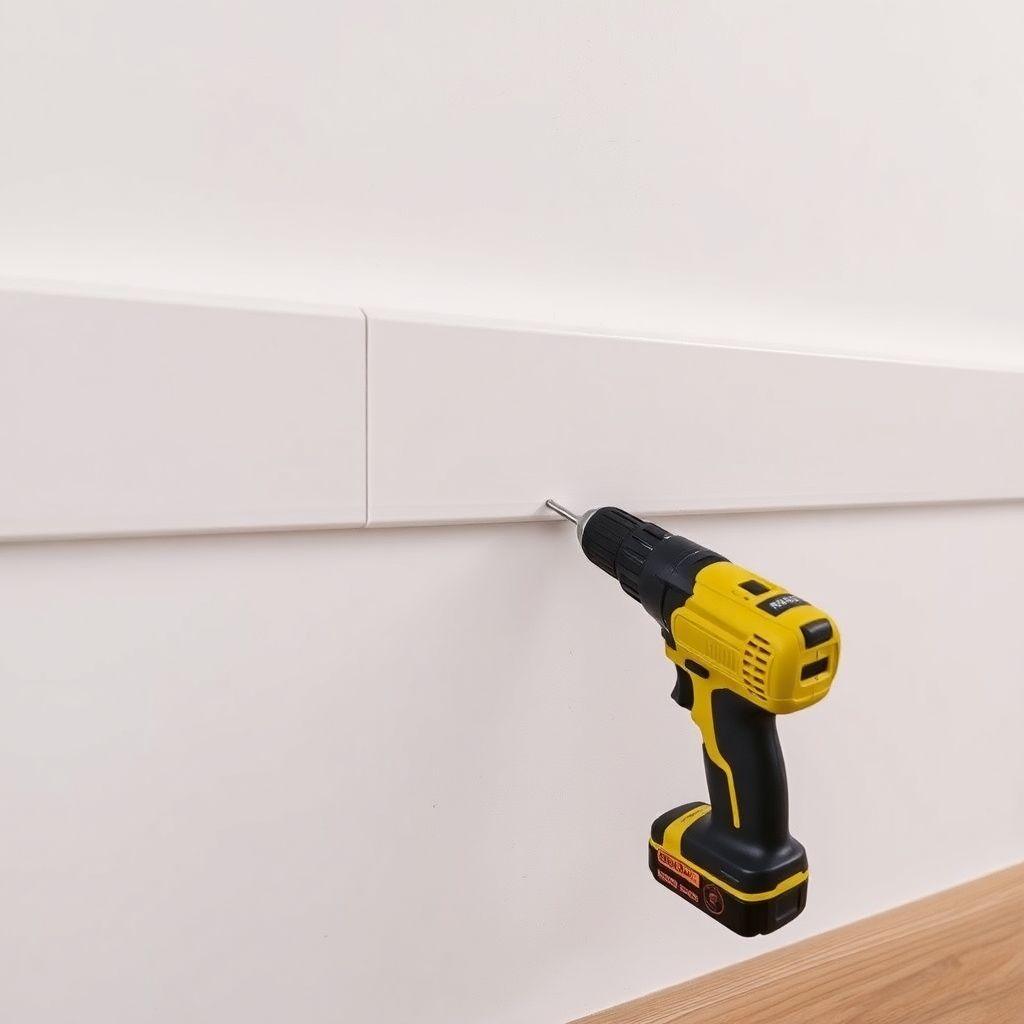
The French cleat is what makes these shelves float and, just as important, what lets you lift a shelf off the wall later to repaint it without unscrewing anything.
Rip your cleat stock at 45 degrees down its length. Each 3″ wide piece splits into two matching wedges. One wedge (the wall cleat) screws to the wall with its 45-degree face angled up and toward the wall, forming a hook. The mating wedge (the shelf cleat) glues and screws inside the back of the shelf with its angle pointing down and toward the wall, so it drops onto the wall hook and pulls tight against the wall under load.
Why a French cleat and not L-brackets? L-brackets are faster but they are visible and permanent, which kills the floating look. The French cleat hides completely inside the shelf, holds more weight, and lets you slide the shelf off for cleaning or refinishing. For a true floating shelf, it is the only mount worth using.
Glue and screw each shelf cleat inside the back cavity of its shelf now, angle facing down and toward the wall, flush with the back edge. Set these aside. Screw each wall cleat to the wall in the next step, once you have confirmed your level lines.
Step 4: Finish the Shelves
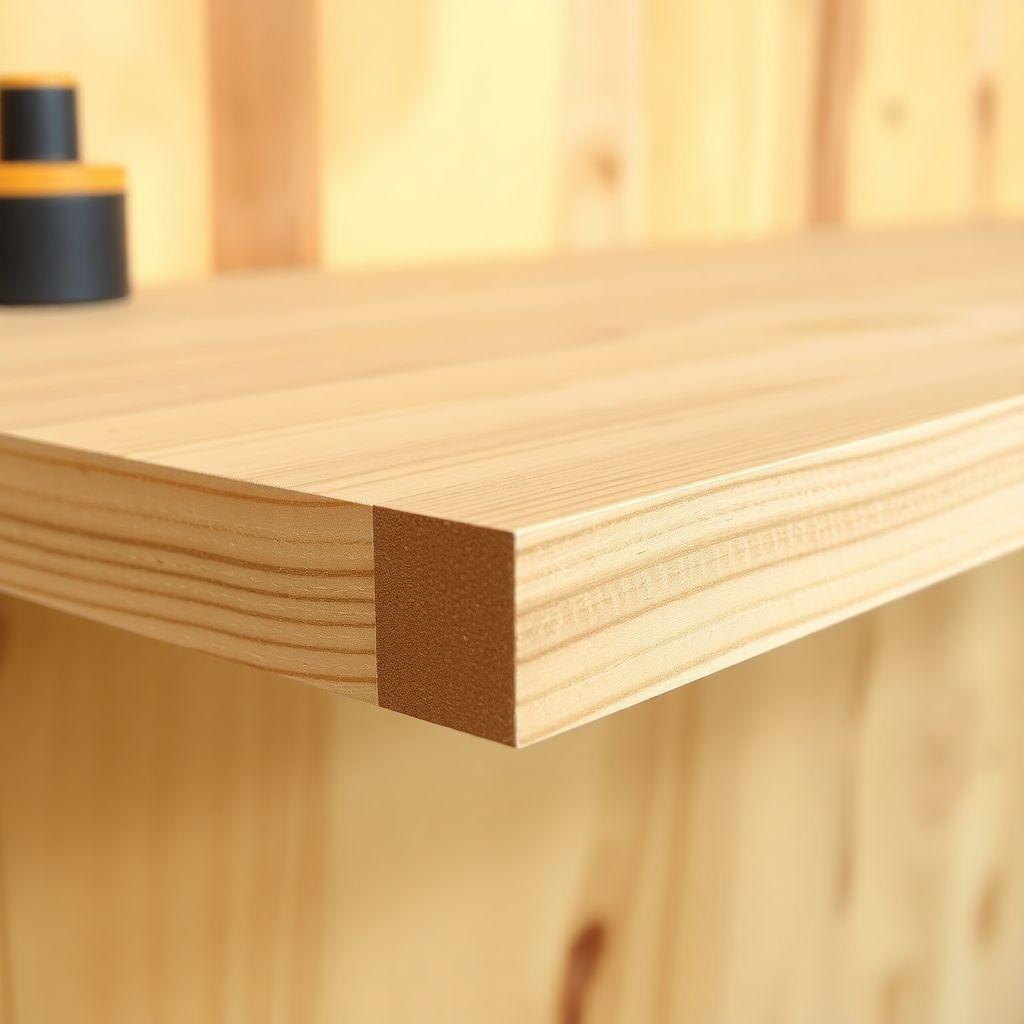
Finish the shelves before hanging them. It is far easier to lay a shelf flat on sawhorses than to brush finish on a wall.
Sand everything to 220 grit and wipe off the dust. For a kitchen shelf that will hold damp items, the best combination is oil plus a poly topcoat. Two coats of a food-safe hardwax oil such as Rubio or Osmo soak in, are easy to spot-repair, and look natural. Then one topcoat of water-based polyurethane adds water resistance and a harder surface.
The tradeoff to understand: oil alone is repairable and wears gradually but needs an annual recoat in a working kitchen. Polyurethane alone is harder and more water-resistant but chips rather than wearing evenly, and a chip is hard to fix invisibly. Oil first, then a poly topcoat, gives you the repairability of oil with most of the water resistance of poly. Let each coat cure per the product directions before the next, and give the final coat a full day before loading the shelf.
Looking for more kitchen project ideas?
This guide is part of our complete kitchen and pantry projects series — 5 builds compared by skill, cost, and build time.
Want 16,000+ woodworking plans?
Ted’s Woodworking has step-by-step plans for every skill level. Browse Ted’s plans.
Step 5: Hang the Shelves and Level
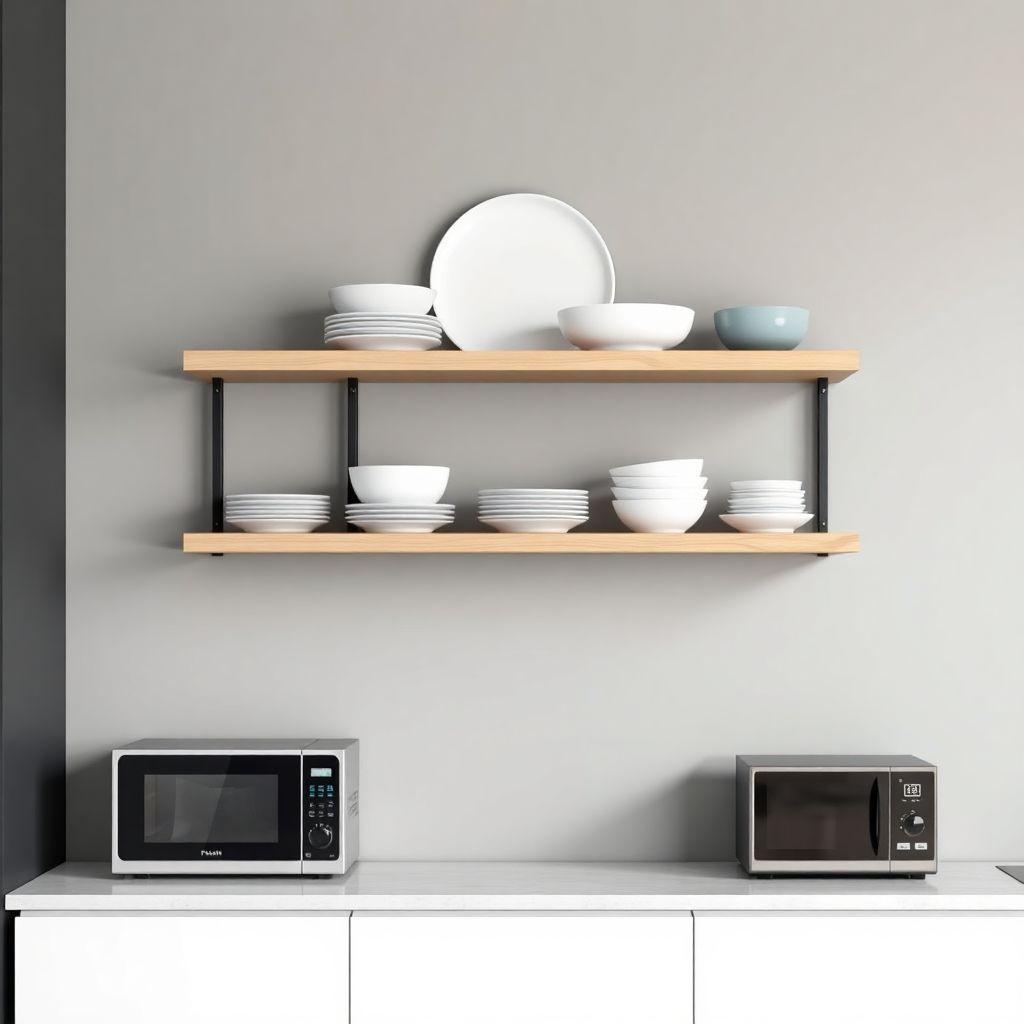
Hold a wall cleat up to your lowest level line, angle facing up and toward the wall. Check it against your level line one more time, then drive 1-1/4″ screws through the cleat into every stud it crosses. Two studs minimum per cleat. Repeat for the other two wall cleats at their marked heights.
Now lift each shelf and lower it onto its wall cleat. The two 45-degree faces mate and the shelf pulls itself snug against the wall as it settles. Set your level on top of the shelf and check side to side. If a shelf sits slightly off, it is almost always because the wall cleat drifted off the level line, so pull the shelf, adjust the cleat, and rehang. This is exactly why you finished the shelves off the wall and why the cleat system lets you lift them off freely.
Once all three are level and seated, load the lowest shelf first and work up. Keep the heaviest items over the studs, not floating in the middle of the span, and you will have a set of shelves that stays flat and solid for years.
FAQ
How much weight can floating kitchen shelves hold?
A 36″ shelf anchored to two studs with a French cleat safely holds about 50 lbs, enough for dishes, jars, plants, and a small appliance. Weight held only by drywall anchors should stay under 20 to 30 lbs, and even that will loosen over time. Always anchor to studs for kitchen use.
Do I really need a French cleat, or will L-brackets work?
L-brackets work and install faster, but they are visible under the shelf and permanent. A French cleat hides inside the shelf for a true floating look, carries more weight, and lets you lift the shelf off the wall to clean or refinish it. For a floating appearance, use the cleat.
Why laminate two layers of plywood instead of using one thick board?
A single 3/4″ layer looks thin and flexes over the span. Two layers glued to 1-1/2″ total reads as solid wood and does not bounce under heavy items. A solid 2x board works too, but only with straight-grain stock that will not cup.
What finish is best for a kitchen shelf?
Two coats of food-safe hardwax oil for a natural, repairable base, then one topcoat of water-based polyurethane for water resistance. Oil alone needs annual recoating; poly alone chips instead of wearing evenly. The combination gives you the best of both.
What if my studs do not line up with where I want the shelves?
Move the shelves, not the studs. Mark every stud first, then adjust each shelf height up or down an inch or two to land the cleat screws on framing. A small height change is invisible; a shelf hanging on drywall is not.
Can I make the shelves wider than 36 inches?
You can, but a 48″ span with studs only at the ends will flex in the middle under load. Either add a third stud anchor in the center or keep spans at 36″ to stay safe with dishes and appliances.
Related Articles

“DIY woodworking enthusiast who started with zero experience and a YouTube tutorial.
I build simple, practical projects for my home and share free plans
so other beginners can skip the guesswork.If I can build it, you can too.”