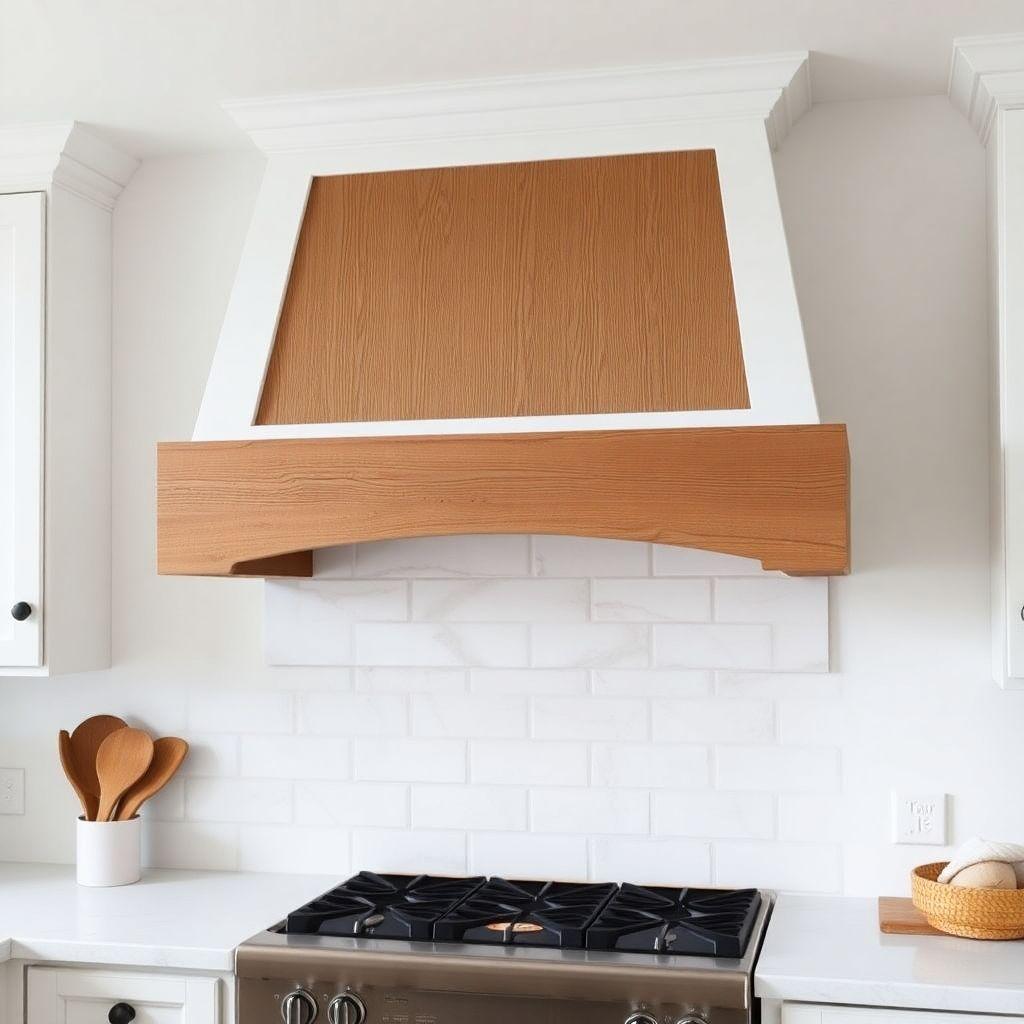
A custom wood range hood is one of the highest-impact upgrades you can make during a kitchen remodel, and it costs a fraction of a store-bought designer hood. These wooden range hood plans walk you through building a decorative wood box that wraps a standard liner insert. The insert does the venting; the box makes it look like a built-in feature that cost thousands. This is part of our kitchen and pantry projects series.
Expect to spend $250 to $450 in materials (not counting the insert) and one focused weekend of work. This is an intermediate build. If you can cut plywood square, run a nail gun, and cut crown molding, you can do this. The measurements below are for a 42″W x 30″H x 22″D hood built around a 36″ insert, but the method scales to any insert size.
Read this before you cut anything: the wood box is cosmetic. It does not vent your kitchen. You must install a code-compliant range hood liner insert first. Building a bare wood box over an open cavity is a fire hazard and fails code in most jurisdictions.
Step 0: Install the Insert First
Looking for more kitchen ideas?
This guide is part of our complete kitchen and pantry projects series — compare all options by skill level, cost, and build time.
Want 16,000+ woodworking plans?
Ted’s Woodworking has step-by-step plans for every skill level. Browse Ted’s plans.
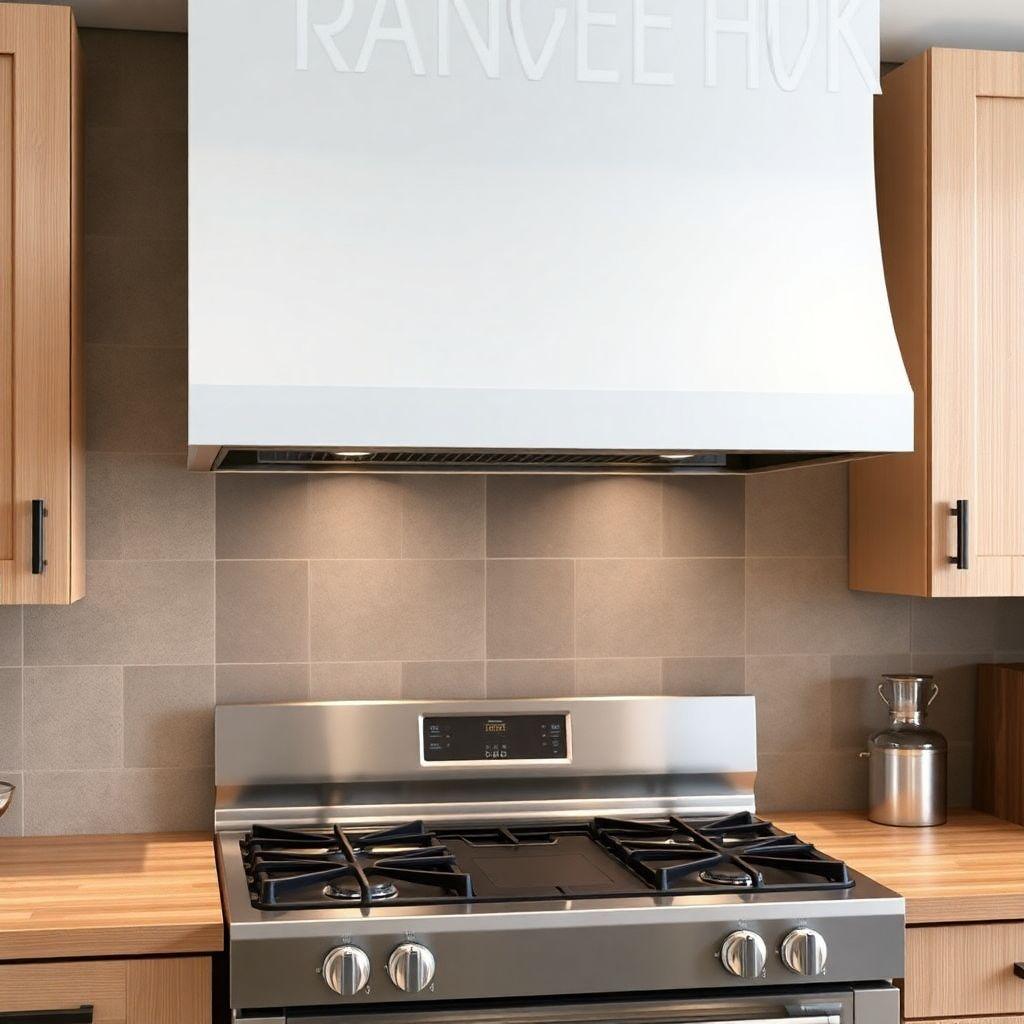
The liner insert is the actual appliance: the blower, the light, the filters, and the ductwork. The wood box is trim. Buy and install the insert before you build anything.
Range hood liner inserts come in standard widths of 30″ and 36″ to match your cooktop. Depth varies more, usually 17″ to 20″, so measure the exact model you buy. The insert must be vented to the outside through the wall or roof per its manual and your local code. If you are not comfortable running duct and wiring, this is the step to hire out.
Two hard rules the insert sets for you:
- Mounting height. The bottom of the hood must sit 24″ to 30″ above an electric cooktop and 27″ to 36″ above gas. The exact number comes from the insert manufacturer and your local code, not from what looks good. Hanging it lower voids the insert warranty and is a fire risk.
- Clearances. The insert manual lists minimum clearances to combustibles. Your wood box has to respect those. That drives the interior liner in Step 3.
Get the insert mounted, wired, vented, and tested before the box goes up. Everything downstream is built around it.
Measure and Plan the Box Dimensions
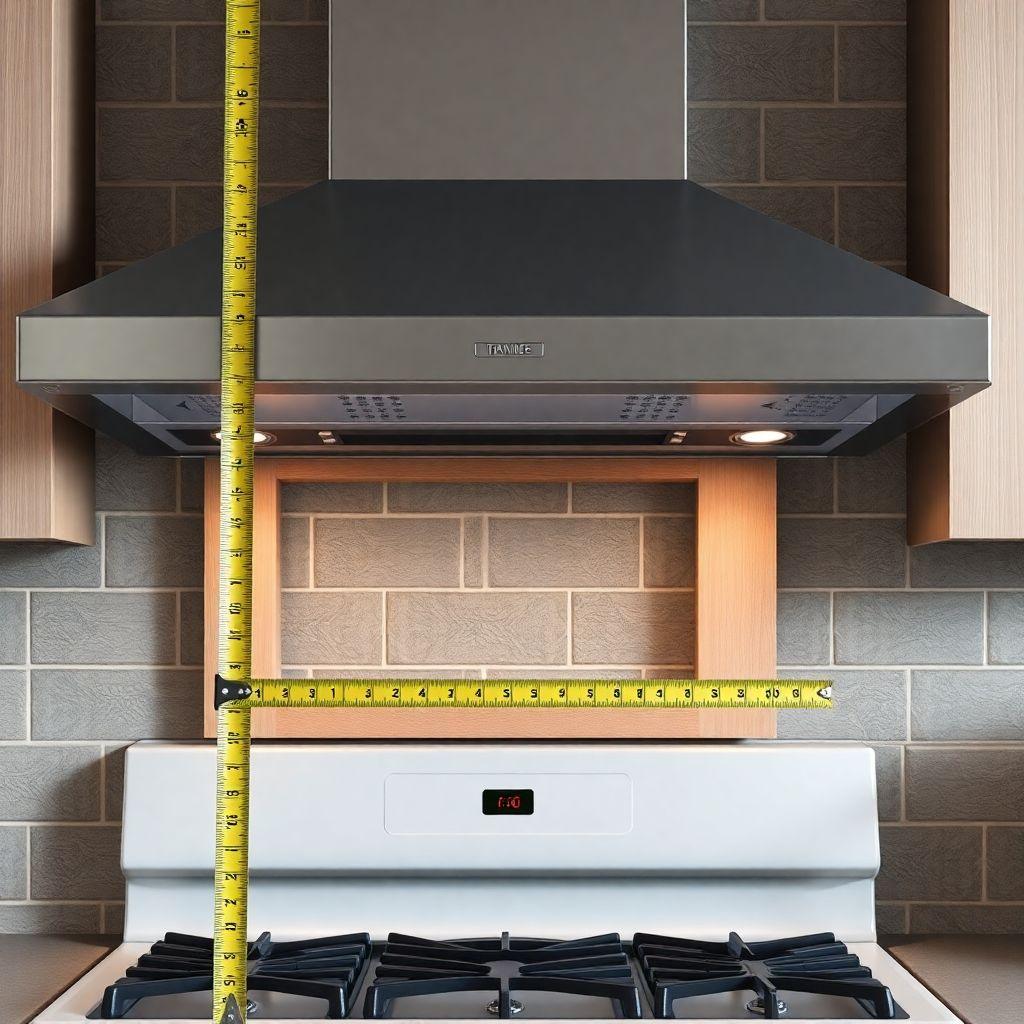
The insert dimensions drive every cut. Measure your installed insert’s width, depth, and height before you touch a saw.
The box has to clear the insert on all sides by at least 1/2″ so heat expansion never presses wood against hot metal. For a 36″ insert that is roughly 17″ deep, that math lands at a 42″W x 22″D box, which gives you clean clearance plus room for the interior cement board liner and the shiplap thickness on the outside.
Write down these three numbers before ordering material:
- Finished hood width = insert width + wall-to-wall clearance + shiplap and face-frame thickness. For a 36″ insert we use 42″.
- Finished hood depth = insert depth + 1/2″ minimum clearance + liner thickness. For a 17″ insert we use 22″.
- Finished hood height = the distance from the ceiling (or soffit) down to the required mounting height above your cooktop. We use 30″ here.
Confirm your ceiling height and the cooktop-to-ceiling gap now. If the gap is short, you shrink the box height, not the clearance above the cooktop.
Materials and Cut List
This cut list builds a 42″W x 30″H x 22″D painted hood around a 36″ insert. Adjust dimensions to your own three numbers from the section above.
Cut list:
- 2x side panels: 3/4″ plywood, 21-1/4″ x 29-1/4″
- 1x front panel: 3/4″ plywood, 40-1/2″ x 29-1/4″
- 1x top panel: 3/4″ plywood, 40-1/2″ x 21-1/4″
- 2x bottom nailers: 3/4″ x 3-1/2″ pine, 21-1/4″ long
- Shiplap boards: 1×6 pine shiplap, enough to cover 2 sides + front (approx. 32 linear feet)
- Face frame: 3/4″ x 2″ poplar, cut to the perimeter of the insert opening
- Crown molding: 3-1/2″ crown at 38 degree spring, approx. 14 linear feet
- Interior liner: 1/4″ cement board, cut to fit interior faces
- 2x mounting cleats: 3/4″ x 3″ plywood, 40-1/2″ long (one screws to wall studs, one to the top of the box)
Also buy:
- 1-1/4″ and 2″ wood screws
- 2″ and 1-1/4″ finish nails (18 gauge) for the nailer
- Construction adhesive and cement board screws
- Wood filler, caulk, primer, and paint (or stain, see the finish note below)
- Cabinet screws or lag screws for mounting into studs
Paint vs stain. A painted hood hides plywood edges, filler, and caulk, so shop-grade plywood is fine. If you want a stained finish, you cannot use shop-grade plywood on visible faces. Stain-grade means select hardwood, poplar at minimum, on every face the eye sees, plus veneer edge banding on plywood edges. Stain over shop-grade plywood and filler comes out blotchy and looks cheap. Decide now, because it changes what material you buy.
Tools Required
- Table saw or circular saw with a straightedge
- Miter saw (compound miter saw strongly preferred for the crown)
- Brad or finish nailer (18 gauge) and compressor
- Drill/driver
- Corner clamps and bar clamps
- Stud finder
- Level, speed square, tape measure
- Caulk gun
- Sander, and a jigsaw or oscillating tool for cement board notches
Step 1: Build the Box Frame
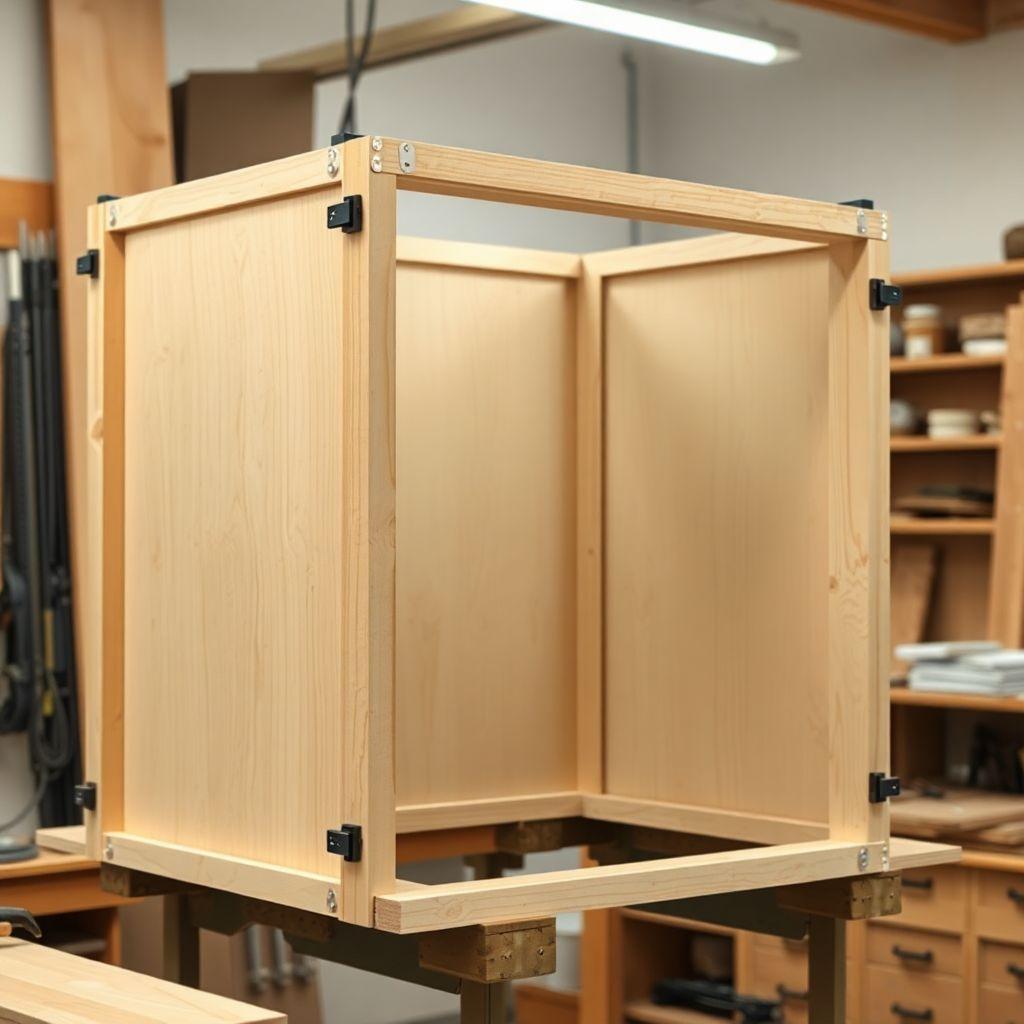
You are building a three-sided box: two sides and a front, capped by a top panel. The back is open because it sits against the wall and over the insert.
Stand the two side panels up and set the front panel against their front edges. Clamp the corners with corner clamps and check for square with a speed square. Glue and screw the front panel into the edges of the side panels with 2″ screws every 8″. Pre-drill near the ends of the plywood so you do not split the plies.
Set the top panel across the top of the assembly. It should sit flush with the outer faces on the front and sides. Glue and screw it down into the top edges of all three panels.
Now add the two bottom nailers. These are the 3/4″ x 3-1/2″ pine strips that run front-to-back along the bottom inside edge of each side panel. They give the shiplap and face frame something to nail into at the bottom and stiffen the open lower edge. Glue and screw them flush to the bottom edge of each side.
Check the whole box for square before the glue sets. A box that racks now will fight you at every later step.
Step 2: Apply Shiplap Panels to Sides and Front
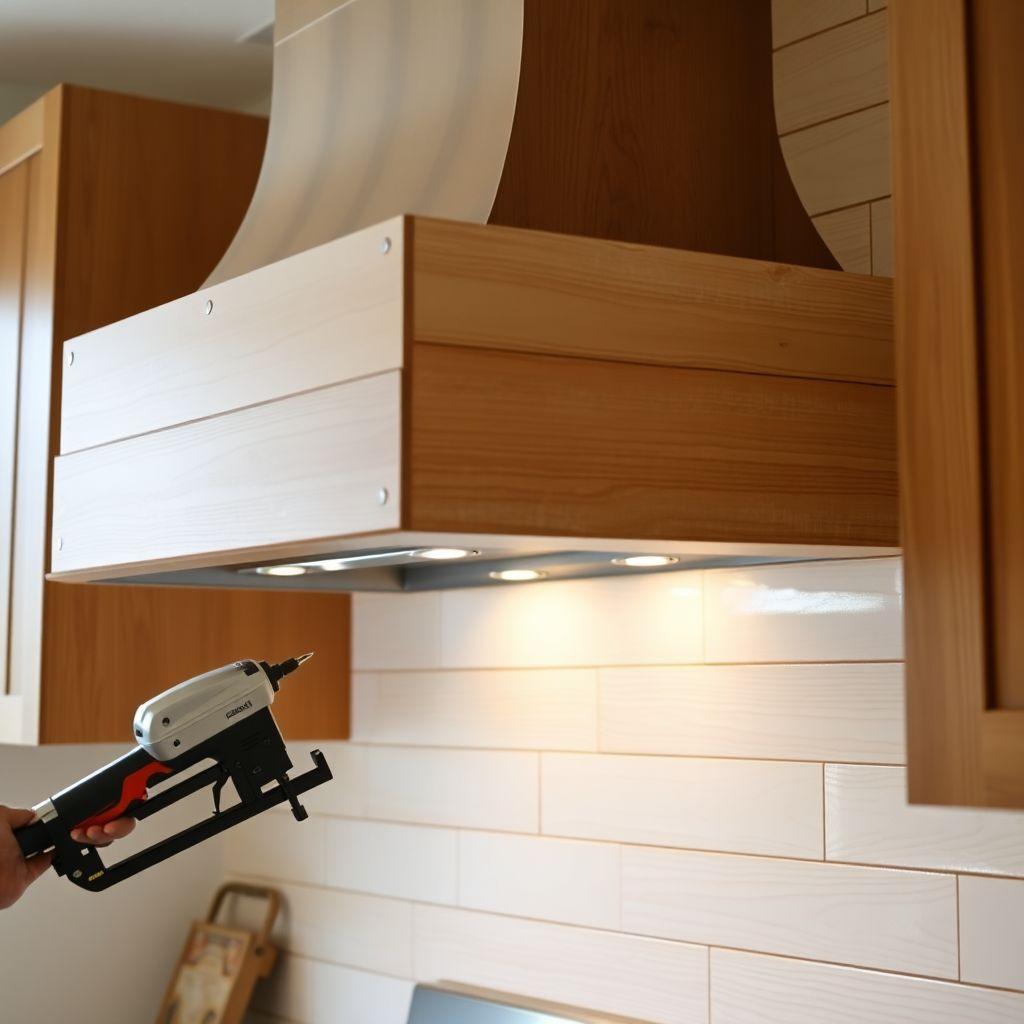
Shiplap gives the hood its farmhouse texture. It goes on the two sides and the front. The back stays open.
Run the boards horizontally. Start at the bottom and work up, letting each board’s rabbet lap over the one below so you get that consistent shadow line. Nail into the plywood behind and into the bottom nailer with 2″ finish nails, two nails per stud line per board.
Wrap the front corners so the side shiplap and front shiplap meet cleanly at the corner. You can miter the corner boards or run a corner trim piece over the joint. Miter looks more custom but demands tighter cuts.
Rip the top and bottom boards to width so you finish flush with the top panel and the bottom edge. Do not force full-width boards at the ends; a ripped board reads fine once painted.
Step 3: Line the Interior with Cement Board
This is the step nearly every DIY tutorial skips, and it is the one that keeps the build safe. Wood facing a heat-producing insert is a fire risk. The interior surfaces of the box, the faces that look at the insert, must be lined with a non-combustible material: 1/4″ cement board or sheet metal.
Cut the cement board to fit the inside faces of the front and sides that sit near the insert. Score and snap it, or cut it with a jigsaw and a carbide blade. Notch around the insert body, the wiring, and the duct as needed with an oscillating tool.
Fasten the cement board to the interior plywood with construction adhesive and cement board screws. You are not looking for a finished surface here; you are creating a heat barrier between the insert and the wood. Keep the required insert clearance intact. The cement board does not let you cheat the 1/2″ gap.
If your insert manual specifies sheet metal or a larger clearance, follow the manual. It overrides this general guidance.
Step 4: Install Crown Molding at the Top
Crown molding caps the hood where it meets the ceiling and hides the top joint. It is also where most people waste expensive material, so cut a test piece first.
Crown springs off the wall at an angle, usually 38 degrees or 45 degrees. Check the back of your molding; the two flat spring surfaces tell you the angle. You must know this before you buy, because the miter setup depends on it.
The corners are compound cuts: the saw tilts (bevel) and rotates (miter) at the same time. The simplest reliable method is to cut the crown “nested” upside down and backwards against the miter saw fence, so the ceiling side sits on the saw table. Set your saw’s crown stops if it has them.
Cut one test corner from scrap or an offcut and check the fit before you cut the real pieces. Crown at 3-1/2″ and 14 linear feet is not cheap, and a wrong bevel ruins a whole stick.
Glue and pin the crown to the top of the box with 18 gauge nails into the top panel and the shiplap behind. Fill the nail holes and any hairline corner gaps with caulk.
Step 5: Face Frame, Finish, and Mount
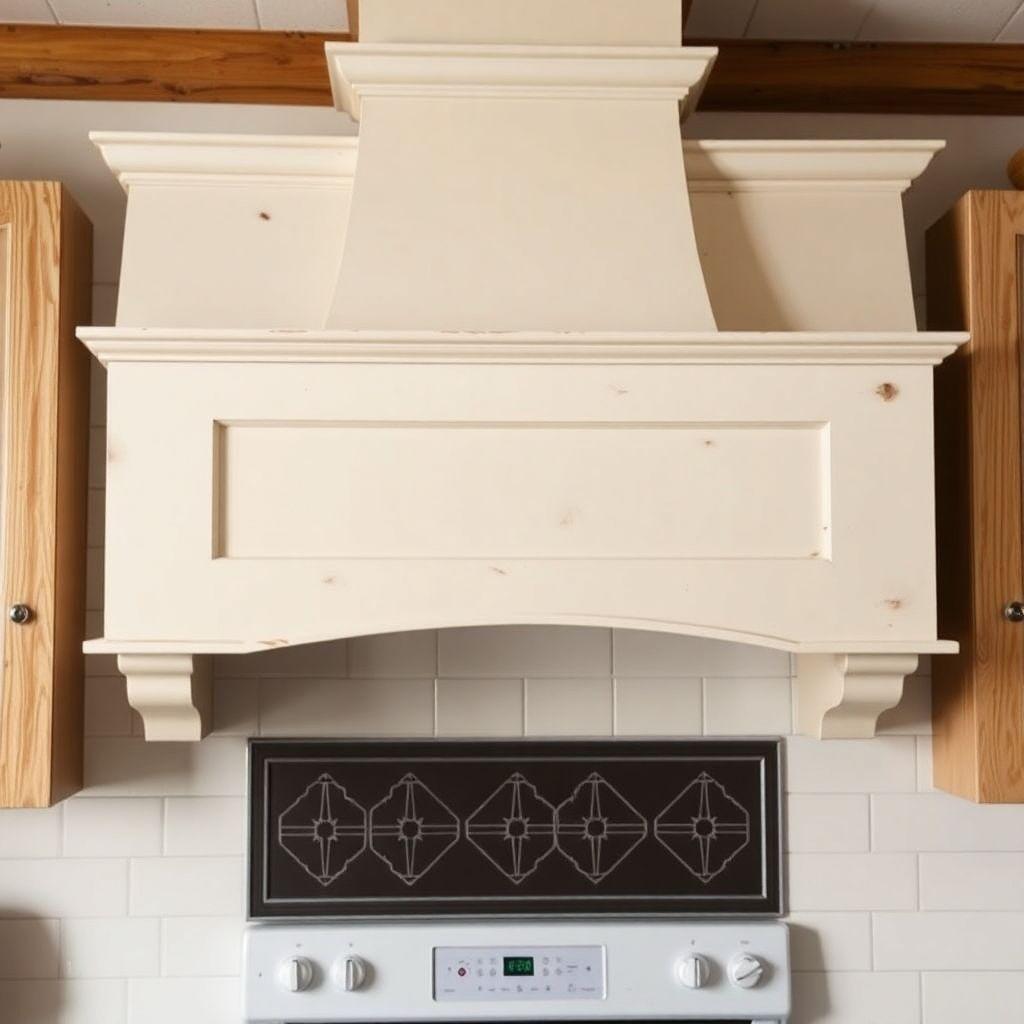
The face frame is the poplar trim that borders the bottom opening where the insert shows through. It cleans up the plywood and shiplap edges around the insert and gives the hood a finished mouth.
Cut the 3/4″ x 2″ poplar to frame the insert opening. Miter or butt the corners, then glue and pin it to the bottom nailers and panel edges. Set the frame so the insert’s face sits flush or slightly proud, and confirm the filters still drop out for cleaning.
Finish:
- Fill every nail hole and seam with wood filler. Sand flush.
- Caulk the inside corners and the crown joints.
- Prime everything, including the shiplap grooves.
- Paint two coats (or stain and topcoat if you went stain-grade).
Mount:
The hood hangs on two cleats. Screw the first cleat to the wall into studs, level, at the height that puts the box top tight to the ceiling and the box bottom at your required cooktop clearance. The second cleat is already fastened to the top inside of the box. Lift the box into place so its cleat rests on and behind the wall cleat, then screw the two cleats together and drive a few screws through the sides into the studs where you can.
Recheck that the finished bottom edge still sits at the manufacturer’s required height above your cooktop. Caulk the seam where the crown meets the ceiling, touch up paint, and you are done.
Looking for more kitchen project ideas?
This guide is part of our complete kitchen and pantry projects series — 5 builds compared by skill, cost, and build time.
Want 16,000+ woodworking plans?
Ted’s Woodworking has step-by-step plans for every skill level. Browse Ted’s plans.
FAQ
Does the wood range hood cover actually vent my kitchen?
No. The wood box is purely cosmetic. Ventilation comes from a liner insert you install first. The insert holds the blower, filters, light, and ductwork. The wood box just wraps it to look like a built-in. A wood box over an open cavity with no insert is a fire hazard and fails code in most areas.
What size insert do I need for a wood range hood?
Match the insert width to your cooktop. Standard inserts are 30″ or 36″ wide. Depth varies from 17″ to 20″ depending on the model, so measure the exact unit. Your wood box then gets built around that insert with at least 1/2″ clearance on every side.
How high above the stove should the wood range hood sit?
The bottom of the hood belongs 24″ to 30″ above an electric cooktop and 27″ to 36″ above gas. The exact number comes from your insert’s manual and local code, not from looks. Mounting it lower can void the insert warranty and create a fire risk.
Do I really need cement board inside the wood box?
Yes. The interior faces near the insert must be lined with a non-combustible material, cement board or sheet metal. Wood touching a heat-producing insert is a fire risk. Most DIY tutorials skip this step, which is exactly why you should not.
Should I paint or stain my DIY wood range hood?
Paint if you are using shop-grade plywood, because paint hides edges, filler, and caulk. Stain only if you used select hardwood such as poplar on every visible face plus edge banding. Staining shop-grade plywood produces a blotchy, cheap-looking result.
How much does it cost to build a wooden range hood?
The wood box runs about $250 to $450 in materials for a painted 42″ hood. That does not include the range hood liner insert, which typically adds $200 to $600 depending on the blower rating and brand.
Related Articles

“DIY woodworking enthusiast who started with zero experience and a YouTube tutorial.
I build simple, practical projects for my home and share free plans
so other beginners can skip the guesswork.If I can build it, you can too.”