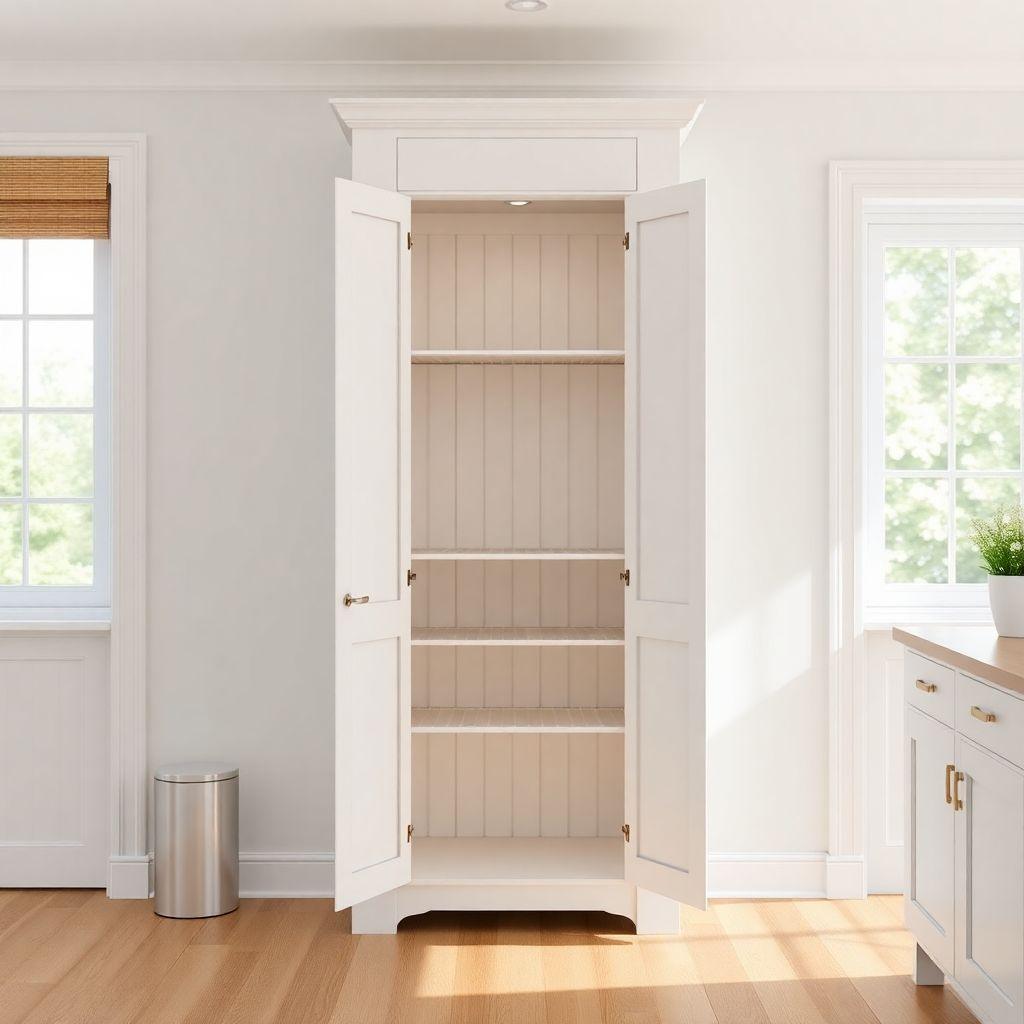
Kitchen storage always runs out before you do. A DIY pantry cabinet solves that without a contractor, without cutting into your walls, and without losing your deposit if you rent. This guide walks you through building a freestanding floor-to-ceiling pantry cabinet, 24 inches wide, 84 inches tall, and 16 inches deep, with two doors, adjustable shelves, and a face frame that hides any gap to the wall.
Because it is freestanding, it moves with you and works in a rental. Expect to spend around 200 to 300 dollars in materials and a full weekend of build time. Intermediate skills help: you will cut plywood, drill shelf pin holes, build a face frame, and hang overlay doors. None of it is hard, but accuracy matters.
This build is part of our kitchen and pantry projects series. If you are weighing options, start there to compare builds by skill, cost, and time.
Plan the Cabinet: Size and Shelf Layout
Looking for more kitchen ideas?
This guide is part of our complete kitchen and pantry projects series — compare all options by skill level, cost, and build time.
Want 16,000+ woodworking plans?
Ted’s Woodworking has step-by-step plans for every skill level. Browse Ted’s plans.
Before you cut anything, measure your ceiling height at the exact spot the cabinet will stand. This drives the single most important decision in the whole build.
Here is the ceiling clearance trick that saves the project: build the cabinet 1/4 inch shorter than your measured ceiling height. A cabinet built to the exact ceiling height cannot be tipped upright from horizontal, because the diagonal of a tall box is longer than its height. That 1/4 inch of slack lets you tip it up into place, and a strip of scribe molding at the top covers the gap so it reads as built-in. Our cut list assumes an 84 inch cabinet for a standard 8 foot (96 inch) ceiling with a soffit or upper cabinets above, but confirm your own numbers.
Now decide freestanding versus built-in. Built-in looks seamless but requires scribing the sides to fit your walls, which is fussy and permanent. Freestanding is easier, movable, and the face frame overhangs the case enough to hide any gap to an out-of-square wall. For a rental or a first cabinet, freestanding is the right call.
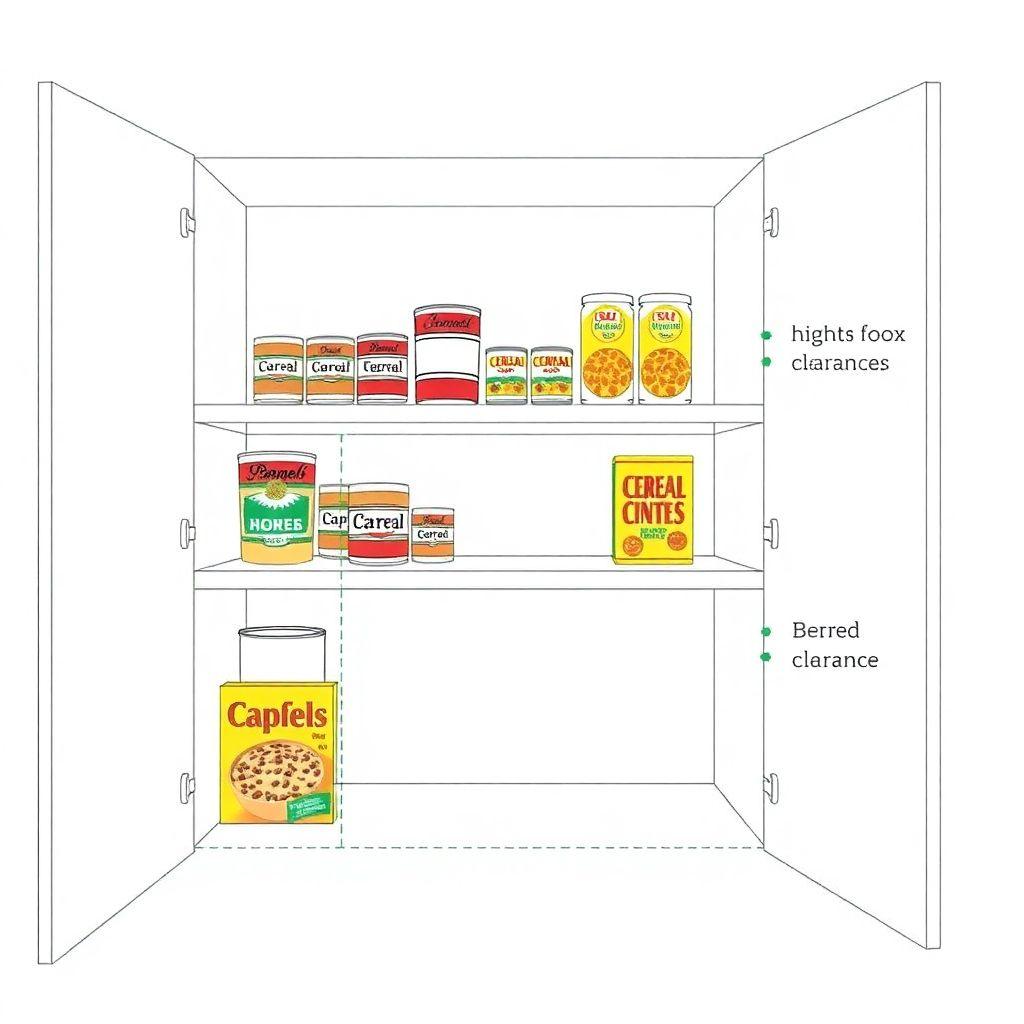
Shelf spacing is where most pantry builds go wrong. Do not use equal spacing. Pull your actual pantry inventory and group it by height:
- Canned goods need about 6 to 7 inches of clearance
- Boxed and bagged goods (cereal, pasta, flour) need about 12 to 13 inches
- Small jars and spices can share a 7 inch shelf
A practical layout for this cabinet is 3 to 4 shelves at 7 inch spacing for cans and jars, plus 2 shelves at 13 inch spacing for tall boxes. Because the shelves ride on pins, you can adjust later, but plan the layout before you drill the pin holes so the hole pattern actually lands where you need it.
Materials and Cut List (24″W × 84″H × 16″D)
The case is 3/4 inch plywood for stability, with a poplar face frame and a 1/4 inch plywood back. Plywood is the right choice here over solid wood, and that is not a shortcut. Plywood cases stay put, cut straight, and hold shelf pins well. A solid pine side panel 16 inches wide can move as much as 3/16 inch across the grain between a humid summer and a dry winter, enough to crack a rigid joint or bind a shelf. Save solid wood for the face frame, where the pieces are narrow and movement is negligible.
Plywood (3/4 inch):
- 2× side panels: 15-1/4″ × 83-3/4″
- 2× horizontal panels (top and bottom): 22-1/2″ × 15-1/4″
- 1× middle horizontal (mid-height stiffener): 22-1/2″ × 15-1/4″
- Adjustable shelves: 21-3/4″ × 15-1/4″ (cut 8 to 10 as needed)
- 2× doors: 11-3/4″ × 82″ each (full overlay, two-door configuration)
Plywood (1/4 inch):
- 1× back panel: 22-1/2″ × 83-3/4″
Poplar face frame (3/4″ × 1-3/4″):
- 2× stiles: 83-3/4″
- 2× rails (top and bottom): 21″
- 1× middle rail: 21″
Pine:
- Scribe molding: 3/4″ × 2″, ripped to fit at the ceiling
Hardware:
- 3/4 inch pocket screws and 1-1/4 inch screws
- Shelf pins (5mm), one bag
- 4× full-overlay European (cup) hinges
- 1× L-bracket for wall anchoring
- Wood glue, 18-gauge brad nails
- 4× non-slip furniture pads
Tools Required
- Circular saw with a straightedge guide, or a table saw
- Pocket hole jig
- Drill and driver
- Shelf pin jig (5mm) or a pegboard template
- 18-gauge brad nailer (or hammer and finish nails)
- Clamps, at least four
- Tape measure, square, and a level
- Sander and 120/220 grit paper
Step 1: Build the Cabinet Box
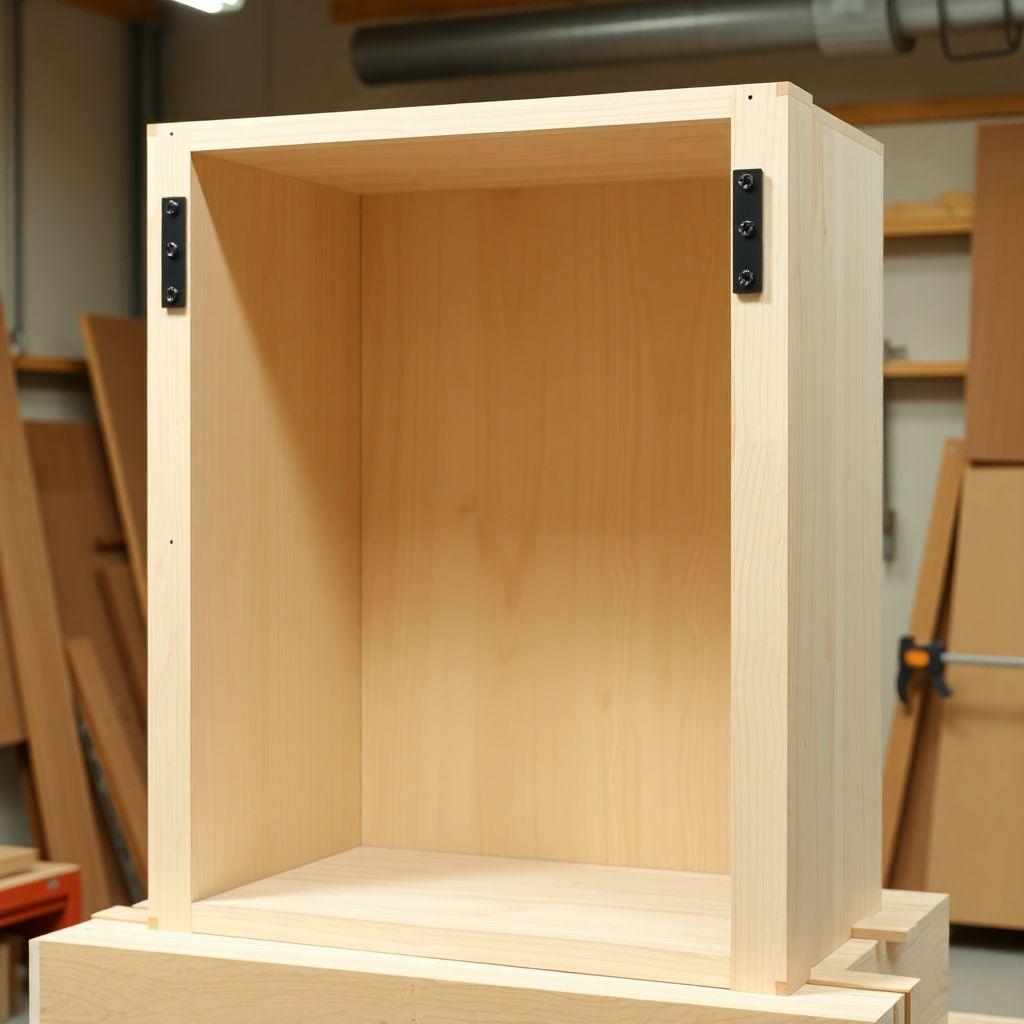
Cut all plywood parts first and label them. Accuracy on the side panels and horizontals sets up everything downstream, so check that opposite pieces are identical lengths.
Drill pocket holes on the underside of the top panel, the top of the bottom panel, and both faces of the middle stiffener, so screws pull the horizontals tight to the sides. Stand the two side panels on edge and attach the bottom panel flush with the bottom ends, then the top panel flush with the top ends. Add the middle stiffener at your planned split point (roughly mid-height) to keep the tall sides from bowing and to give the shelves a natural break between canned goods below and tall boxes above.
Keep the box square as you go. Measure the diagonals corner to corner: when they match, the box is square. Clamp it there. Then flip the case face down and attach the 1/4 inch back panel with glue and brad nails around the full perimeter and into the middle stiffener. The back is what holds the case square permanently, so do not skip nailing into that middle piece.
Step 2: Build and Attach the Face Frame
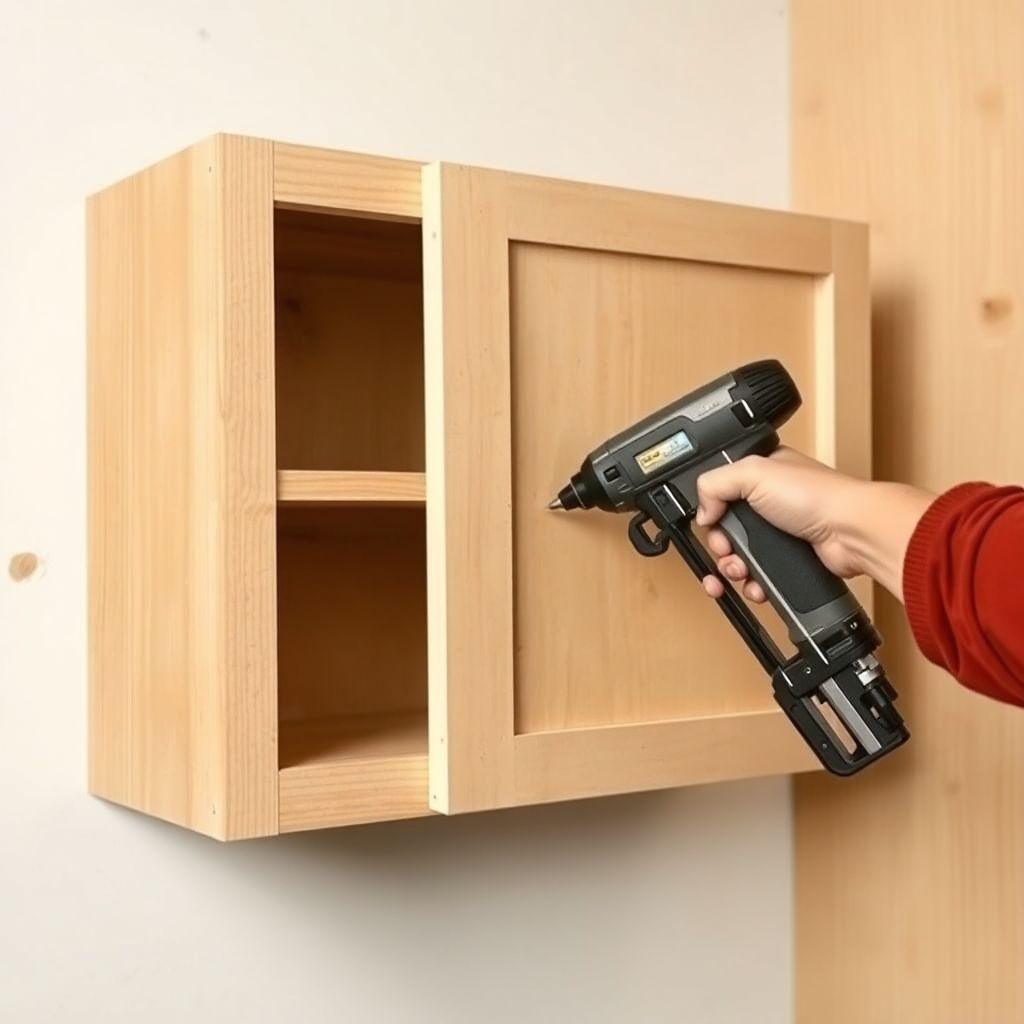
The face frame stiffens the front of the cabinet and hides the raw plywood edges. It also determines whether your doors sit right, so the width of the stiles is not arbitrary.
For full-overlay doors, the doors cover the face frame almost entirely, which looks clean and modern. That look requires face frame members exactly 1-1/2 inches of exposed width. If a stile is wider than that, the door edge exposes the hinge mechanism and the gap looks wrong. Our poplar is milled to 1-3/4 inches, which leaves 1-1/2 inches showing after the frame overhangs the case by 1/4 inch on each outer edge. Plan this before you cut, because you cannot narrow a stile after the doors are hung.
Assemble the frame flat: two stiles at 83-3/4 inches, a top rail, a bottom rail, and a middle rail, all at 21 inches, joined with pocket screws and glue. Check it for square, then glue and clamp it to the front of the case. Pin it with brad nails, set the nails, and fill the holes. Let the glue cure before hanging doors.
Step 3: Drill Shelf Pin Holes and Install Shelves
Return to your shelf plan from the first section. Mark the pin hole rows on the inside of both side panels using a shelf pin jig or a strip of pegboard clamped as a template. Consistency between the left and right rows is critical, or shelves will rock.
Drill two columns of 5mm holes per side, front and back, spaced so the shelves can move in the increments you planned (32mm spacing is standard and gives plenty of adjustment). Drill only as deep as your pin requires; a depth stop or a piece of tape on the bit prevents blowing through the panel. Vacuum the dust, drop in four pins per shelf, and set the shelves. Trim shelf depth slightly if they bind against the back panel.
Step 4: Build and Hang the Doors
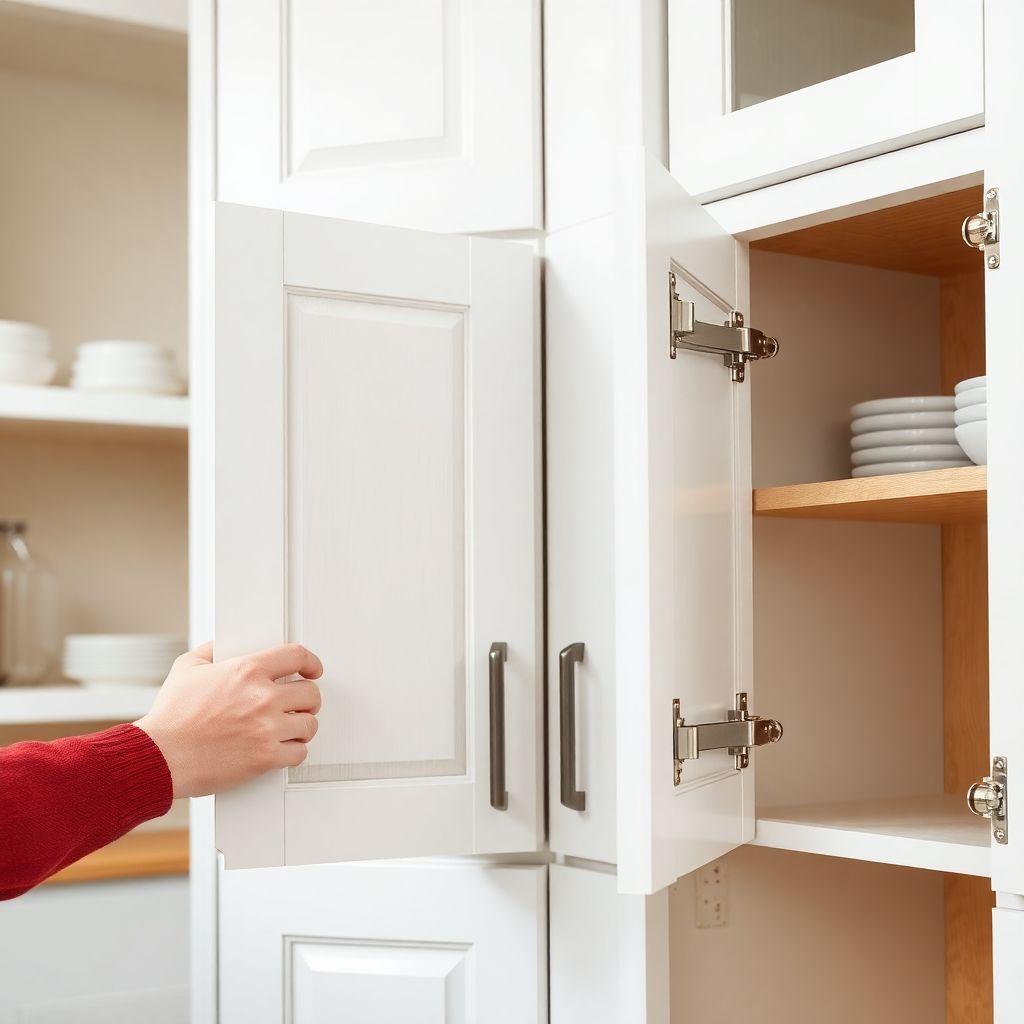
Cut the two doors at 11-3/4 inches wide by 82 inches tall. Together they overlay the full face frame with a 1/8 inch reveal down the center. Sand and finish the doors before mounting hardware; it is far easier flat than hanging.
Use full-overlay European cup hinges, two per door for a door this tall (three if your doors feel heavy). Bore the 35mm cup holes on the back of each door with a Forstner bit, mount the hinge cups, then attach the mounting plates to the inside of the face frame stiles. Hang the doors and use the hinge adjustment screws to dial in even reveals top to bottom and a consistent center gap. Add door pulls or knobs last.
Step 5: Install and Secure the Cabinet
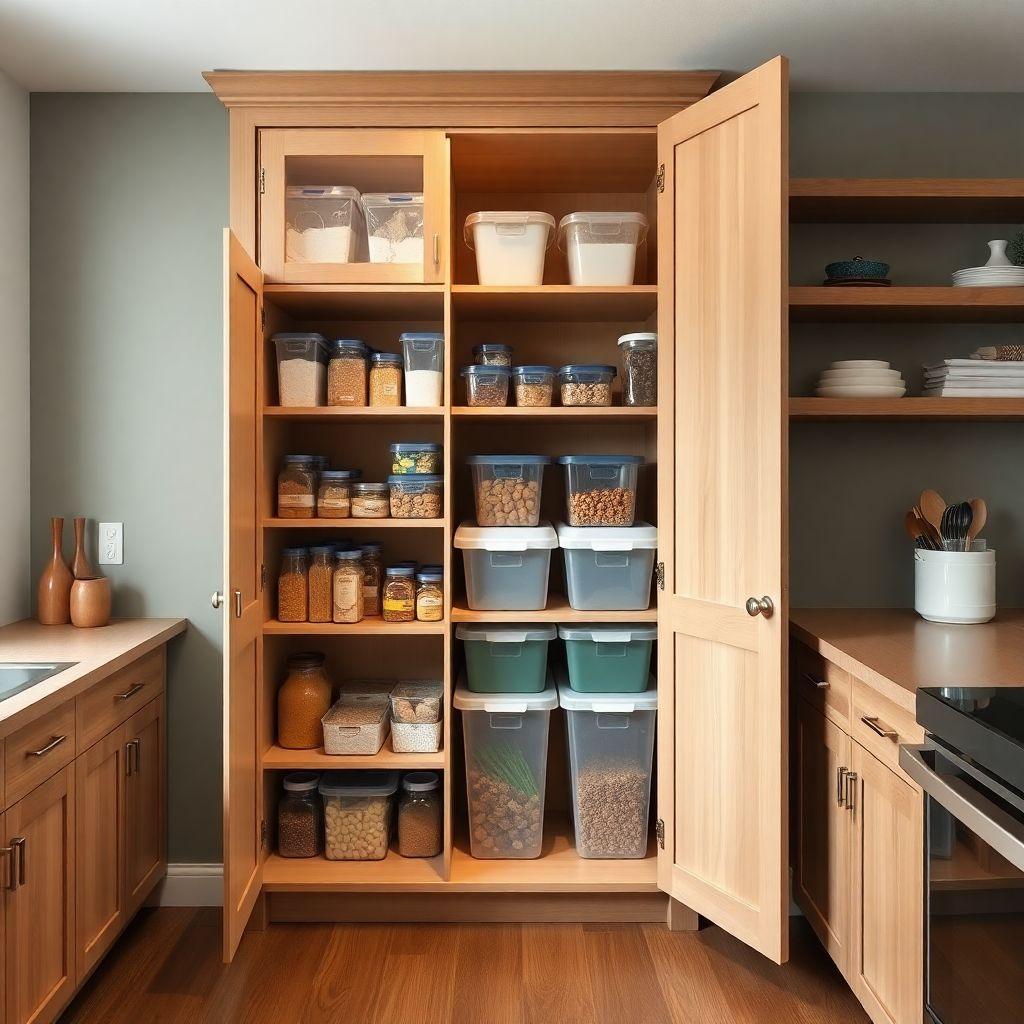
A cabinet this tall is a tip hazard, especially with a child pulling on an open door. Secure it, no exceptions.
Slide the cabinet into position and tip it upright, using the 1/4 inch of clearance you built in. Level it with shims under the base if your floor is uneven. Then anchor the top rear to a wall stud with a single L-bracket; find the stud, drive one screw through the bracket into it, and the cabinet cannot tip forward. Rip the scribe molding to fill the gap between the cabinet top and the ceiling, and pin it in place to finish the built-in look.
On hardwood or tile, add non-slip furniture pads to the two front feet so the base cannot slide out from under the anchored top. Load the heaviest items on the bottom shelves to keep the center of gravity low.
Looking for more kitchen project ideas?
This guide is part of our complete kitchen and pantry projects series — 5 builds compared by skill, cost, and build time.
Want 16,000+ woodworking plans?
Ted’s Woodworking has step-by-step plans for every skill level. Browse Ted’s plans.
FAQ
How much does it cost to build a DIY pantry cabinet?
Expect 200 to 300 dollars in materials for this build: roughly three sheets of 3/4 inch plywood, one sheet of 1/4 inch plywood for the back, poplar for the face frame, hinges, and shelf pins. Cost swings with plywood grade and your finish. Prebuilt units of this size run well over 500 dollars.
How long does it take to build?
A full weekend for an intermediate builder. Cutting and assembling the box is a few hours, the face frame and shelf pin holes another few, and finishing plus hanging doors takes the most patience. Spread finishing over an evening so coats can dry.
Should I build the pantry freestanding or built-in?
Freestanding is easier, movable, and rental-friendly, and the face frame hides gaps to the wall. Built-in looks more seamless but requires scribing the sides to your walls and is permanent. For a first cabinet or a rental, build it freestanding and anchor it to a stud.
Why build the cabinet shorter than the ceiling?
A box built to exact ceiling height cannot be tipped upright, because its diagonal is longer than its height. Building 1/4 inch short lets you tip it into place, and a strip of scribe molding covers the gap so it still looks built-in.
Can I use solid wood instead of plywood for the case?
Use plywood for the case. A 16 inch wide solid wood panel can move up to 3/16 inch seasonally across the grain, enough to crack joints and bind shelves. Plywood stays dimensionally stable, cuts straight, and holds shelf pins well. Keep solid wood for the narrow face frame.
How do I keep a tall pantry cabinet from tipping over?
Anchor the top rear to a wall stud with an L-bracket and one screw. Add non-slip pads to the front feet on hard floors so the base cannot slide, and load heavy items on the lower shelves to keep the weight low.
Related Articles

“DIY woodworking enthusiast who started with zero experience and a YouTube tutorial.
I build simple, practical projects for my home and share free plans
so other beginners can skip the guesswork.If I can build it, you can too.”