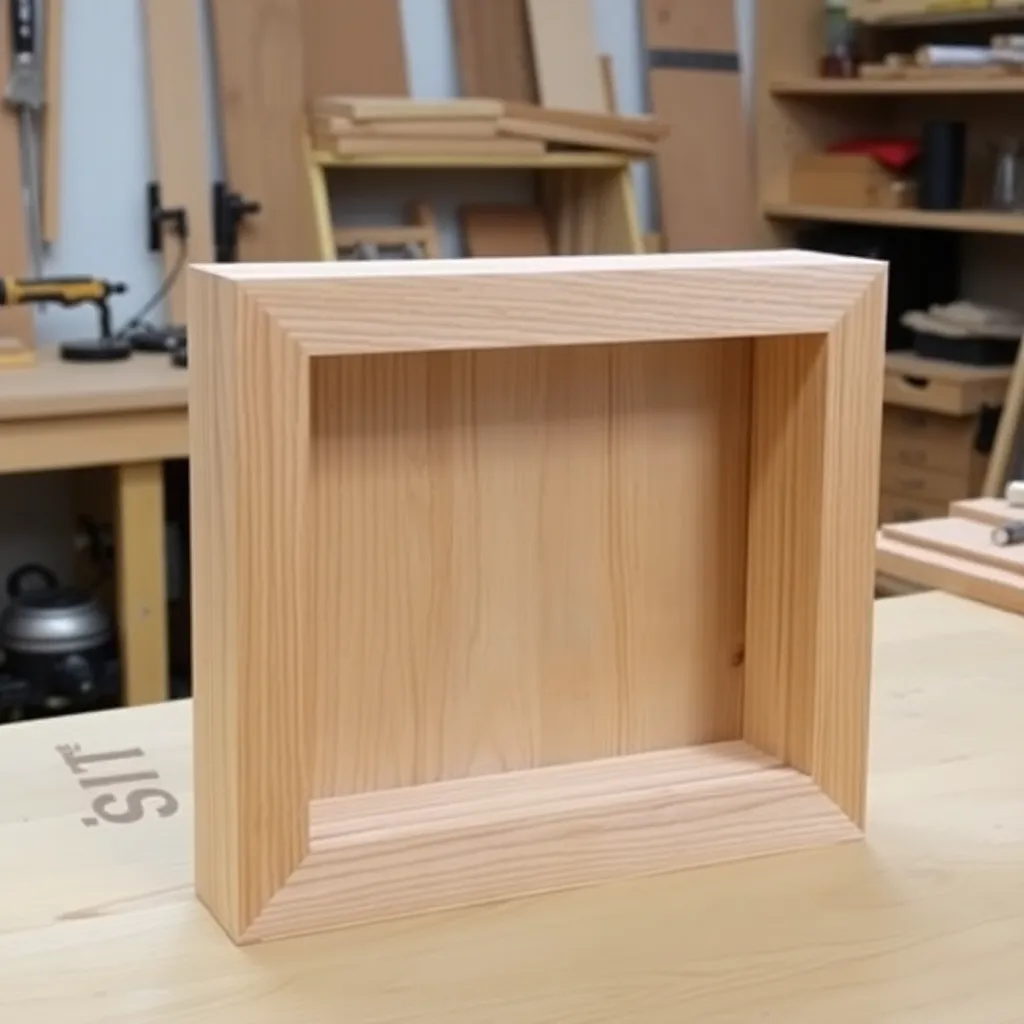
A shadow box is a deep frame designed to display three-dimensional objects — medals, military insignia, sports jerseys, shells, coins, pressed flowers. The construction is a box with a glass or plexiglass front and a backing material that presents the objects. These eight builds cover shadow boxes from a simple 2-inch deep display box to a full military shadow box with specific compartments and flag-display hardware.
Ted’s Woodworking has complete shadow box plans with mounting hardware guides. Browse Ted’s plans →
Step 1: Build a Basic Shadow Box
Goal: A 12×16×2-inch shadow box — the standard entry-level display box.
Cut all components from ¾-inch hardwood (poplar for painting, oak for natural finish):
- Back panel: 12 × 16 inches
- 2 long sides: 16 × 2 inches
- 2 short sides: 10½ × 2 inches (assembled inside the long sides)
- Glass: 11½ × 15½ inches (cut at a glass shop)
Assemble the four sides to the back panel with pocket screws from the back. Route a ¼-inch rabbet on the inside front edge — the glass sits in this rabbet. Mount the glass with four turnbuttons (small rotating clips screwed to the inside of the front edge) that hold the glass without glue. Add two D-ring hangers on the back.
Line the back panel with black velvet or cork board — pin objects directly into cork, glue lightweight objects to velvet.
Milestone: A box where the glass sits flush in the rabbet on all four sides and is held by turnbuttons.
Step 2: Build a Military Shadow Box
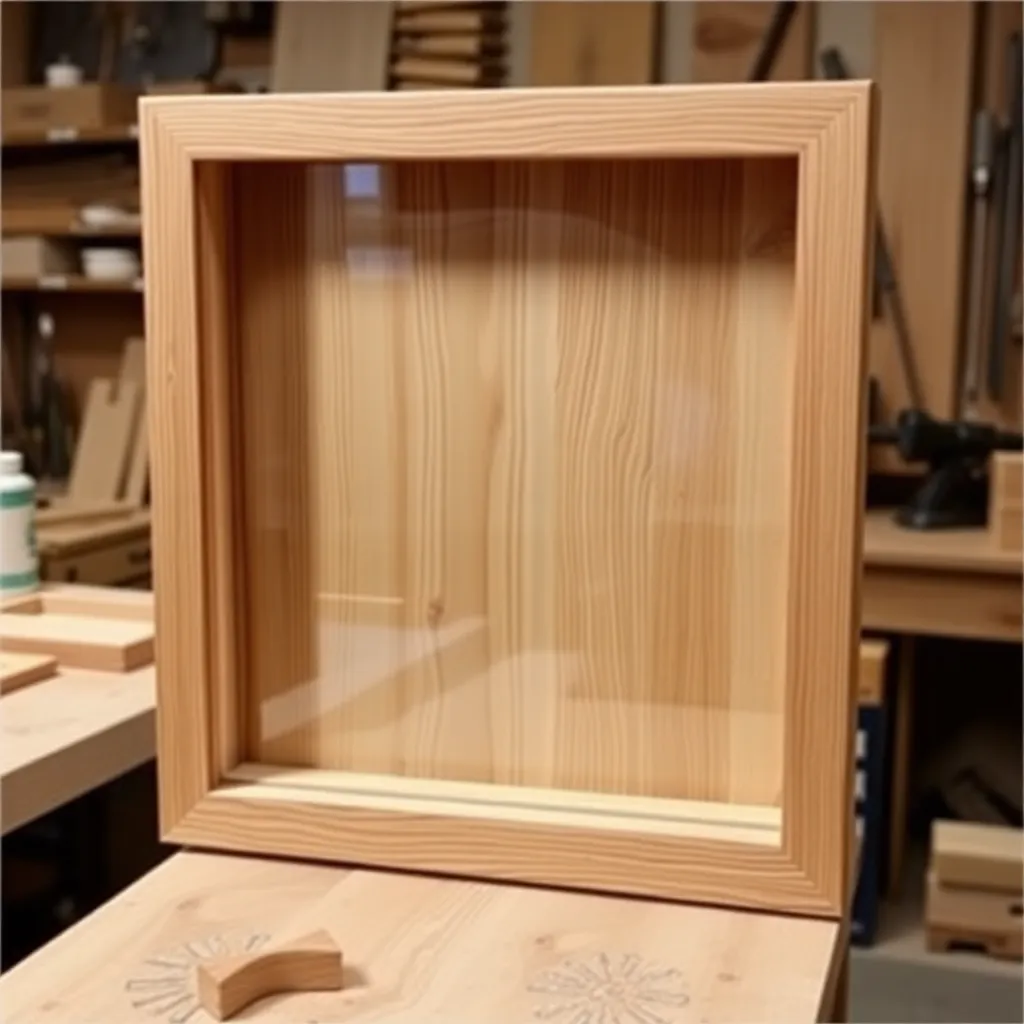
Goal: A flag-display shadow box with a triangular compartment for a folded flag plus individual compartments for medals and insignia.
A military shadow box has two zones: the left 2/3 holds the folded flag in a triangular compartment, and the right 1/3 holds individual rectangular compartments for medals, ribbons, and rank insignia.
Build the outer box at 24 × 18 × 3 inches from ¾-inch oak or walnut. Build the triangular flag compartment by cutting a diagonal divider at 45° from corner to corner of the left section. The folded flag fits in the resulting triangle. Divide the right section into 6–9 individual compartments using ¼-inch plywood dividers dadoed into horizontal shelves.
Milestone: A triangular compartment that holds a standard 11 × 16-inch folded flag with no exposed edges.
Step 3: Build a Sports Jersey Shadow Box
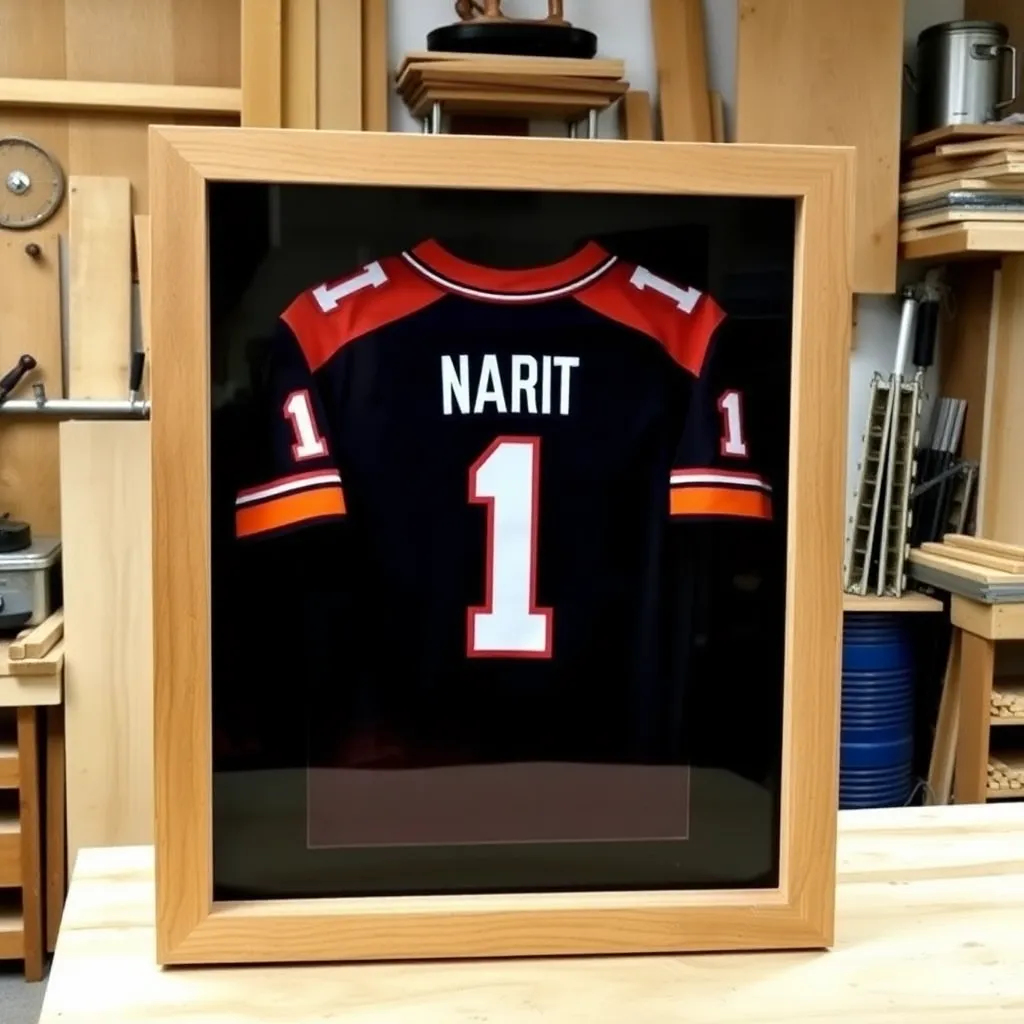
Goal: A deep shadow box for a framed sports jersey — requires at least 3 inches of depth.
Build the outer box at 36 × 48 × 3½ inches (standard jersey size with mounting margin) from ¾-inch poplar (painting is standard for jersey frames). Line the back with foam board covered with a team-color fabric. Mount the jersey on the foam board with stainless steel pins — pin through the fabric and into the foam every 2 inches around the perimeter. Stretch the jersey to full size before pinning; it will relax slightly on the backing.
Install plexiglass (not glass — the weight of glass at this size is substantial) in a rabbet on the front. Mount with a French cleat system for the wall — the box weight with jersey and plexiglass exceeds 15 lbs.
Milestone: A jersey that lies flat and wrinkle-free against the backing with no pins visible from the front through the plexiglass.
Step 4: Build a Coin Collection Shadow Box
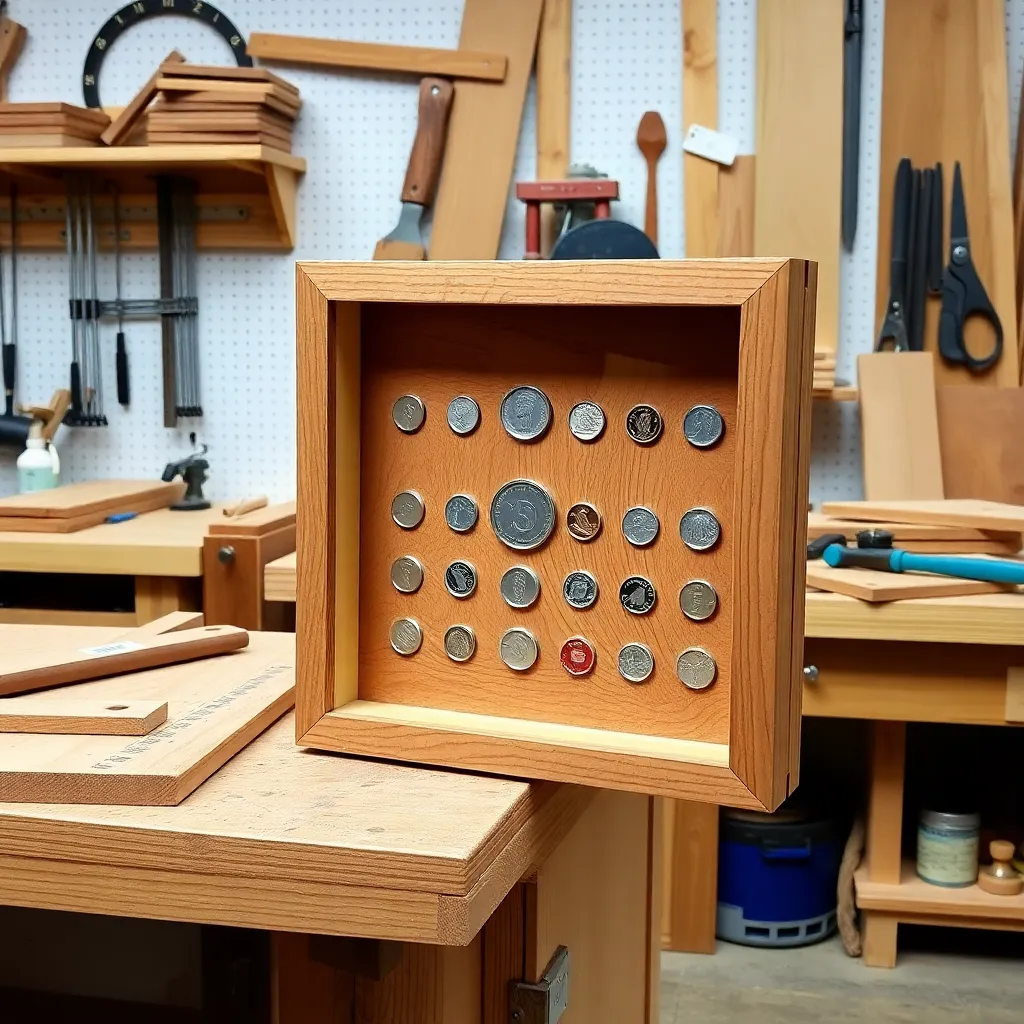
Goal: A display box with individual coin wells — each coin displayed face-up in a fitted recess.
Build the box at 12 × 16 × 1½ inches. The key component is the display insert: cut a ½-inch black foam board to the interior dimensions. Use a coin punch tool (or a Forstner bit on the drill press) to cut circular recesses in the foam board — sized to match the coin diameter. Each coin sits in its recess, face-up, held by friction. Label below each coin with an engraved or printed label strip.
Plexiglass front (no rabbet needed at this depth — use small L-brackets on the interior corners to hold the plexiglass against the box opening).
Milestone: Each coin sitting level and face-up in its recess with the edges fully supported.
Step 5: Build a Wedding Keepsake Shadow Box
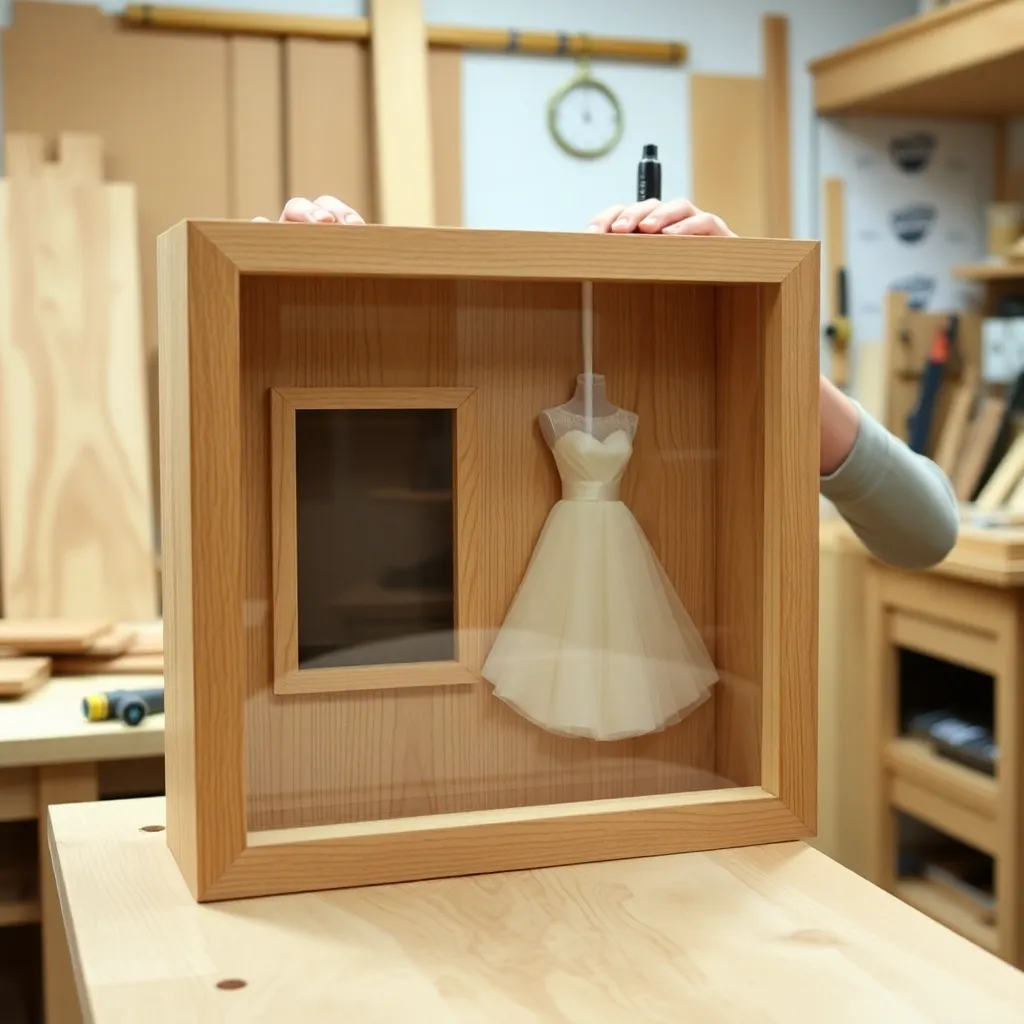
Goal: A shadow box that holds multiple wedding keepsakes — invitation, programs, flowers, ribbon — in an arranged display.
Build the box at 20 × 24 × 2 inches from ½-inch maple or cherry (a wedding frame should have a refined appearance). Line the back with white or cream fabric (linen or dupioni silk) stretched over foam board. Arrange the keepsakes on the backing before mounting — lay them out flat to plan the composition. Mount using small pins (programs, invitation), fishing line (flowers, ribbon), and archival mounting putty (rings, lapel pins).
Apply Danish oil to the exterior. Install a plexiglass front with UV-blocking properties (UV plexiglass is available from framing suppliers) — UV protection is important for preserving pressed flowers and paper keepsakes.
Milestone: All keepsakes mounted flat with no items overlapping and the composition balanced visually.
Step 6: Build a Shell and Nature Display Box
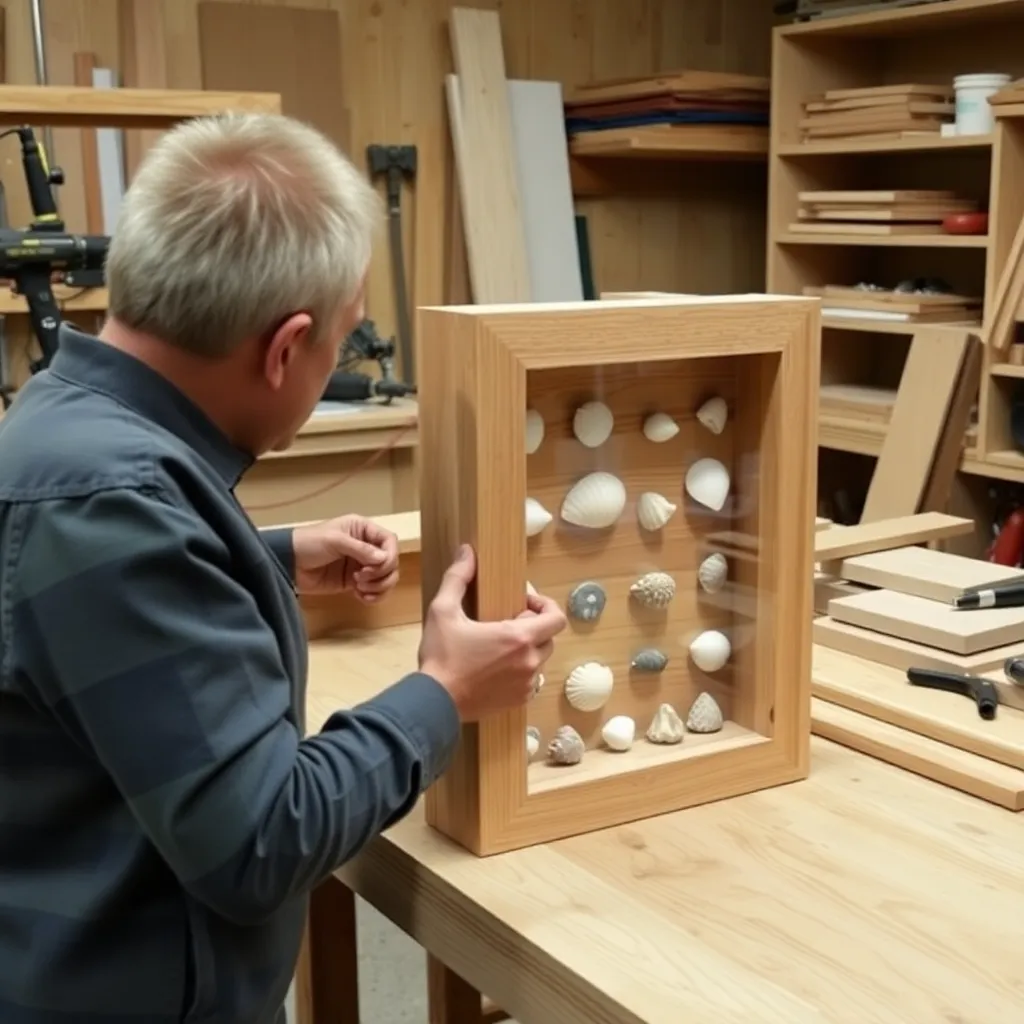
Goal: A shallow shadow box for pressed flowers, shells, sea glass, or natural specimens.
Build the box at 12 × 12 × 1 inch from ¼-inch hardwood plywood — thin enough to feel lightweight and appropriate for natural materials. Line the back with natural materials: cork, kraft paper, or unbleached linen. Mount shells and sea glass with small drops of E6000 adhesive (strong, clear, flexible). Mount pressed flowers under glass (press them between two pieces of glass using small bulldog clips around the edge, then install this glass sandwich in the shadow box).
Milestone: Natural specimens mounted without visible adhesive from the front.
Step 7: Build a Tool Display Shadow Box
Goal: A shadow box displaying a set of antique or hand tools — a workshop gift or decorative piece.
Build at 24 × 30 × 3 inches from ¾-inch oak or pine (tools are heavy — use solid wood). Line the back with cork board (for pinning) or pegboard (for hook mounting). Mount tools using the same type of storage hooks used in a workshop — the tools should look as if they’re hanging in their natural storage position. For antique tools, apply a light coat of paste wax to the tool metal before mounting (prevents rust from contact with the cork).
Milestone: All tools mounted at consistent height from the bottom, with no tools touching each other.
Step 8: Build a Deep Display Box With Lighting
Goal: A shadow box with interior LED strip lighting — museum-quality illumination.
Build the box at 18 × 24 × 4 inches from ¾-inch hardwood. Route a shallow groove (¼ × ¼ inch) around the inside perimeter of the front edge — this hides the LED strip and diffuses the light across the display. Install a USB-powered LED strip in the groove (adhesive backing holds the strip). Route a small hole in one corner of the back panel for the USB cable.
The LED lighting eliminates shadows from overhead room lighting and makes the displayed objects glow. Use warm-white LEDs (2700–3000K) for medals and memorabilia, cool-white (5000–6500K) for collections and natural specimens.
Milestone: LED lighting that illuminates the display evenly with no hot spots or dark corners.
Shadow Box Plans FAQ
How deep should a shadow box be?
Shadow box depth depends entirely on the tallest object being displayed. For flat items (medals, ribbons, coins): 1–1½ inches. For moderately dimensional items (small figurines, arrowheads, sports balls cut in half): 2–3 inches. For folded flags: 3–4 inches. For sports jerseys: 3½–4 inches. For 3D objects like helmet replicas or thick trophies: 6+ inches. Building the shadow box ½ inch deeper than the tallest object ensures everything clears the glass front.
What is the best backing material for a shadow box?
Cork board is the most versatile — objects can be pinned directly into it without adhesive, making the display rearrangeable. Black velvet gives the most elegant appearance and makes metallic objects (medals, coins) stand out dramatically. White or cream linen suits wedding and nature keepsakes. Pegboard works for tool displays. For themed displays, fabric in team or flag colors adds context. Whatever backing you choose, stretch it tightly over a foam board insert and glue to the back of the foam — this prevents the backing from sagging over time.
Should I use glass or plexiglass for a shadow box?
Plexiglass for anything over 12 inches on the short side — it’s lighter, won’t shatter if the box falls, and can be cut with a utility knife (score and snap). For a 12 × 16-inch shadow box, either works. For military or wedding shadow boxes where UV protection matters, UV-blocking acrylic is available from frame supply stores and prevents yellowing of fabric and paper over time. Standard single-strength glass is fine for small shadow boxes under 12 × 16 with stable wall mounting.
How do I mount objects in a shadow box without damaging them?
For pinnable items (paper, fabric): stainless steel display pins — they push in and pull out cleanly. For medals and pins with existing bail attachments: remove the original pin and use fishing line tied through the bail. For coins: foam recess (no adhesive, held by friction). For 3D objects: archival mounting putty (Museum Putty / Quakehold) holds the object without adhesive marks. For irreplaceable items: consult an archival framing specialist before mounting.

“DIY woodworking enthusiast who started with zero experience and a YouTube tutorial.
I build simple, practical projects for my home and share free plans
so other beginners can skip the guesswork.If I can build it, you can too.”