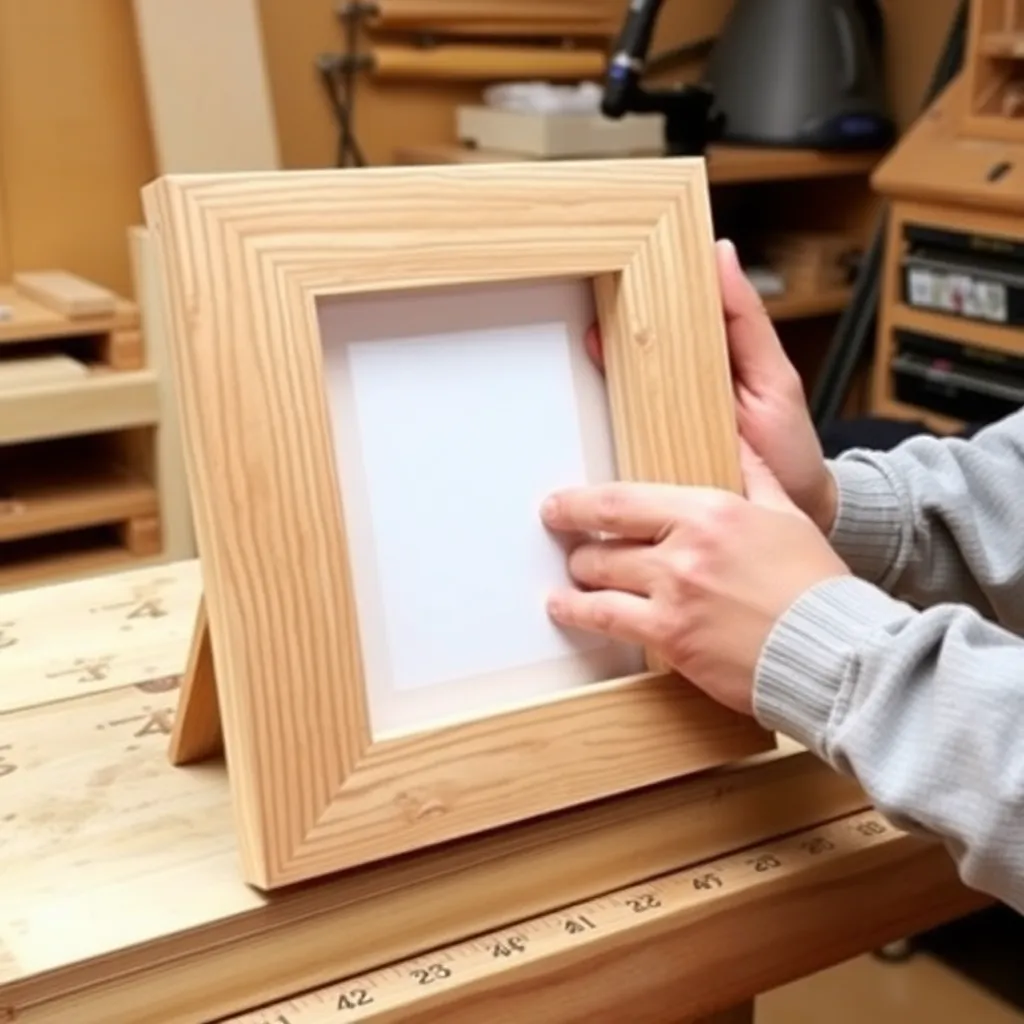
A picture frame is one of the most teachable projects in woodworking — it requires accurate measuring, precise miter cuts, clean glue joints, and a finish that complements the art. These eight builds progress from a basic oak frame that a beginner can complete in an afternoon to a hand-carved molding frame that requires intermediate router skills. Every technique learned here applies directly to cabinet face frames, door trim, and furniture edge profiles.
Ted’s Woodworking has complete frame plans with rabbet specifications and finish guides. Browse Ted’s frame plans →
Step 1: Build a Basic Oak Frame for a 4×6 Photo
Goal: A clean natural oak frame with a ¼-inch roundover edge — the first frame every woodworker should build.
Cut four pieces of 1×2 oak with 45° opposing miters. For a 4×6 photo with a ¼-inch mat:
- 2 long rails: 8-inch long point (outside dimension)
- 2 short rails: 6-inch long point
Apply wood glue to all eight miter faces. Assemble with four corner clamps. Drive two ½-inch pin nails at each corner from the back face. Let cure 30 minutes. Route a ¼-inch roundover on the front outside edge using a handheld router. Route a ¼-inch × ¼-inch rabbet on the inside back edge (router table or handheld). Sand to 220-grit. Apply two coats of Danish oil.
Milestone: Four tight miter joints with no visible gaps, and a rabbet that holds the glass flush with the back face.
Step 2: Build a Walnut Frame for an 8×10 Photo
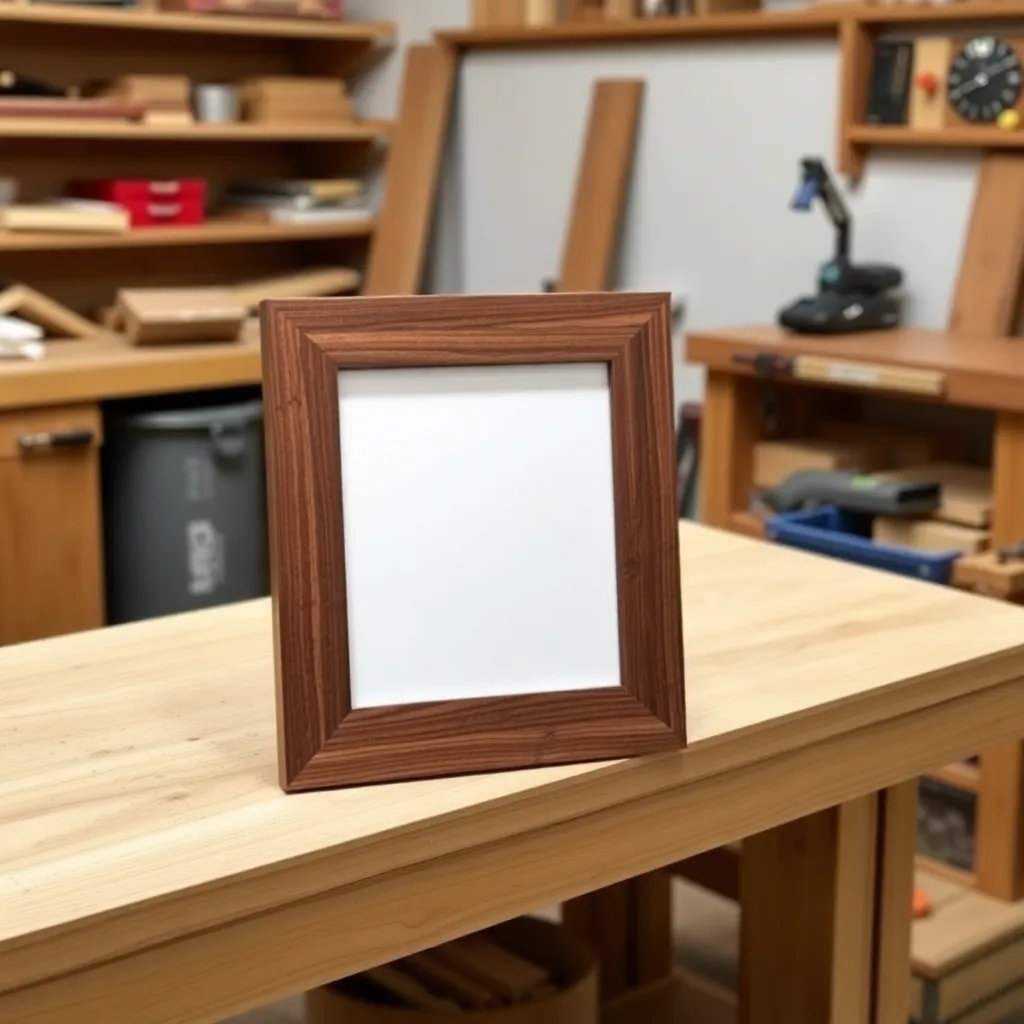
Goal: A dark walnut frame — the most versatile frame for black-and-white photography and contemporary art.
Scale up the same technique from Step 1 to an 8×10 print. At this size, the frame rails are longer and the miter saw accuracy matters more — a 0.5° error at 10 inches shows more than at 6 inches. Test the 45° setting with a practice cut before cutting walnut.
Use 1×2 walnut (or resaw ¾-inch walnut to a 1½-inch strip on the table saw — this produces a more consistent face than purchased 1×2). Apply a ¼-inch cove profile on the front face for a more refined look than a roundover. Apply shellac — two coats with a light sanding between. Shellac enhances walnut’s warm tones better than polyurethane.
Milestone: Four miter joints in walnut with no visible gaps and a cove profile consistent along all four rails.
Step 3: Build a Cherry Frame With an Ogee Profile
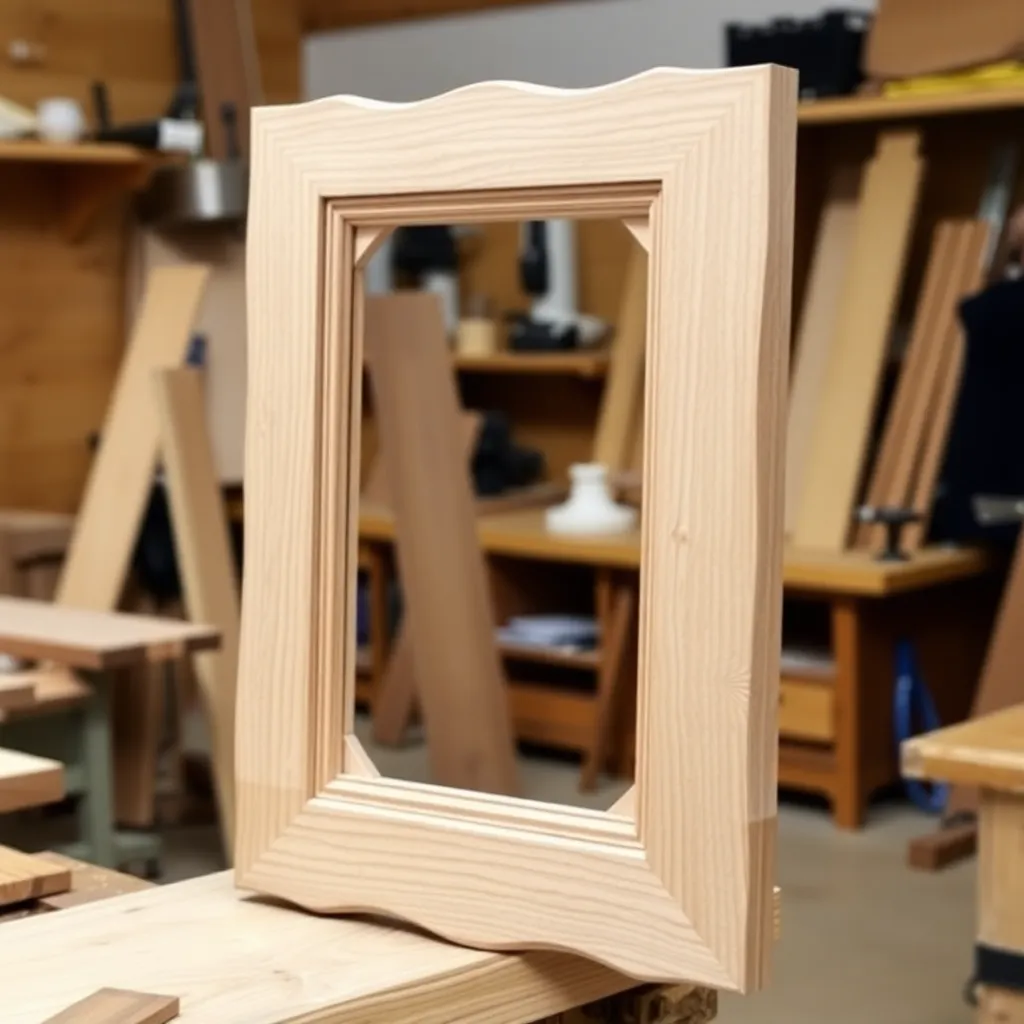
Goal: A traditional ogee-profile frame from cherry — a router table technique build.
An ogee is an S-curve profile that combines a cove and a roundover on the same edge. Cherry’s fine grain takes an ogee profile cleanly without tearout. Run the ogee on the router table using a 3/8-inch ogee bit before mitering — always profile long stock, then miter to frame length.
Feed direction on the router table: feed right to left (against the bit rotation) for a climb-cut-free experience. Use a featherboard to keep the stock pressed against the fence. After profiling, miter the rails for a 5×7 frame. Assemble and apply Danish oil — cherry starts honey-colored and darkens to a deep red-brown with light exposure.
Milestone: A consistent ogee profile along all four rails with no tearout or chatter marks.
Step 4: Build a Double-Profile Frame for a 16×20 Print
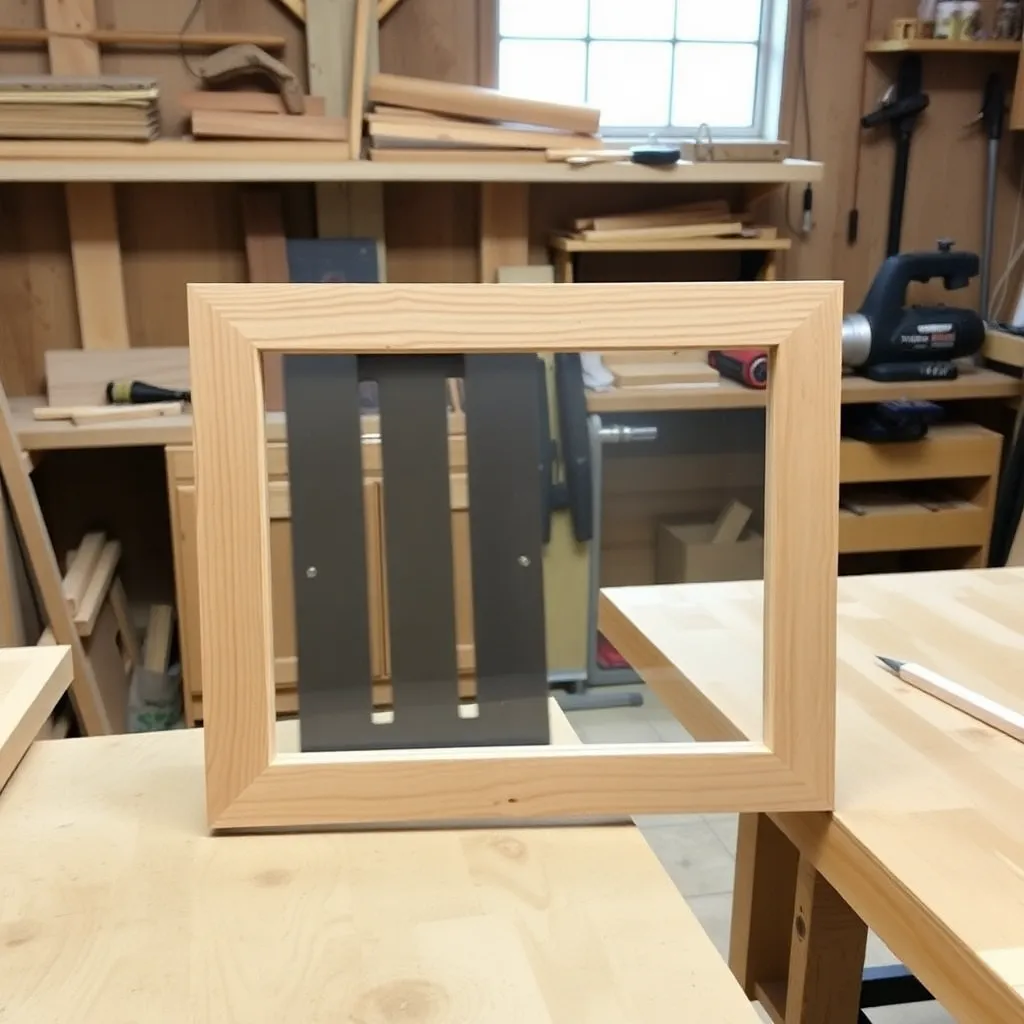
Goal: A wider frame (2-inch wide face) with two stacked profiles — for a large art print.
A 16×20 frame requires wider rails to be proportional to the print size. Build from 1×3 poplar or oak:
- Run a ¼-inch cove on the inner third of the face
- Run a ¼-inch roundover on the outer edge
The two profiles create visual separation between the outer frame face and the inner edge that meets the art. At 16×20 size, use a band clamp (strap clamp) for the glue-up — it applies even pressure on all four corners simultaneously.
Milestone: Two profile cuts that are consistent along all four rails and align at the corners without a step.
Step 5: Build a Painted Frame With Decorative Corners
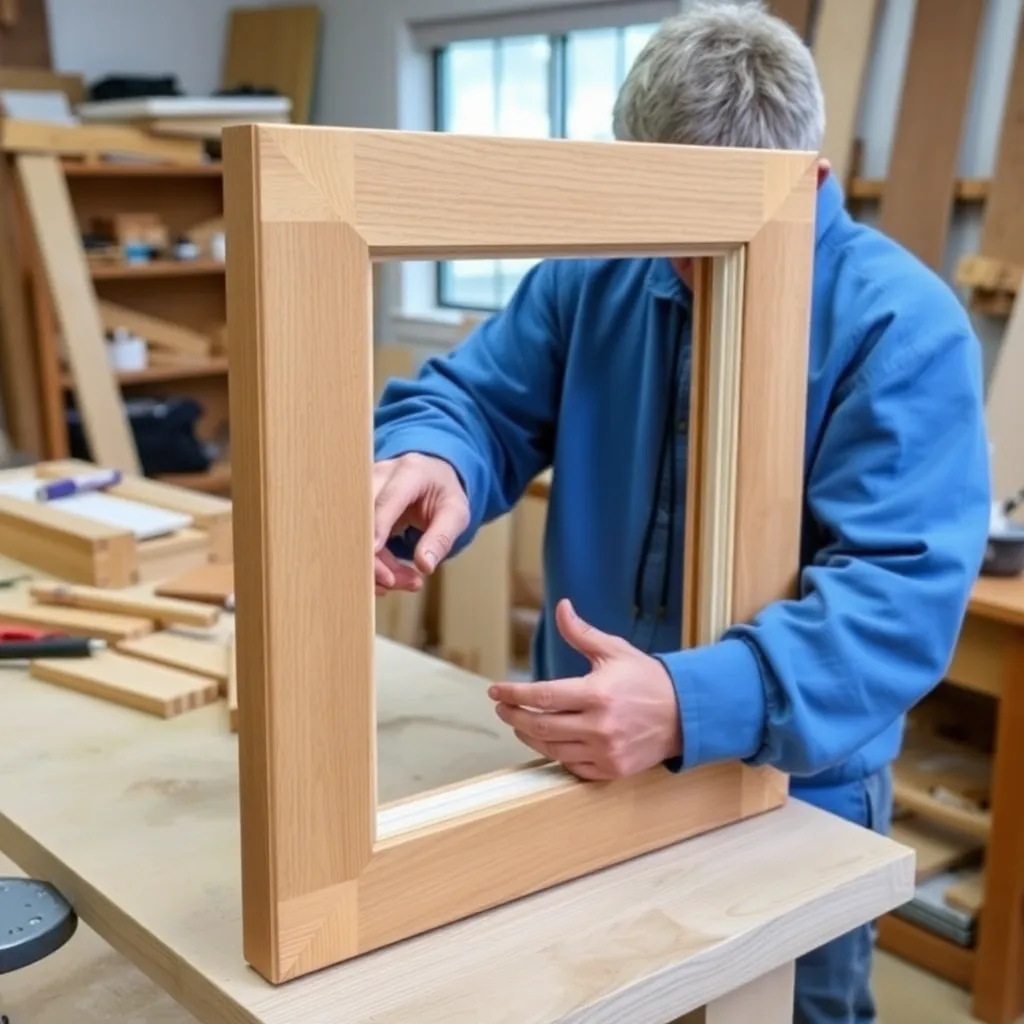
Goal: A painted frame with corner spandrels — adding a decorative element at each corner.
Build the basic frame from 1×2 poplar (best for painting). After assembly and sanding, apply two coats of primer (sanding between coats with 220-grit). Apply two coats of satin finish paint in the desired color. Add corner spandrels: cut four 2-inch square pieces of ¼-inch poplar, route a quarter-round profile on two adjacent edges, and glue one to each corner of the frame face. Paint the spandrels to match. The spandrels add a decorative element at the corners that looks like carved molding.
Milestone: Four spandrels glued at exactly 45° to the corner miter with consistent overhang on all sides.
Step 6: Build a Distressed Barnwood Frame
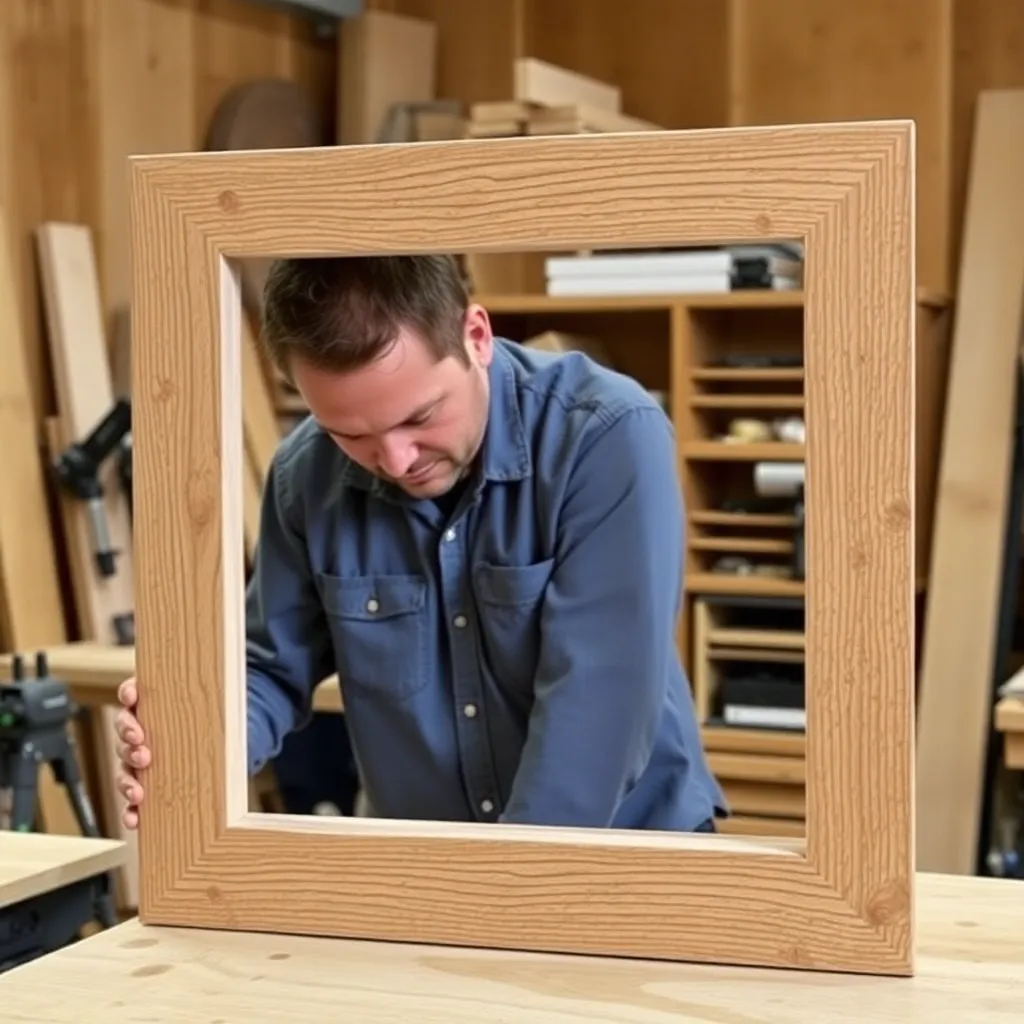
Goal: A frame from reclaimed wood that looks aged and intentionally imperfect.
Source reclaimed pine or oak from a lumber salvage yard or architectural salvage shop. Dress one face flat on the jointer — this becomes the back face of the frame. The show face retains its patina, saw marks, and nail holes.
Join corners with pocket screws from the back (reclaimed wood often has irregular grain that splits at miter cuts). Route the rabbet on the back face after assembly. Apply grey wash: mix 1 part grey latex paint with 4 parts water, brush on, wipe off immediately. Let dry 24 hours. Apply one coat of matte wax.
Milestone: A frame where the reclaimed character shows on the face and the pocket-screw corners are hidden from the front.
Step 7: Build a Spline-Reinforced Frame for Heavy Art
Goal: A frame for heavy art (large mirrors, thick canvases) with spline reinforcement at each corner.
A spline is a thin piece of wood inserted across the miter joint — it provides mechanical strength beyond what glue alone can offer. For a heavy art frame, use ⅛-inch × ½-inch hardwood splines at each corner.
After gluing and pin-nailing the miter joints, cut ⅛-inch slots across each corner using the table saw (frame held at 45° in a shop-made sled). Cut the splines from contrasting wood (walnut splines in an oak frame, for example) and glue them into the slots — they become a decorative feature. Sand the splines flush after curing.
Milestone: Four splines that are flush with the frame face after sanding, with no glue visible around the spline edges.
Step 8: Build a Carved Molding Frame
Goal: A frame with hand-carved details — rope molding or bead-and-cove along the rails.
A carved frame is the most advanced build on this list. Start with 1×3 walnut or cherry rails. After mitering and assembling the frame, mark the carving pattern along the outer ¾ inch of each rail face: either a rope twist (requires a gouge and V-tool) or a bead-and-cove pattern (requires a parting tool and gouge).
Work each rail in sequence: score the pattern outline with a V-tool, then remove waste with a ⅜-inch gouge. The learning curve is steep (practice on scrap pieces first), but the result is a frame that looks machine-produced from 10 feet away and hand-crafted from 2 feet.
Milestone: A carving pattern that reads consistently along all four rails and aligns at the corner miters.
Woodworking Picture Frame FAQ
What is the formula for calculating picture frame dimensions?
For a frame with a ¼-inch mat around a 4×6 photo: the rabbet opening should be 4 × 6 inches. The outside frame dimensions depend on the molding width. For 1×2 molding (actual width 1½ inches): outside dimension = rabbet opening + (2 × molding width) = 4 + 3 = 7-inch short side, 6 + 3 = 9-inch long side. The long point of each miter equals the outside dimension. The short point equals the rabbet opening dimension.
How do I cut accurate 45° miters without a miter saw?
A miter box (a wooden or metal guide with pre-cut 45° slots) allows hand-saw miters without a power saw. For accurate results: clamp the stock firmly in the miter box, use a fine-tooth crosscut saw, let the saw do the work (don’t force it), and cut slightly outside the line — final fitting with a sharp hand plane or a miter shooting board (a flat surface with a fence at exactly 45°) brings the joint to final accuracy. The shooting board is the most reliable method for hand-cut miters.
Do I need to use glass in a picture frame?
For photographs and paper prints: yes — UV-protective glass or acrylic prevents fading and protects the print from humidity. For canvas art: no — canvas is mounted on a stretcher bar and displayed without glass (glass would trap moisture against the canvas). For textiles, jerseys, and flat 3D objects in a shadow box: use non-glare glass or plexiglass, which is lighter and safer for larger sizes than standard glass. Museum glass (anti-reflective and UV-blocking) is the premium option for valuable art.
How do I finish the back of a picture frame?
Apply the same finish to the back as the front — unfinished back faces absorb moisture unevenly and cause cupping. After installing the glass and art, cover the back with a piece of kraft paper cut ¼ inch smaller than the frame on all sides: brush a thin coat of PVA glue around the back frame perimeter, press the paper on, let dry, and trim the excess flush with a knife. The paper covers the backing hardware and looks clean. Install two D-ring hangers on the back, 1/3 of the way down from the top, centered on each long rail.

“DIY woodworking enthusiast who started with zero experience and a YouTube tutorial.
I build simple, practical projects for my home and share free plans
so other beginners can skip the guesswork.If I can build it, you can too.”