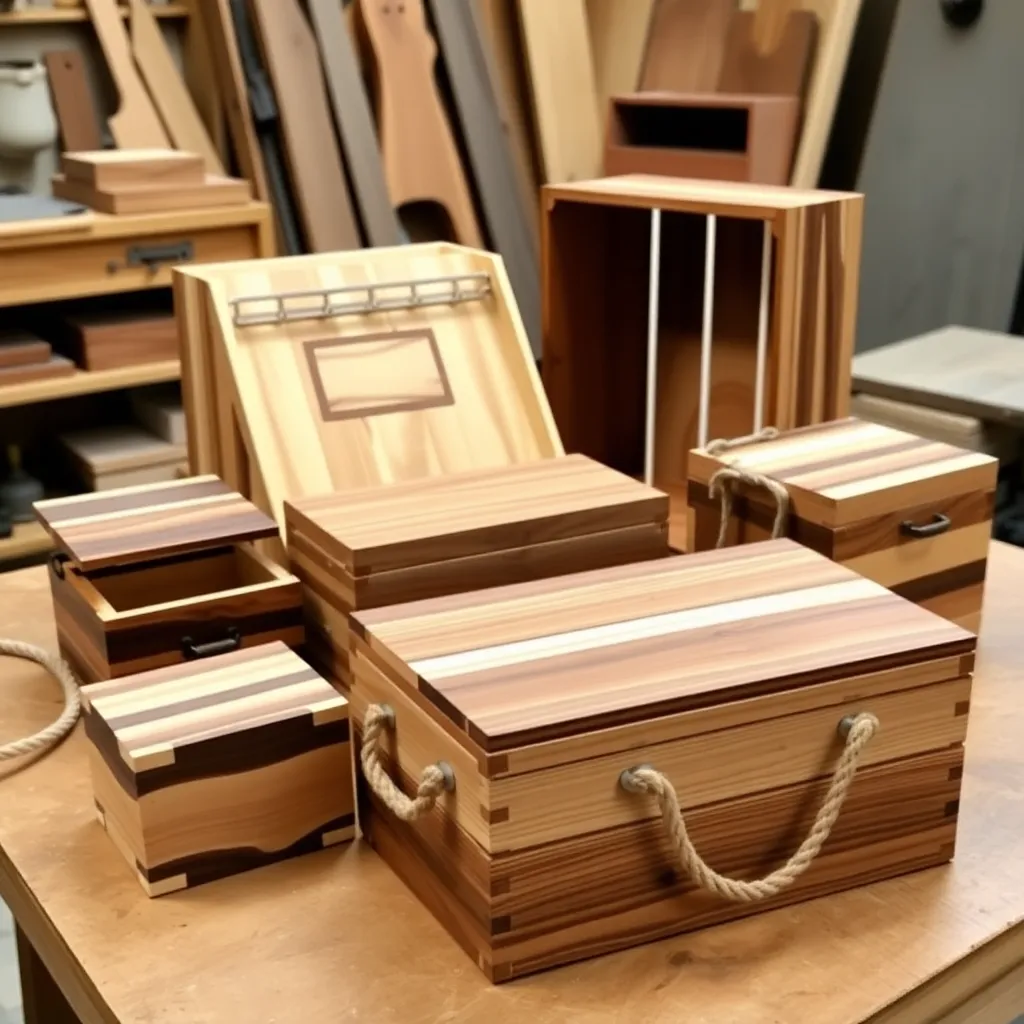
A wooden box is the best single project for learning woodworking fundamentals — it requires accurate measuring, flat panels, square corners, and a clean finish, all in a small package. Build one well and every subsequent project gets easier. These six builds cover the full range from a simple crate that takes an afternoon to a dovetailed jewelry chest that takes a weekend and teaches the joint woodworkers use to show off. Each one is also a functional object worth keeping or giving.
Ted’s Woodworking has complete plans for all six builds here, plus hundreds of box and chest variations. Browse Ted’s box plans →
This guide is part of our complete Woodworking Project Plans resource — covering beginner builds, free plans, gift projects, box builds, picture frames, cutting boards, specialty projects, and closet systems.
Woodworking Crate
A slatted wood crate is the starting point — no joinery required, just accurate cuts and square assembly. The slat spacing, size, and finish determine whether it’s a rustic storage piece or a refined home décor item. Wine crates, toy crates, and vegetable crates all share the same basic construction and differ only in dimensions and finish.
What you’ll learn: crosscutting to consistent length, assembly with pocket screws or brad nails, and how to achieve square corners before the glue dries.
Build notes: cut all slats to identical length using a miter saw stop block. Assemble the four corner posts first, then attach slats with consistent gaps. A 2-inch slatted gap works for most crate designs. Apply a dark stain (Minwax Dark Walnut) and matte polyurethane for a clean retail look.
Woodwork Box
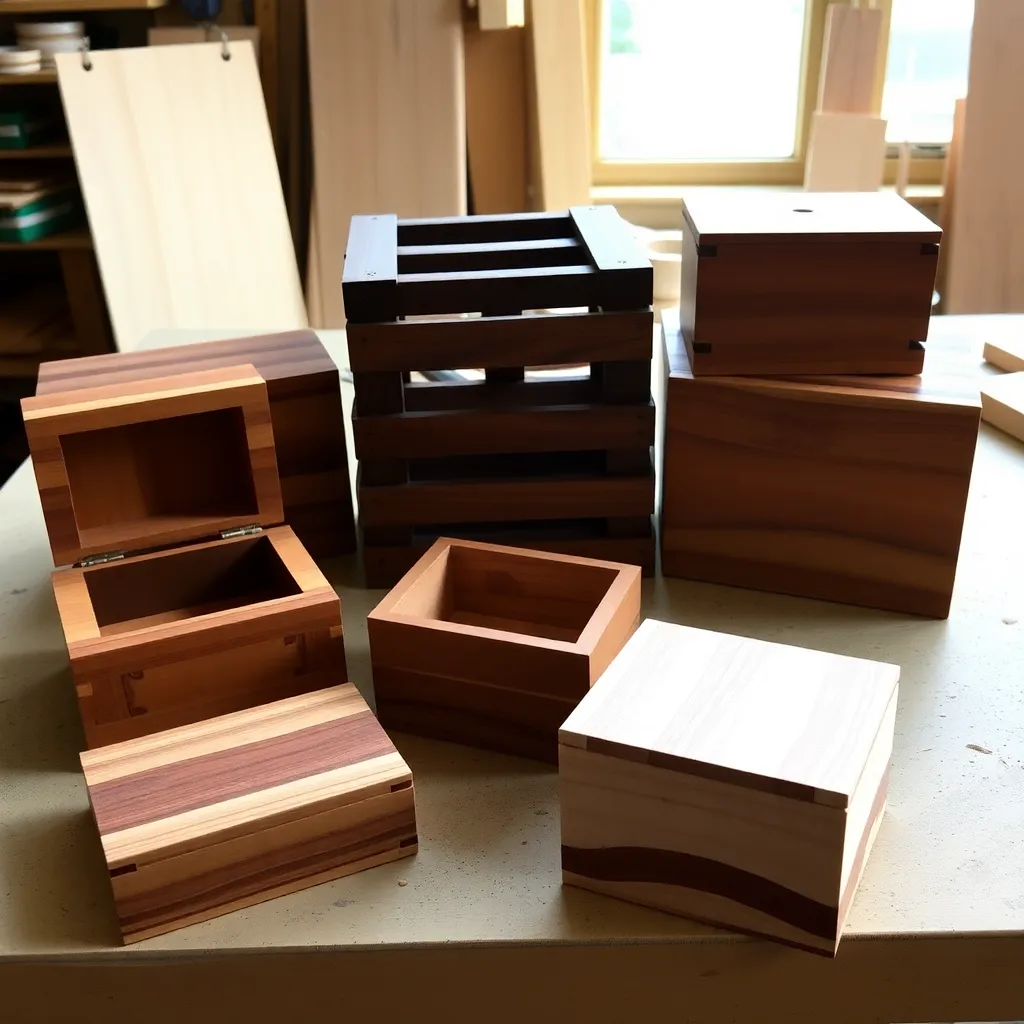
A solid-wood box with a fitted lid — no slats, no gaps — is where real box making starts. The lid fit is the technical challenge: too tight and it sticks, too loose and it rattles. The standard approach is to glue up the box, cut it apart on the table saw to separate the lid, and hinge it back together. This guarantees a perfect lid-to-body fit because they were literally cut from the same piece.
What you’ll learn: assembling a box with pocket screws or box joints, the rip-to-lid technique, installing piano hinge, and applying shellac for a clean interior finish.
Build notes: cut the box body from ½-inch hardwood (maple or cherry are ideal for their hardness and appearance). After gluing, run the assembled box through the table saw at 1¼ inches from the top. Install a small piano hinge on the back. Add a magnetic clasp on the front.
Wooden Box for Jewellery
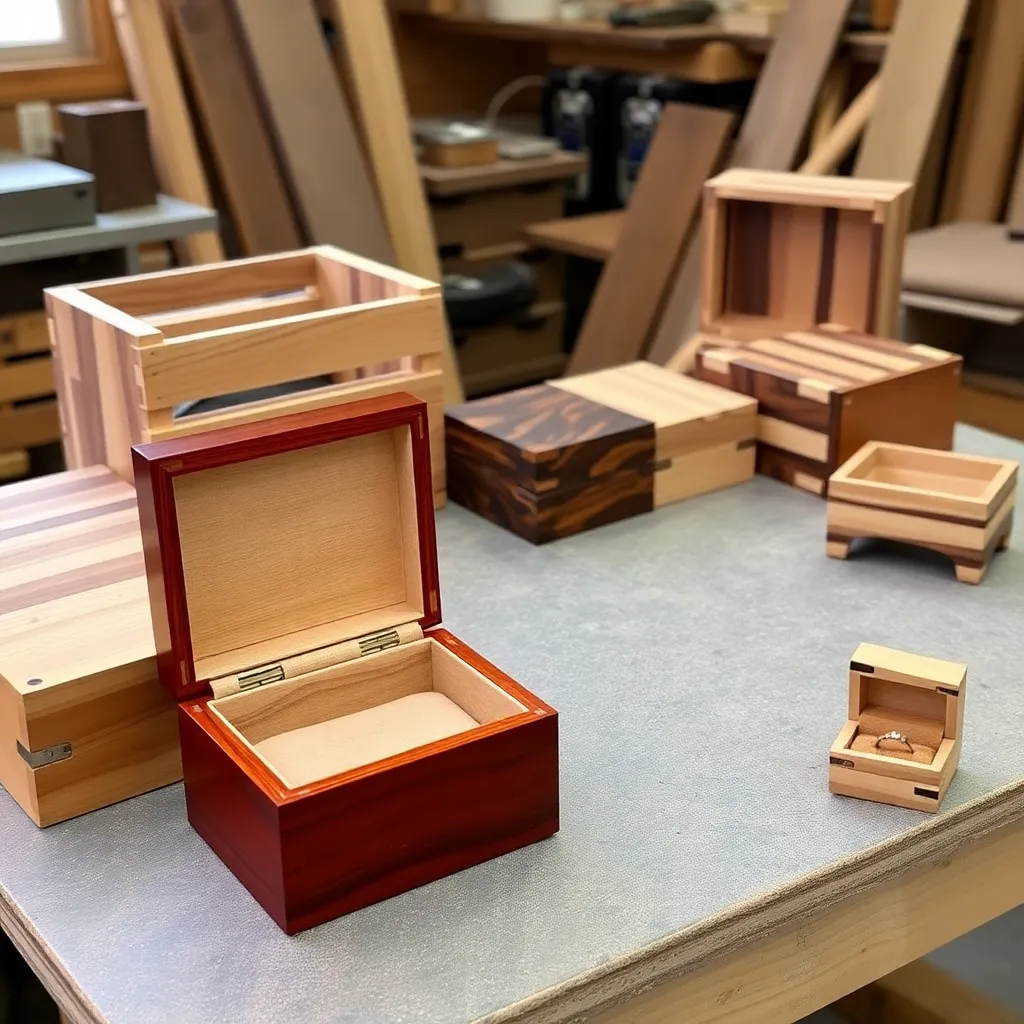
A jewelry box requires the same construction as a woodwork box but adds two features: a velvet-lined interior and usually a small tray that lifts out to reveal a lower compartment. The exterior finish matters more here — jewelry boxes are kept on dressers and looked at daily. Cherry, walnut, or maple with shellac or Danish oil are the right choices.
What you’ll learn: building a fitted interior tray, applying velvet lining, and achieving a finish that highlights wood grain without looking plastic.
Build notes: exterior dimensions 5 × 8 × 4 inches for a standard jewelry box. Build a removable tray (¼-inch plywood, ½ inch shallower than the box depth) that rests on two ledger strips inside. Line the tray bottom and walls with self-adhesive velvet foam. Line the lower compartment with the same. Install two small brass butt hinges and a magnetic clasp.
Bread Box Plans
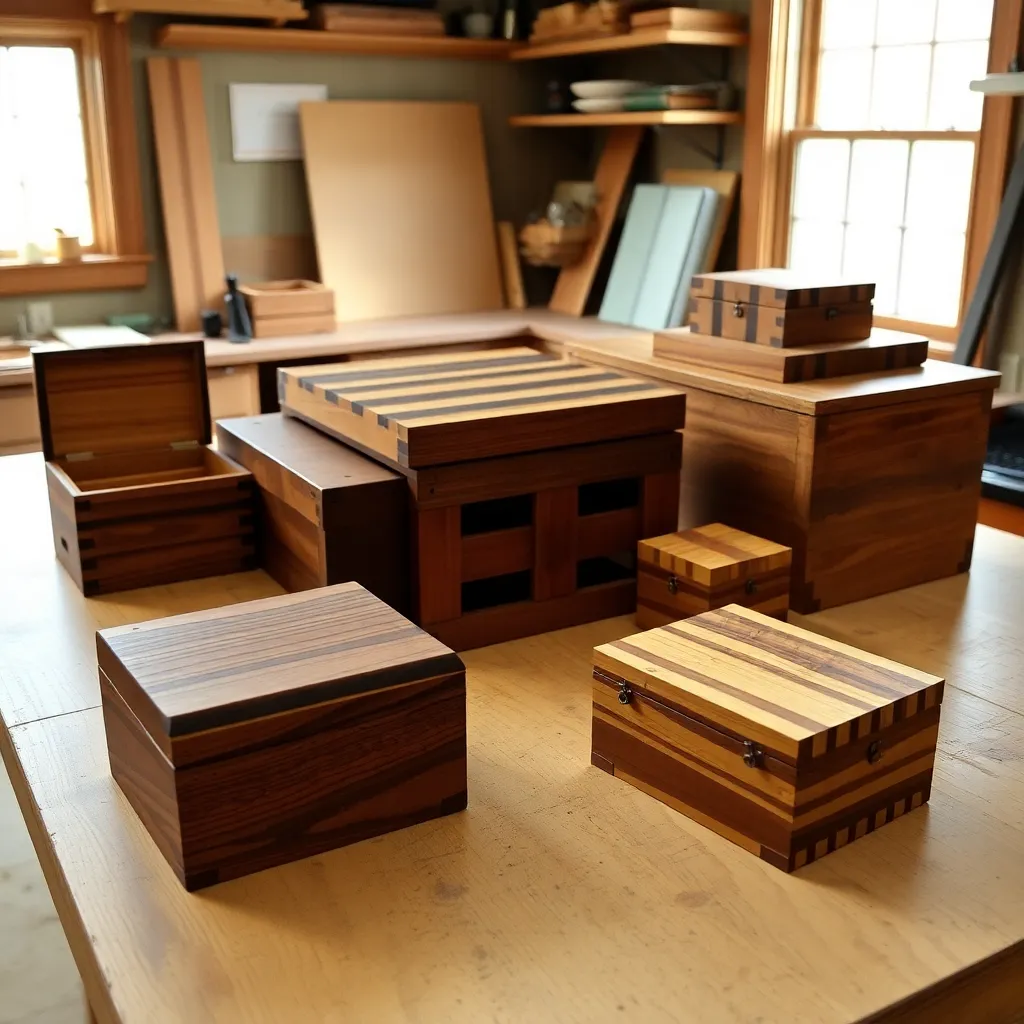
A bread box is a larger box build (12 × 10 × 10 inches is a standard interior size) with a roll-top or hinged door and ventilation holes in the back panel. The roll-top mechanism — wood slats glued to a canvas backing — is a satisfying intermediate skill to learn. A simpler version uses a hinged door instead. Either way, the goal is airtight enough to keep bread fresh but ventilated enough to prevent mold.
What you’ll learn: building a larger box with reinforced corners, adding ventilation holes, and either roll-top construction or door-hinge installation.
Build notes: use ½-inch maple or pine for the body. Drill six ½-inch ventilation holes in the back panel in a 2×3 grid. For a hinged door, use a 1×10 cut to the exact opening width with a ¼-inch piano hinge. Apply food-safe mineral oil on the interior — bread sits inside, so no solvent-based finishes.
Wooden Chest Plans
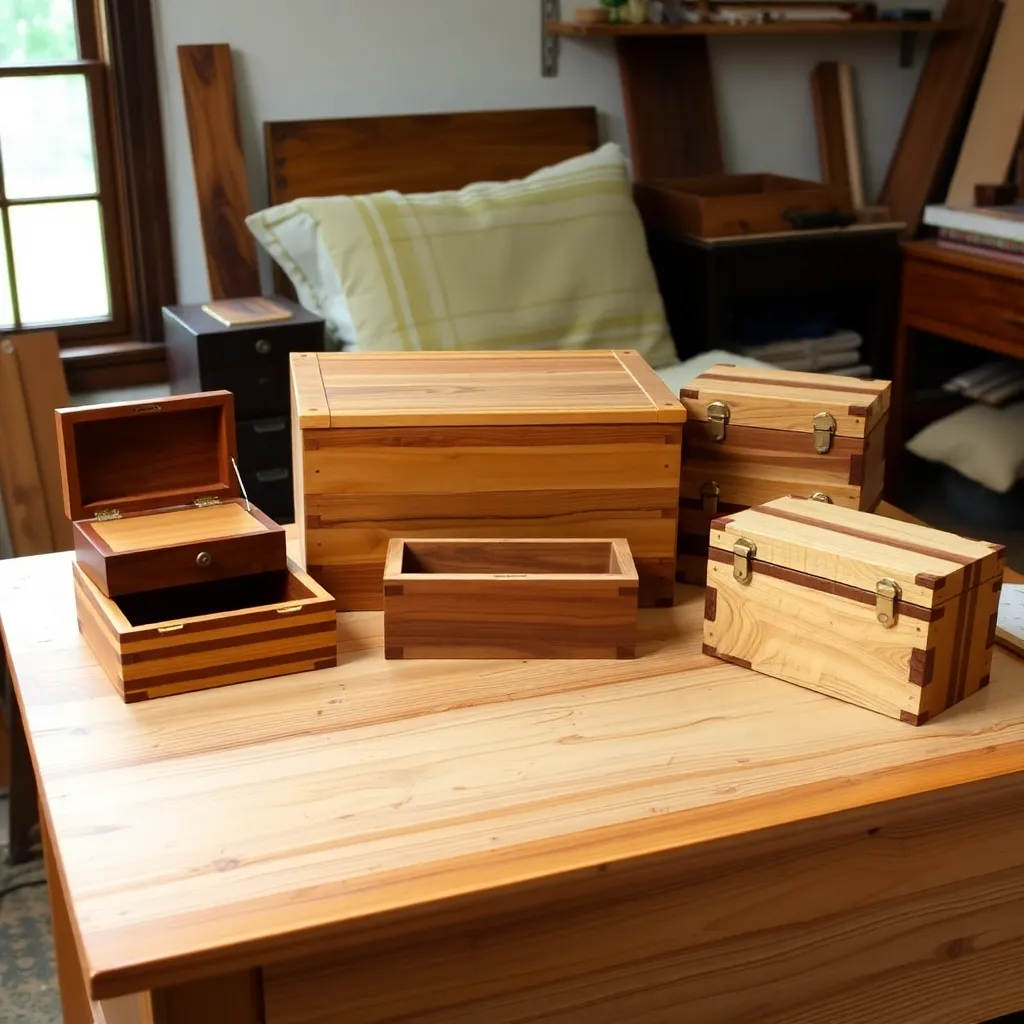
A wooden chest is a box scaled up to furniture proportions — 36 × 18 × 18 inches for a standard blanket chest, 24 × 14 × 14 for a toy chest. At this size, joinery choice matters significantly: pocket screws are adequate for rough storage, but a chest that will be used for 20 years needs either box joints (for machine cutting) or traditional through-mortise-and-tenon corner posts. The lid needs piano hinge plus a lid support to prevent it from falling back and damaging the hinge.
What you’ll learn: scaling up from box to furniture, lid support installation, and how to manage wood movement in a large panel assembly.
Build notes: build the chest body from ¾-inch pine or poplar (lower cost), or ½-inch cherry or walnut (premium finish). Reinforce corners with 1-inch glue blocks on the interior. Add cedar lining panels (⅛-inch cedar sheet, no finish, just rested against the interior walls) for a moth-deterrent blanket chest. Install a lid support on each side — these prevent the lid from opening past 95° and protect the hinge.
Small Box Plans
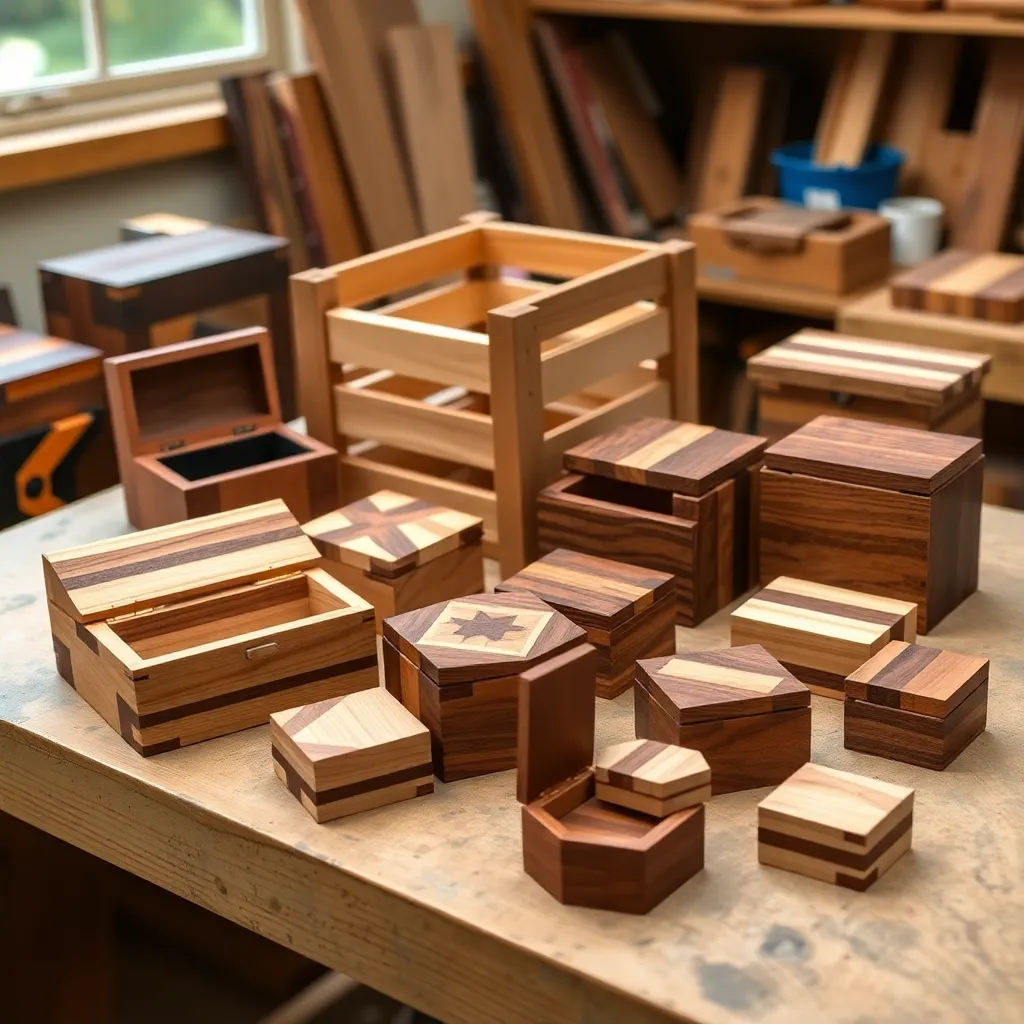
Small boxes — under 8 inches in any dimension — are where precise technique matters most, because every error is visible at that scale. A small box for keys, a ring box for jewelry, a card-size holder for business cards — all follow the same construction principles but require tighter tolerances. The joinery for a small box also scales to dovetails or finger joints, which look best at small dimensions.
What you’ll learn: tight-tolerance fitting, working with small stock safely, and the basics of hand-cut or router-cut dovetails at small scale.
Build notes: a 4 × 6 × 2-inch small box from ¼-inch hardwood is a good starting size. Cut box joints on the table saw with a dado blade and a shop-made sled, or hand-cut dovetails with a dovetail saw and chisels. Sand all interior faces before assembly (impossible to reach after). Apply Danish oil on all exterior faces, raw wood or food-safe oil on any interior surface that will contact jewelry or valuables.
Small Wooden Box Projects Quick Reference
| Project | Dimensions | Joinery | Skill Level | Build Time | Best Use |
|---|---|---|---|---|---|
| Woodworking Crate | 12×8×8 | Brad nails / pocket screws | Beginner | 2 hours | Storage, décor |
| Woodwork Box | 6×9×4 | Pocket screws + rip-to-lid | Beginner | 3 hours | General storage |
| Jewelry Box | 5×8×4 | Pocket screws + velvet | Intermediate | 5 hours | Gift, keepsake |
| Bread Box | 14×12×12 | Pocket screws + door | Intermediate | 4 hours | Kitchen |
| Wooden Chest | 36×18×18 | Box joints or tenon | Advanced | Weekend | Blanket / toy |
| Small Box | 4×6×2 | Box joints or dovetails | Advanced | 3 hours | Ring, keys, cards |
Small Wooden Box Projects FAQ
What is the best wood for small box projects?
Hard maple is the standard first choice — it machines cleanly, holds tight tolerances, accepts finish well, and is widely available. Cherry is the premium choice for gift boxes — it starts honey-colored and darkens to a rich reddish-brown over time. Walnut makes the most visually striking boxes because of its dark color and visible grain. Avoid pine for small boxes — it’s too soft to hold crisp joints at small scale. For crates and storage pieces where appearance is secondary, pine is fine.
Do I need special tools to build wooden boxes?
A table saw is the most useful single tool for box making — it rips panels to consistent width, cuts box joints with a dado blade and sled, and performs the rip-to-lid technique for fitted lids. A router table with a straight bit is useful for rabbets and grooves. A band saw is useful for small curves. For crates and basic boxes, a miter saw, brad nailer, and orbital sander are sufficient. Dovetail boxes require a dovetail saw and chisels (hand-cut) or a router table with a dovetail jig.
How do I prevent a wooden box from warping?
Use wood that has been properly dried and acclimated — bring the lumber into your shop for 48–72 hours before cutting. Use consistent grain orientation across glued-up panels. Apply finish to all faces (top, bottom, interior, exterior) in equal coats — uneven moisture absorption from one-sided finishing causes cupping. For large panels (bread boxes, chests), use frame-and-panel construction instead of solid panels — the panel floats inside the frame, which absorbs seasonal movement without distortion.
What is the easiest box joint to make?
Pocket screws are the easiest — no joinery skill required, just drilling a pocket hole at an angle and driving a screw. Brad-nailed butt joints are the second easiest. Box joints (finger joints) are the easiest visible joinery — they’re cut on the table saw with a dado blade and a repeatable jig, so they’re more about machine setup than hand skill. Dovetails are the most difficult but the most satisfying to make well.

“DIY woodworking enthusiast who started with zero experience and a YouTube tutorial.
I build simple, practical projects for my home and share free plans
so other beginners can skip the guesswork.If I can build it, you can too.”