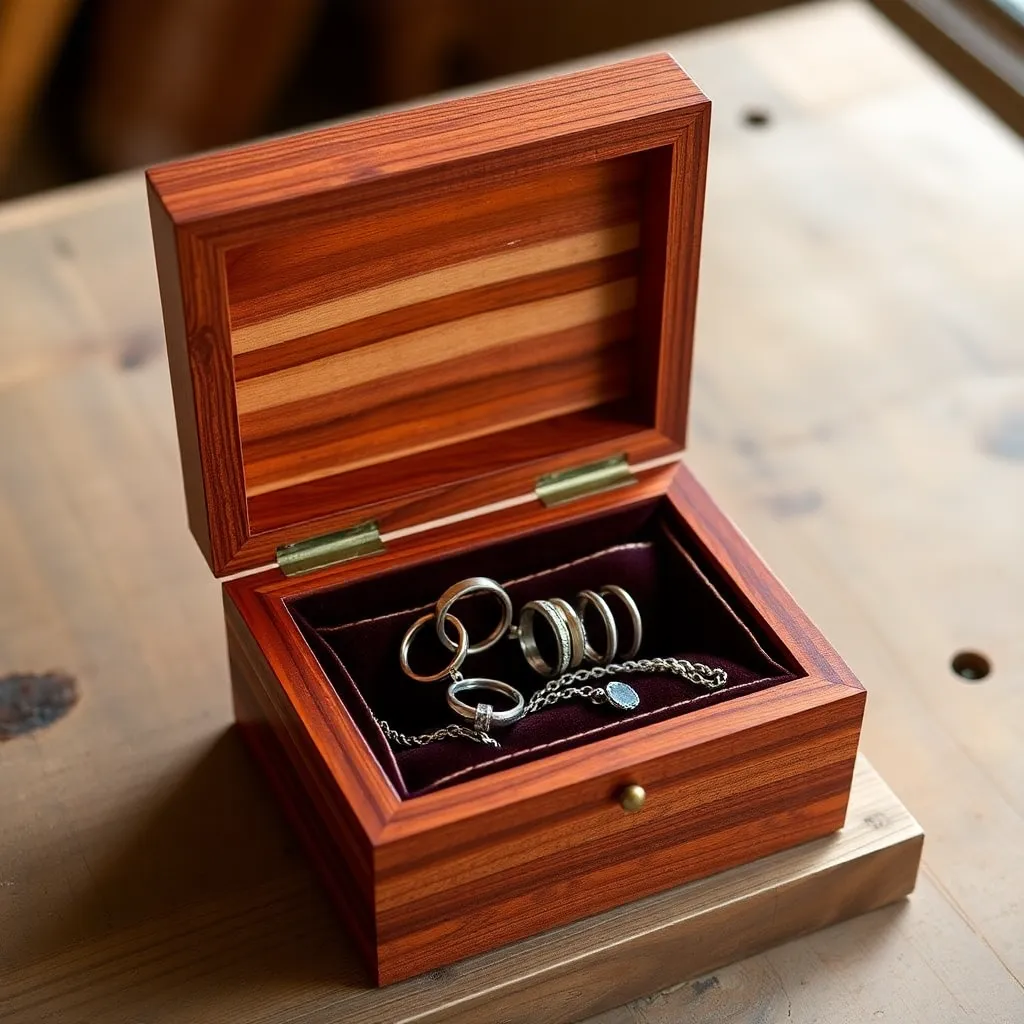
A jewelry box sits on a dresser and is opened daily — it has to be beautiful, functional, and built to last. These eight builds cover the full range from a simple ring box that fits in a palm to a full armoire with multiple drawers and a mirror. Each one teaches a specific skill and produces a gift worthy of the jewellery inside.
Ted’s Woodworking has complete jewelry box plans with interior layout diagrams and hinge specifications. Browse Ted’s jewelry box plans →
Step 1: Build a Ring Box
Goal: A clamshell ring box — the smallest and most romantic box build.
Cut two identical halves from a 2 × 2 × 3-inch hardwood blank: both halves 1½ inches tall. On the bottom half, use a Forstner bit to drill a 1½-inch diameter × ½-inch deep recess — this holds the ring. Line the recess with velvet. On the top half, route a ½-inch × ¼-inch rabbet around the inside bottom edge — the top half sits over the bottom half, aligned by the rabbet. Install two small knife hinges or a micro piano hinge at the back. The top half opens to reveal the ring.
Turn the exterior on a lathe for a finished round profile, or leave square and route a decorative edge profile.
Milestone: A box where the ring sits securely in the velvet recess and the top opens smoothly on the hinge.
Step 2: Build a Single-Layer Jewelry Box
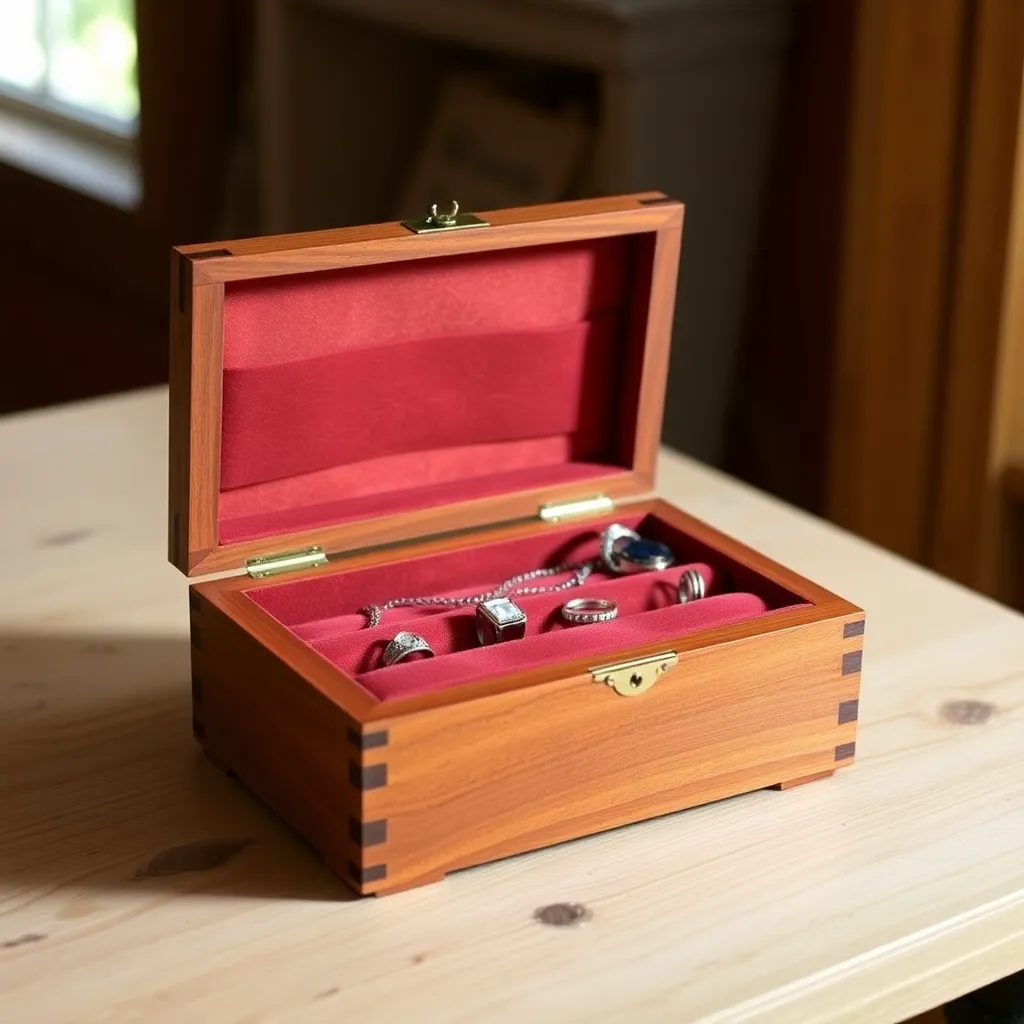
Goal: A classic flat jewelry box — the most given and most useful jewelry gift.
Build from ½-inch cherry or maple:
- Body: 5 × 8 × 4 inches assembled with pocket screws
- Lid: separated from body at 1¼ inches from the top (rip-to-lid technique on table saw)
- Interior: lined with self-adhesive velvet foam (bottom and all four walls)
Install two small brass butt hinges on the back, a magnetic clasp on the front. Route a small finger notch on the front edge of the lid — this gives a natural place to lift the lid. Apply three coats of shellac on the exterior, raw wood on interior walls (velvet covers them).
Milestone: A lid that closes flush with no visible gap and opens on the hinge without binding.
Step 3: Build a Two-Layer Jewelry Box With Removable Tray
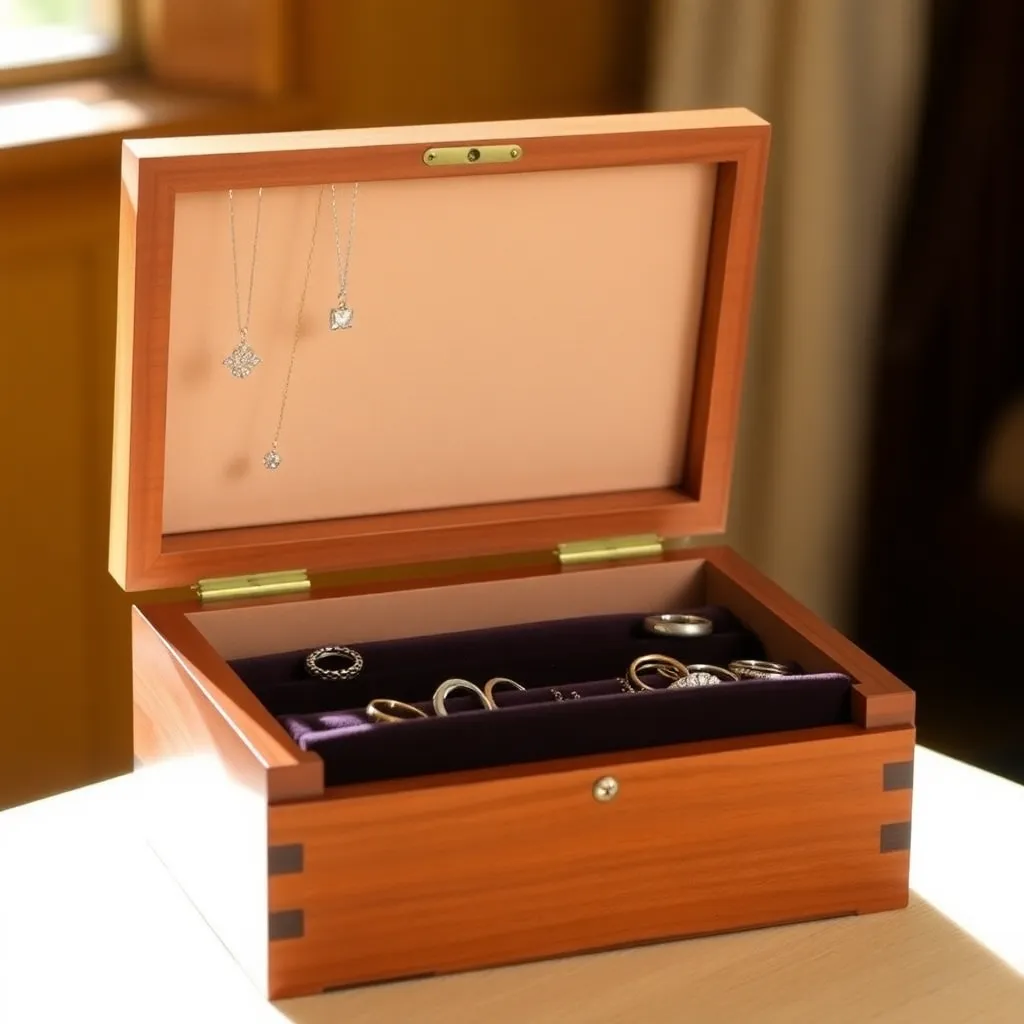
Goal: A box with a lift-out top tray (for rings and earrings) over a deeper lower compartment (for necklaces and bracelets).
Build the box body at 5 × 8 × 6 inches from ½-inch hardwood. Build the removable tray from ¼-inch plywood: sized to fit inside the box with ⅛-inch clearance on all sides. Glue ledger strips (¼-inch square strips) to the inside walls of the box at 2 inches from the top — the tray rests on these strips. Line the tray bottom with velvet. Drill necklace peg holes in the tray sides (3 pegs per long side, ⅜-inch holes for small wooden dowel pegs). Line the lower compartment with velvet.
Milestone: A tray that lifts out with two fingers and rests level in the box with no rocking.
Step 4: Build a Wall-Mounted Jewelry Organizer
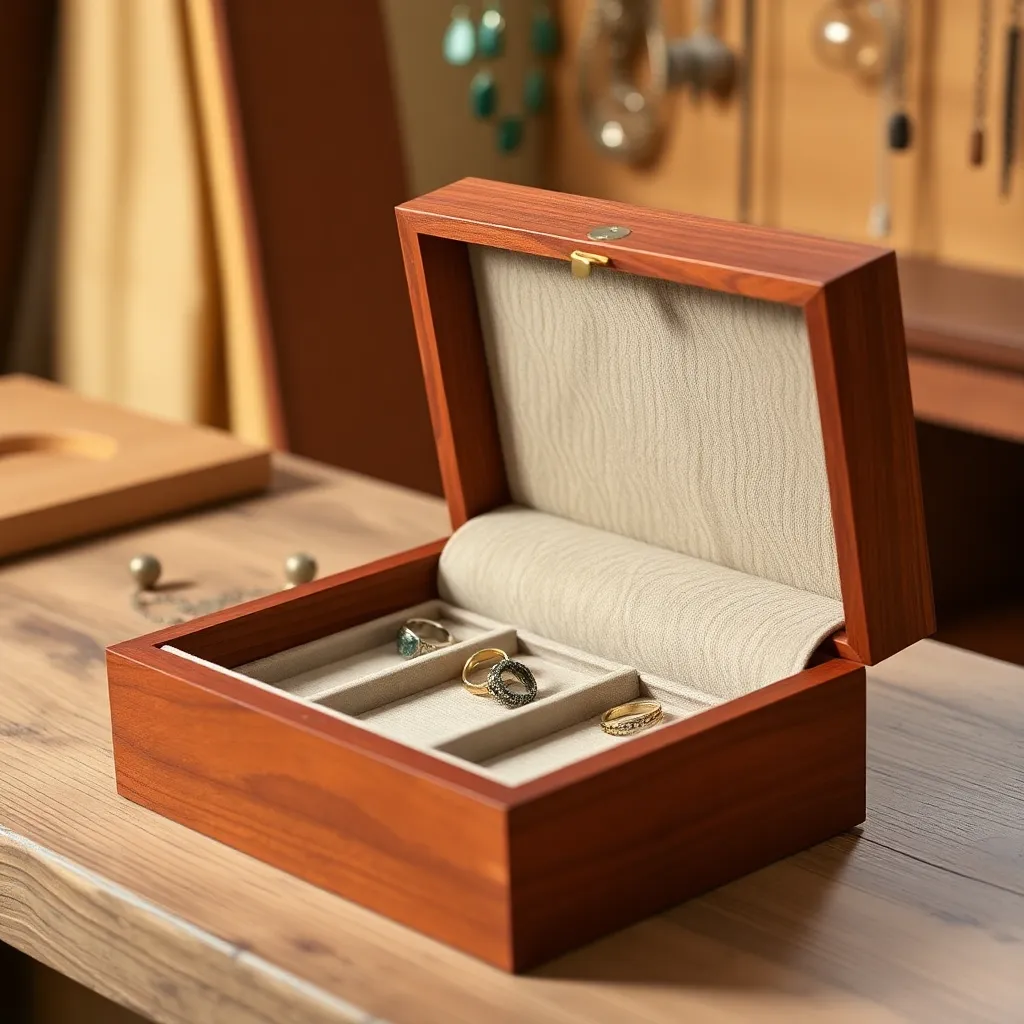
Goal: A wall-mounted box with a mirror on the inside of the door and hooks for necklaces.
Build the box body from ½-inch poplar: 14 × 18 × 4 inches deep. Install a ½-inch × ½-inch French cleat on the back for wall mounting. Build the door from ½-inch poplar with a ½-inch rabbet on the inside face for a mirror (have a mirror cut to the rabbet opening at a hardware store). Install the door with two 2-inch brass butt hinges on the left side and a magnetic clasp on the right.
Interior: mount 6 cup hooks across the top (for necklaces), add 2 rows of short pegs down each side (for earrings). Add one adjustable shelf with shelf pins for rings and bracelets.
Milestone: A door that closes flush, a mirror that sits securely in the rabbet, and hooks that hold necklaces without tangling.
Step 5: Build a Jewelry Box With Drawer
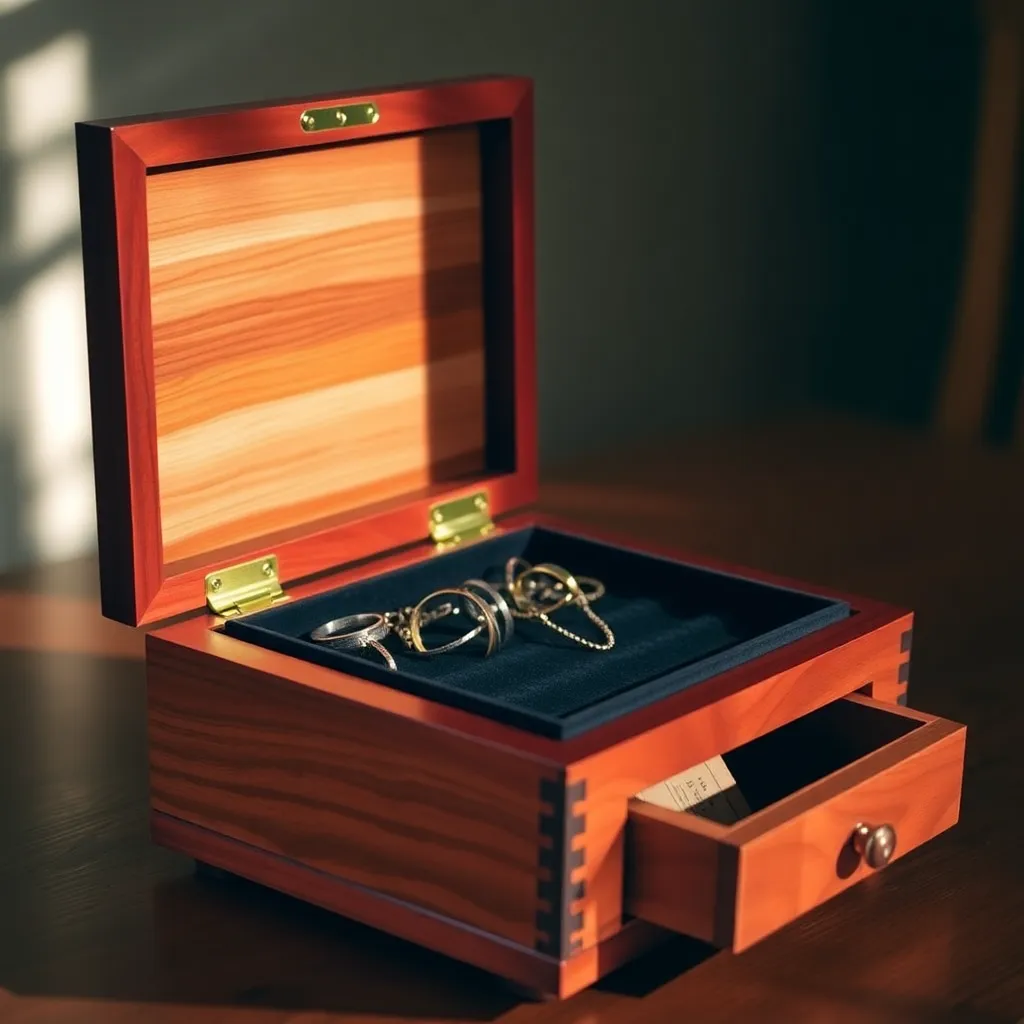
Goal: A box with a hinged lid compartment above and a small drawer below.
Build the body from ½-inch hardwood: 6 × 10 × 7 inches total height. Divide into two zones: the upper 4 inches is a standard hinged-lid compartment (lined with velvet). The lower 3 inches contains a drawer.
Build the drawer from ½-inch stock at 5⅞ × 9⅞ × 2¾ inches (⅛-inch clearance on all sides). Run the drawer on a full-extension drawer slide or on two wooden runners (¼ × ¼-inch strips glued to the inside of the drawer opening). Install a small brass knob on the drawer face. Apply shellac to all exterior surfaces.
Milestone: A drawer that extends fully without tipping and closes flush with the front face.
Step 6: Build a Stacking Jewelry Box Set
Goal: Three identical boxes that stack on top of each other — each for a different jewelry category.
Build three identical boxes from ½-inch maple: 5 × 8 × 3 inches each. On the bottom edge of each box, route a ¼-inch wide × ¼-inch deep rabbet — this lip aligns each box when stacked. On the top edge of each box, cut a ¼-inch shoulder that fits into the lower box’s rabbet. Lid: lift-off type (no hinges) using the same rabbet-and-shoulder system.
Differentiate each box: stain one dark (walnut stain), leave one natural, and paint one (the velvet lining color matches the exterior accent color of each box).
Milestone: Three boxes that stack stably and align automatically when stacked due to the rabbet-and-shoulder system.
Step 7: Build a Jewelry Box With Inlaid Lid
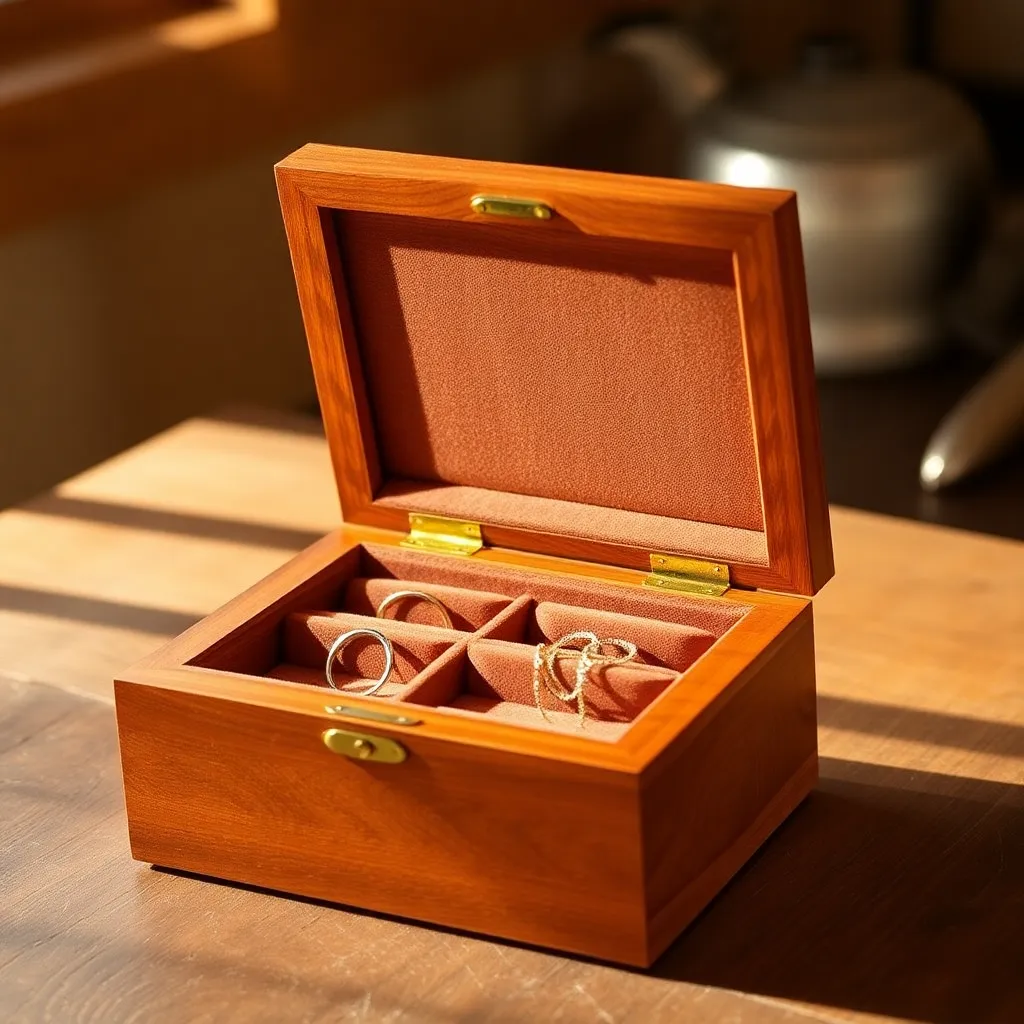
Goal: A box with a decorative wood inlay on the lid — a build that combines box making with marquetry.
Build the box body using any of the above methods. The focus is the lid: cut the lid from ¾-inch maple (primary wood). Mark a rectangular inlay area centered on the lid face (3 × 5 inches). Route a ⅛-inch deep recess in this area. Cut a piece of ⅛-inch walnut or padauk to fit the recess exactly. Glue the inlay into the recess. Sand flush — a hand plane or card scraper works better than a sander for this, as sanding can dish the recess. Apply shellac to both lid and inlay.
Milestone: An inlay that sits flush with the lid surface after sanding — no ridges or depressions at the inlay boundary.
Step 8: Build a Jewelry Armoire (Tabletop Version)
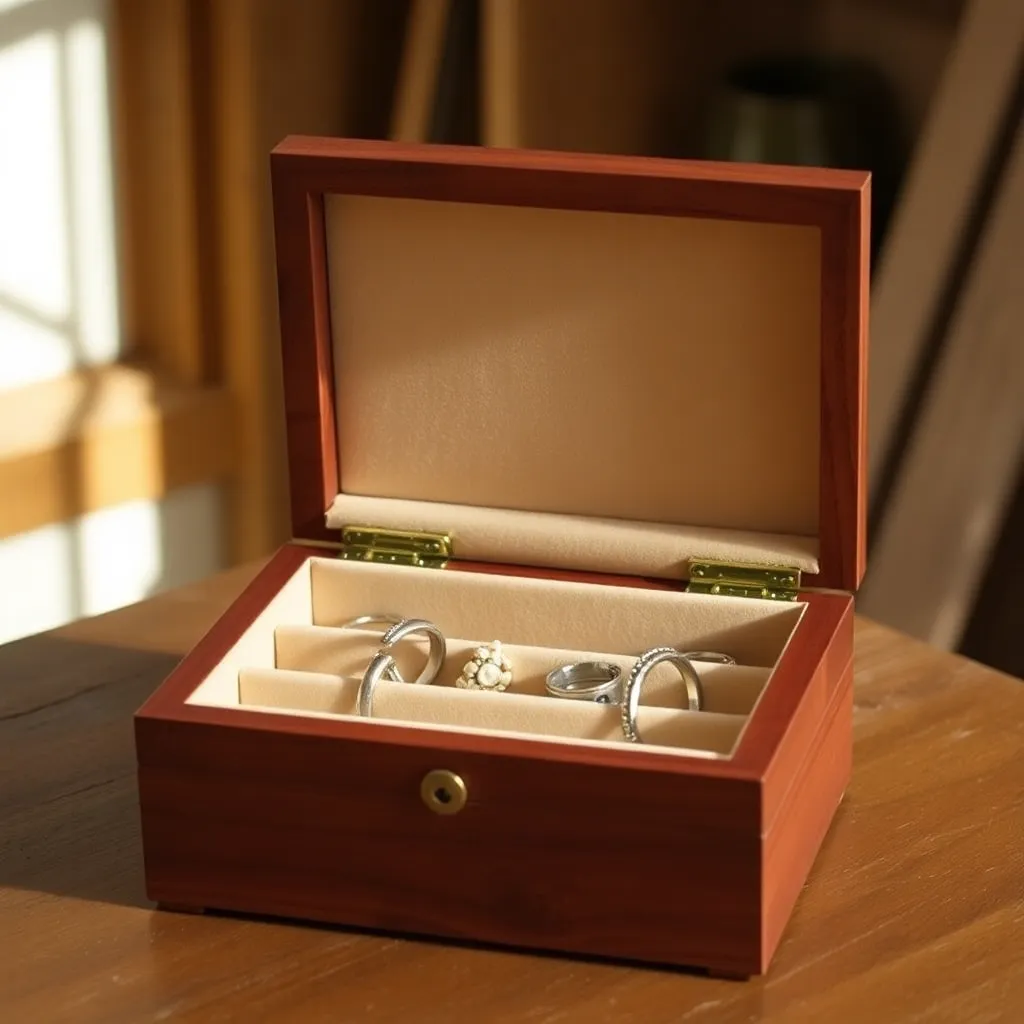
Goal: A small armoire with multiple compartments, a mirror, and a drawer — the most complete jewelry storage build.
Dimensions: 8 × 12 × 16 inches tall. Divide vertically into three sections from top to bottom: (1) upper cabinet with hinged door containing a small mirror (8 × 6 inches); (2) middle section with two side-by-side doors revealing a velvet-lined compartment with 3 necklace pegs and 8 earring holes; (3) lower section with one drawer spanning the full width.
Build the carcass from ½-inch maple or cherry. Face frame (¾ × 1½-inch strips applied to the front edges of the carcass) covers the plywood edges and provides the door reference surface. Install all doors with knife hinges. Apply shellac. This is a weekend build and produces a jewelry storage piece equivalent to retail items costing $200+.
Milestone: All doors opening and closing squarely, the drawer extending fully, and the mirror sitting flat in its rabbet.
Wooden Box for Jewellery FAQ
What are the best wood species for a jewelry box?
Cherry is the most popular choice — it starts honey-colored and darkens to a rich reddish-brown with light exposure, and its fine grain gives a polished appearance. Walnut provides a dramatic dark background that makes jewelry look striking against it. Maple is the most neutral and clean-looking, suitable for a painted or stained exterior if natural maple isn’t the target look. Bird’s-eye maple and curly maple are premium variants with visible figure that make the box itself a showpiece. Avoid pine — it dents and scratches too easily for a jewelry box.
How do I attach hinges to a small jewelry box?
For small boxes, use either small brass butt hinges (the traditional choice) or knife hinges (the cleanest-looking option). Mark the hinge mortises carefully — a hinge mortise too deep causes the lid to bind; too shallow leaves a visible gap. Rout or chisel the mortise to exactly the hinge leaf thickness. Pre-drill pilot holes with a bit slightly smaller than the screw diameter to prevent splitting. Install one screw in each mortise, check the alignment and lid movement, adjust if needed, then install all screws.
What velvet should I use for lining?
Self-adhesive velvet foam (also called velvet contact paper or suede drawer liner) is the most practical option — it’s available at craft stores in black, burgundy, navy, and cream, and adheres without a separate glue step. Cut with scissors, peel the backing, and press into place starting from one corner. For the best appearance, miter the corners of the velvet rather than overlapping. For a professional result, use flocked paper (a thin velvet-texture sheet) instead of velvet foam — it’s thinner and wraps corners more cleanly.
How do I fit the lid precisely?
The most accurate lid fitting method is the rip-to-lid technique: glue up the full box body without any lid, let the glue cure completely, then run the box through the table saw at the desired lid height (1 to 1½ inches from the top is standard). The saw kerf separates the lid and body from the same piece, guaranteeing a flush fit. Sand both cut faces lightly to remove the saw marks, then install hinges. The alternative — building the lid and body separately and fitting them — requires careful measuring and test-fitting but works without a table saw.

“DIY woodworking enthusiast who started with zero experience and a YouTube tutorial.
I build simple, practical projects for my home and share free plans
so other beginners can skip the guesswork.If I can build it, you can too.”