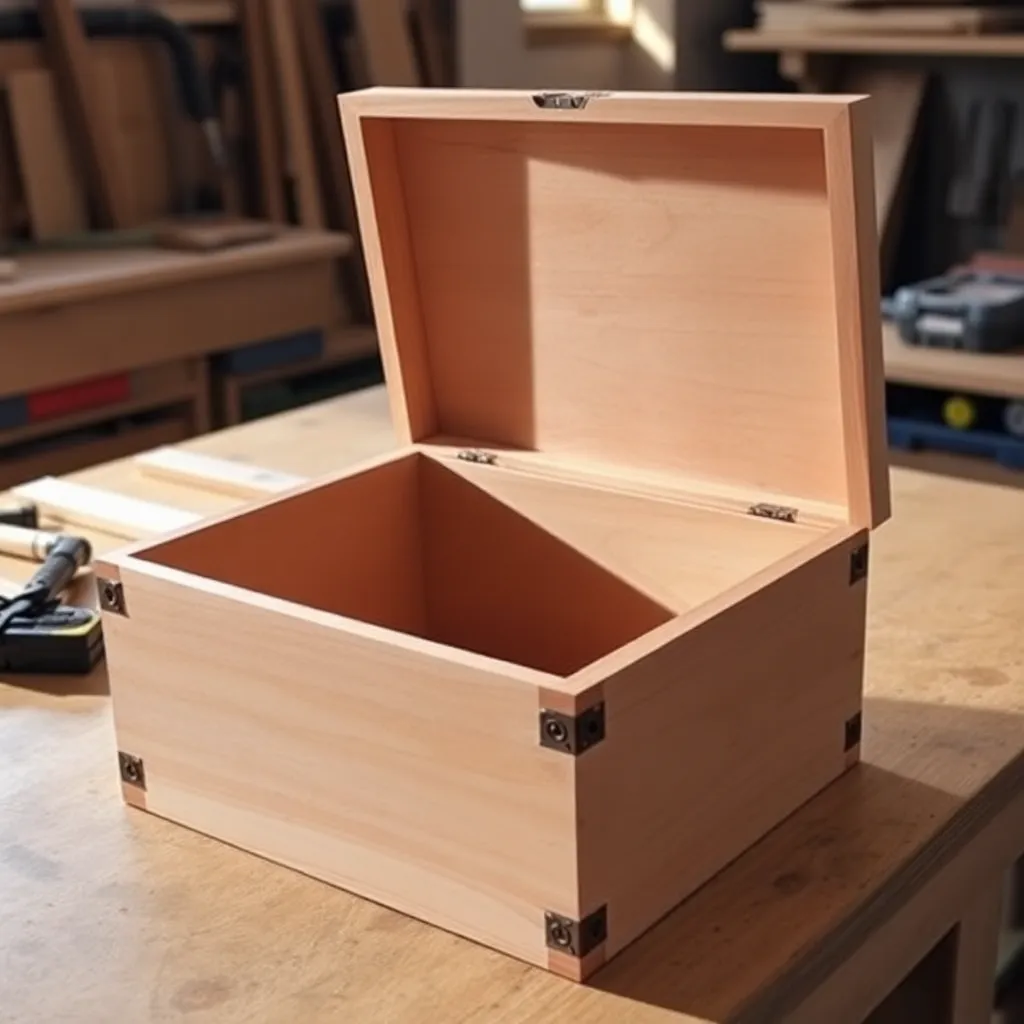
A wooden box is the most complete small project in woodworking — it requires accurate dimensioning, flat panels, square assembly, and a clean finish. More importantly, each box type introduces a different joinery method: pocket screws for beginners, box joints for intermediate builders, dovetails for advanced. These eight builds form a complete progression from the simplest glued-up box to a hand-cut dovetail display piece.
Ted’s Woodworking has step-by-step plans for all eight builds including jig instructions and finish guides. Browse Ted’s box plans →
Step 1: Build a Basic Storage Box With Pocket Screws
Goal: A 6 × 9 × 4-inch box with a simple lid — the first box any woodworker should build.
Cut five panels from ½-inch hardwood (maple or poplar):
- Bottom: 6 × 9 inches
- 2 long sides: 3 × 9 inches
- 2 short sides: 3 × 6 inches
- Lid: 6 × 9 inches (cut from ¾-inch stock for stiffness)
Drill pocket holes on the inside face of both long sides (2 holes per end). Assemble: glue and screw the long sides to the short sides, then glue and nail the bottom flush. Sand to 220-grit. Apply two coats of Danish oil. Attach the lid with a small piano hinge and magnetic clasp.
Milestone: A box with four square corners, a bottom that sits flat, and a lid that closes without a gap.
Step 2: Build a Box With Rabbet Joints
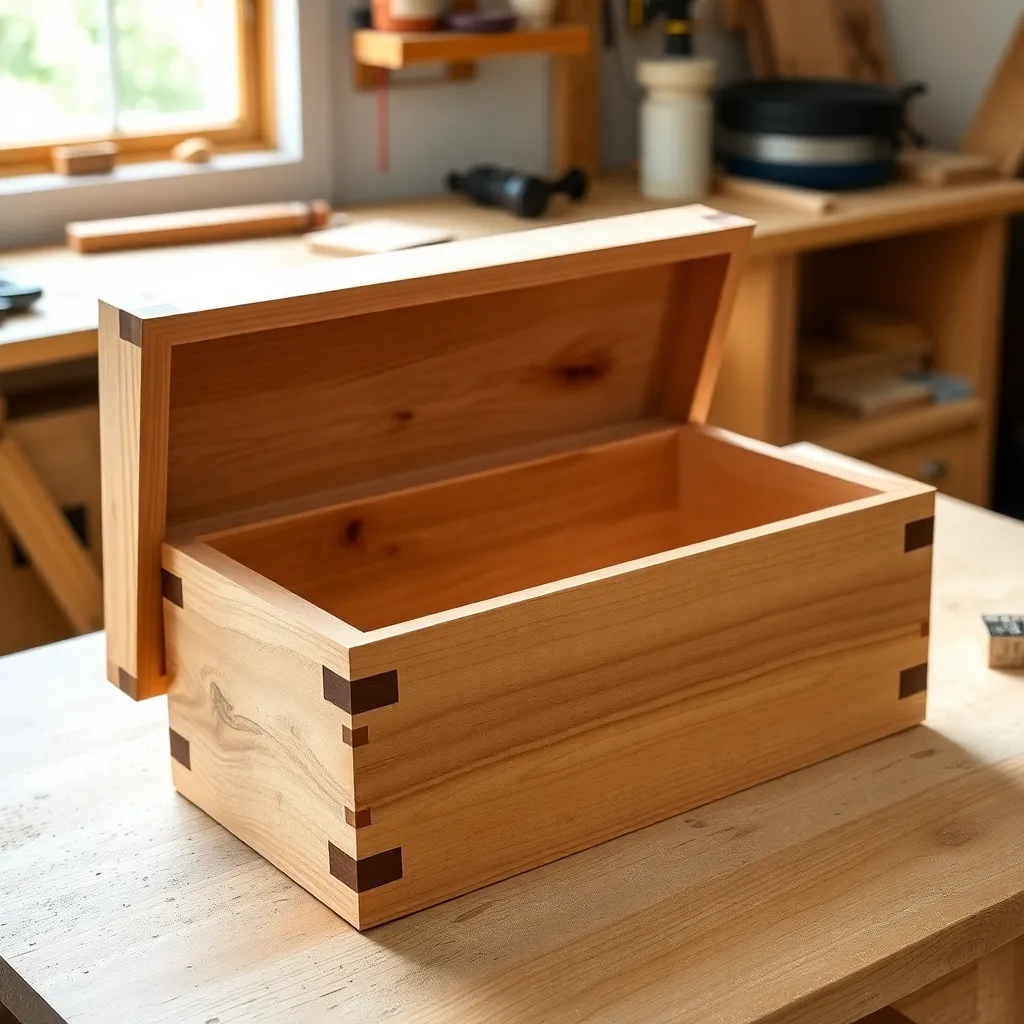
Goal: A box using rabbet joints — stronger and cleaner looking than pocket screws.
Cut a ¼ × ¼-inch rabbet along the inside edges of all four side panels using a router table or dado blade. The rabbet creates a shoulder that the adjacent panel glues into, producing a stronger joint with more glue surface. Cut the bottom panel to fit into a ¼-inch groove routed ⅜ inch from the bottom edge of all four sides — this is a floating bottom, which allows for wood movement.
Cut all panels from ½-inch hardwood. Dry-fit before gluing — rabbet joints pull together with clamps and require no fasteners. Use cauls (straight scrap pieces) with clamps to distribute clamping pressure evenly.
Milestone: A box where the rabbet joints close cleanly with no gaps and the bottom panel floats without glue.
Step 3: Build a Box With Box Joints (Finger Joints)
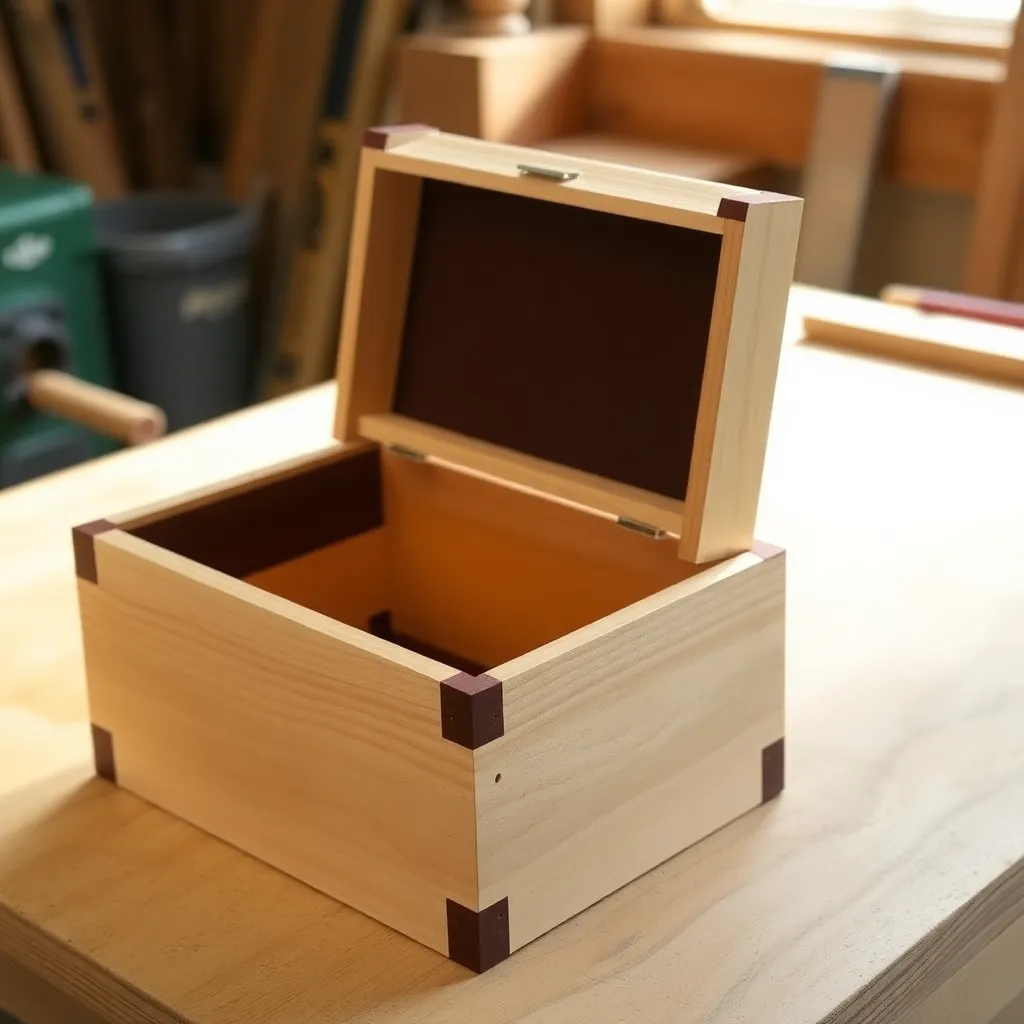
Goal: A box with visible corner joints — the first joinery display box.
Box joints (also called finger joints) are cut with a dado blade on the table saw using a simple shop-made sled. The sled has a key that spaces each successive cut exactly one finger-width from the previous one. Cut ½-inch wide × ½-inch deep fingers on all four corners.
The trick: all four corners must interlock. Test with a dry assembly before gluing — all fingers should slip together with hand pressure (not hammer-required tight, not sloppy). Apply glue to all mating surfaces and clamp. Sand flush after curing.
Milestone: Four corners with consistent finger widths and no visible gaps in the assembled box.
Step 4: Build a Hand-Cut Dovetail Box
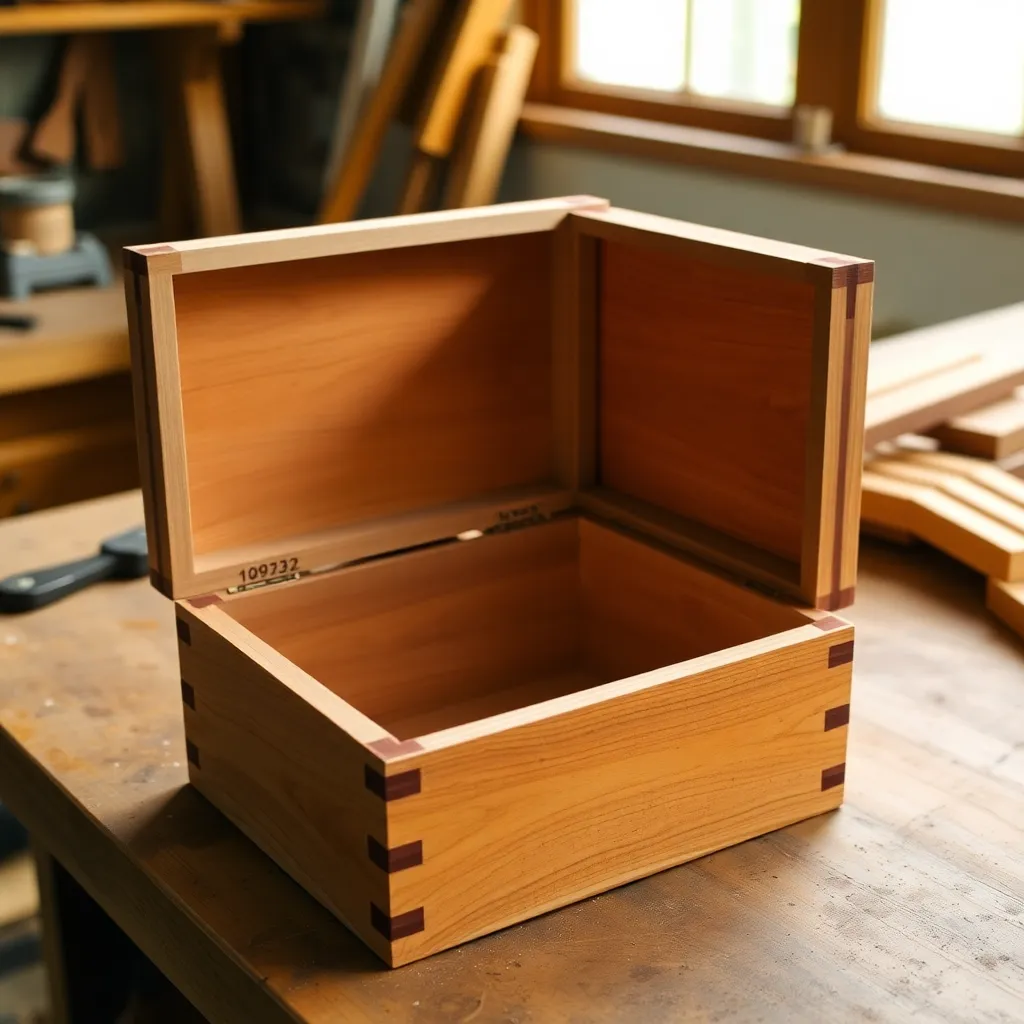
Goal: A small dovetail box — the classic test of hand-tool skill.
Cut one dovetail joint by hand: mark the tails on the end grain of one panel using a sliding bevel set to 1:8 (for hardwood). Cut with a dovetail saw, chisel the waste. Use the finished tails to scribe the pins onto the adjacent panel. Cut the pins. A proper fit requires patience with the chisel on the first iteration — plane or sand the tails slightly if the joint is too tight, add glue and clamp if too loose (but fix the technique for the next corner).
Apply this process to all four corners. A hand-cut dovetail box from four corners takes 4–6 hours for a first build, 2–3 hours once the method is internalized.
Milestone: Four corners where the tail-to-pin fit requires hand pressure but no mallet — and the assembled box needs no clamping.
Step 5: Build a Keepsake Box With Velvet Lining
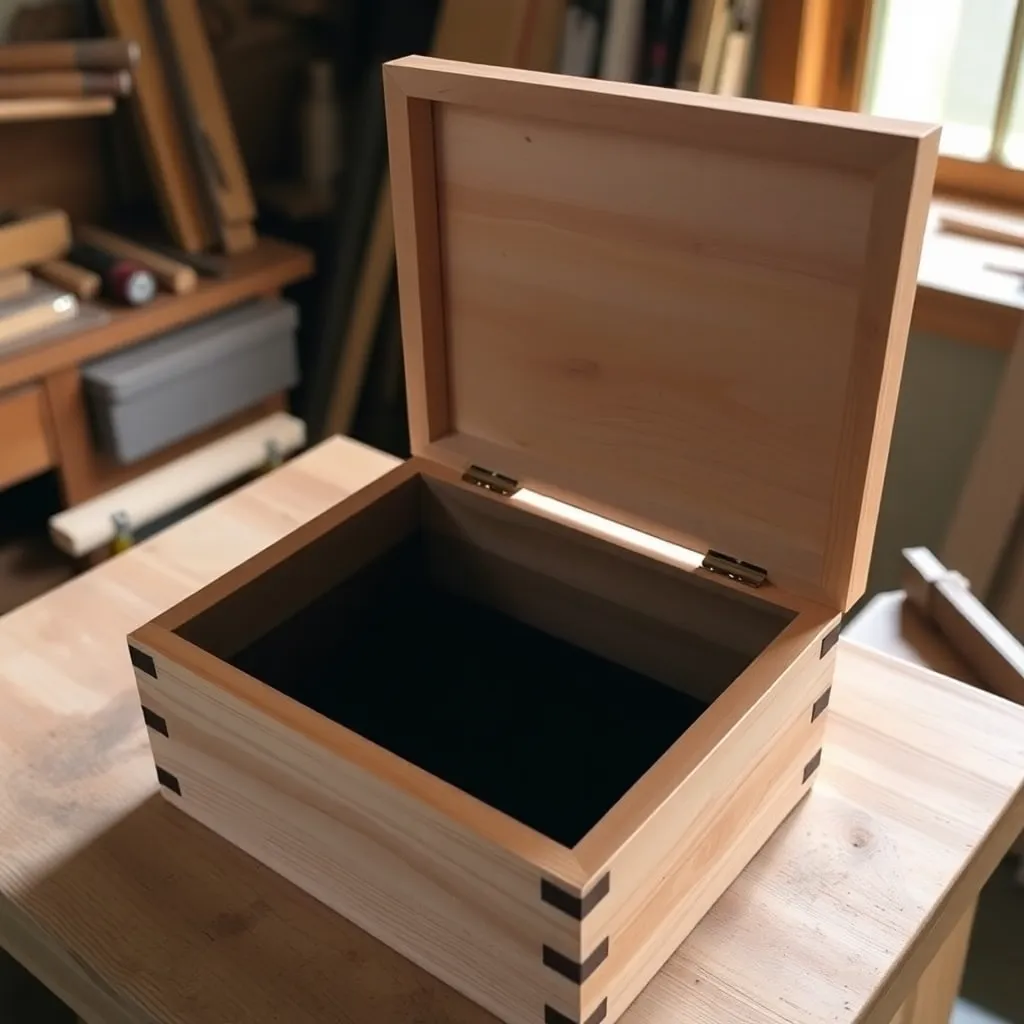
Goal: A gift-quality box with an interior that matches the exterior quality.
Build the box body using box joints or pocket screws (the exterior joinery). The interior is the focus here: cut a removable tray from ¼-inch plywood — 1 inch shallower than the box depth. Glue ledger strips (¼ × ¼-inch strips) to the interior walls at the right height to support the tray. Line the tray bottom and all four tray walls with self-adhesive velvet foam (available in craft stores in black, burgundy, and blue). Line the lower compartment similarly.
Exterior: three coats of shellac for warmth. Brass butt hinges (two, centered on the back). Brass magnetic clasp (centered on the front).
Milestone: A tray that lifts out cleanly and rests level, with velvet that’s fully adhered and wrinkle-free.
Step 6: Build a Trinket Box With Lift-Off Lid
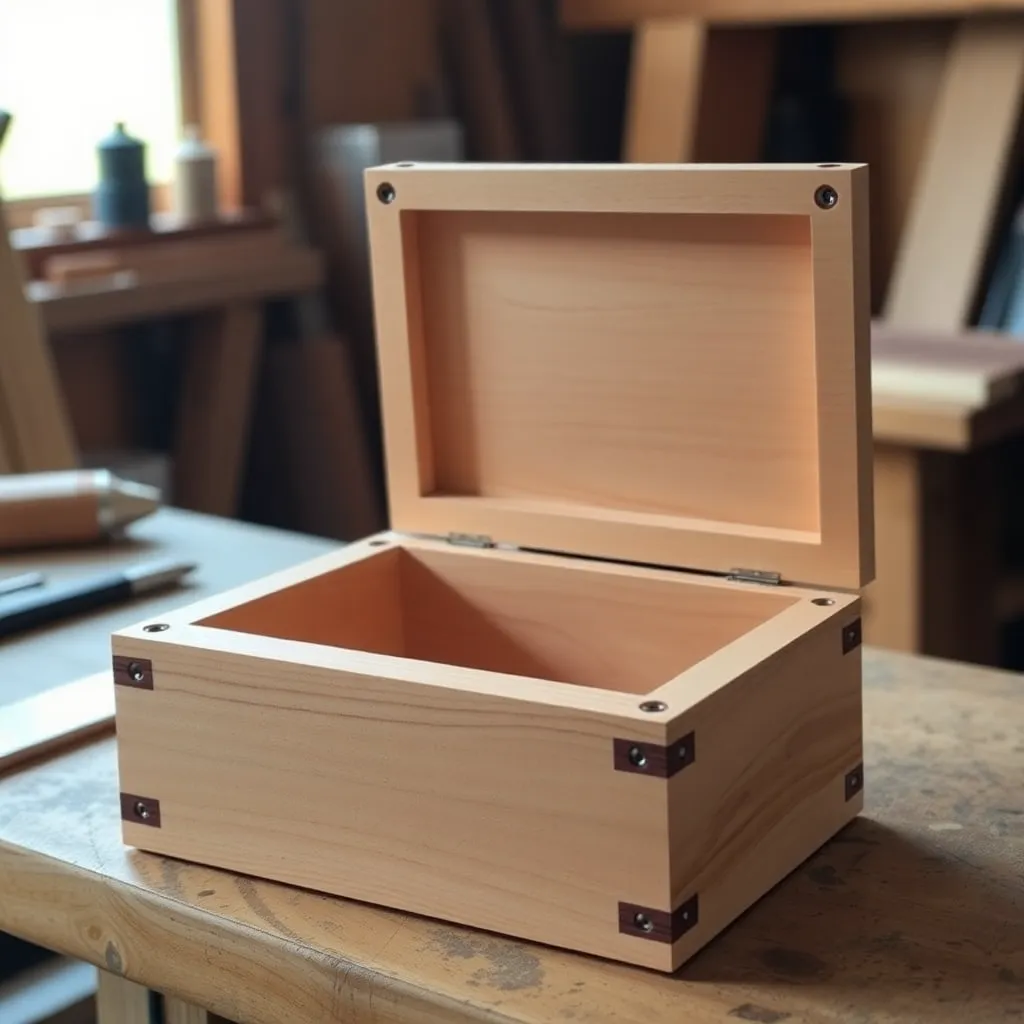
Goal: A small box (4 × 4 × 3 inches) with a lift-off lid — no hinges required.
A lift-off lid is the simplest lid mechanism: the lid sits inside a ¼-inch rabbet cut around the inside top edge of the box, and lifts straight off. The fit should be snug enough that the lid doesn’t fall off when the box is inverted, but loose enough to lift with one finger.
Cut the box from ¼-inch hardwood. Route a ¼-inch rabbet on the inside top edge after assembly. Cut the lid to fit the rabbet opening exactly (measure after routing, since routing removes material). Sand the lid and rabbet to a smooth fit. Apply Danish oil to both the box and lid.
Milestone: A lid that stays on when the box is inverted but lifts with light finger pressure.
Step 7: Build a Music Box With Inlaid Lid
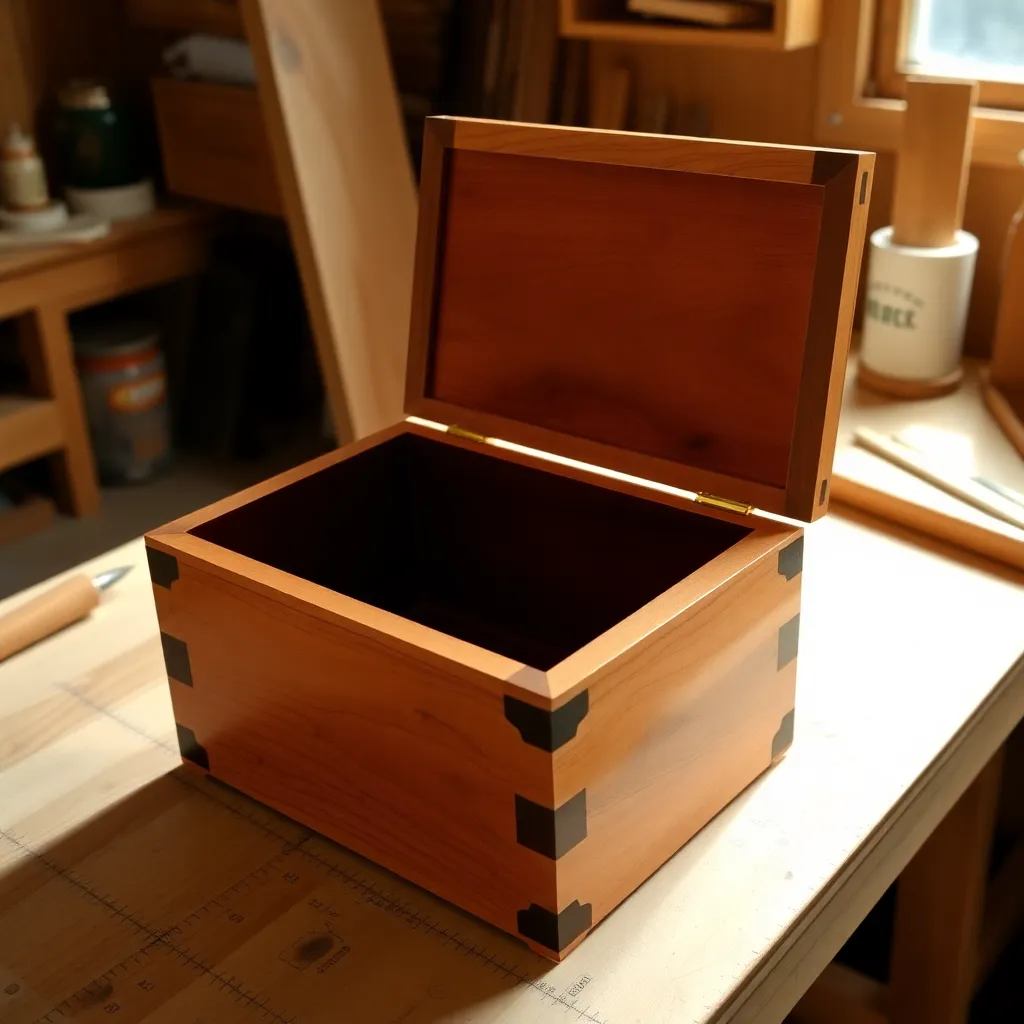
Goal: A box with a commercially available music movement installed and a decorative inlay on the lid.
Music box movements are available online ($8–$15 for a simple one-tune ballerina or cylinder mechanism). The mechanism requires a specific installation: it’s screwed to the underside of the lid, with the tune key (a small metal pin that’s plucked by the cylinder) facing down toward the interior of the box. The box itself is simply a box — focus on the lid.
Inlay the lid with a contrasting wood species: cut a frame from the lid material, set a ¼-inch thick panel of a contrasting species inside (walnut lid with a maple center, or maple lid with a walnut center). Glue flush and sand flat. Apply shellac.
Milestone: A music movement that plays clearly when the lid is opened and runs for 30+ seconds on one wind.
Step 8: Build a Display Box With Glass Lid
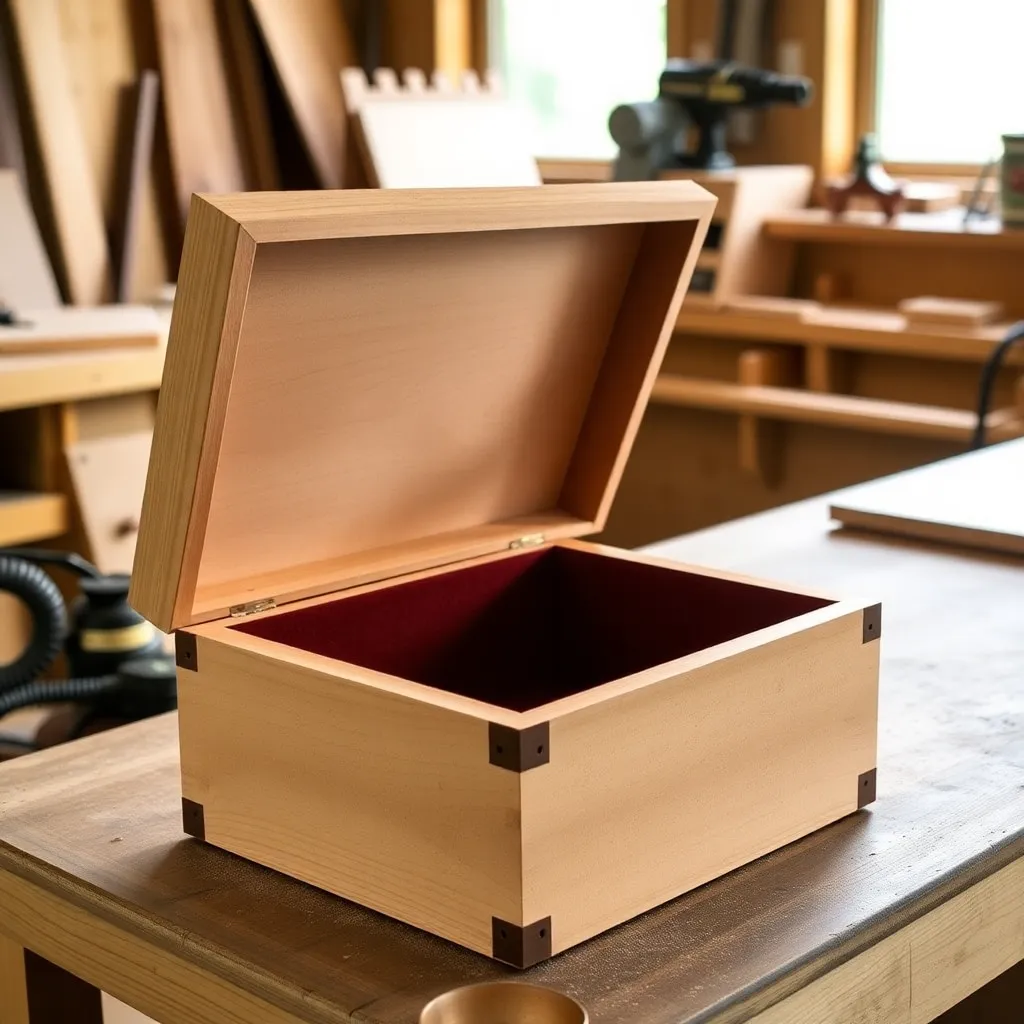
Goal: A shadow box that displays small objects under glass — medals, arrowheads, coins, small tools.
Build the box body from ¾-inch hardwood: 12 × 8 × 2 inches deep. Line the bottom with black velvet. The lid is a piece of single-strength glass cut to the exact interior opening dimension (have it cut at a hardware or glass shop). Mount the glass in a ¼-inch rabbet routed around the inside top edge — the glass sits in the rabbet, held in place by two small turnbuttons (swiveling clips) screwed to the inside of the front edge. The glass lifts out for access. Mount the box with two D-ring hangers on the back.
Milestone: A glass lid that sits flush in the rabbet on all four sides and lifts out without tools.
Woodwork Box FAQ
What is the rip-to-lid technique?
The rip-to-lid technique produces a perfectly fitted box lid by gluing up the entire box as a solid body (no lid), then running the assembled box through the table saw to cut the lid from the body. The cut produces two mating surfaces that fit perfectly because they came from the same piece. This is how most production box makers create fitted lids — it’s faster and more accurate than cutting the lid separately and fitting it to the box opening.
How thick should the walls of a wooden box be?
For small boxes (under 8 inches in any dimension): ¼-inch to ½-inch walls are appropriate. Thinner walls look more refined but are harder to cut clean joints in. For jewelry boxes and keepsake boxes, ½-inch walls are the standard. For larger boxes (bread box, chest): ¾-inch walls provide the stiffness and glue area needed for larger assemblies. For decorative boxes meant to be admired rather than heavily used, ¼-inch walls in hardwood can produce a delicate appearance.
What finish works best inside a wooden box?
For jewelry boxes and keepsake boxes: shellac on the exterior, raw wood or velvet lining on the interior. Shellac is non-toxic after curing and won’t off-gas on stored items. For bread boxes: food-safe mineral oil on the interior, polyurethane on the exterior. For shop storage boxes: two coats of wipe-on polyurethane on all surfaces — a shop box takes more abuse. Avoid oil-based stains inside any box that will contact valuables — they can transfer to stored items for months after application.
How do I keep a wooden box square during assembly?
Measure the diagonals before the glue sets — two equal diagonals mean the assembly is square. If one diagonal is longer than the other, apply clamp pressure across the long diagonal (which closes it) until the measurements equalize. Work on a flat reference surface (machine table or sheet of MDF). Apply moderate clamping pressure — overtightening squeezes glue out faster than the joint can close, starving the joint of adhesive. Check square again after adjusting and before the glue begins to set (typically 5–10 minutes into the clamp time).

“DIY woodworking enthusiast who started with zero experience and a YouTube tutorial.
I build simple, practical projects for my home and share free plans
so other beginners can skip the guesswork.If I can build it, you can too.”