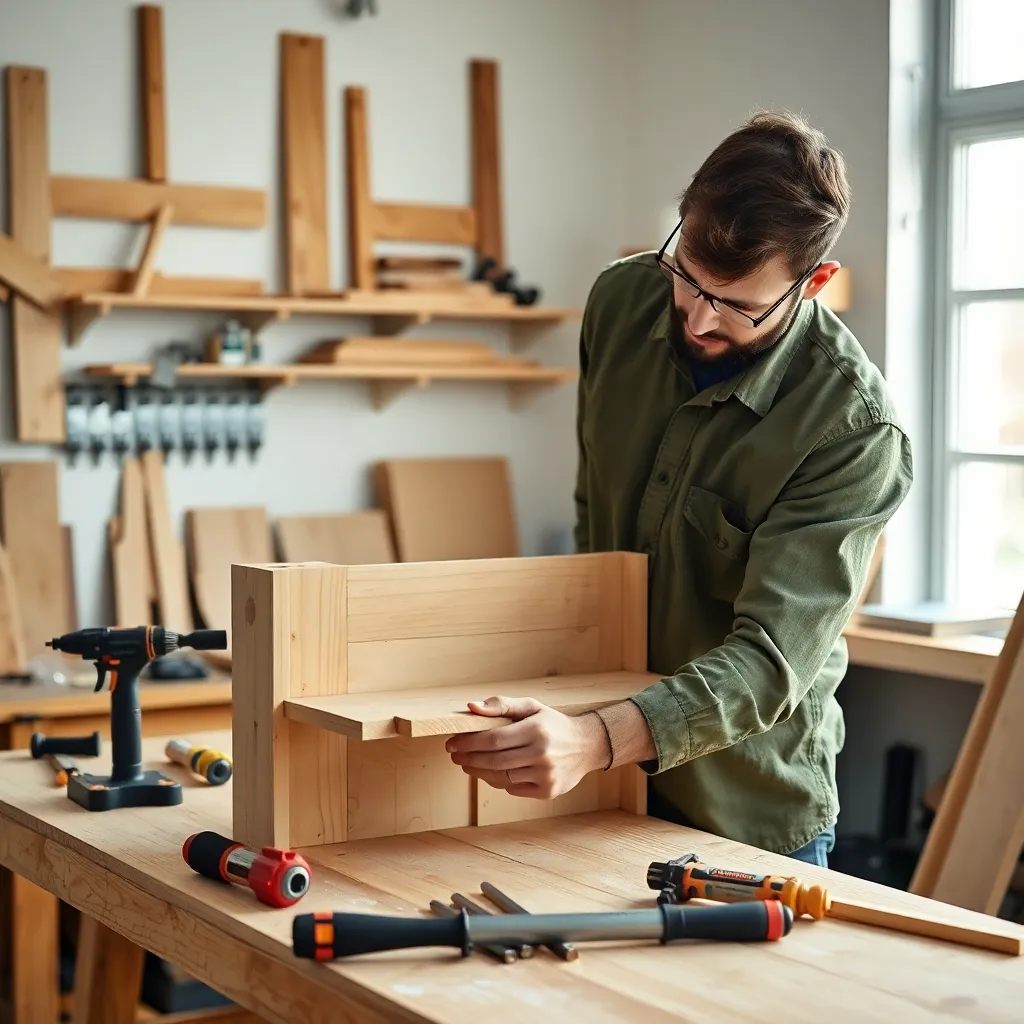
Woodworking project plans are the difference between a weekend of frustration and a weekend of progress. A good plan gives you the cut list, the sequence, and the measurements before a single board is purchased — so the time in the shop is spent building, not problem-solving. These eight project guides cover the full range from first-ever beginner builds to specialty projects that challenge experienced woodworkers, with every guide structured as a step-by-step build you can follow from raw lumber to finished piece.
Ted’s Woodworking has 16,000+ complete woodworking project plans — cut lists, material lists, and detailed diagrams for every project category below. Browse Ted’s plans →
Beginner Woodworking Projects
Every experienced woodworker built something simple first — a box, a shelf, a small table. Beginner woodworking projects teach the four skills that underpin every build: measuring accurately, cutting straight, joining two pieces so they don’t move, and finishing so the piece looks intentional. The best beginner projects are forgiving (minor errors don’t ruin the piece), useful (you want to keep what you built), and fast (a build finished in one weekend builds more momentum than a project that drags into weeks).
What’s covered: skill-building project sequences, shop setup essentials for beginners, the five tools that handle 90% of beginner builds, and the progression from your first box to your first piece of furniture.
Best first builds: a small wooden shelf, a simple step stool, a wooden tray, a basic box with a lid. All four can be built with a circular saw, a drill, and basic clamps.
Free Woodworking Plans
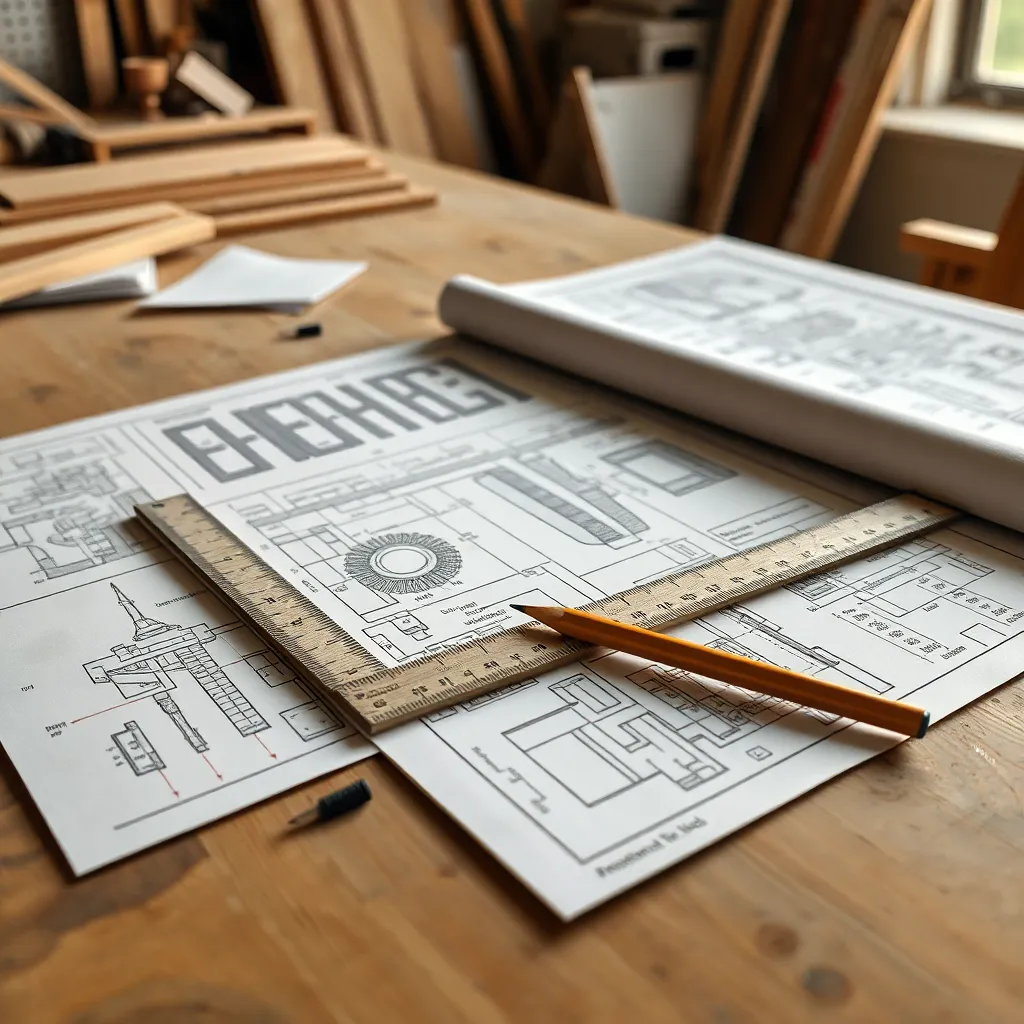
Free woodworking plans vary enormously in quality — some are detailed enough to follow without any prior experience, others are dimensioned sketches that leave every critical detail to interpretation. This guide covers where to find reliable free plans, how to read and evaluate a set of plans before starting a build, and how to scale or modify plans to fit your specific dimensions and material preferences.
What’s covered: the best sources for free woodworking plans (organized by project type), how to read a cut list and materials list, how to convert imperial plans to metric, and how to adapt a plan for available lumber dimensions.
Key sources evaluated: manufacturer plan libraries, woodworking magazine free archives, community plan repositories, and plan download sites — with notes on which sources produce consistently reliable, tested plans and which produce plans that have never been built.
Scrap Wood and Gift Projects
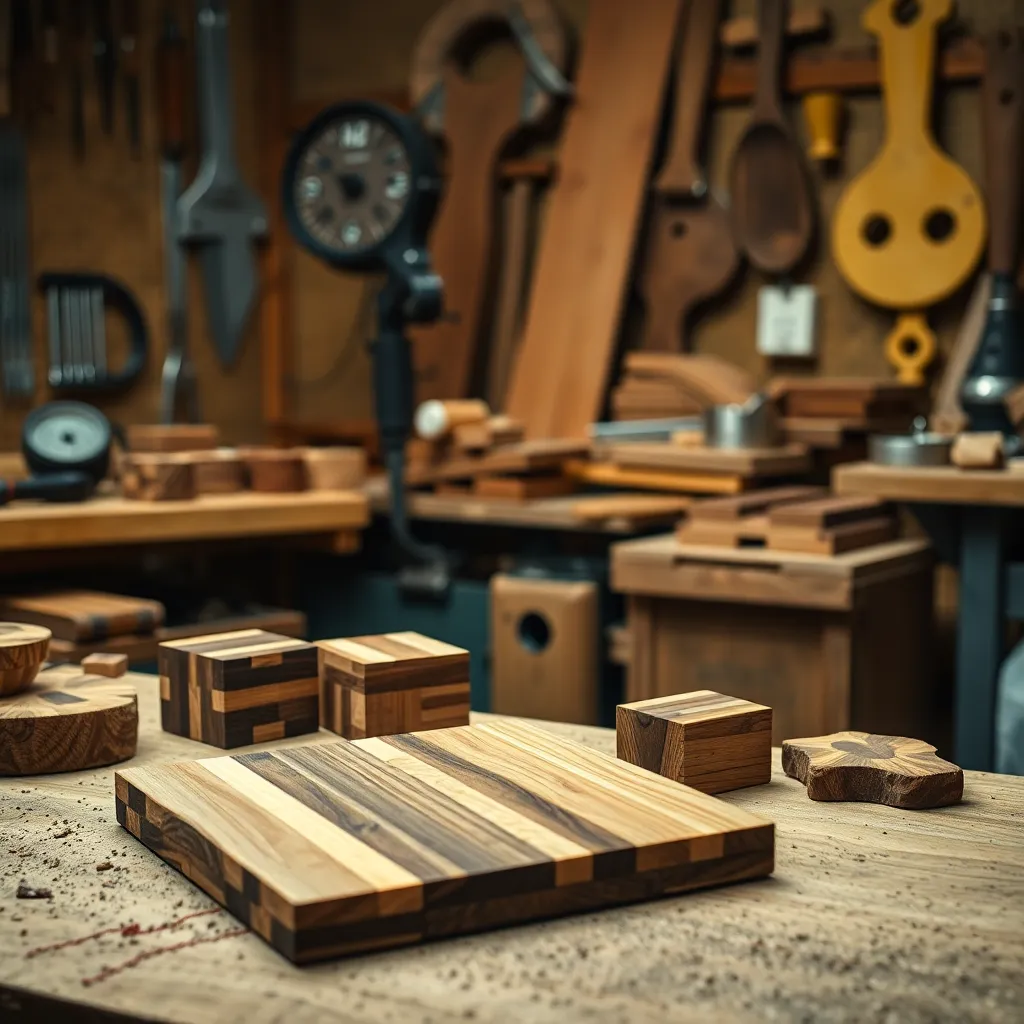
Scrap wood projects are the woodworker’s version of zero-waste cooking — turning offcuts that would otherwise go to the burn pile into finished objects. They’re also some of the most popular woodworking projects because the material cost is near zero, the scale is small enough for a single evening, and the results are highly giftable. A well-made small wood gift (a cutting board, a personalized box, a set of coasters) carries more perceived value than its production cost suggests.
What’s covered: scrap wood sorting and storage, project ideas organized by scrap size (offcuts under 12 inches, between 12 and 36 inches, full short boards), gift-focused projects with high perceived value, and personalization techniques (burning, routing, laser engraving alternatives).
Top scrap projects: bandsaw boxes, segmented bowls, small picture frames, wooden spoons, magnetic knife strips, and personalized cutting boards from butcher-block offcuts.
Small Wooden Box Projects
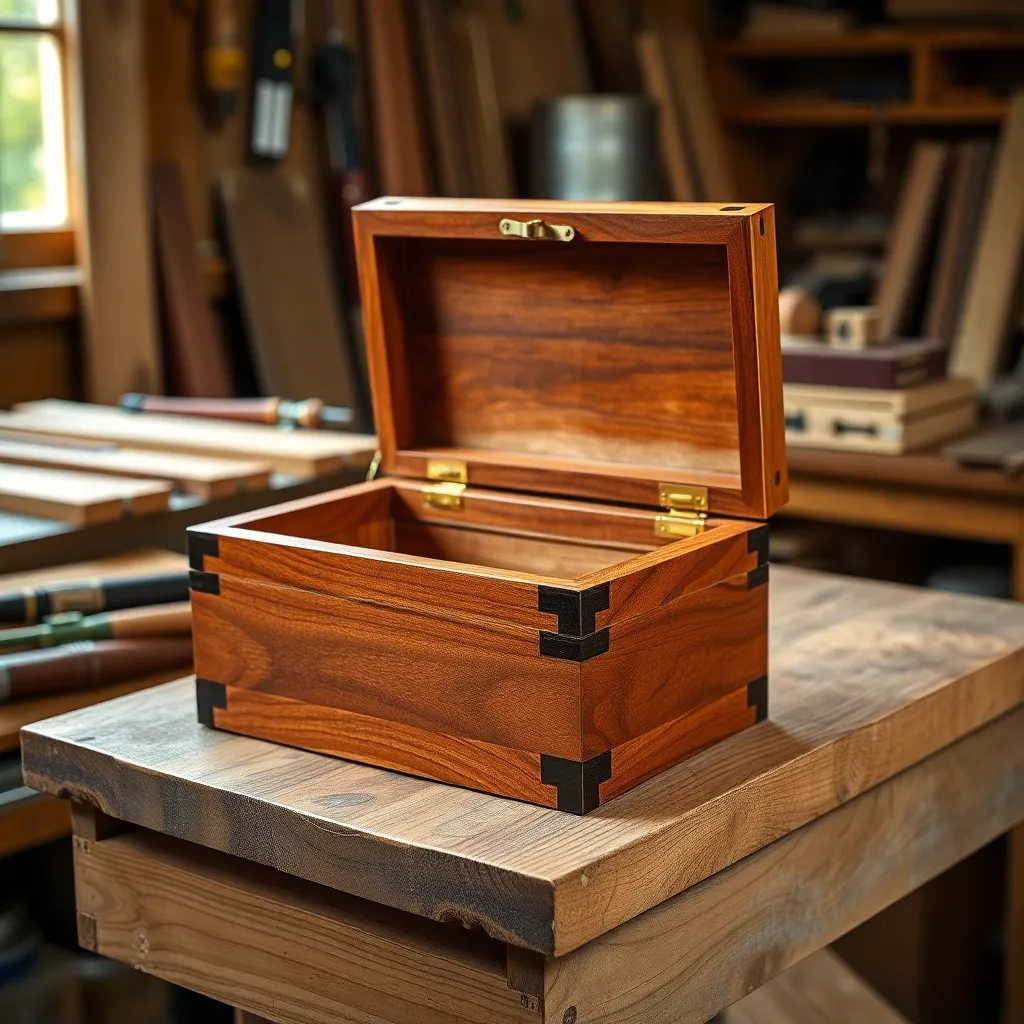
A wooden box is the fundamental woodworking form — four sides, a bottom, optionally a lid, optionally hardware. Every joint type works on a box: butt joints for speed, rabbets for strength, dovetails for beauty. The box is small enough to finish in a day but complex enough to practice every core skill: dimensioning lumber, cutting joints, assembly, fitting a lid, adding hardware, and finishing. Box projects scale from a first project (a simple butt-jointed pine box) to a career-long pursuit (hand-cut dovetail jewelry boxes in exotic hardwoods).
What’s covered: box construction methods (butt joint, rabbet, miter, dovetail, box joint), lid fitting techniques (piano hinge, lift-off lid, sliding lid), hardware selection (hinges, clasps, handles, locks), and finishing for interior surfaces.
Project range: simple storage crate, wooden keepsake box, jewelry box with tray, bread box, wooden chest, small bandsaw box.
Picture Frame Projects
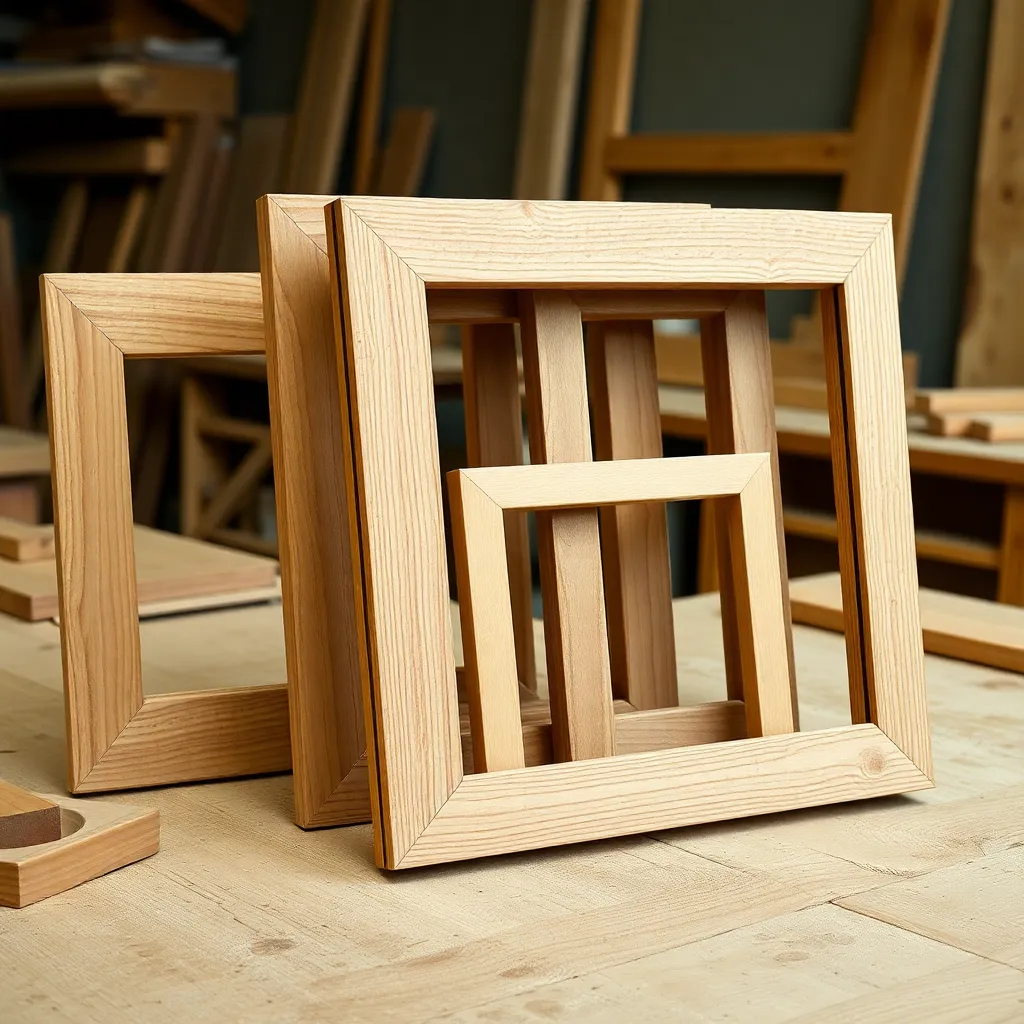
A picture frame is woodworking at its most visible — it lives on a wall and gets examined up close. Frame projects teach miter joints (the most precisely angle-dependent joint in woodworking), profile routing, glass rabbet cutting, and the finishing standards required for display work. A well-built frame uses wood that would be wasted in a furniture build (short offcuts, figured pieces too small for a panel) and turns it into a functional display object.
What’s covered: miter joint accuracy (the difference between a frame that closes cleanly and one with gaps), profile options (flat, beveled, ogee, cove), rabbet routing for glass and mat board, joining methods (corner clamps, v-nails, picture frame clamps), and finishing for display.
Project range: simple flat frame, rustic reclaimed wood frame, shadow box, floating frame, large gallery-wall frame, LED-lit display frame.
Cutting Board and Serving Projects
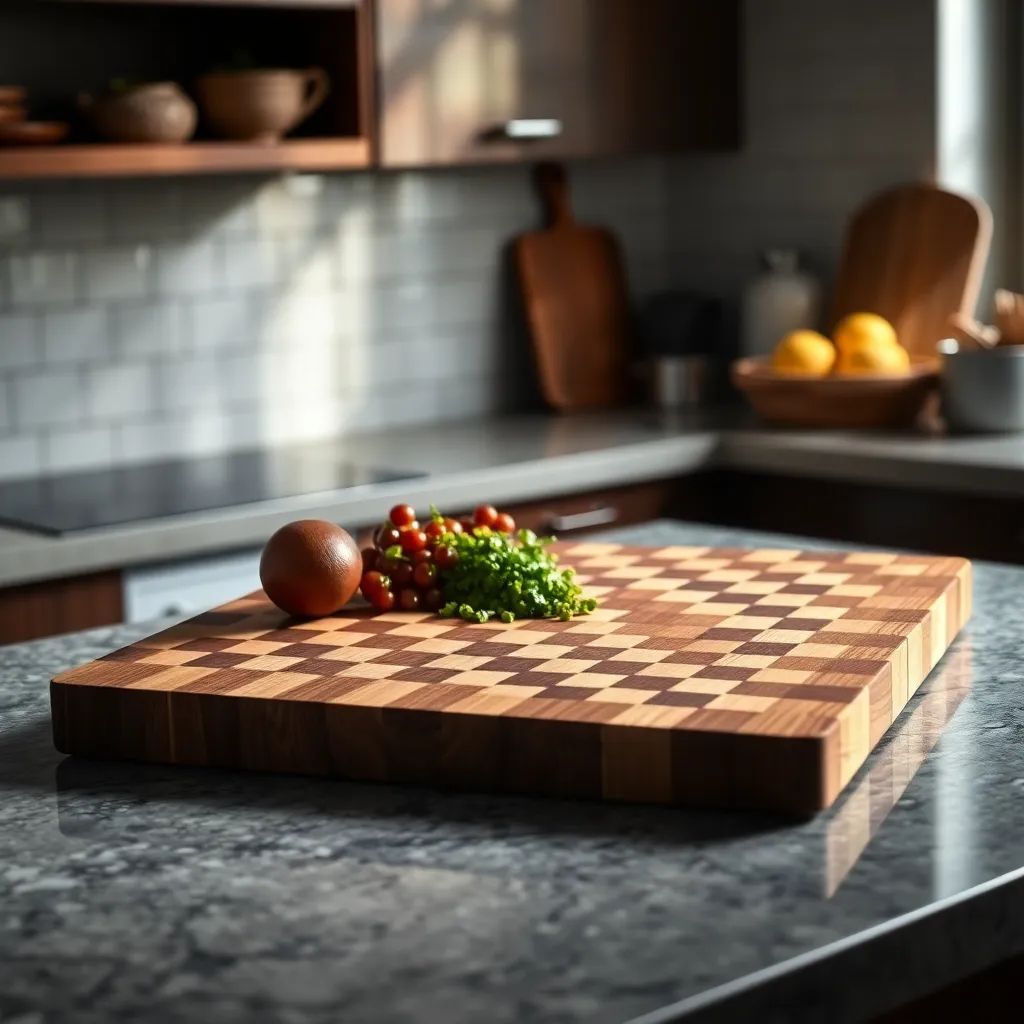
Cutting boards are the entry point to food-safe woodworking and the gateway project for hardwood work. They require no joinery beyond glue, no hardware, and no complex finishing — but they teach hardwood selection, grain orientation for durability, glue-up technique, flattening with a router sled or hand plane, and food-safe finishing. End-grain cutting boards extend this skill set significantly: the checkerboard or herringbone pattern requires precise dimensioning and multiple glue-up stages, but the result is a board that’s both beautiful and gentler on knife edges than flat-grain alternatives.
What’s covered: wood species selection for food contact (hardness, grain tightness, toxicity), face-grain vs edge-grain vs end-grain construction, glue-up technique for wide panels, flattening methods, juice grooves (router technique), handle routing, and food-safe finish options (mineral oil, beeswax, hardening oil).
Project range: simple face-grain cutting board, edge-grain serving board, end-grain checkerboard board, charcuterie board with feet, wooden serving tray, wooden coasters.
Specialty Wood Projects
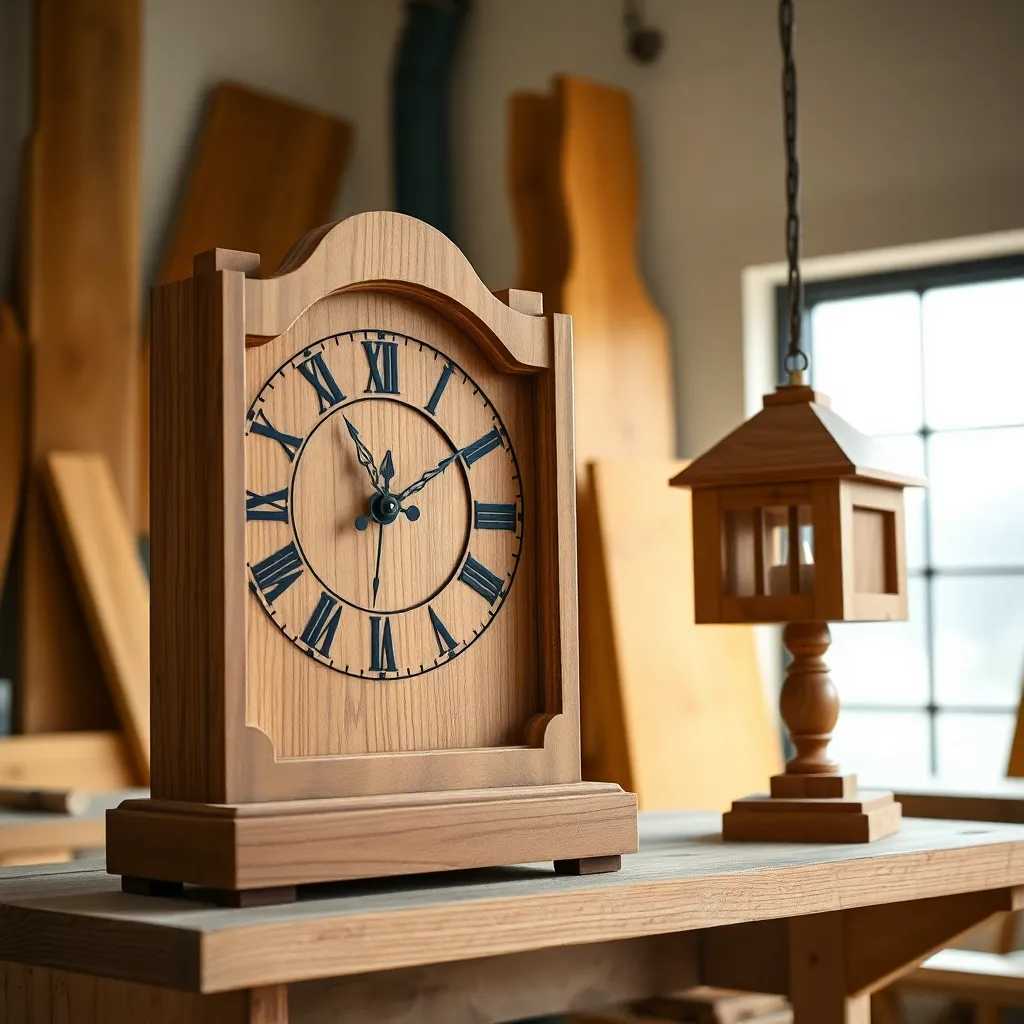
Specialty wood projects are the builds that don’t fit into standard furniture or box categories — clocks, lamps, lanterns, corbels, folding tables, and decorative functional objects. They typically require a combination of woodworking and a second discipline (basic wiring for a lamp, clockwork for a clock, hinges and hardware for a folding table), and the woodworking itself is often simpler than it looks. A wooden clock case is primarily a box with a routed face recess; a wooden lamp base is a turned or shaped column with a centered drilled channel.
What’s covered: wooden clock plans (mechanical movement vs quartz insert), wooden lamp plans (column construction, cord channel, shade fitting), wooden lantern plans (glass panel fitting, door hardware), corbel plans (profile templates, bracket installation), folding table plans (hardware selection, hinge placement), and wooden calendar plans (perpetual calendar mechanism).
Project range: desk clock with quartz insert, table lamp with turned base, hanging lantern with glass panels, decorative corbel pair, folding sewing table, perpetual wall calendar.
Closet Organization
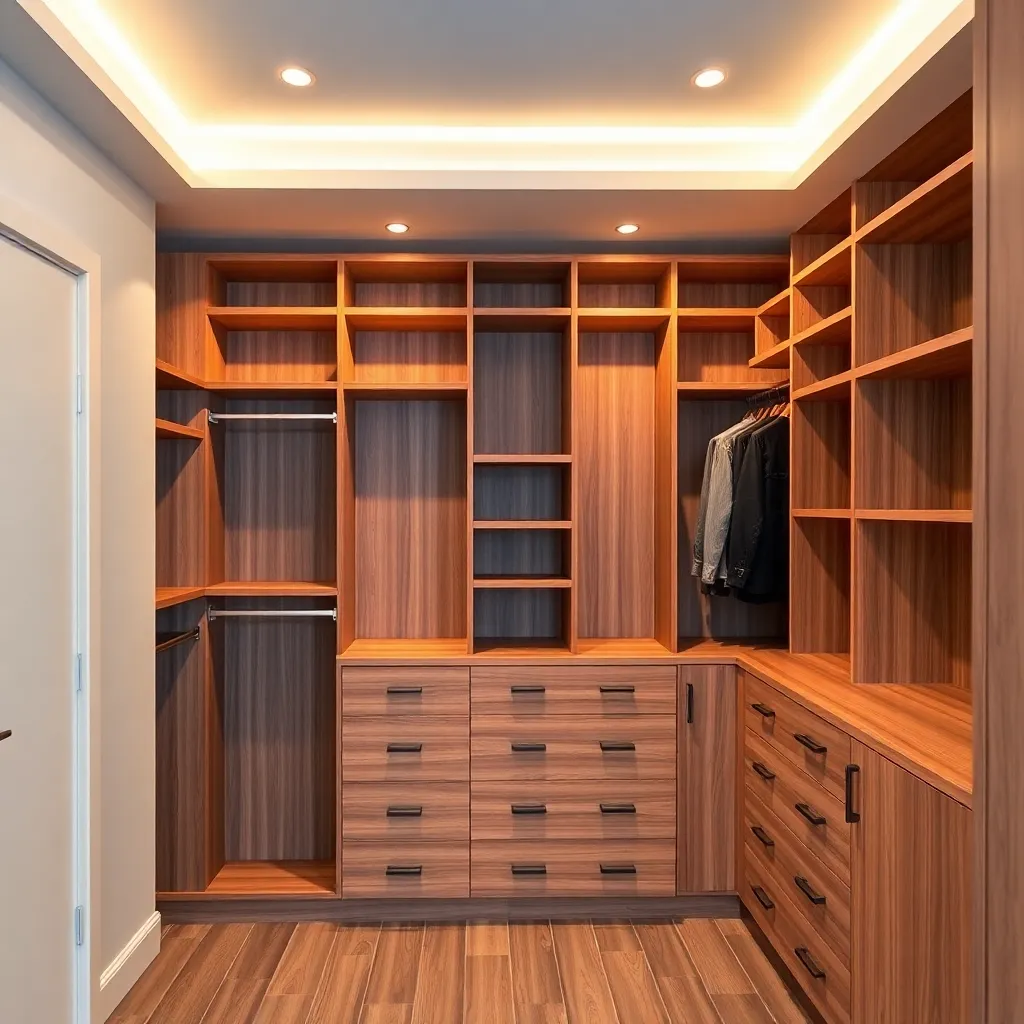
Closet organization builds are some of the highest-value projects in home improvement woodworking — a built-in closet system from plywood costs less than a quarter of a professional installation and can be tailored exactly to the closet’s dimensions and the owner’s wardrobe. These builds also teach sheet-goods woodworking (cutting large panels, edge banding, shelf standard installation) that applies to kitchen cabinetry, workshop storage, and built-ins throughout the house.
What’s covered: closet zone planning (hanging, shelving, drawers, shoes), material selection (melamine vs plywood), modular vs built-in-place approaches, adjustable shelf systems, drawer tower construction, and under-stair storage conversion.
Project range: single shelf and rod replacement, double-hang unit, modular plywood system, integrated floor-to-ceiling organizer, drawer tower, under-stair built-in storage.
Woodworking Project Plans FAQ
What woodworking projects should I start with?
Start with a project you actually want to own — motivation matters more than theoretical skill-building. That said, the four best first projects are: (1) a small open shelf (teaches measuring, straight cutting, and wall mounting); (2) a wooden step stool (teaches joinery under load); (3) a simple box with a lid (teaches precise fitting); (4) a wooden tray (teaches smooth finishing). All four can be completed with a circular saw, a drill, sandpaper, and basic clamps. Avoid drawers and doors for the first three builds — fitting a drawer or hanging a door requires precision that’s easier to achieve after you’ve developed a feel for how wood behaves.
How do I read woodworking plans?
Start with the cut list (the complete list of parts with dimensions) before reading the instructions. Build the cut list in your head as a three-dimensional object — visualize how the parts fit together. Then read the instructions once all the way through before cutting anything. Mark each piece with a pencil immediately after cutting (label it with the part name from the cut list) to avoid confusion during assembly. The most common plan-reading error is cutting to the cut list dimensions without accounting for the saw kerf — every cut removes about ⅛ inch of material, which accumulates over multiple cuts from a single board.
What wood is best for beginner woodworking projects?
Pine (dimensional lumber from the home center) for the first several projects. Pine is inexpensive (so errors don’t sting), easy to cut and sand, widely available in consistent dimensions, and takes paint and stain well. Poplar is the upgrade choice when you want a painted finish — it’s harder than pine, has fewer knots, and produces a smoother paint finish. For natural-finish projects (where the wood grain is visible): choose maple (tight grain, takes stain evenly), cherry (beautiful natural reddish tone), or walnut (naturally dark, high-end look, easy to work). Avoid oak for the first few projects — it’s beautiful but dull to cut, hard to sand smooth, and raises grain dramatically when stained unless pre-conditioned.
How long do woodworking projects take to build?
Small projects (box, tray, single shelf): 2–6 hours including finishing. Medium projects (side table, picture frame, cutting board): 1–2 days. Large projects (bookshelf, workbench, closet system): 2–5 days. The finish phase is often underestimated: three coats of finish with sanding between coats, plus drying time, adds a full day to any project that requires a durable surface. Projects with drawers or doors add fitting time that’s hard to predict — budget an extra half-day for each drawer or door that needs to open and close smoothly.

“DIY woodworking enthusiast who started with zero experience and a YouTube tutorial.
I build simple, practical projects for my home and share free plans
so other beginners can skip the guesswork.If I can build it, you can too.”