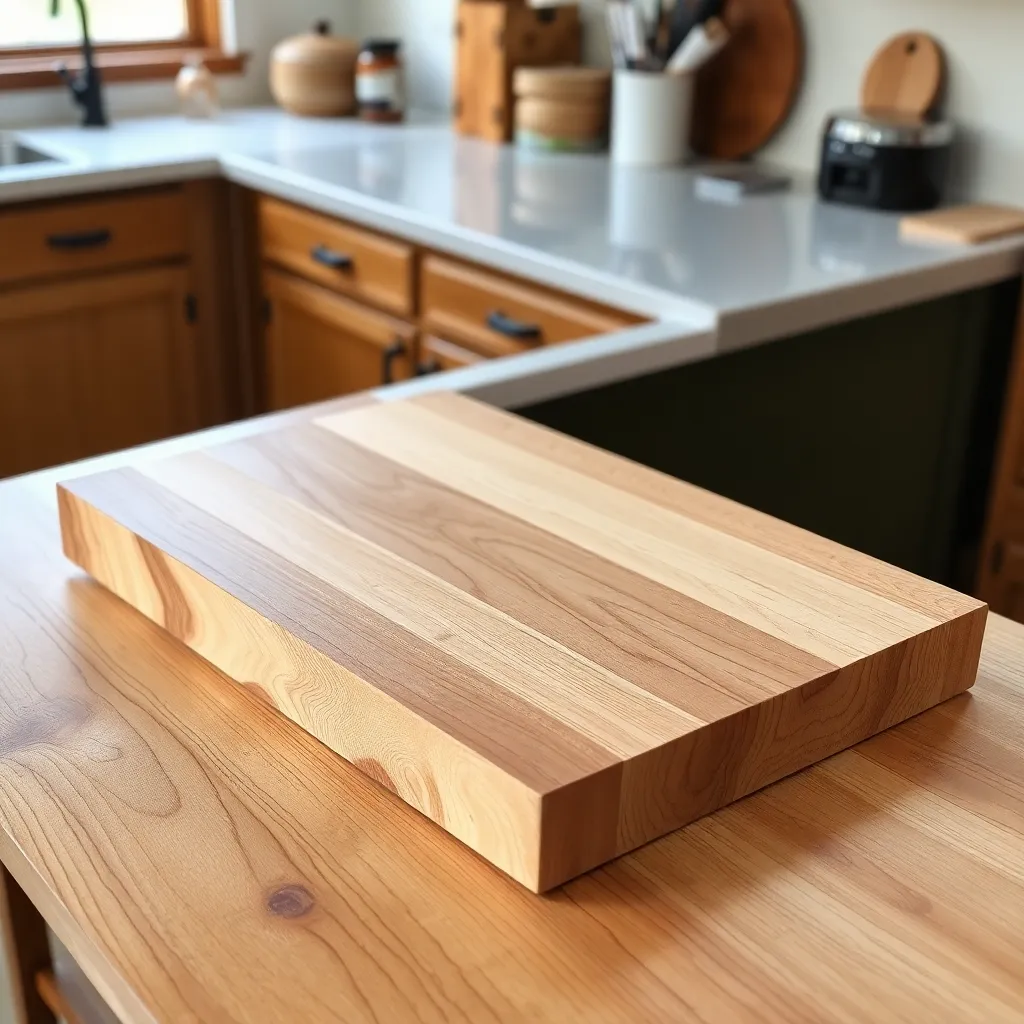
Kitchen woodworking is a gateway category — the projects are small, the materials are inexpensive, and the results are immediately useful and giftable. A cutting board teaches grain orientation and food-safe finishing; a charcuterie board introduces decorative inlay; a puzzle box teaches precision joinery; a set of coasters is an afternoon’s work from offcuts. These six builds cover the full range from a first-project face-grain cutting board to an end-grain board that requires a full morning of shop time.
Ted’s Woodworking has complete kitchen project plans with wood species guides and food-safe finish specs. Browse Ted’s plans →
This guide is part of our complete Woodworking Project Plans resource — covering beginner builds, free plans, gift projects, box builds, picture frames, cutting boards, specialty projects, and closet systems.
Cutting Board Plans
A face-grain cutting board from maple or walnut is the most-built kitchen woodworking project — it’s the right starting point because it requires only four tools (saw, jointer, planer, sander), teaches grain orientation, and produces a result that gets daily use. The build is forgiving of small errors and the finish is permanent.
What you’ll learn: selecting face-grain vs edge-grain vs end-grain orientation, flattening glued panels, and applying food-safe mineral oil finish.
Build notes: use hard maple (Janka 1450) or walnut (Janka 1010) — both hard enough to resist knife marks and open enough in pore structure to accept oil finish readily. Glue a panel from 2–3 boards, alternate grain direction (cup up vs cup down) to balance seasonal movement. Flatten on the router sled or drum sander. Round over all edges to ¼ inch. Apply 4–6 coats of food-grade mineral oil, buffing with beeswax on the final coat.
Charcuterie Board Plans
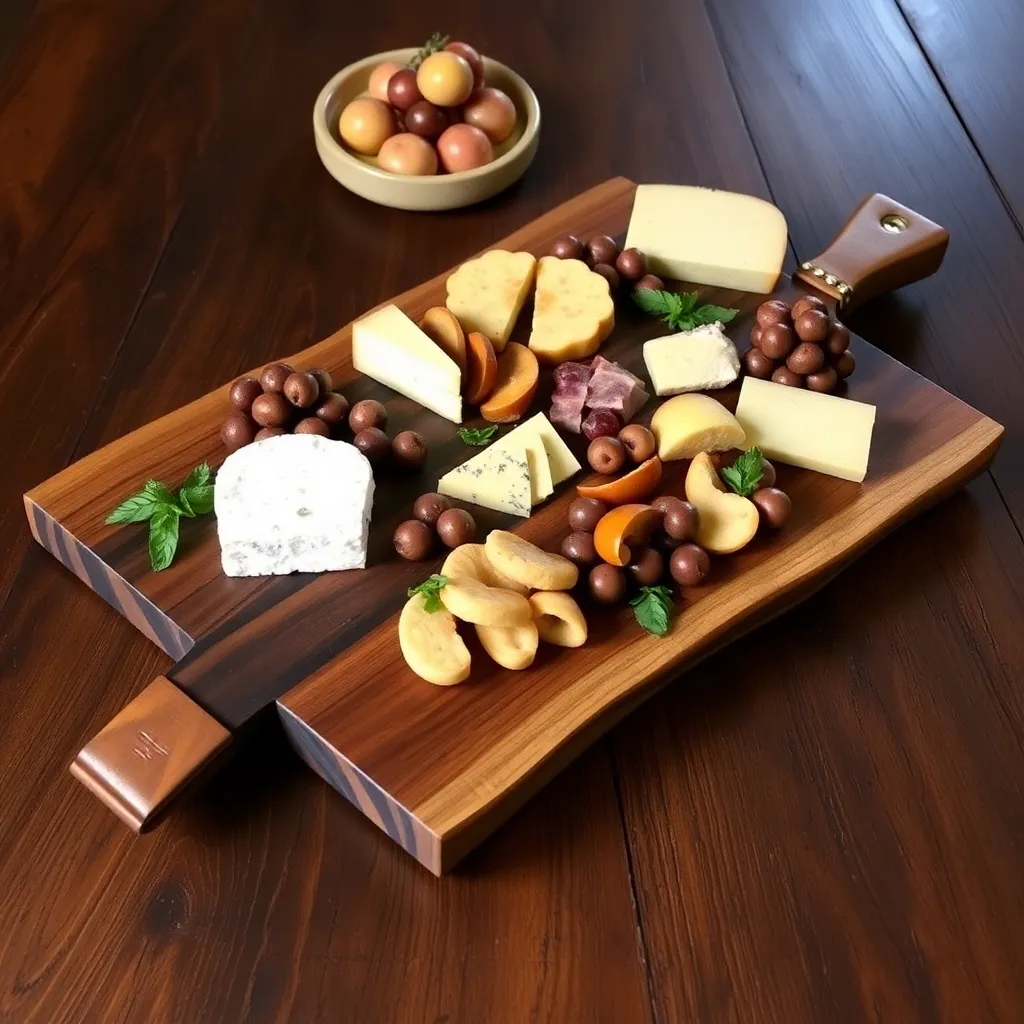
A charcuterie board is a large serving board — 12 to 18 inches long — designed for presenting cheese, meats, fruit, and crackers. Unlike a cutting board, it’s designed to be a serving surface (less emphasis on durability, more on appearance). Live-edge slabs, decorative inlay strips, and resin pours are common charcuterie board features.
What you’ll learn: working with live-edge slabs, epoxy resin filling, and routing juice grooves.
Build notes: a single live-edge walnut slab (12–18 inches long, 8–12 inches wide) is the classic charcuterie material. Fill bark voids with black or clear epoxy resin. After the resin cures, sand flat to 220-grit. Route a juice groove ¼-inch wide × ¼-inch deep around the perimeter (router table or handheld router with straight bit). Apply food-safe finish. Add leather loop handles: punch two ¼-inch holes at one end, thread a leather thong through, knot on the underside.
Wooden Serving Tray Plans
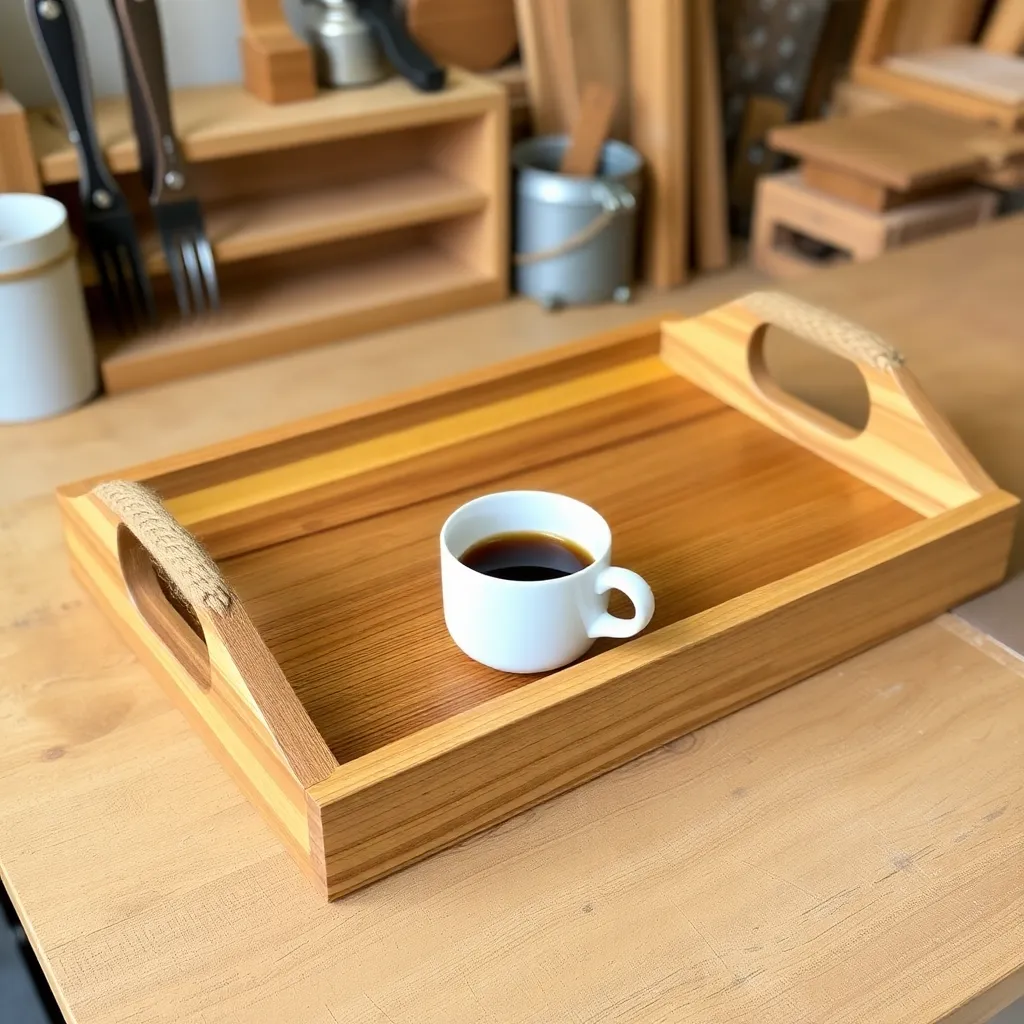
A wooden serving tray is a frame-and-panel build — four frame rails around a solid or plywood panel bottom, with handles at each end. The tray introduces dadoes (for the panel), cope-and-stick joinery (for the corners), and basic hardware installation (handles, non-slip feet).
What you’ll learn: routing dadoes for panel capture, cope-and-stick corner joints, and installing hardware on a finished piece.
Build notes: use ¾-inch hardwood for the frame rails (oak, cherry, or walnut) and ¼-inch hardwood plywood for the panel bottom. The panel floats in a ¼-inch dado routed in the inside face of each rail — don’t glue the panel (it needs room to move seasonally). Install two cast brass or stainless steel handles (available at kitchen hardware stores) on the short end rails. Apply two coats of wiping varnish — more durable than oil for a surface that gets wet regularly.
Wooden Coaster Plans
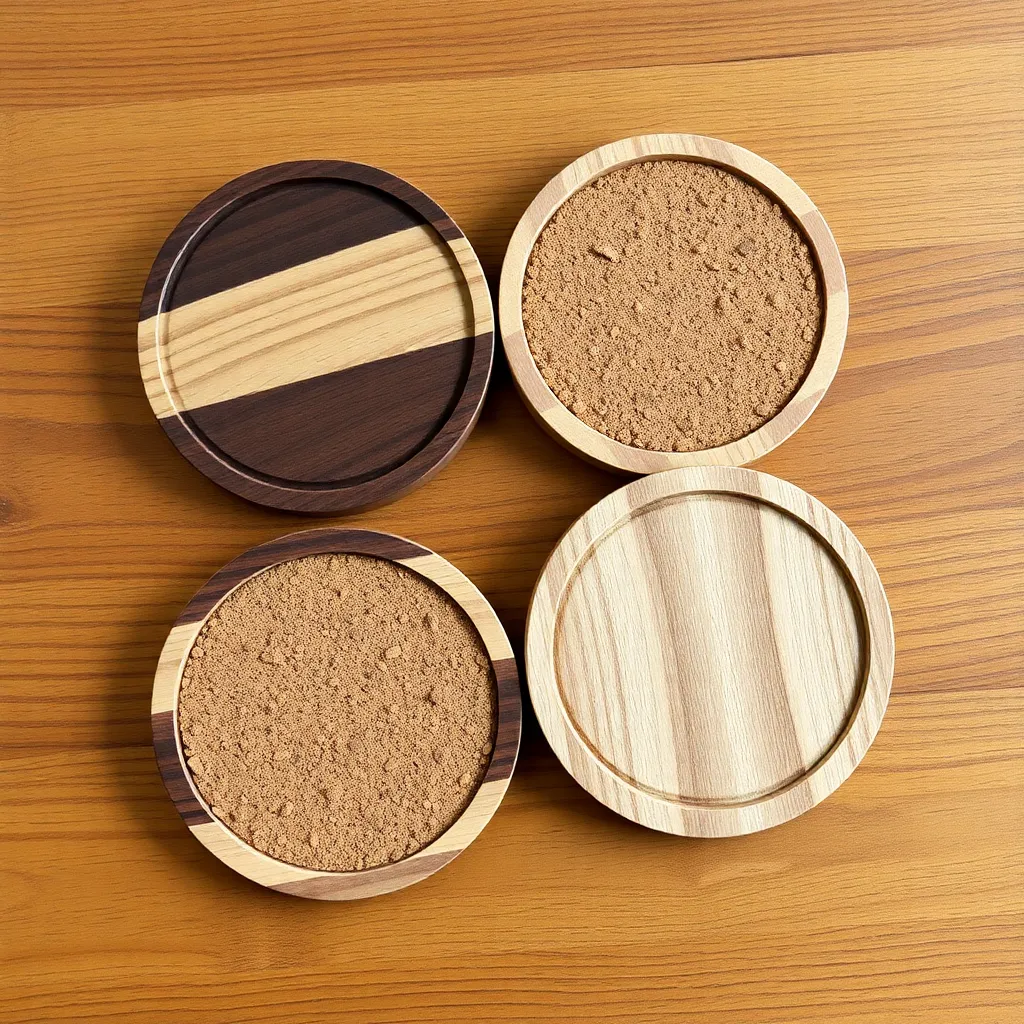
Wooden coasters are the ideal scrap-wood project — a set of four requires less than a board foot of lumber and takes under two hours from raw wood to finish. They also make an accessible first project for the laser cutter or CNC router, which can add decorative inlay or engraving.
What you’ll learn: crosscutting consistent lengths, routing consistent edge profiles, and applying cork backing to protect surfaces.
Build notes: cut 4-inch squares from ¾-inch hardwood (any species). Round over all top edges with a ⅛-inch roundover bit. Sand to 220-grit. Apply three coats of polyurethane (more water-resistant than oil for a coaster that will hold wet glasses). Apply 3½-inch cork squares (adhesive-backed cork sheet from the hardware store) to the bottom — this prevents the coaster from sliding and protects surfaces from moisture.
Wooden Puzzle Box Plans
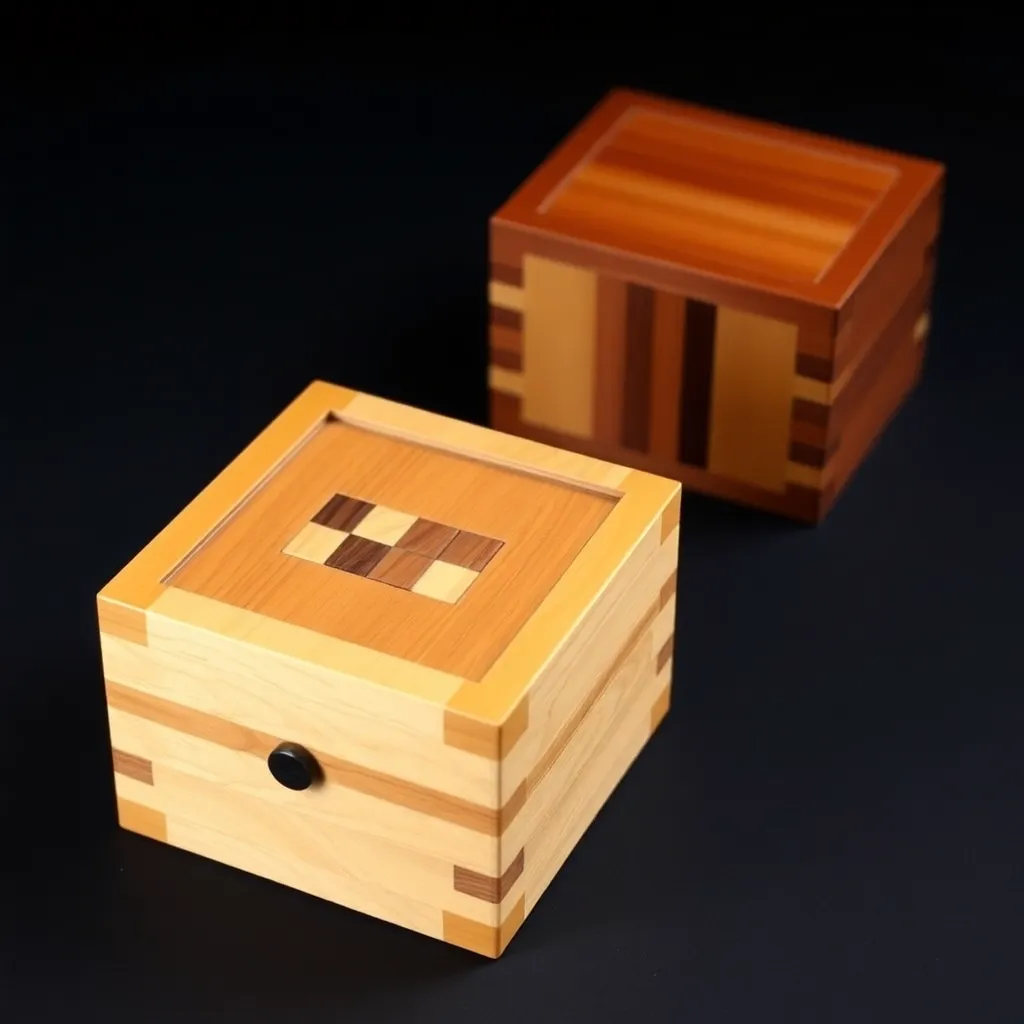
A puzzle box is a small wooden box that can only be opened through a sequence of non-obvious moves — sliding panels, hidden catches, rotating lids. The build requires precise joinery and careful attention to the mechanical sequence, making it one of the most technically demanding small woodworking projects.
What you’ll learn: precision box construction, sliding panel joinery, and designing a hidden opening mechanism.
Build notes: build the outer box from ¾-inch maple or cherry (4 × 4 × 2 inches is a standard puzzle box size). The classic “slider” mechanism: the top panel slides in a ½-inch × ¼-inch groove but is blocked by a hidden pin from one side. To open: slide one side panel 3mm to the left to retract the pin, then slide the top panel off. The inner compartment holds the contents. Tolerances must be tight (0.5mm) — test the mechanism on scrap before final assembly.
End-Grain Cutting Board
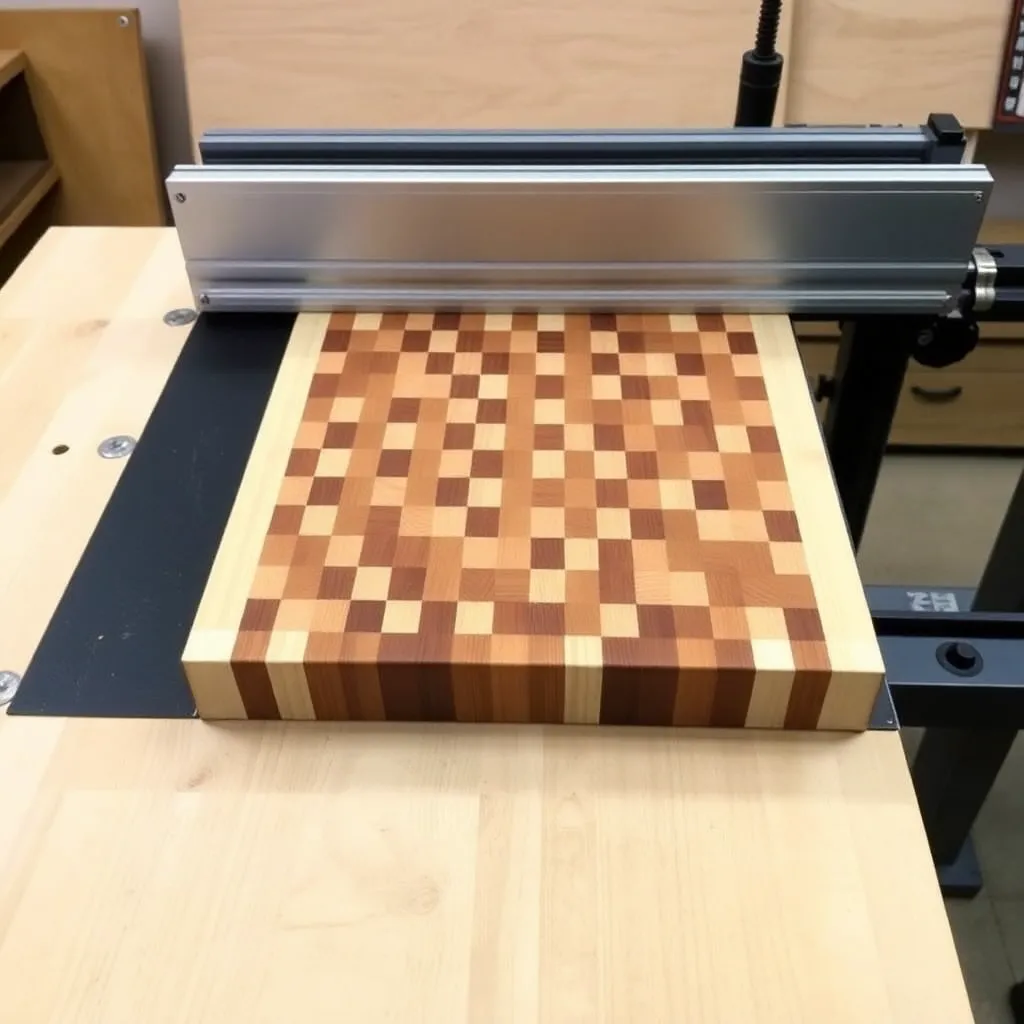
An end-grain cutting board — made by gluing boards with the end grain facing up — is the premium version of the cutting board. End grain is self-healing (knife marks close as the fibers compress), gentler on knife edges, and visually striking. The build requires more steps than a face-grain board but produces a heirloom-quality piece.
What you’ll learn: end-grain panel construction, flattening a glued checkerboard panel, and achieving the butcher-block pattern.
Build notes: rip boards into ¾ × 1½-inch strips. Glue four strips face-to-face to make a thick billet. Cross-cut the billet into ¾-inch slices — each slice is now a row of end-grain squares. Rotate alternating slices 180° (for a checkerboard pattern) and glue the rows together. The result is a panel with end grain facing up. Flatten on a router sled (a planer can’t flatten a panel this shape due to snipe and tear-out risk). Apply mineral oil until the wood stops absorbing.
Cutting Board and Serving Projects Quick Reference
| Project | Material | Skill Level | Build Time | Best For |
|---|---|---|---|---|
| Cutting Board | Hard maple or walnut | Beginner | 2 hours | Daily kitchen use |
| Charcuterie Board | Live-edge walnut slab | Beginner | 3 hours | Entertaining, gifting |
| Wooden Serving Tray | Hardwood + plywood panel | Intermediate | 4 hours | Breakfast in bed, serving |
| Wooden Coasters | Any hardwood scrap | Beginner | 1.5 hours | Gifting, first project |
| Puzzle Box | Maple or cherry | Advanced | 6+ hours | Gift, challenge project |
| End-Grain Board | Hard maple or walnut | Intermediate | 5 hours | Premium kitchen use |
Cutting Board and Serving Projects FAQ
What wood is best for cutting boards?
Hard maple (Janka hardness 1450) is the gold standard — dense enough to resist knife marks, closed-pore enough to stay sanitary, and light enough to show off the natural wood color. Walnut (Janka 1010) is the premium visual choice — its dark color contrasts beautifully with lighter food and produces striking end-grain patterns. Cherry (Janka 950) is softer but finishes beautifully and darkens to a deep red with age. Avoid softwoods (pine, cedar), bamboo (too hard — dulls knife edges), and porous open-grain woods (ash, red oak) that trap bacteria in the pores.
What finish is food-safe for kitchen woodworking projects?
Food-grade mineral oil is the universally safe choice — it’s derived from petroleum (not food-derived, so it won’t go rancid), odorless, tasteless, and widely available at pharmacies. Apply liberally, let absorb 30 minutes, wipe off excess, repeat until the wood stops absorbing (typically 4–6 coats for a new board). For a harder finish: pure tung oil (fully cured after 30 days) or walnut oil (note: allergenic for tree-nut-allergy sufferers). For serving trays and puzzle boxes: wiping varnish or polyurethane (once fully cured, the film finish is inert and food-safe).
How do I flatten a cutting board that’s warped after gluing?
A router sled is the most reliable method: build two parallel rails higher than the board, bridge a router across the rails on a crossbar, and skim across the high side with a large-diameter spoilboard-surfacing bit. Lower the router bit by 1mm and repeat until the surface is flat. A hand plane (No. 7 or No. 8) works for mild cups: plane diagonally across the board in both directions, then with the grain for final cleanup. A wide drum sander (24 inches or wider) also works. A thickness planer works for face-grain boards under 20 inches wide but risks tear-out on end-grain panels.
How often should a wooden cutting board be re-oiled?
When the board starts to look dry or grey (mineral oil prevents the oxidized grey appearance), or when water no longer beads on the surface — typically every 2–4 weeks for a board in daily use. Monthly maintenance is adequate for occasional-use boards. Never soak a wooden board in water or put it in the dishwasher — the heat and prolonged water exposure opens glue joints and causes cracking. Wash with warm water and dish soap immediately after use and dry standing upright, not flat (flat drying traps moisture on the underside).

“DIY woodworking enthusiast who started with zero experience and a YouTube tutorial.
I build simple, practical projects for my home and share free plans
so other beginners can skip the guesswork.If I can build it, you can too.”