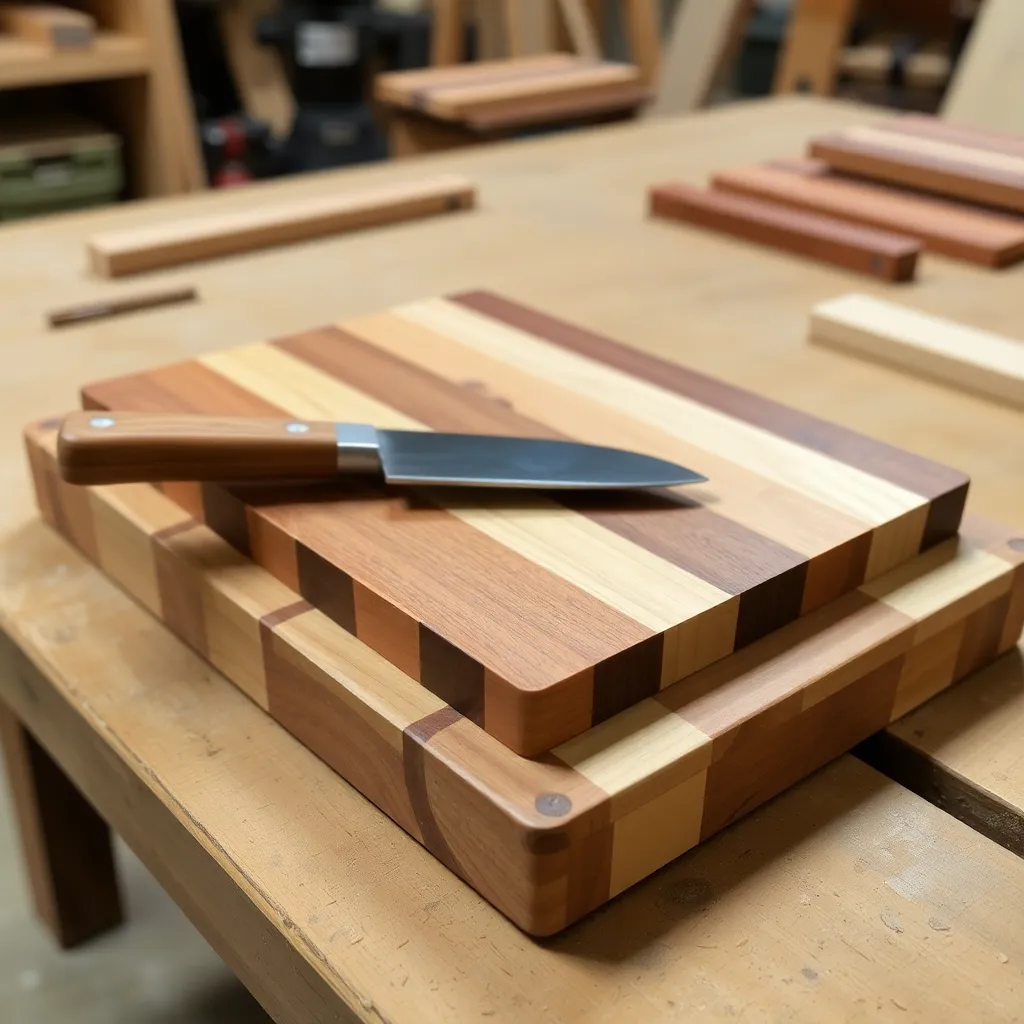
Wooden coasters are the perfect scrap-wood project — a set of four requires less than half a board foot of lumber, takes under two hours from raw wood to finish, and makes a practical gift. These six builds range from a simple crosscut square to a compound coaster with decorative inlay — all teachable in a single afternoon.
Ted’s Woodworking has complete coaster plans including engraving templates and inlay guides. Browse Ted’s plans →
Step 1: Build a Set of Square Hardwood Coasters
Goal: Four 4 × 4-inch coasters from ¾-inch hardwood — the simplest coaster build.
Crosscut four 4-inch squares from a ¾-inch scrap of maple, walnut, cherry, or oak. Sand all faces to 220-grit. Route a ⅛-inch roundover on all top edges (leaves a slight chamfer that prevents chipping). Apply three coats of polyurethane (more water-resistant than mineral oil for a surface holding wet glasses). Apply 3½-inch self-adhesive cork squares to the bottom face.
Milestone: Four coasters that lie completely flat with no rocking.
Step 2: Build Coasters With a Decorative Border
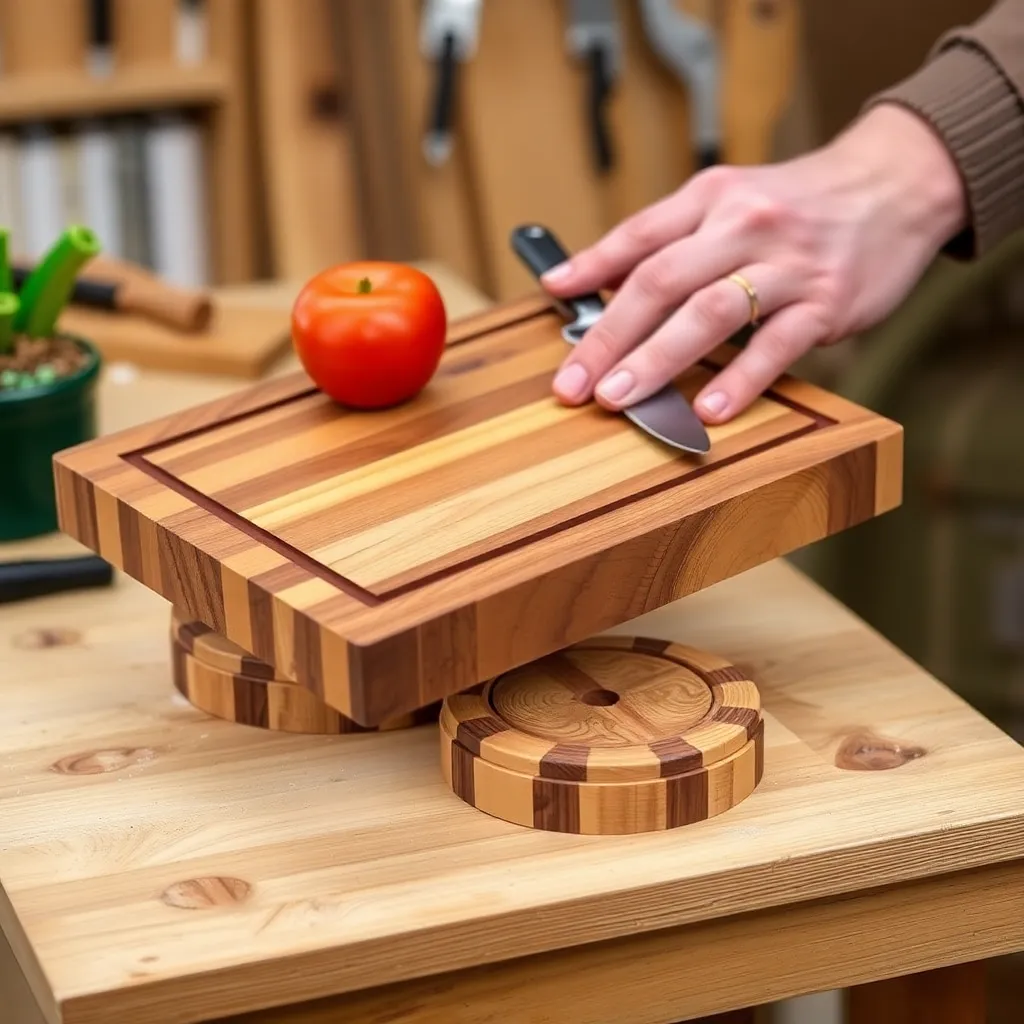
Goal: Four coasters with a routed decorative groove — a simple visual detail.
After cutting the 4-inch squares, route a ⅛-inch V-groove ⅜-inch from all four edges (a square groove pattern on the face of each coaster). This creates a bordered design that elevates the appearance with no additional materials. Use a V-groove bit on the router table with a fence set to ⅜ inch from the bit center. Feed each side of each coaster. Sand lightly to remove any tearout. Apply polyurethane.
Milestone: Four V-grooves that meet cleanly at the corners with no overrun.
Step 3: Build Round Coasters on the Bandsaw
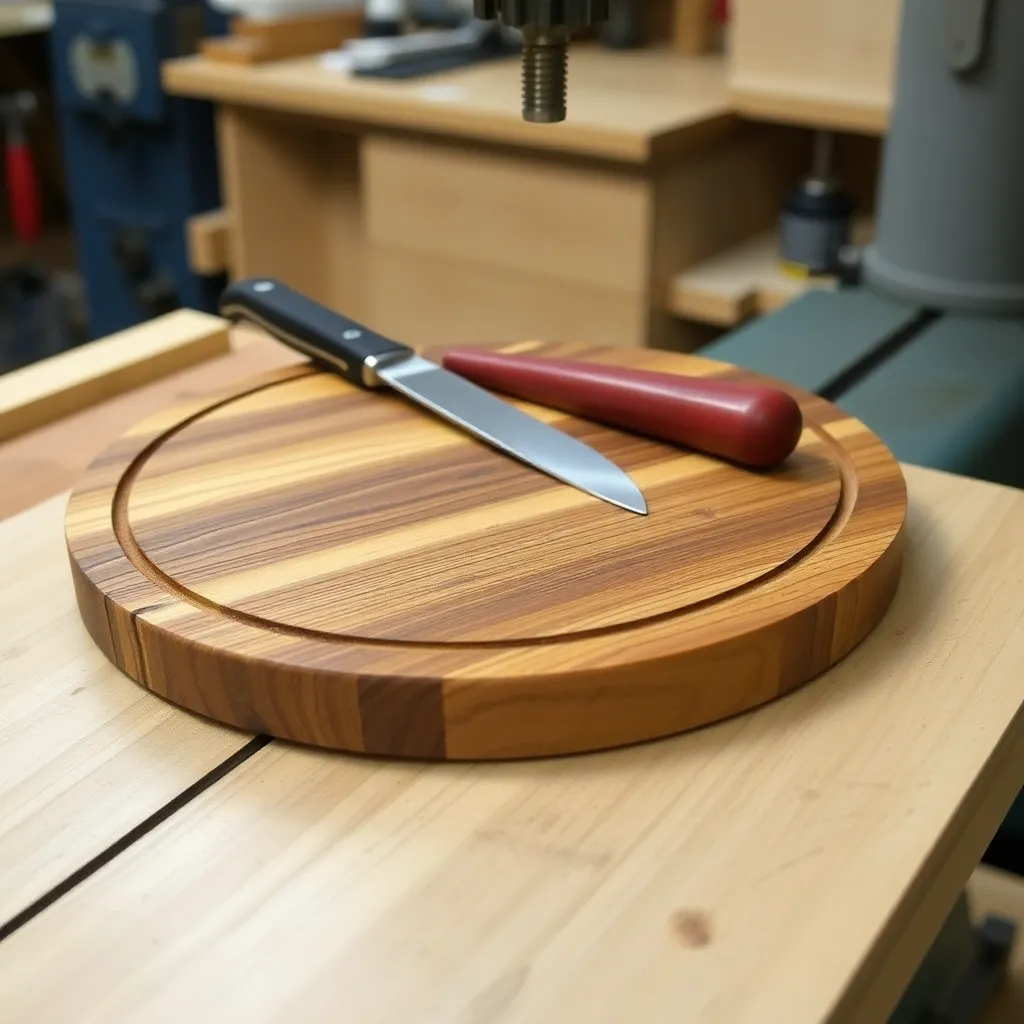
Goal: Four 4-inch round coasters — a different silhouette from the standard square.
Mark 4-inch circles on ¾-inch hardwood using a compass. Cut out with a bandsaw (or jigsaw). Sand the curved edges on a spindle sander or with a sanding drum in the drill press. Sand all faces to 220-grit. Round over the top edge with a ⅛-inch roundover. Apply polyurethane. Apply 3½-inch round cork circles to the bottom.
Milestone: Four circles within ⅛ inch of the target diameter with smooth curved edges.
Step 4: Build Coasters With Two-Tone Inlay
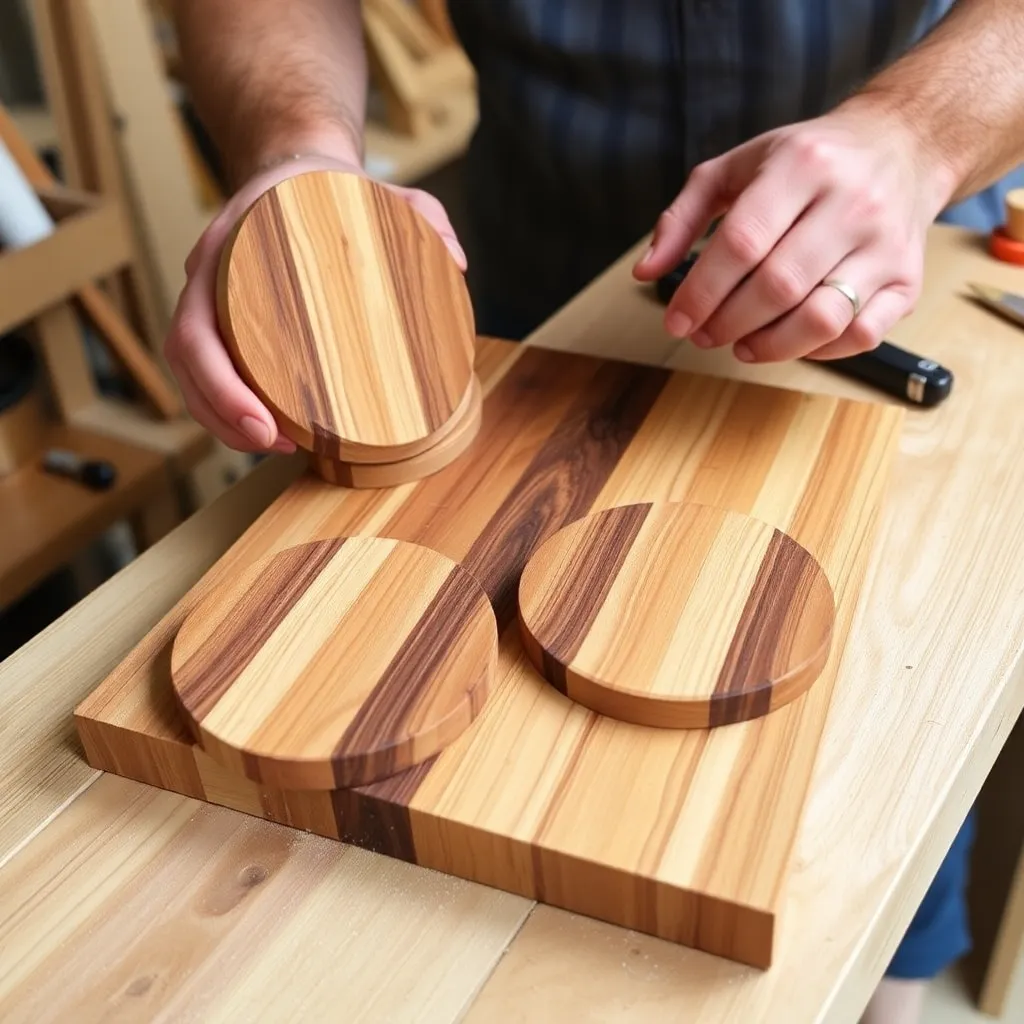
Goal: Four coasters with a contrasting wood inlay square centered on the face.
Cut the base 4-inch square from maple. Cut a 2-inch square from walnut (or vice versa). Rout a 2-inch × 2-inch × ⅛-inch deep recess in the center of the maple base using a router and ⅛-inch spiral upcut bit. Glue the walnut square into the recess. Sand flush when cured. Apply polyurethane.
The inlay square creates a simple, geometric two-tone design that looks considerably more sophisticated than the effort required.
Milestone: Inlay square flush with the base surface after sanding, with no visible glue line.
Step 5: Build Personalized Engraved Coasters
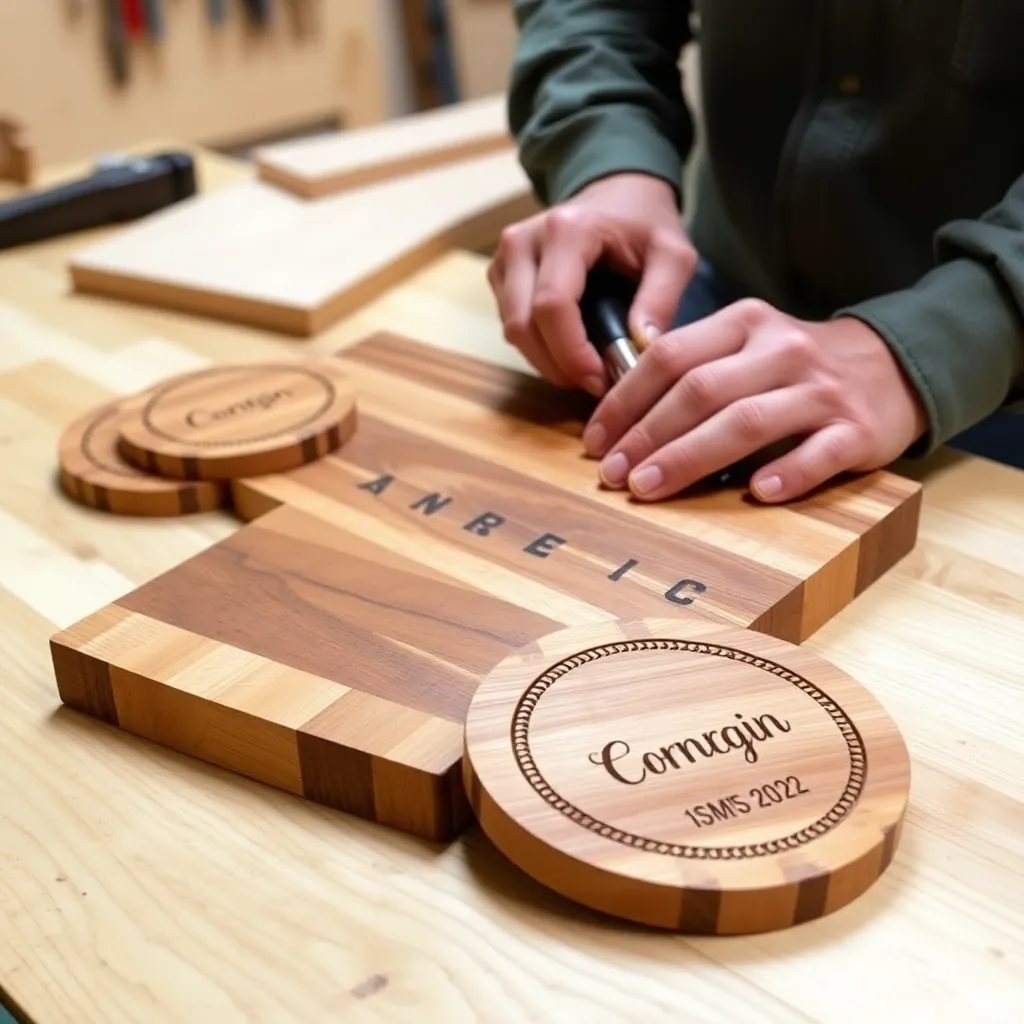
Goal: Four engraved coasters with a monogram, quote, or design.
Build the base coasters (4-inch squares from walnut or maple). After applying the first two coats of polyurethane and sanding lightly with 400-grit, engrave the design with a laser cutter or woodburning pen. Apply the remaining polyurethane coats over the engraving. Engraving through partially cured polyurethane gives the engraving a sealed, museum-quality appearance.
For laser: engrave at 50% power, 100% speed for walnut; adjust for other species. For pyrography: transfer the design with graphite paper and trace with the tip at medium heat.
Milestone: An engraving that reads clearly with consistent burn depth across the full design.
Step 6: Build Coasters With Hexagonal Geometry
Goal: Four hexagonal coasters — a different geometric approach.
Set the miter saw to 30° (which produces 60° corners for a hexagon). Cut six equal-length pieces from ½-inch hardwood strip (length = the desired width of the coaster ÷ 2; for a 4-inch coaster width: each piece is 2 inches long at the long point). Assemble with CA glue — apply to each miter joint and hold for 60 seconds. The six pieces form a hexagonal frame. Add a ¼-inch plywood disc in the center: cut a hexagonal disc to fit the interior and glue from the back. Apply polyurethane. Cork the bottom.
Milestone: Six miter joints that close flush with a consistent hexagonal shape.
Wooden Coaster Plans FAQ
What wood makes the best coasters?
Hard maple is the most practical — it’s the hardest domestic wood readily available, resists water absorption well (tight pore structure), and accepts polyurethane cleanly. Walnut is the most visually attractive — its dark color hides water staining between re-finishing sessions. Cherry is a good middle choice — intermediate hardness, beautiful grain, darkens with age. Avoid softwoods (pine, cedar) which dent under glass impact, and open-grain woods (red oak, ash) which absorb moisture and stain easily through the open pores.
Should I use polyurethane or mineral oil on wooden coasters?
Polyurethane for coasters — always. Mineral oil is appropriate for cutting boards (where a film finish would flake off under knife use) but is not durable enough for coasters. A wet glass sitting on a mineral-oiled coaster will leave a white water ring and eventually saturate the wood. Polyurethane creates a hard, waterproof film that repels water. Use oil-based polyurethane (more durable than water-based) and apply three coats, sanding with 400-grit between coats for a smooth final surface.
Do wooden coasters need cork on the bottom?
Yes, for two reasons: cork prevents the coaster from sliding on the table (important when someone picks up a glass without lifting the coaster), and cork is compressible, which prevents the hard wood edge from scratching table surfaces. Self-adhesive cork sheet (sold in craft stores) is easy to apply: cut to size, peel and stick. For a cleaner appearance: use cork circles cut with a punch. The cork should be 3–3½ inches for a 4-inch coaster (slightly smaller than the coaster perimeter, so the cork edge isn’t visible from the front).
How do I finish a coaster set as a gift?
Make four coasters of consistent size and appearance. Package in a set of four: cut a ¼-inch plywood or MDF tray (4½ × 4½ × 1-inch tall sides) that holds the four coasters in a 2×2 stack. The tray is a finishing touch that makes the set look commercial-quality. Tie with a raffia bow or linen ribbon. Alternatively: use a wooden dowel (¼-inch rod) through a hole drilled in the corner of each coaster to keep the set together (fan style, like an address book).

“DIY woodworking enthusiast who started with zero experience and a YouTube tutorial.
I build simple, practical projects for my home and share free plans
so other beginners can skip the guesswork.If I can build it, you can too.”