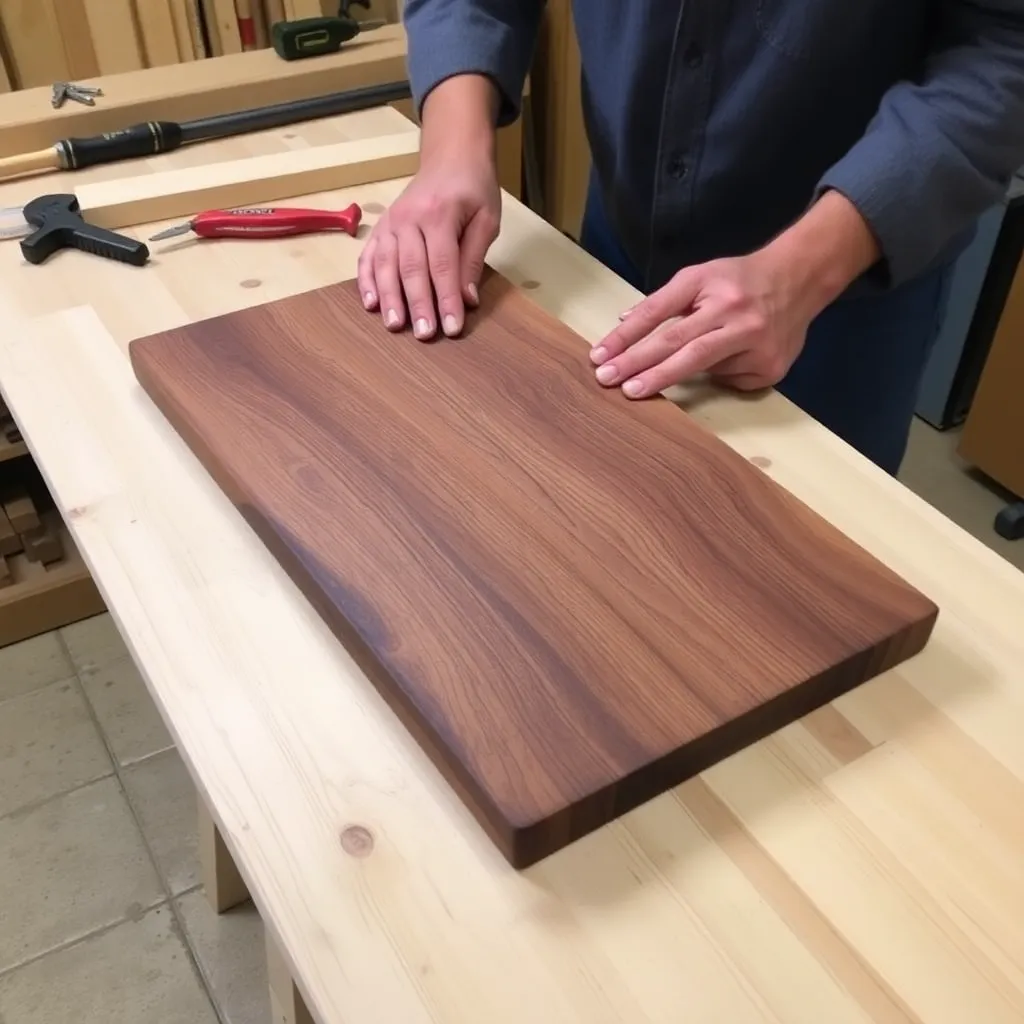
A charcuterie board is a kitchen woodworking project that blurs the line between functional object and décor piece — it sits on the table during entertaining and hangs on the wall the rest of the time. These eight builds cover the range from a flat-sawn walnut board with leather handle (an afternoon’s work) to a live-edge slab with epoxy river inlay that rivals gallery pieces.
Ted’s Woodworking has complete charcuterie board plans with epoxy and finish guides. Browse Ted’s plans →
Step 1: Build a Simple Walnut Serving Board
Goal: A 15 × 8-inch flat-sawn walnut board — the cleanest, fastest charcuterie build.
Select a clear walnut board (no knots, no sapwood if possible — sapwood is the light-colored edge material). Joint one face flat, plane to ¾-inch thickness. Joint one edge, rip to 8-inch width. Crosscut to 15 inches. Sand all faces to 220-grit. Route a ¼-inch roundover on all top edges. Drill two ¼-inch holes at one end (centered, ½-inch apart) for the leather handle. Thread a 12-inch piece of ¼-inch leather cord through the holes and tie a square knot on the underside. Apply mineral oil — 4 coats.
Milestone: A flat board with a leather handle that hangs level on a wall hook.
Step 2: Build a Two-Tone Board With Inlay Strip
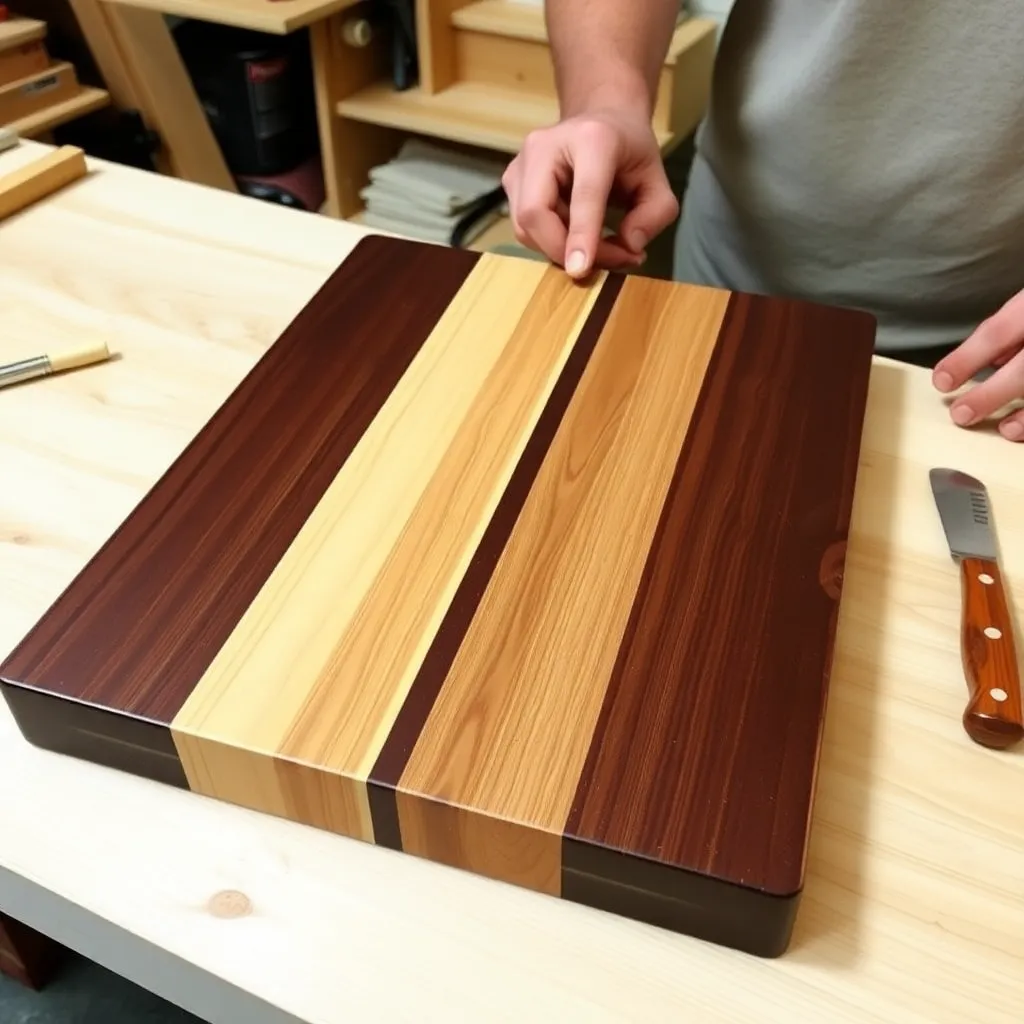
Goal: A 16 × 10-inch board with a walnut + maple combination — decorative contrast without epoxy.
Build a panel from two wide walnut boards with a ¼-inch maple strip between them. The maple strip is the decorative element — it creates a light-colored line running the full length of the board. Joint all mating edges. Glue in one operation (all three pieces simultaneously). Flatten, sand to 220-grit, apply mineral oil.
The maple strip can be widened (1 inch) for a more prominent design element, or multiple strips can be added.
Milestone: Maple strip perfectly centered, glue joints invisible from the front face.
Step 3: Build a Live-Edge Walnut Board
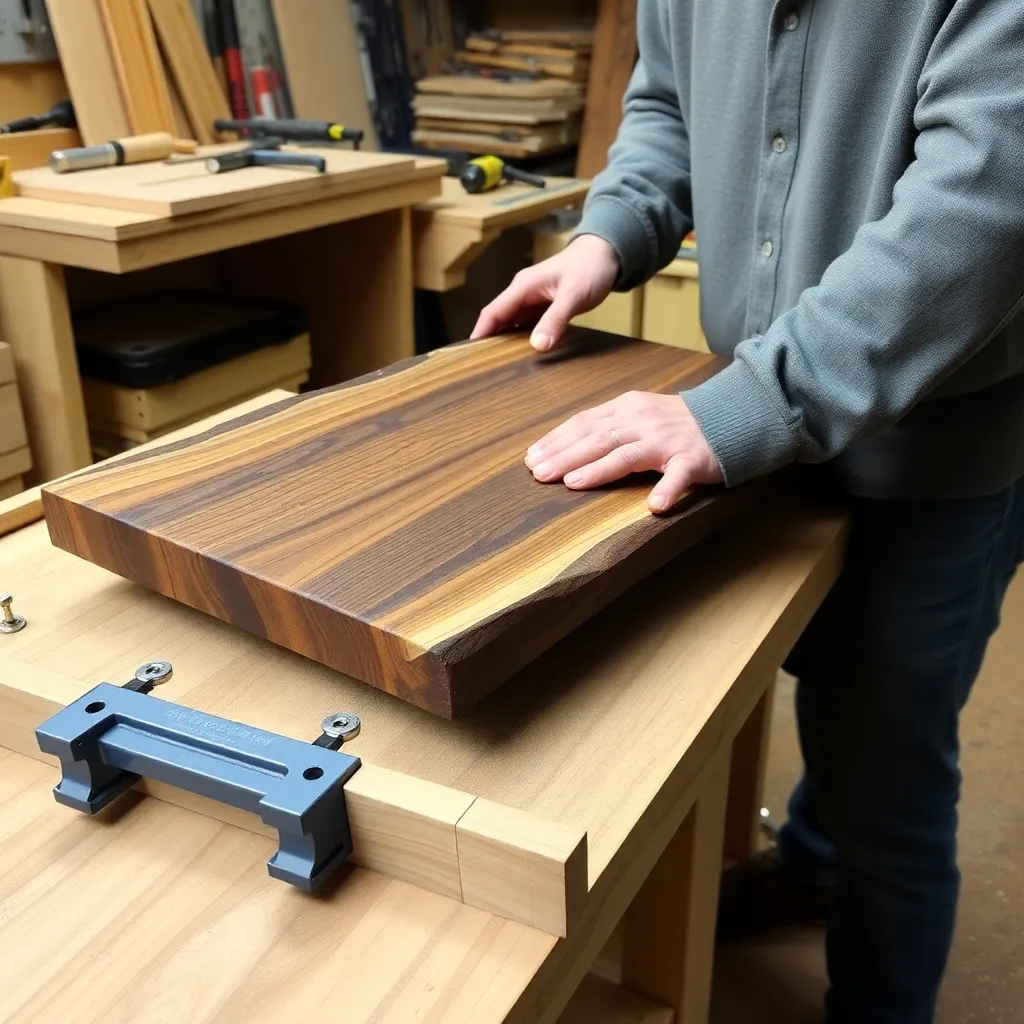
Goal: A single live-edge walnut slab — the most visually impressive one-piece board.
Source a live-edge walnut slab (waney-edge) 1 to 1½ inches thick from a local lumber dealer or sawmill. Select a slab where the live edge is on both long sides (book-matched appearance) or on one long side (more usable flat space). Remove any loose bark — leave firmly attached bark if present. Fill bark voids with clear or black epoxy resin (see Step 4 for epoxy technique). Sand to 220-grit. Apply mineral oil and beeswax.
Milestone: Bark voids filled flush with the board surface, no uncured resin pockets.
Step 4: Build an Epoxy River Board
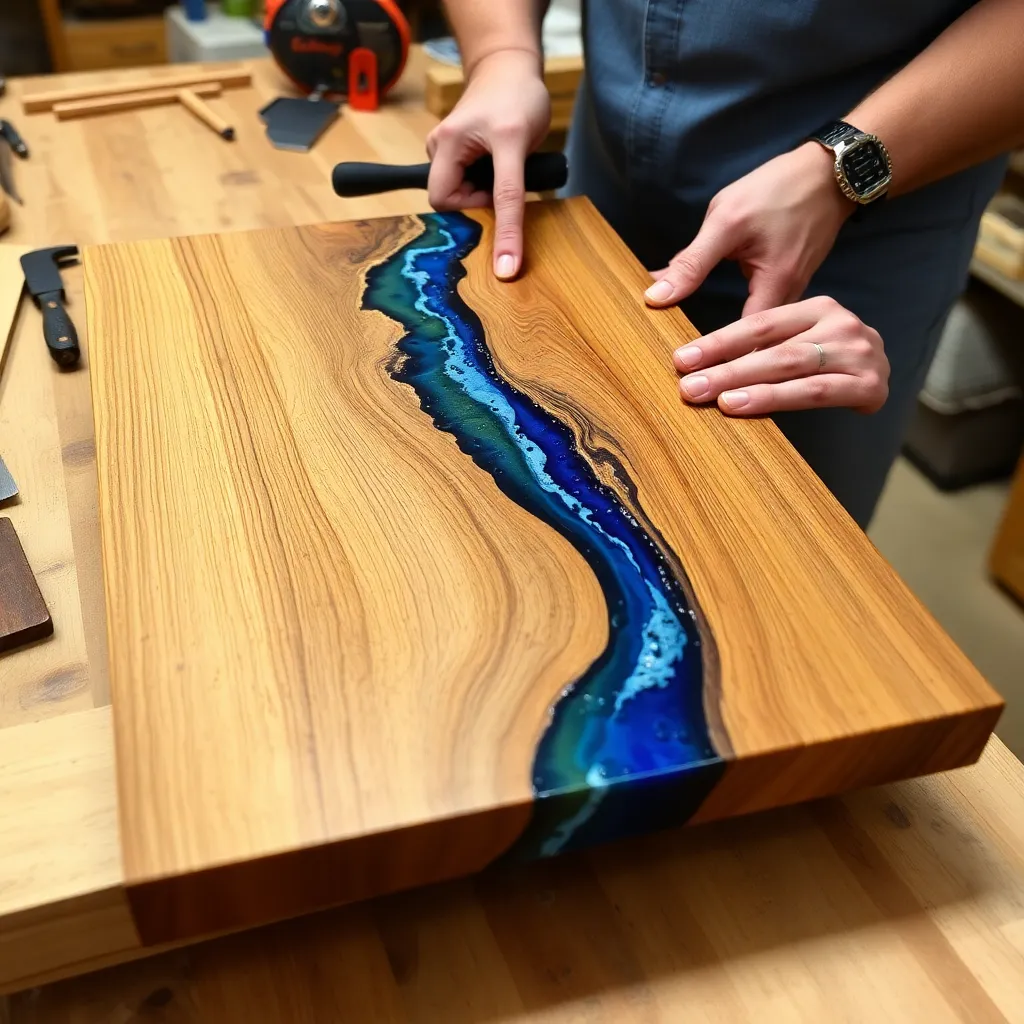
Goal: A 16 × 8-inch board with an epoxy “river” inlay — the most popular charcuterie build online.
The epoxy river board uses two book-matched walnut boards split down the center with a void between them, filled with tinted epoxy. The effect: a river of colored resin running through the center of the board.
Set up the board: place the two walnut halves on a flat, waxed surface (to prevent epoxy from sticking to the workbench). The gap between them is the river — typically 1 to 2 inches wide. Seal the bottom with painter’s tape. Mix food-safe epoxy (West System 105/206 or similar) with blue, black, or clear pigment. Pour slowly to avoid bubbles. Torch the surface lightly to pop surface bubbles. Let cure 24–48 hours. Sand flat to 220-grit (the epoxy sands flush with the wood surface). Apply mineral oil.
Milestone: An epoxy pour with no bubbles, completely flush with both wood surfaces after sanding.
Step 5: Build a Round Board With Bark Handle
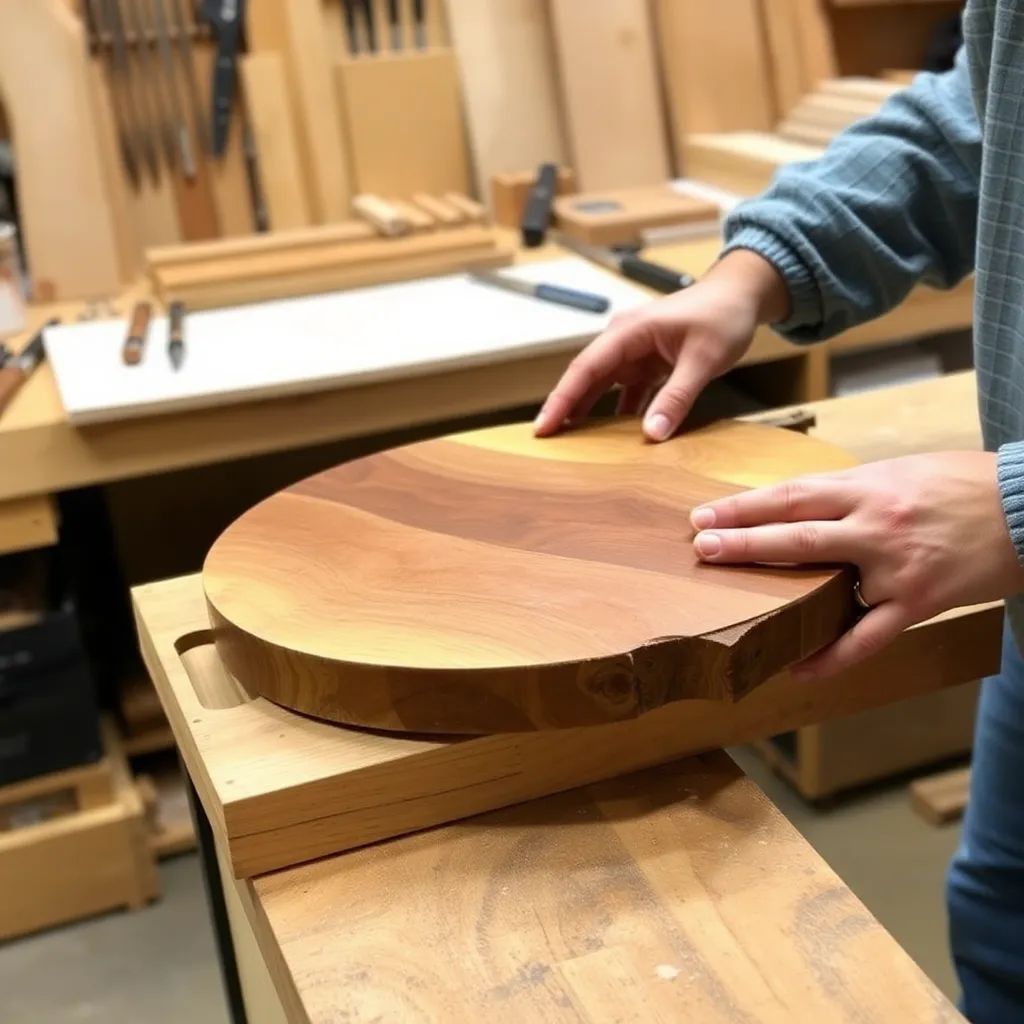
Goal: A 12-inch round serving board cut from a wide slab — a different geometry.
Cut a 12-inch circle from a walnut or cherry slab using a circle jig on the router or a jigsaw. Leave one section of live edge protruding beyond the circle as the handle — this is the bark handle. Sand to 220-grit. Route a ¼-inch roundover on the circular edge (the router follows the curve; feed speed must be slow and consistent). Leave the bark handle face natural — apply only a coat of shellac to the bark to prevent flaking.
Milestone: A circle that’s uniform within ⅛ inch and a handle that’s firmly attached with no loose bark.
Step 6: Build a Long Entertaining Board
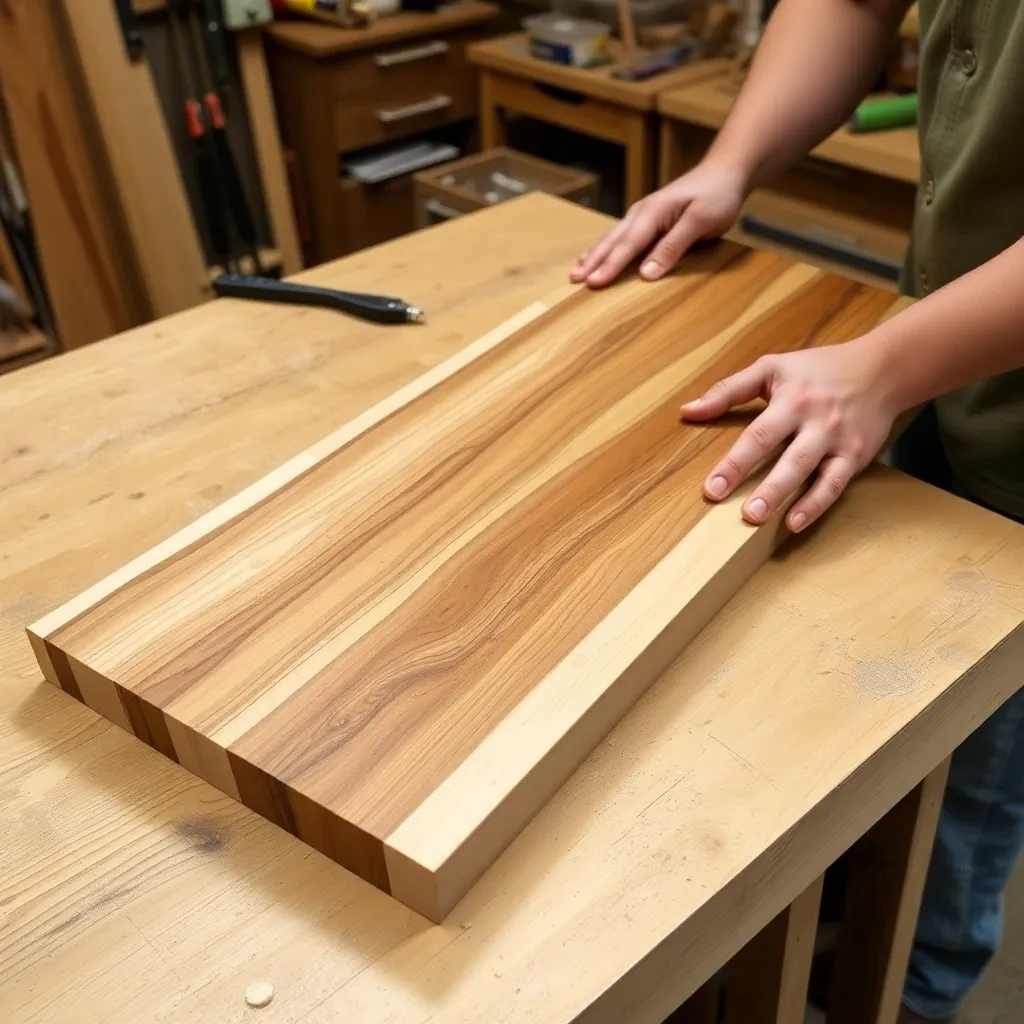
Goal: A 24 × 8-inch board for full cheese spreads and large gatherings.
A board this long starts to show seasonal wood movement — a 24-inch board of solid walnut can move ¼ inch across the grain seasonally. To manage movement: build from a narrow-grain, stable species (quartersawn white oak moves half as much as flatsawn); or build from multiple narrow strips (panel movement is more distributed). Apply finish to all six faces immediately after completion.
Add a juice groove ¼-inch × ¼-inch around the perimeter — at this size it’s functional (catches olive oil and juice from cheese platters). Install two stainless steel drawer pulls on the short ends as handles.
Milestone: A board that stays flat after 30 days in normal household humidity.
Step 7: Build a Paddle-Style Serving Board
Goal: A board with a long narrow handle — the paddle or spade silhouette.
The paddle silhouette (a wide oval serving area + long narrow handle) is the most distinctive charcuterie board shape. Cut the silhouette from a ¾-inch walnut or cherry board using a bandsaw or jigsaw — draw the outline freehand or use a paper template. Sand all edges smooth by hand (80 → 120 → 180 → 220 grit), working around the curves carefully. The handle narrows to 1 to 1½ inches — this is the fragile section: sand carefully to avoid cracking thin areas.
Milestone: A paddle silhouette with smooth, continuous curves with no flat spots at transitions.
Step 8: Build a Tiered Serving Board With Stand
Goal: A two-tier board system on a wooden stand — for vertical cheese display.
Build two serving boards of different sizes (18 × 8 and 14 × 6 inches). Build a wooden stand from two ¾ × 2-inch uprights joined with a center crossbar. The top tier mounts on the crossbar at a 10° angle (tilted slightly for visibility). The bottom tier sits on the bench. Both boards are removable for cleaning. The stand folds flat for storage.
This project is ideal for large gatherings — the two-tier presentation doubles the serving surface without taking additional table space.
Milestone: A stand that holds both boards at consistent angles with no wobble.
Charcuterie Board Plans FAQ
What wood is best for a charcuterie board?
Walnut is the most popular choice — its dark color makes light-colored foods (white cheeses, crackers) stand out visually. Maple is the most sanitary choice (closed pore, hard surface). Cherry is the most elegant choice — it starts honey-colored and darkens to a warm red-brown. For live-edge builds: walnut slabs are most available and most dramatically grained. Avoid teak (contains silica that dulls tools and knives), bamboo (too hard for knife edges), and open-grain woods (ash, red oak) that absorb food oils and bacteria.
Is epoxy food-safe for charcuterie boards?
Fully cured food-grade epoxy is considered safe for incidental food contact. The key words are “fully cured” and “food-grade.” Standard two-part epoxies (West System, Total Boat, Ecopoxy) are food-safe once fully cured (minimum 7 days at room temperature, longer in cold environments). Never use epoxy that’s still tacky or has an odor — partially cured epoxy contains uncured monomers that are not food-safe. Apply mineral oil over the cured epoxy — it won’t penetrate the epoxy (oil only soaks into the wood) but it creates a unified appearance across the board surface.
How do I prevent my charcuterie board from smelling like cheese?
The issue is food odors soaking into unfinished wood pores. Three solutions: (1) keep the board well-oiled (a thin oil film in the pores prevents food from penetrating); (2) wash with a cut lemon after use — citric acid neutralizes food odors in wood; (3) for boards with persistent odors: make a paste of baking soda and water, spread on the board surface, let sit 30 minutes, rinse thoroughly, dry completely upright, re-oil. Boards that have gone too long without oiling develop a “rancid” smell from oxidized food particles — this requires sanding the surface to remove the contaminated layer and starting fresh with oil.
What is the difference between a charcuterie board and a cutting board?
A charcuterie board is a serving surface — it’s designed to present food attractively, not to be cut on with a knife. The wood is typically softer or more visually interesting (live edge, epoxy inlay) because cut-resistance isn’t the priority. A cutting board is a work surface designed for daily knife use — it uses hard, closed-grain wood that resists scarring. In practice, many people use their charcuterie board as a cutting board, but this will eventually scar a soft or open-grain charcuterie board. If you want a board for both purposes: build it from hard maple (durable enough for cutting, attractive enough for serving).

“DIY woodworking enthusiast who started with zero experience and a YouTube tutorial.
I build simple, practical projects for my home and share free plans
so other beginners can skip the guesswork.If I can build it, you can too.”