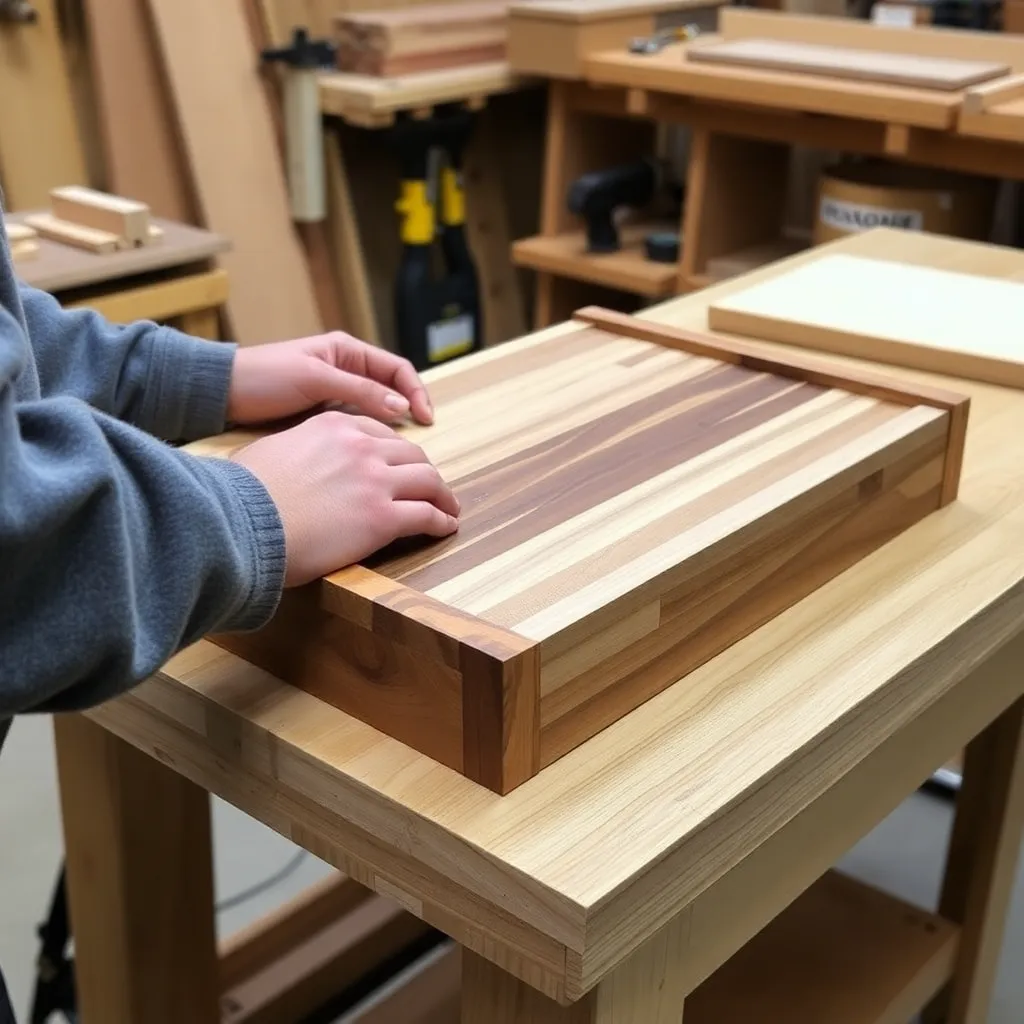
A puzzle box is a box that can only be opened through a non-obvious sequence of moves — sliding panels, hidden catches, rotating lids, magnetic locks. The woodworking challenge is precision: the mechanism must be tight enough to resist casual opening but smooth enough to operate correctly when the sequence is known. These six builds progress from a simple one-move slider to a six-move Japanese-style trick box.
Ted’s Woodworking has complete puzzle box plans with mechanism diagrams and tolerance specifications. Browse Ted’s plans →
Step 1: Build a One-Move Slider Box
Goal: A 4 × 3 × 2-inch box with a single sliding panel — the simplest puzzle box mechanism.
The slider mechanism: the lid is a panel that slides in a groove on the top face of the box. A hidden pin (a ¼-inch dowel stub mortised into the side panel) blocks the lid from sliding until one side panel is pushed inward 3mm, retracting the pin, allowing the lid to slide open.
Build the outer shell from ¾-inch maple:
- Bottom: 4 × 3 inches
- 2 long sides: 4 × 2 inches
- 2 short sides: 1½ × 2 inches (these are the moveable panels)
- Lid: 4 × 3 × ¼ inch (slides in a ¼-inch groove on the top face of the long sides)
Key tolerance: the side panels must slide freely (0.5mm clearance) but feel solidly in place at rest. Sand the mechanism surfaces to 400-grit and apply a thin coat of paste wax to reduce friction.
Milestone: A box where the lid slides freely when the side panel is depressed but resists all other opening attempts.
Step 2: Build a Two-Move Combination Box
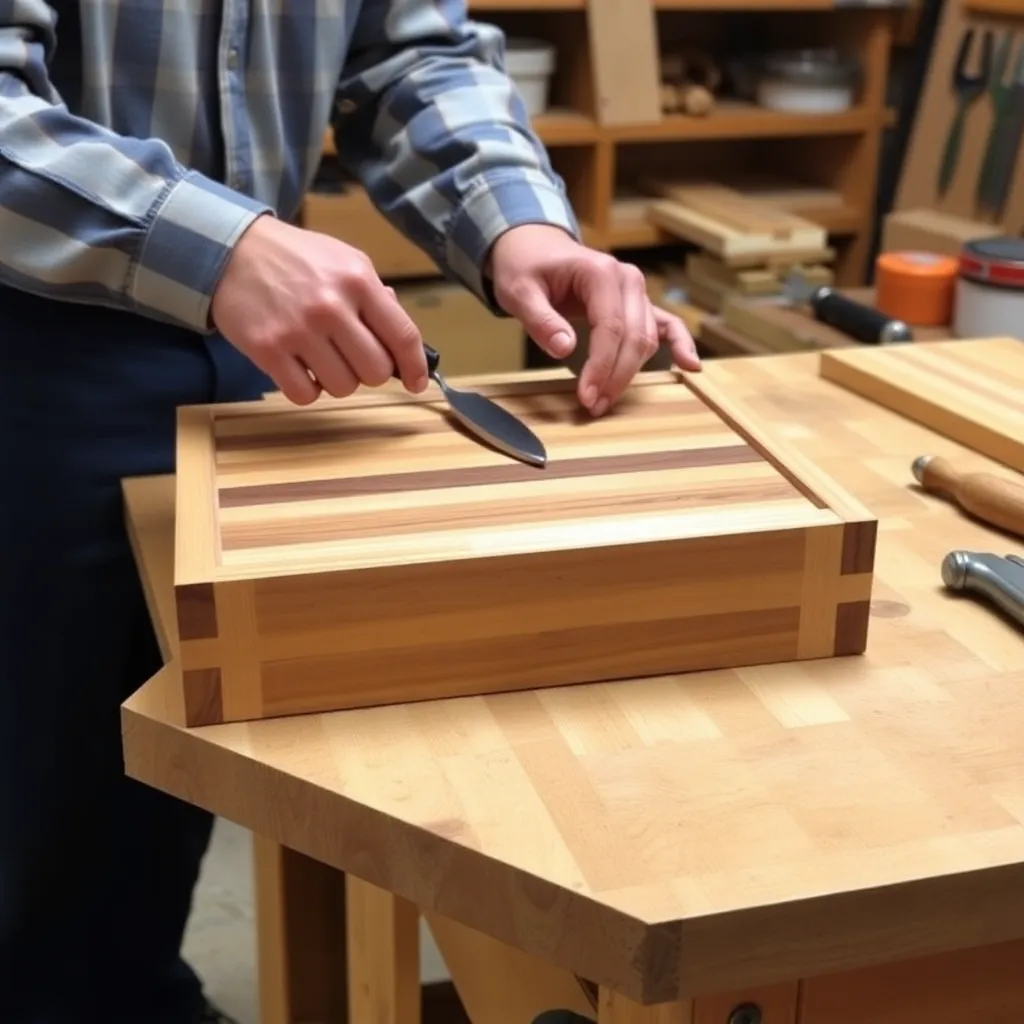
Goal: A 5 × 4 × 2-inch box requiring two moves in sequence — an added layer of complexity.
Move 1: press the right side panel inward. Move 2: slide the top panel toward you. A box that requires two moves feels genuinely puzzling because the natural instinct is to try to slide the lid directly, which doesn’t work until the side panel is depressed first.
The construction is the same as the one-move box, but the pin placement changes: the pin is not in the side panel directly, but in a small floating panel between the side panel and the lid groove. Depressing the side panel moves the floating panel, retracting the pin. Tolerances are tighter — 0.3mm for the floating panel mechanism.
Milestone: A box that resists all two-step attempts except the correct sequence.
Step 3: Build a Rotating Lid Box
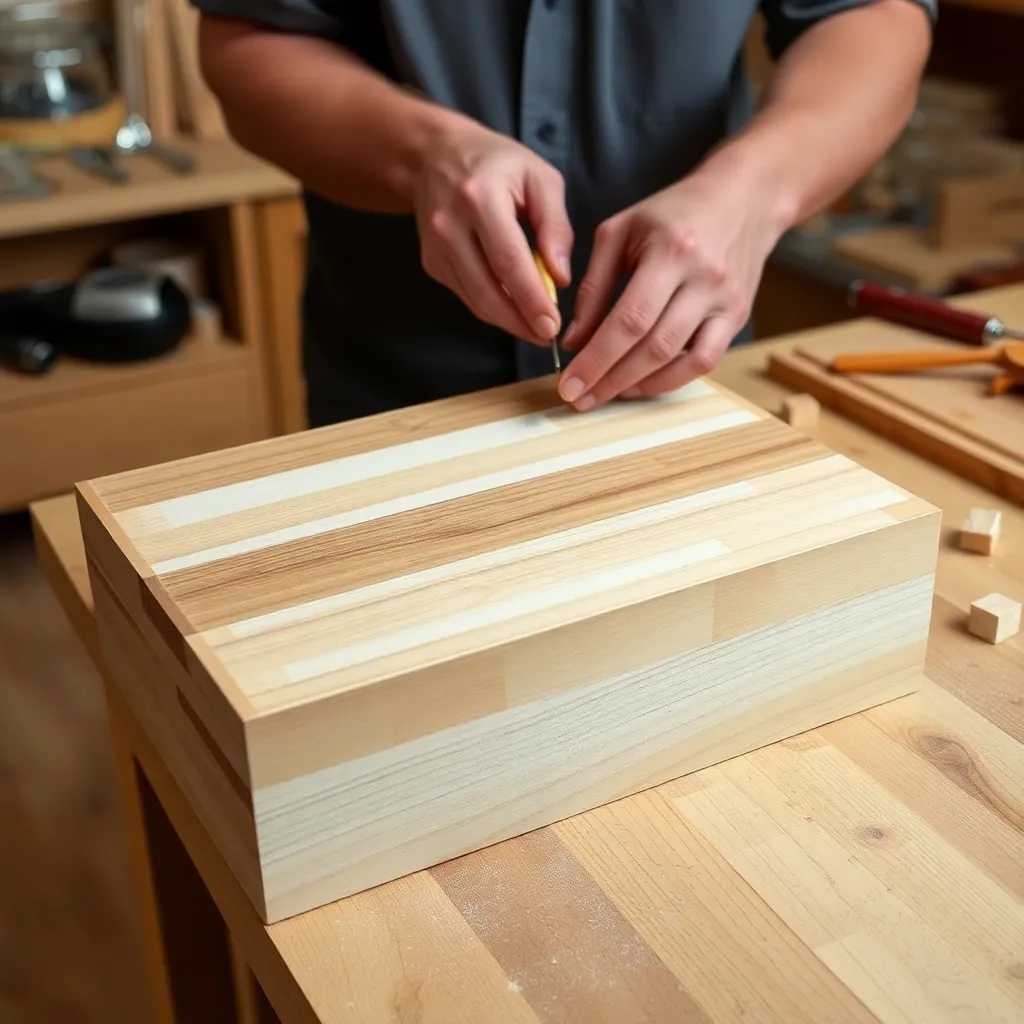
Goal: A 5 × 5 × 3-inch box with a rotating lid — opened by rotating the lid 45° then lifting.
The rotating lid sits in a shallow circular recess routed into the top of the box. A pin in the lid aligns with a keyway in the recess: the lid only lifts when the pin aligns with the keyway slot (at 45° from the closed position). In any other rotational position, the pin is trapped in the recess.
Cut the circular recess with a large-diameter Forstner bit (3½ inch) on the drill press. Route the keyway (¼-inch wide × ¼-inch deep notch) at the 45° position using a chisel. Turn the lid on the lathe (or cut a circle on the bandsaw) to fit the recess. Fit the pin — a ¼-inch dowel stub — on the underside of the lid.
Milestone: A lid that rotates smoothly through 360° but can only be lifted at one rotational position.
Step 4: Build a Magnetic Lock Box
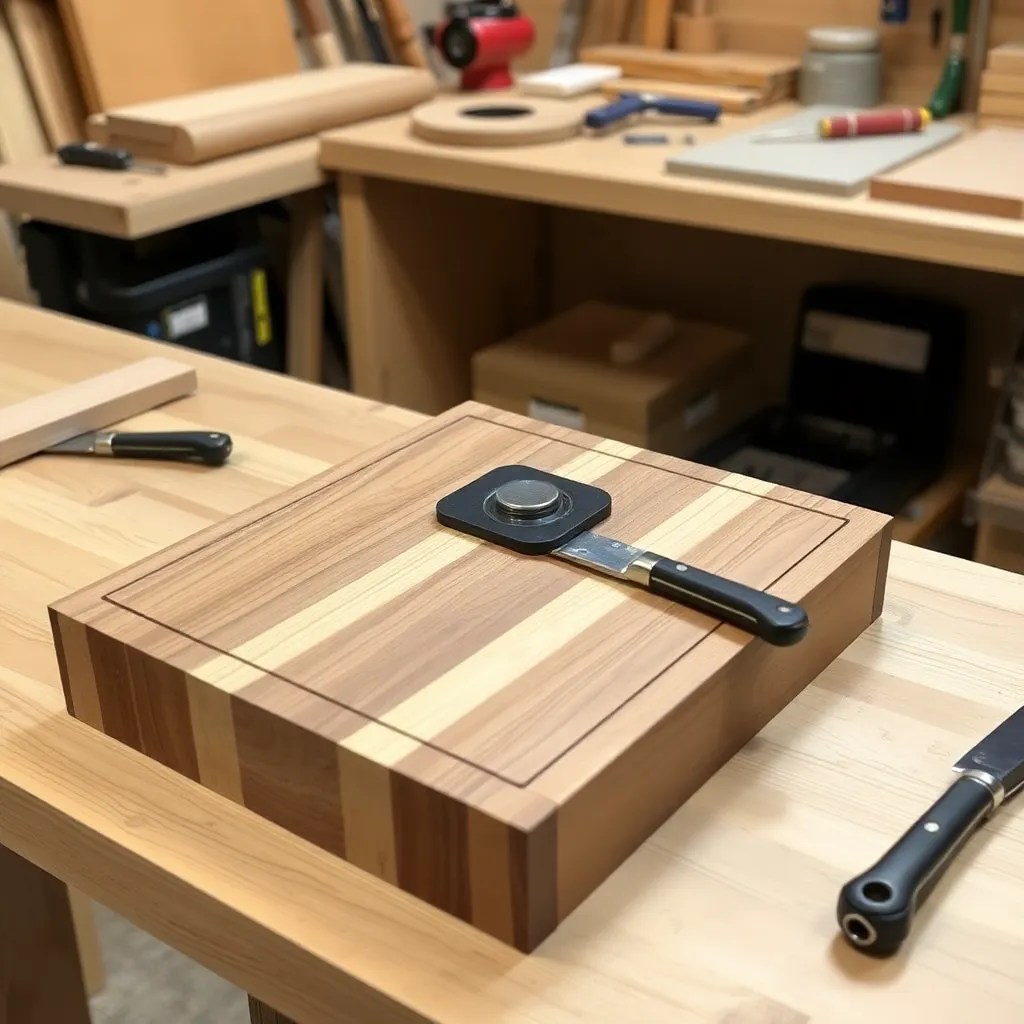
Goal: A 6 × 4 × 3-inch box that opens by placing a magnet in the correct location — a modern mechanism.
This mechanism uses a small rare-earth magnet embedded in the lid and a steel ball bearing in a channel below the lid surface. The ball bearing acts as a latch: gravity keeps it in a pocket that prevents the lid from opening. Placing an external magnet at the correct position on the lid surface attracts the ball bearing out of the latch pocket, freeing the lid.
Rout a ¼-inch diameter × ¼-inch deep channel on the underside of the lid at the latch location. Drill a matching ¼-inch pocket in the box top surface to accept the ball bearing. The puzzle: the ball-bearing latch is completely invisible from the outside.
Milestone: A lid that opens reliably when the external magnet is placed within ½-inch of the correct position.
Step 5: Build a False-Bottom Box
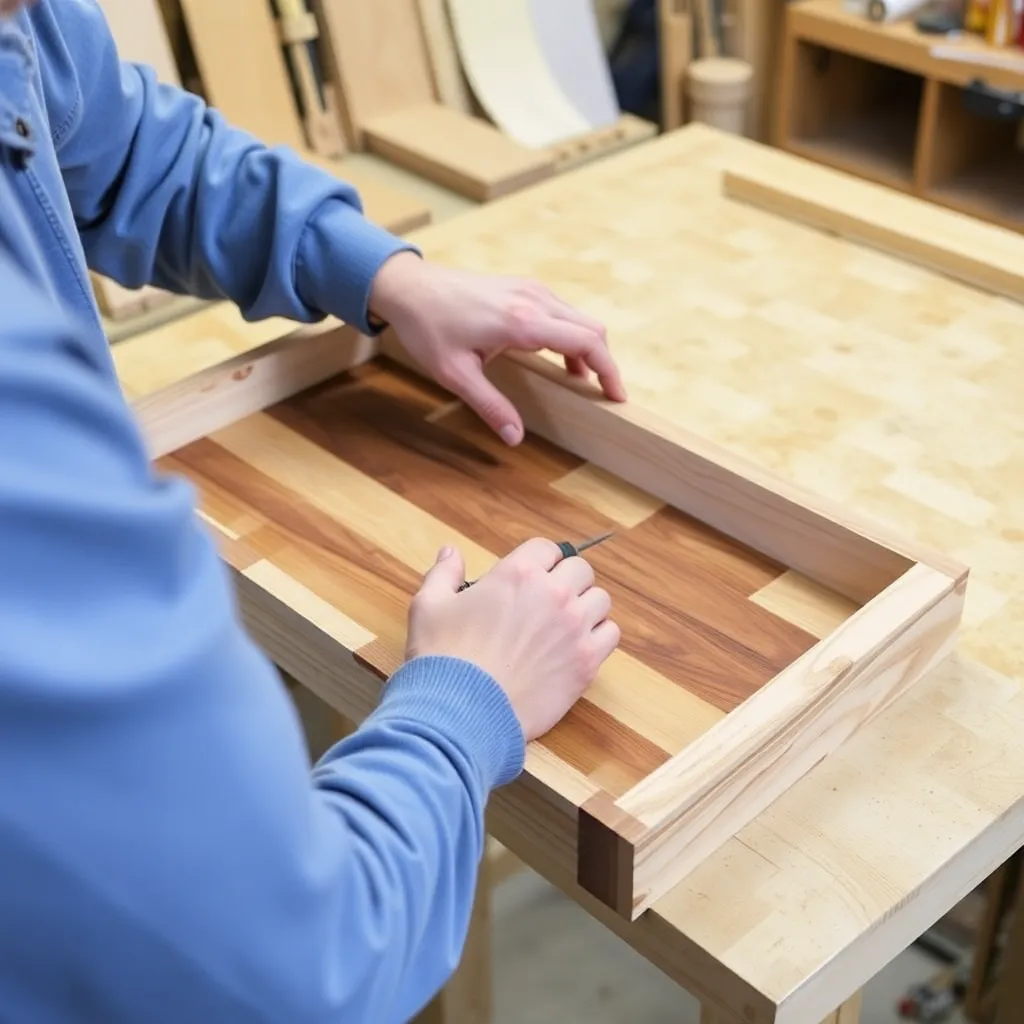
Goal: A 8 × 6 × 4-inch box with a hidden second compartment beneath a false bottom.
A false-bottom box appears to be a normal box with a simple lift-off lid. The secret: the visible interior is shallow (1 inch deep), while a second compartment (2 inches deep) is hidden below the false bottom. The false bottom is released by pressing a specific corner (where a small spring-loaded peg is hidden) — the peg retracts, allowing the false bottom to be lifted.
Build the outer box normally. Install the false bottom at 1-inch depth with a ¼-inch overhang on three sides (rests on small ledges). The fourth side has the spring peg (a short piece of bamboo dowel with a small spring behind it, mortised into the side wall). Pressing that corner presses the peg inward, freeing the false bottom.
Milestone: A false bottom that releases cleanly with one-finger pressure and lifts out without tilting.
Step 6: Build a Japanese Trick Box (Six-Move)
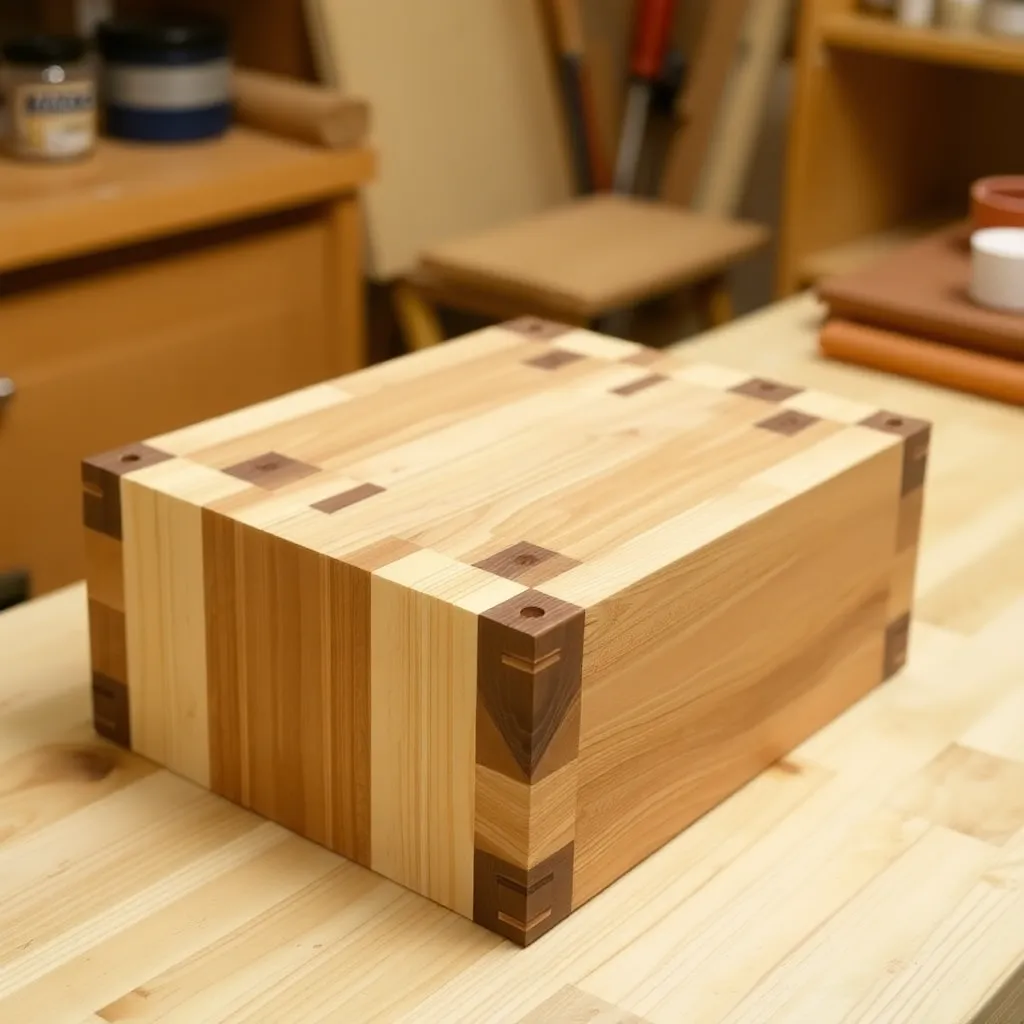
Goal: A 5 × 3 × 2½-inch Hakone-style Japanese puzzle box requiring six sequential moves.
The Japanese trick box (Himitsu-Bako) is the most complex puzzle box — it requires 4, 6, 10, or more sequential moves to open. The six-move version is the entry level. All moves involve sliding panels in a specific sequence — panels can only slide when the adjacent panel has been moved to the correct position.
The box is assembled from a series of layered panels, each sliding in grooves routed in the adjacent panel. The grain on all exterior panels runs at 45° to the box length (this is the traditional Hakone aesthetic and helps disguise the panel joints). All panels are finished to 0.3mm clearance — tight enough to look seamless, loose enough to slide smoothly.
Milestone: A box that takes a first-time user at least 10 minutes to open, and that opens smoothly for someone who knows the sequence.
Wooden Puzzle Box Plans FAQ
What is the hardest part of building a puzzle box?
Tolerances. A puzzle box mechanism requires fitting precision in the 0.2–0.5mm range — tighter than standard furniture joinery. Parts that are too tight bind and feel broken; parts too loose make the mechanism obvious to solve by feel. The solution: build test pieces from cheap pine first, dial in the mechanism, then build from the final hardwood. Wax all sliding surfaces (paste wax on mating surfaces dramatically reduces friction without changing the fit). Humidity also affects puzzle boxes — a box built in summer may bind in winter when the wood contracts. Build in the season you’ll give the gift.
What wood should I use for a puzzle box?
Hard maple is the best choice for the mechanism parts — its consistent grain and hardness produce smooth, predictable sliding surfaces. Cherry is the best choice for the exterior — it has fine grain that makes panel joints nearly invisible. Avoid softwoods (mechanism parts compress and bind with time) and open-grain woods (pores catch on mating surfaces, increasing friction). For Japanese-style trick boxes: use a stable hardwood (maple, cherry, or walnut) for the structural panels and apply a lacquer finish to all sliding surfaces.
How do I make a sliding mechanism that doesn’t stick?
Four steps: (1) Sand all sliding surfaces to 400-grit along the grain direction — cross-grain sanding leaves ridges that catch. (2) Apply paste wax (Johnson’s Paste Wax or similar) to all sliding faces — buff to remove excess. (3) Leave 0.3–0.5mm clearance between the sliding panel and its groove (test with feeler gauges if necessary). (4) Allow the box to acclimate to indoor humidity for a week before giving as a gift — fresh-built boxes may be slightly swollen from glue moisture.
Are there plans for the Japanese Hakone puzzle box?
The traditional Hakone-style puzzle box is typically not published in plan form — the sliding panel geometry requires working through the mechanism sequence and deriving the groove positions from first principles. The most reliable approach: acquire an original Hakone box and study how the panels interlock, then reverse-engineer the construction. The key insight in all Hakone boxes: each panel can only slide when the adjacent panel is in a specific position, creating a linear sequence of moves. The number of moves equals the number of sequential panel positions required to reach the open state.

“DIY woodworking enthusiast who started with zero experience and a YouTube tutorial.
I build simple, practical projects for my home and share free plans
so other beginners can skip the guesswork.If I can build it, you can too.”