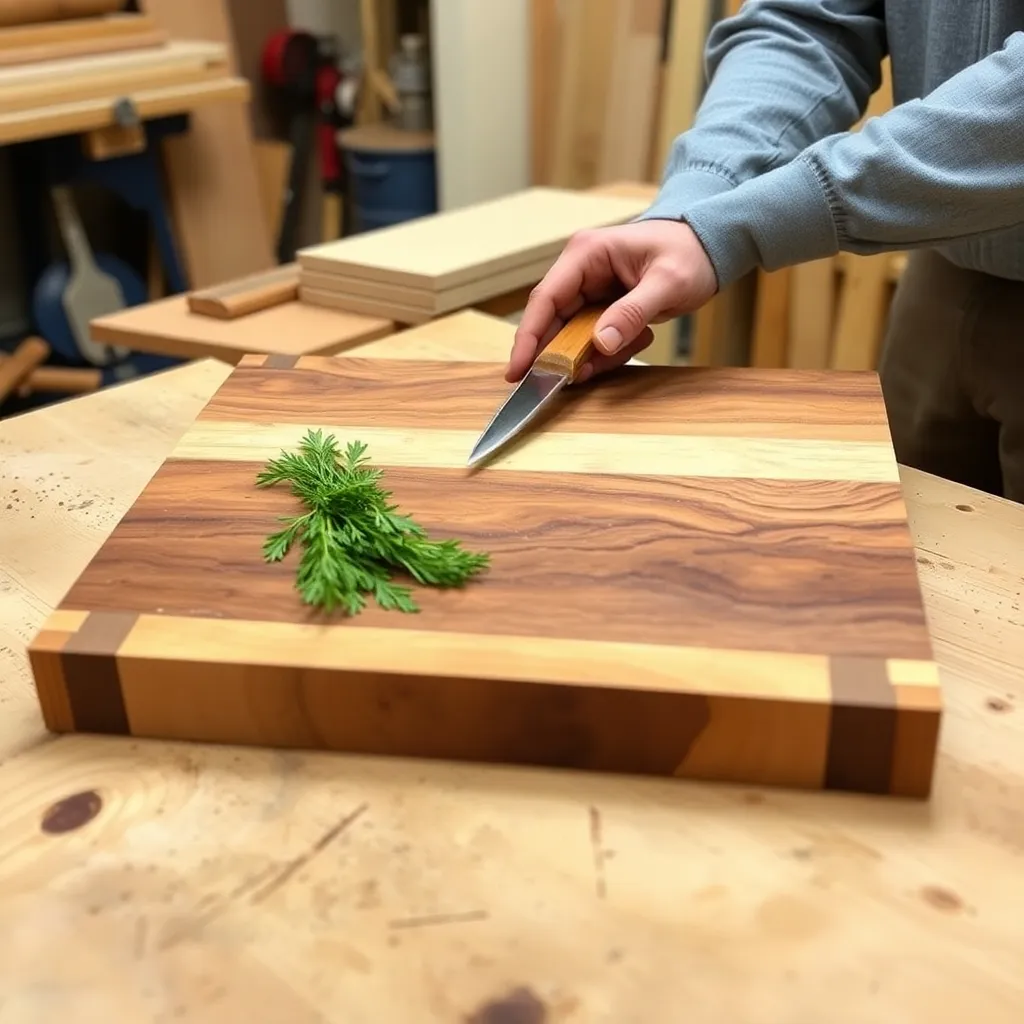
An end-grain cutting board is the premium version of the kitchen woodworking project — it’s self-healing (knife marks close as the wood fibers compress rather than sever), gentler on knife edges than face-grain, and produces a striking checkerboard or mosaic pattern from two contrasting species. The build requires more steps than a face-grain board, but the result is a heirloom piece that improves with use.
Ted’s Woodworking has complete end-grain cutting board plans with router sled diagrams and glue-up sequencing guides. Browse Ted’s plans →
Step 1: Select and Prepare Your Wood
Goal: Two food-safe hardwood species in sufficient quantity for a 12 × 12-inch board.
Select two contrasting species: hard maple (Janka 1450, light color) and walnut (Janka 1010, dark color) produce the most dramatic checkerboard contrast. Both are food-safe and compatible in hardness — avoid mixing species with dramatically different hardness (one will wear faster than the other, creating an uneven surface).
Quantity for a 12 × 12 × 1½-inch board:
- Maple: 1 board foot (¾ × 12 × 16 inches)
- Walnut: 1 board foot (same dimensions)
Joint one face of each board flat. Plane to consistent thickness (¾ inch). Joint one edge of each board straight.
Milestone: All boards flat within 0.5mm across the face, edges square to the face.
Step 2: Rip Strips
Goal: Rip each species into ¾-inch wide strips — the raw material for the checkerboard pattern.
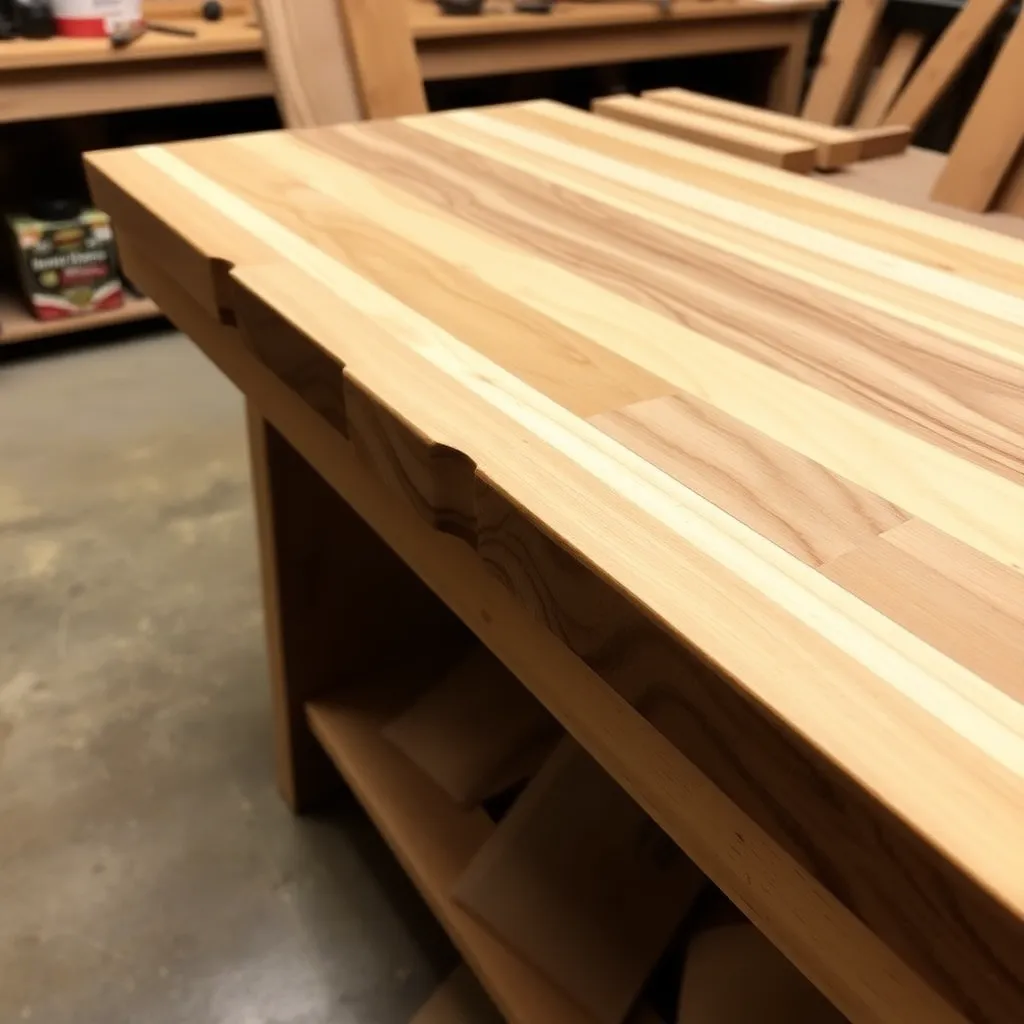
Set the table saw fence to ¾ inch from the blade. Rip all boards into ¾-inch strips (width matches thickness — this is what allows the end grain to face up in the final board). Run all boards through before adjusting the fence — consistency across all strips is critical for a flat glue-up.
For a 12 × 12-inch board you need:
- 8 strips of maple (¾ × ¾ × 14 inches)
- 8 strips of walnut (¾ × ¾ × 14 inches)
Milestone: All strips within 0.5mm of the target ¾-inch width (measure with calipers, not a tape measure).
Step 3: Glue Up the First Panel (Banded Billet)
Goal: Glue all 16 strips face-to-face in alternating species — the first glue-up.
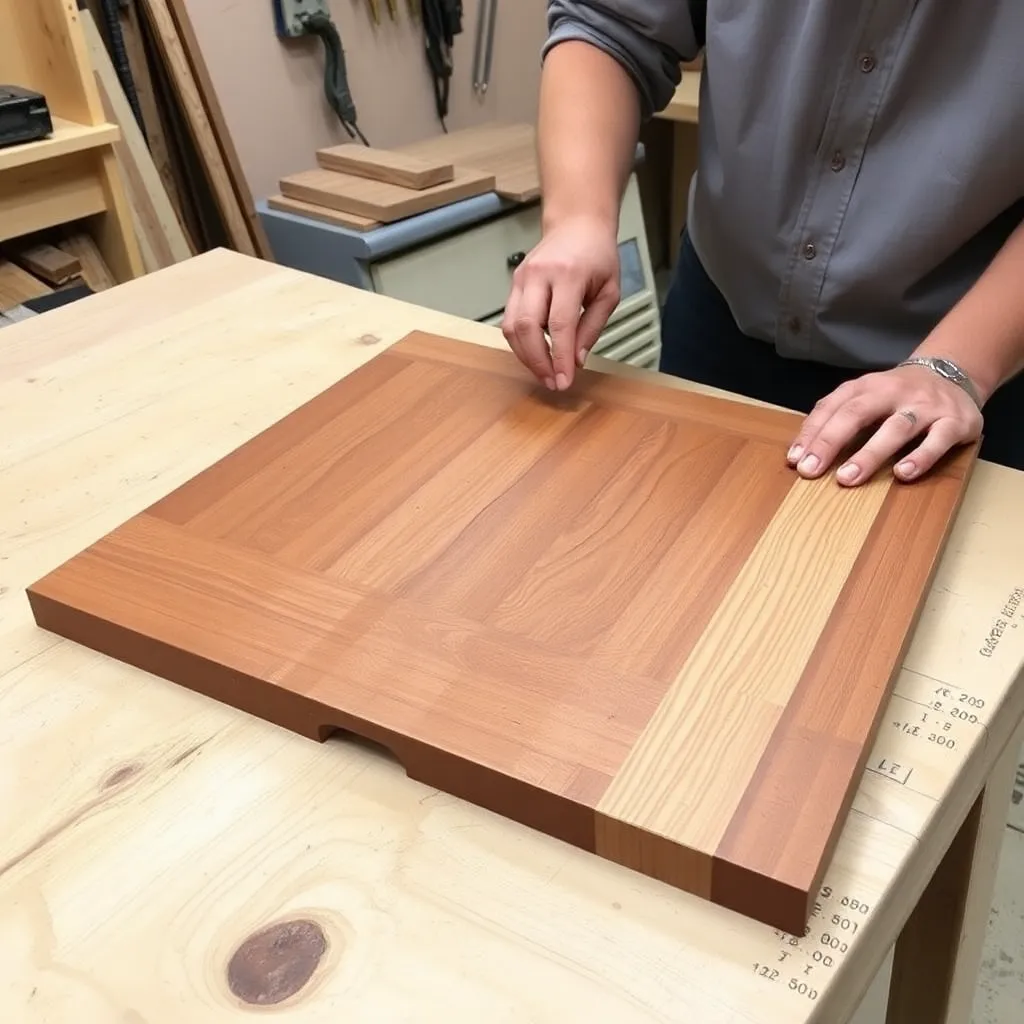
Arrange: maple, walnut, maple, walnut… alternating for all 16 strips. Apply wood glue (Titebond II or III — both waterproof) to all mating faces using a roller or spreader. The glue surface is large — work quickly and in segments if needed. Clamp with bar clamps every 4 inches. Check for squareness before the glue sets. Let cure 2 hours minimum, 24 hours full cure.
The result is a banded billet: a solid block with alternating maple/walnut stripes running its full length.
Milestone: All strips aligned flat with no step between adjacent strips at the top face.
Step 4: Flatten and Square the Billet
Goal: Flatten all four long faces of the billet to remove any clamp marks or glue squeezeout.
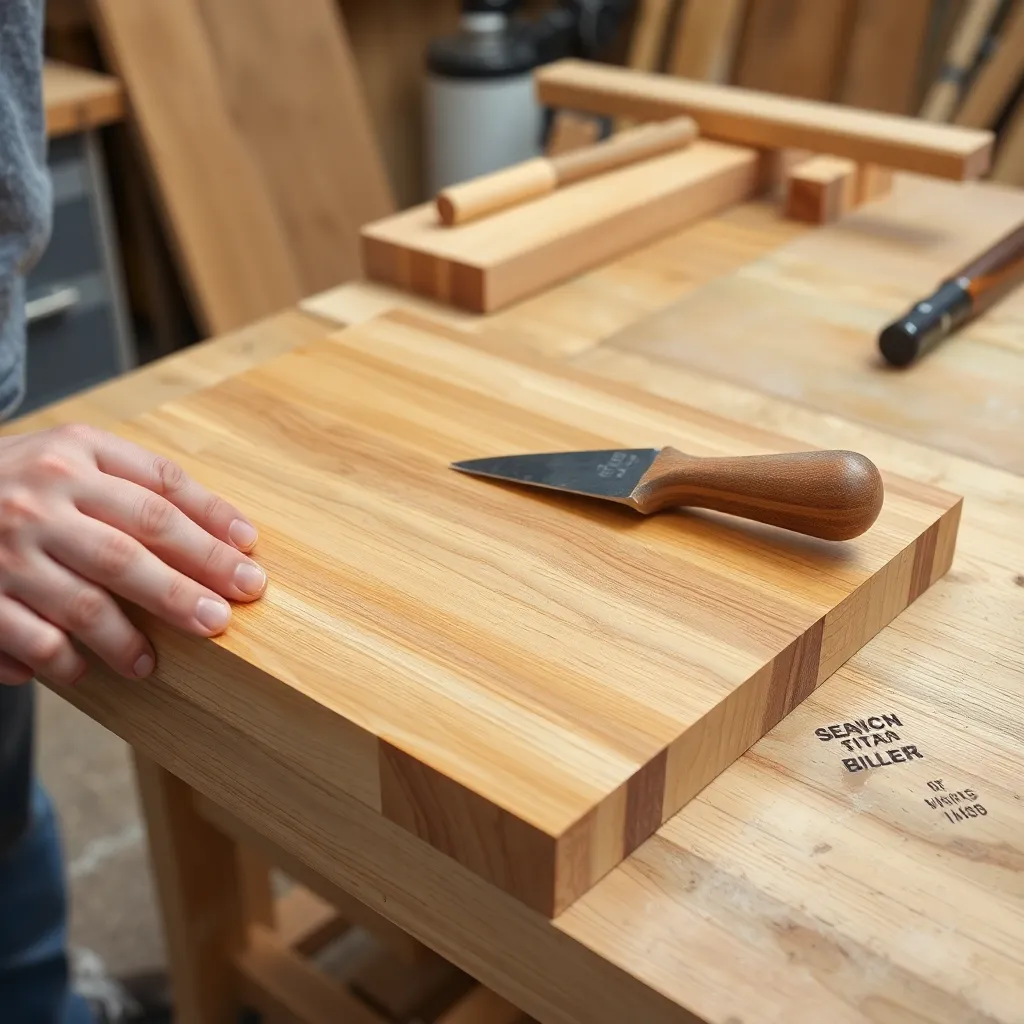
Run the billet through the thickness planer (face flat — the banded stripes run left-to-right as the billet feeds into the planer). Take light passes (1/32 inch per pass). Joint the two edges if needed. The goal: a perfectly rectangular billet with four flat faces and consistent dimensions.
If a thickness planer isn’t available: hand plane the faces flat using a No. 7 or No. 8 jointer plane, checking with a winding sticks and straightedge.
Milestone: A billet where all four long faces are flat to within 0.5mm and all four long corners are square.
Step 5: Cross-Cut the Billet Into Slices
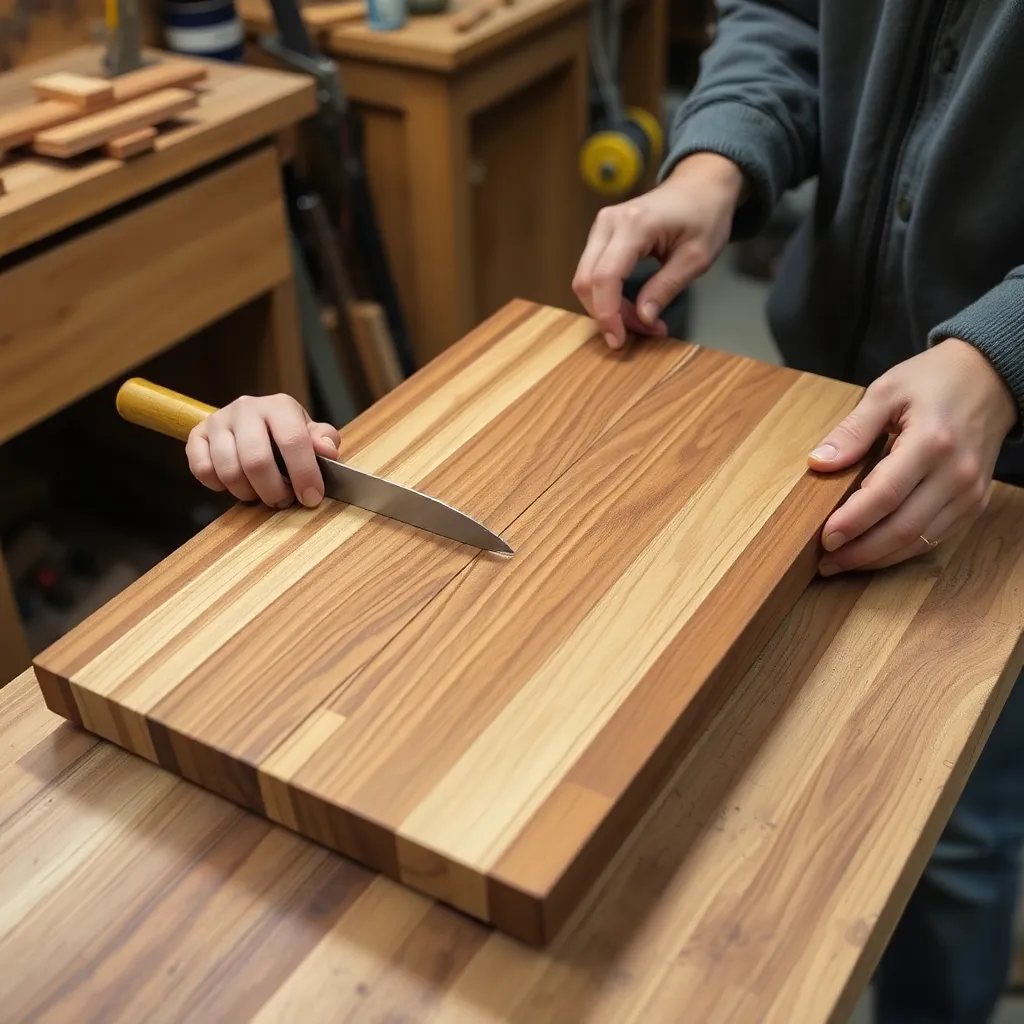
Goal: Cross-cut the billet perpendicular to the stripes — this exposes the end grain and creates the checkerboard rows.
Set the miter saw (or table saw crosscut sled) to exactly 90°. Cross-cut the billet into ¾-inch slices — each slice is now a row of alternating maple/walnut end-grain squares. For a 14-inch billet, you get 14–16 slices.
End-grain cross-cutting creates significant sawdust — the grain is cutting across all fibers simultaneously. Use a sharp blade (80-tooth crosscut blade) and make each cut in one deliberate pass.
Milestone: Slices of consistent ¾-inch thickness (measure with calipers — inconsistent slice thickness produces an uneven surface that’s harder to flatten).
Step 6: Arrange and Glue the Final Panel
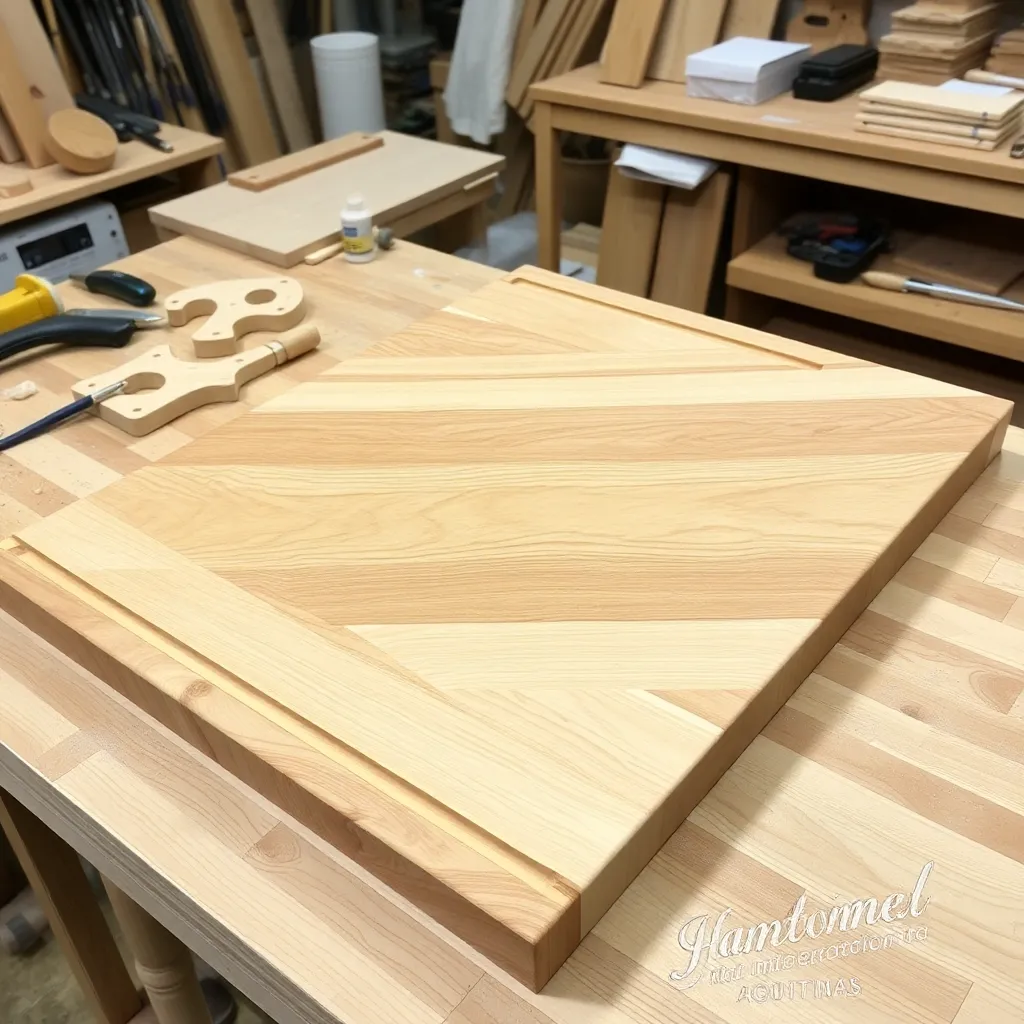
Goal: Rotate alternating slices 180° and glue edge-to-edge — this creates the checkerboard pattern.
Lay all slices flat. Rotate every other slice 180°: the maple squares that were on the left are now on the right, shifted one position — this creates the offset checkerboard. Rotate a few more slices arbitrarily if desired (this randomizes the pattern and hides any inconsistency).
Apply Titebond III (waterproof — this is the board’s second and last glue-up; use the waterproof version for the final assembly). Clamp with bar clamps — no fewer than one clamp per two slices. Check for flatness immediately after clamping (end-grain panels want to bow slightly under clamping pressure). Let cure fully — 24 hours minimum.
Milestone: All squares aligned in consistent rows with no visible offset at the glue joints when viewed from the top.
Step 7: Flatten the End-Grain Panel
Goal: Flatten the assembled end-grain panel — the most critical step.
A thickness planer cannot reliably flatten an end-grain panel — the knives cut end grain unevenly and may snipe the ends. Use a router sled instead.
Build the sled: two parallel rails, longer than the board’s length, elevated above the workbench. Bridge a router across the rails on a crossbar (the router slides perpendicular to the rails). Use a 1-inch or 1½-inch spoilboard surfacing bit. Lower the bit until it just skims the high spots. Take 1mm passes, working left to right, then shifting the router 80% of the bit diameter and repeating. Flip the board and repeat on the second face.
Sand to 220-grit by hand — always sand with the end grain (in a circular motion, because there is no consistent “grain direction” on end grain).
Milestone: A board that lies flat on the bench with no rocking and no visible high spots visible under raking light.
Step 8: Apply Food-Safe Finish
Goal: Saturate the end-grain board with mineral oil — end grain absorbs significantly more than face grain.
Apply the first coat of food-grade mineral oil liberally to all six faces. End grain will absorb rapidly — you may see the oil soak in within minutes on a dry board. Apply a second coat immediately as the first absorbs. Apply a total of 6–8 coats over 24 hours (more coats than a face-grain board — end grain is thirstier).
On the final coat: apply a 1:1 mixture of mineral oil and beeswax (melt the beeswax into warmed mineral oil). This creates a harder, more water-resistant surface than oil alone. Buff with a soft cloth.
Milestone: End grain that no longer absorbs oil on application (appears to sit on the surface rather than soak in immediately) — this indicates saturation.
End-Grain Cutting Board FAQ
Why is end-grain better than face-grain for cutting boards?
End grain is self-healing: when a knife cuts into end-grain wood, it parts the wood fibers (which run perpendicular to the cutting surface) rather than severing them. The fibers spring back after the knife passes, closing the cut mark. Face-grain and edge-grain boards have fibers running parallel to the surface — a knife cuts across the fibers and severs them permanently, leaving a scar. End grain is also gentler on knife edges because the knife slides between fibers rather than across them. The main downside: end-grain boards are more expensive and more time-consuming to build.
Can I use a planer to flatten an end-grain cutting board?
Not reliably. End grain is unpredictable in a thickness planer: the knives can tear out chunks rather than shaving cleanly, especially near glue joints where the grain changes direction abruptly. Snipe (the deeper cut at the entry and exit of the planer) is more severe on end-grain panels. A router sled is the standard method for end-grain flattening and produces consistently better results. For boards under 10 × 10 inches, a wide drum sander (24 inches or wider) can also work — the abrasive is more forgiving than planer knives on end grain.
What glue should I use for an end-grain cutting board?
Titebond III (waterproof) for the final panel glue-up — the one that creates the checkerboard. The board will be washed frequently; non-waterproof glue (Titebond I or II) will eventually fail at the glue joints. For the first glue-up (the banded billet), Titebond II or III both work. Avoid epoxy for food-contact surfaces (unless specifically marked food-safe); avoid polyurethane glues (they foam and are difficult to control in thin glue joints).
How long does an end-grain cutting board last?
With proper care (regular oiling, hand washing, drying upright), an end-grain cutting board lasts indefinitely — some professional butcher blocks are 50+ years old. The failure modes are: (1) glue joint failure from dishwasher heat or prolonged soaking — never put a wooden board in the dishwasher; (2) surface cracks from drying out — re-oil immediately if the board looks grey or dry. A cracked end-grain board can be repaired: sand the surface flat to remove the crack, re-oil, and continue using. The end-grain pattern remains even after multiple resurfacings.

“DIY woodworking enthusiast who started with zero experience and a YouTube tutorial.
I build simple, practical projects for my home and share free plans
so other beginners can skip the guesswork.If I can build it, you can too.”