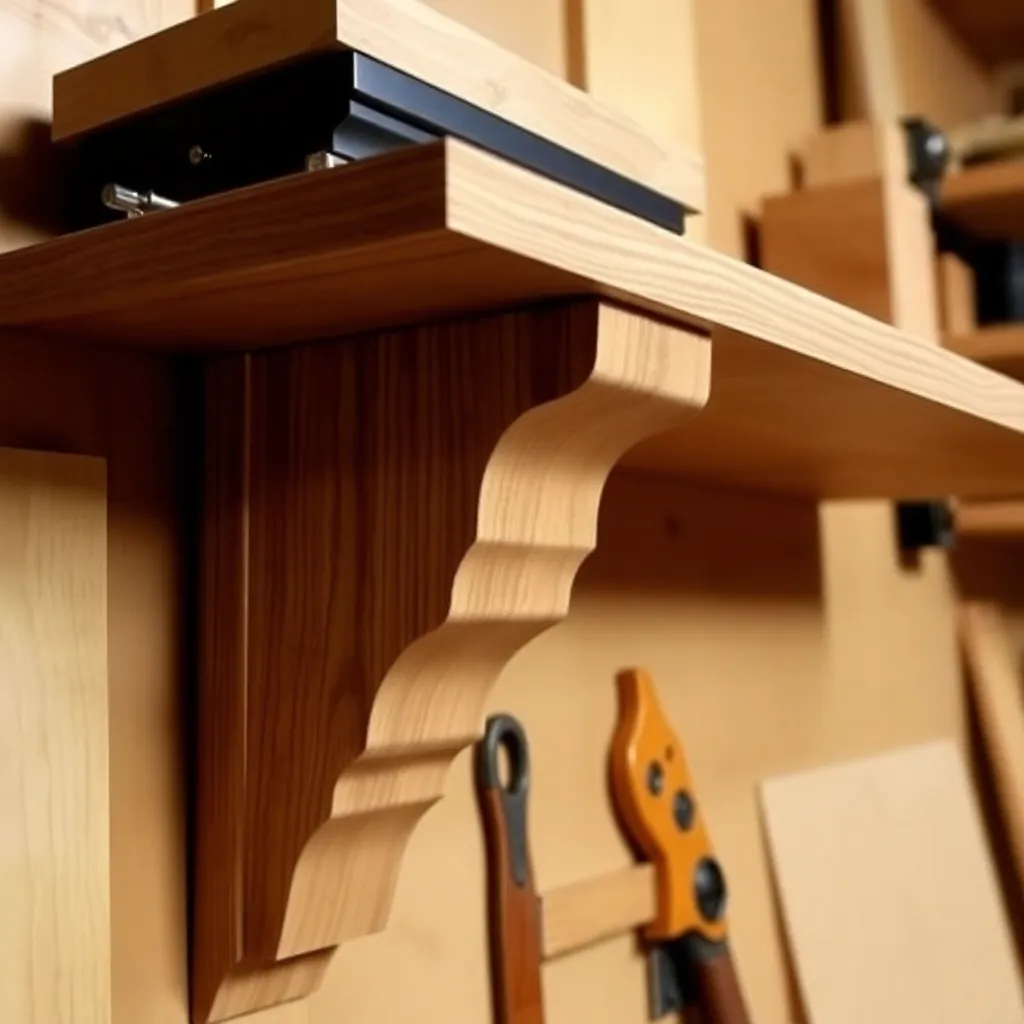
A corbel is a bracket that projects from a wall to support a shelf, countertop overhang, or mantel. Shop-built corbels are one of the most cost-effective woodworking projects — a matched set that would cost $40–$80 each at a home décor store costs under $5 in lumber and an afternoon of time. These six builds progress from a simple cut-and-sand corbel for a utility shelf to a fully carved classical corbel that looks architectural.
Ted’s Woodworking has complete corbel plans with carving guides and mounting hardware specs. Browse Ted’s plans →
Step 1: Build a Simple Utility Shelf Corbel
Goal: A 6 × 8-inch corbel from 2×4 lumber — the fastest functional bracket build.
A 2×4 (actual 1½ × 3½ inches) is already close to corbel thickness. Cut to 8 inches long. Mark the corbel profile on the face: a straight line from the back edge at the top to the front edge 2 inches from the bottom (this creates the angled underside). Cut the angle on the miter saw. Sand to 120-grit. Mount with two 3-inch screws through the back face into a wall stud. This corbel supports up to 50 lbs per pair for a light shelf.
Milestone: Two corbels of identical length and angle that mount level with each other on the wall.
Step 2: Build an S-Curve Corbel
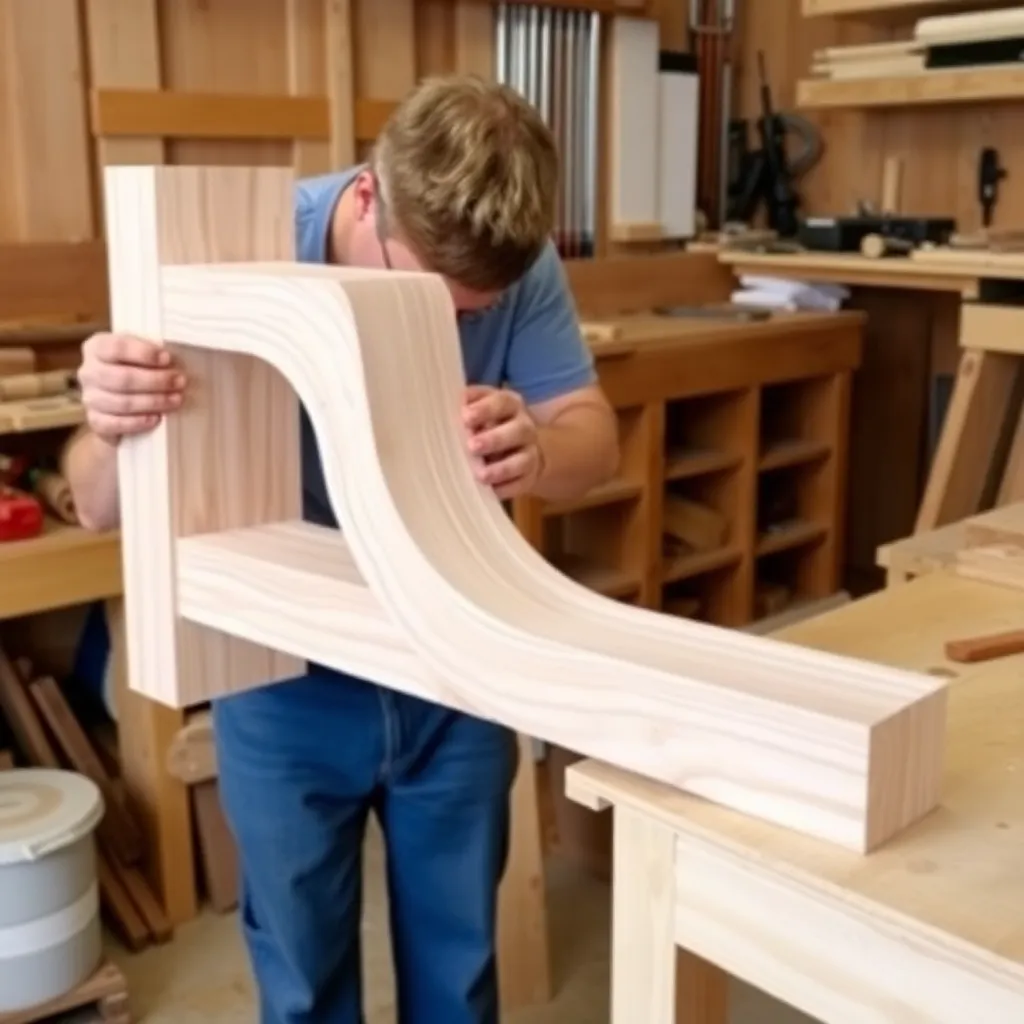
Goal: A 4 × 10-inch corbel with a classic S-curve profile — the standard decorative corbel.
Start with a 4 × 4-inch × 12-inch blank in oak or poplar. Draw the S-curve profile on the face: the curve starts at the back (wall attachment point) with a concave sweep, then transitions to a convex sweep at the lower front. Transfer the profile to both faces of the blank. Cut the profile on the bandsaw, staying 1/16 inch outside the line. Refine the curve with a rasp, then a half-round file, then sandpaper (80 → 120 → 180 grit). The result should feel smooth with no flat spots.
Milestone: An S-curve that reads as a continuous flowing line with no kinks or flat transitions.
Step 3: Build a Bracket Corbel With Decorative Cove
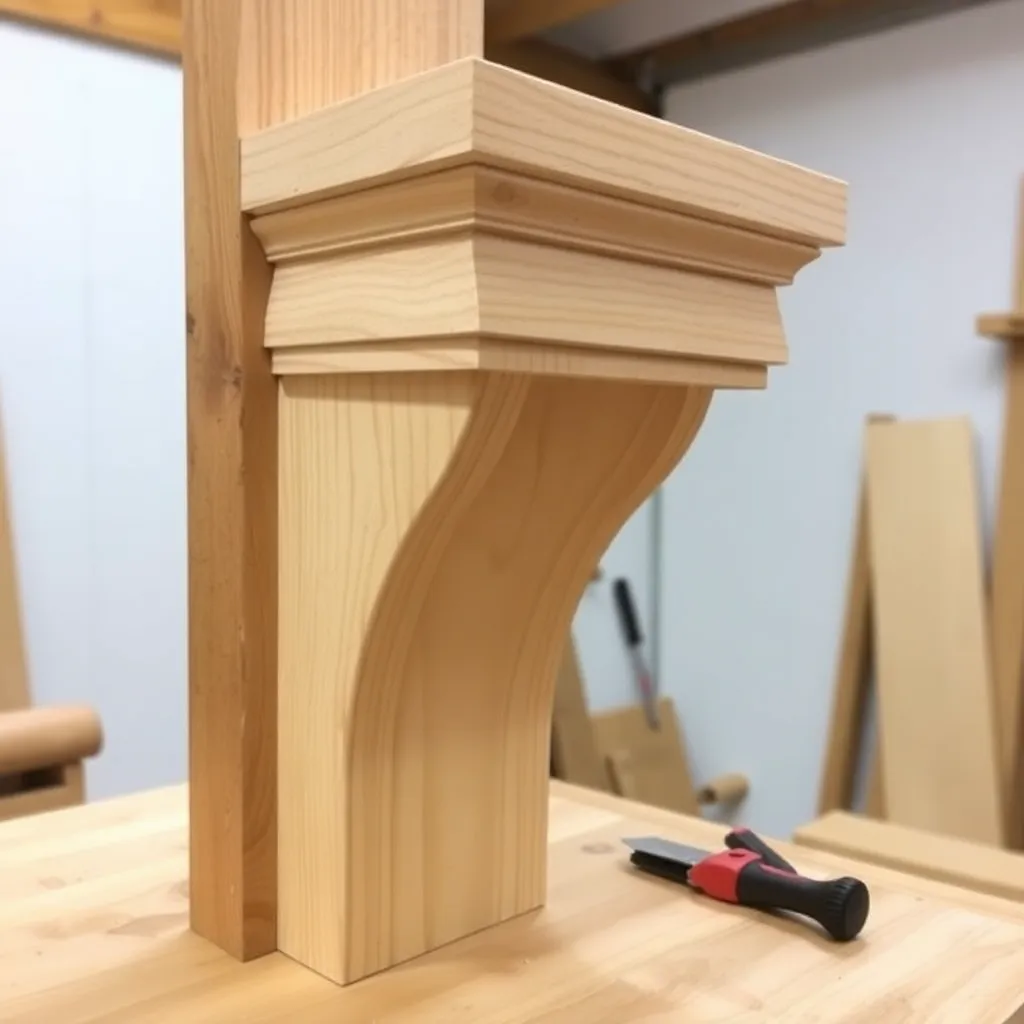
Goal: A corbel with a routed cove on the face — adding a classic architectural detail.
Build the basic S-curve corbel (Step 2). After sanding, route a ¼-inch cove on the face of the corbel using a cove bit on the router table. The cove runs from the top horizontal face down the full length of the corbel to the lower horizontal face. This single routed profile adds visual depth that makes the corbel look custom-milled.
Milestone: A cove of consistent width and depth along the full corbel face with no chatter marks.
Step 4: Build a Paired Bracket Set for a Floating Shelf
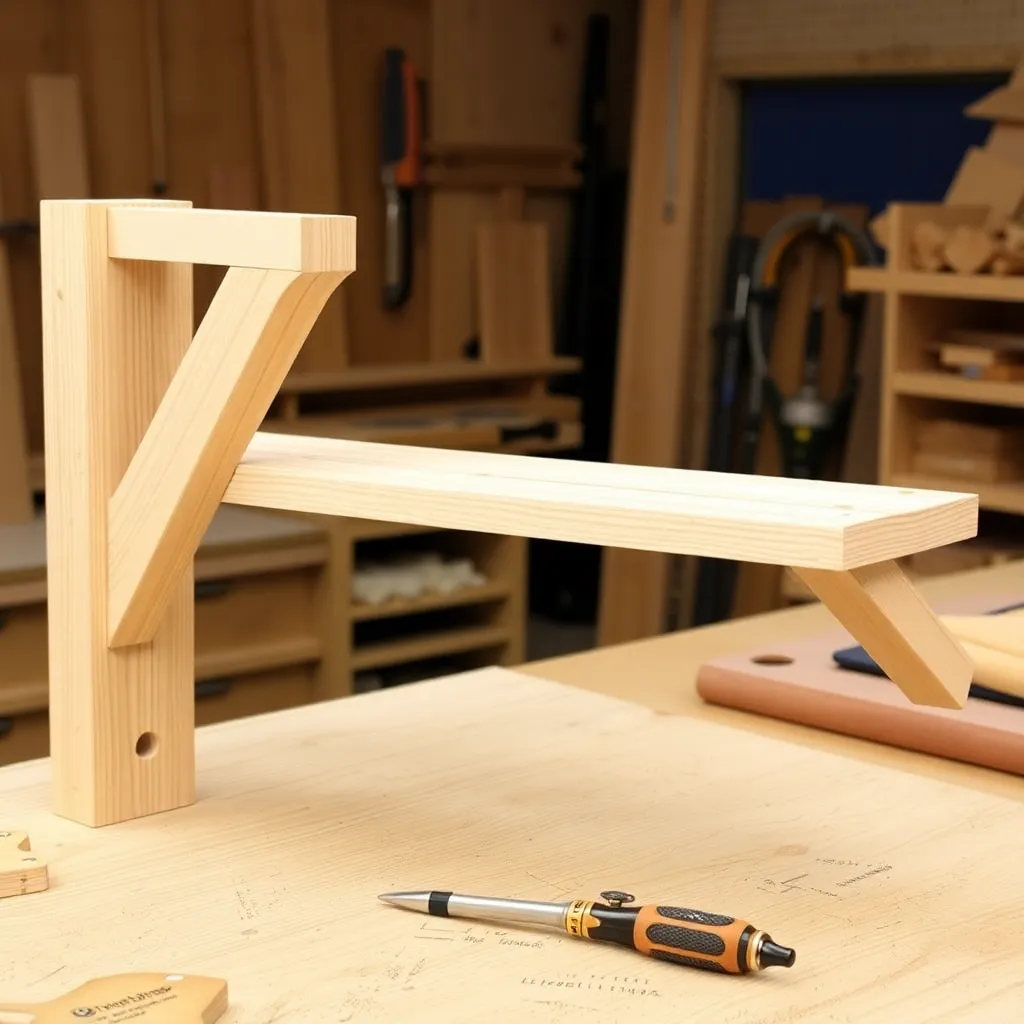
Goal: Two matched 5 × 9-inch corbels for supporting a floating shelf — precision matching required.
The challenge with a matching pair: both corbels must be identical in dimension and profile, or the shelf will tilt. Solution: build from the same blank. Start with a single 4 × 4-inch × 24-inch blank. Draw the profile on one face. Cut both corbels from the same blank sequentially with the same fence setting — this produces identical pieces. Sand both simultaneously (stack-sand for consistent results).
Milestone: Two corbels that stack perfectly flat against each other with no gap between them.
Step 5: Build a Mantel Corbel
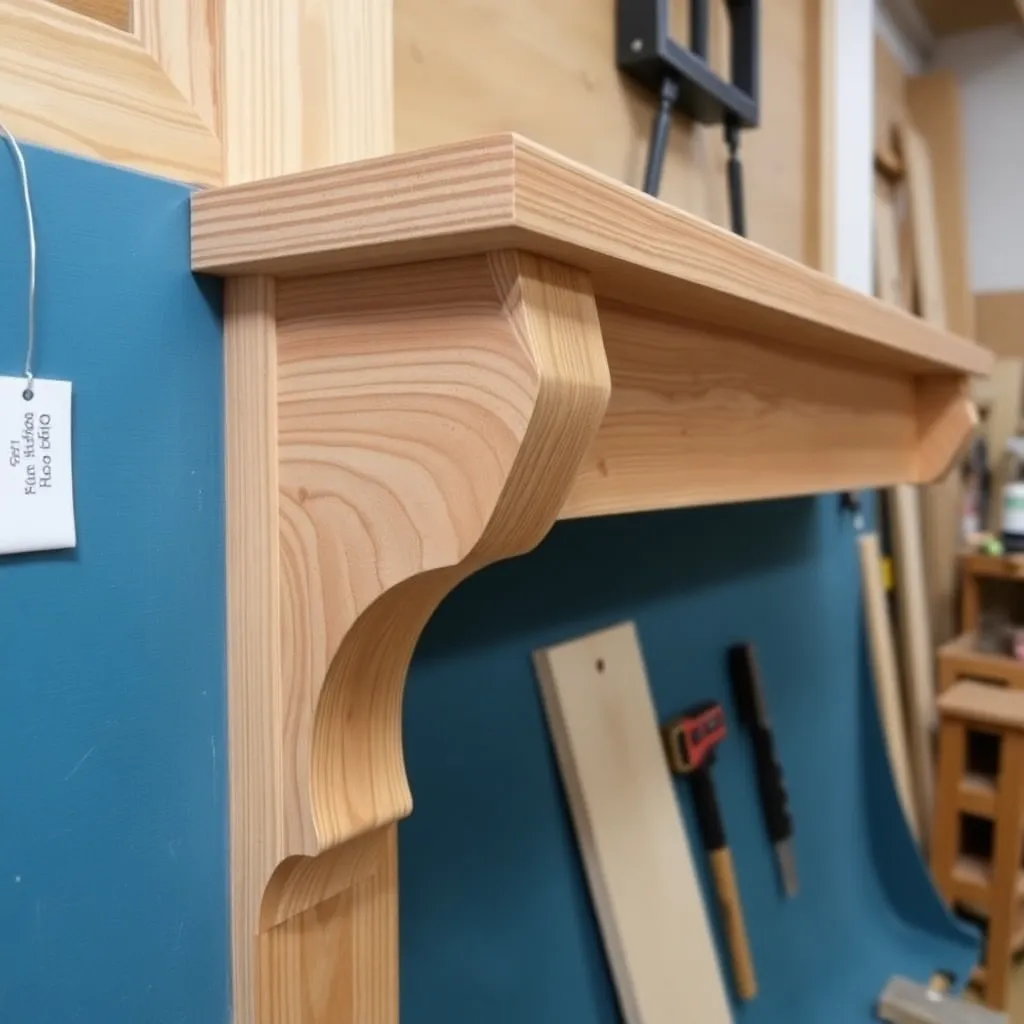
Goal: A large 6 × 18-inch corbel for supporting a fireplace mantel — requires structural sizing.
A mantel corbel must support the weight of the mantel (typically 40–80 lbs distributed across 4–6 corbels). Build from ¾-inch laminated oak: glue three pieces of ¾ × 8-inch oak face-to-face to create a 2¼-inch thick blank. This laminated construction is stronger than a single piece of equivalent thickness and resists splitting better. The profile can be simple (straight taper) or elaborate (S-curve with cove).
Mount with three 3½-inch lag bolts into wall studs — use a template to ensure all corbels are at consistent height.
Milestone: A corbel blank that’s flat and square after laminating, with no bow or twist.
Step 6: Build a Carved Classical Corbel
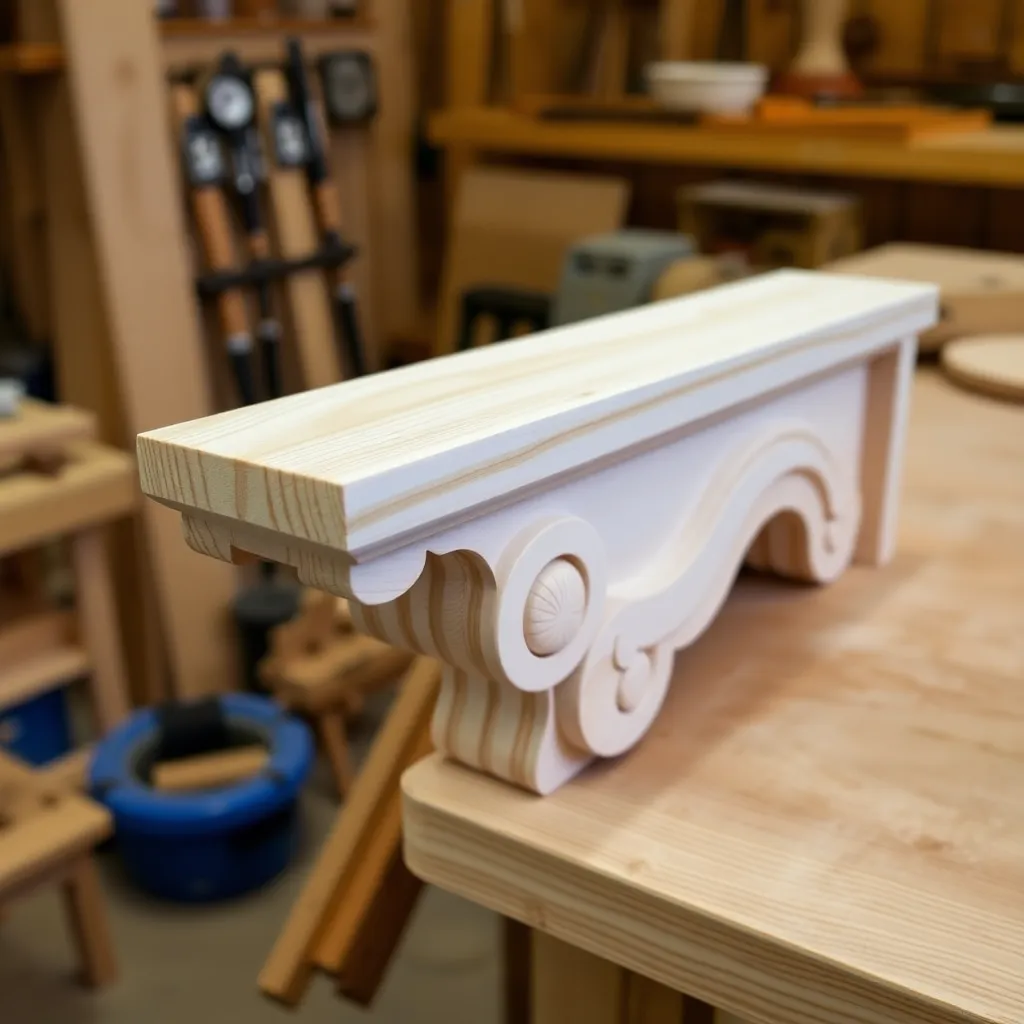
Goal: A 4 × 10-inch corbel with hand-carved acanthus leaf detail — the fully architectural version.
Start with the S-curve corbel (Step 2). After shaping and sanding to 120-grit, mark the carving area: the lower 4 inches of the front face, where the classic acanthus leaf traditionally appears. Transfer the leaf pattern (available as a printable template) using graphite paper. Carve with a ¾-inch gouge and V-tool: score the outline with the V-tool, then remove background material with the gouge to make the leaf stand in relief. Refine with smaller gouges (¼-inch). Sand the surrounding field to 180-grit; leave the carved area with tool marks (this is traditional and shows the carving is hand-done).
Milestone: An acanthus leaf that reads clearly from 6 feet with consistent depth and clean outlines.
Corbel Plans FAQ
How much weight can a wooden corbel support?
A well-mounted corbel in solid oak (¾-inch minimum, mounted with two 3-inch screws into a wall stud) can safely support 50–100 lbs, depending on the corbel size and the mount point. The limiting factor is usually the wall connection, not the wood itself: screws into drywall anchors support 20–40 lbs per screw; screws into studs support 80–120 lbs per screw. For heavy shelves and mantels, always mount into studs and use lag bolts (¼-inch diameter minimum) rather than wood screws. A pair of corbels on studs with ¼-inch lag bolts can typically support 300+ lbs combined.
What is the difference between a corbel and a bracket?
In woodworking usage, the terms are often used interchangeably. Technically: a bracket is any structural support element that projects from a wall; a corbel specifically refers to a bracket with a curved underside profile (the S-curve or scroll profile is the defining characteristic). A plain right-angled L-bracket is just a bracket; a shaped, curved version is a corbel. In home décor and architectural millwork, “corbel” implies the decorative shaped version — which is what woodworkers typically build.
Should I use solid wood or MDF for corbels?
Solid wood for corbels that will be stained or given a natural finish — MDF cannot be stained and its edges are fragile. MDF is acceptable for painted corbels only: it takes paint well, is easy to shape, and is dimensionally stable (won’t cup or crack like solid wood). For painted interior corbels, MDF is a cost-effective choice. For natural-finish corbels, exterior corbels, and corbels that will be carved: use solid hardwood (oak, poplar, or cherry). Poplar is the professional choice for painted corbels — easier to work than MDF, more durable, and the smooth grain doesn’t telegraph through paint.
How do I mount corbels so the shelf is perfectly level?
The easiest method: use a level to mark a horizontal line on the wall at the corbel mounting height. Hold each corbel against the wall and mark the screw positions through the back face. Use a level on the top face of each corbel after mounting to verify it’s level before driving the final screws. For a floating shelf: mount all corbels first, then set the shelf on top and shim any low corbels with thin cardboard shims (painted to match) before securing the shelf. For a mantel: use a water level or laser level to ensure all corbels are at exactly the same height — a mantel that tilts even 1/16 inch is immediately visible.

“DIY woodworking enthusiast who started with zero experience and a YouTube tutorial.
I build simple, practical projects for my home and share free plans
so other beginners can skip the guesswork.If I can build it, you can too.”