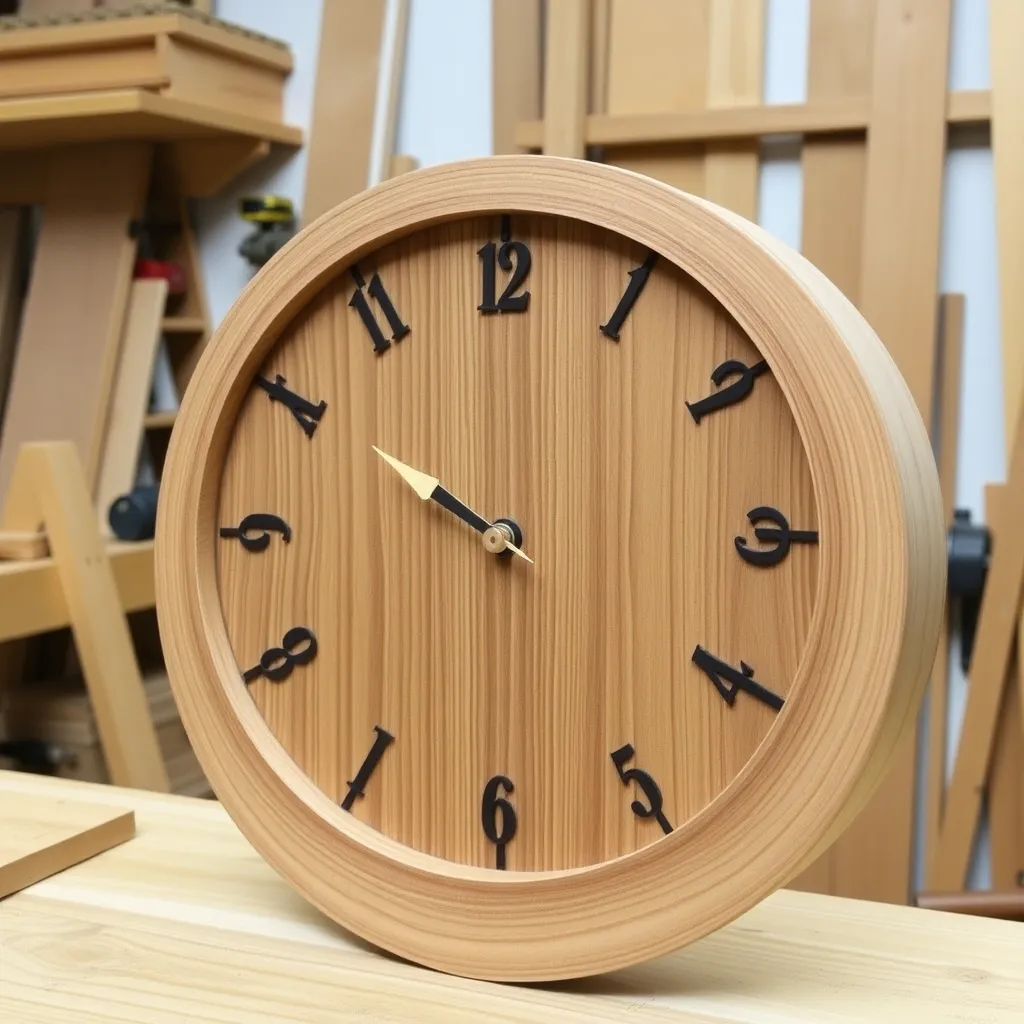
A wooden clock is one of the most rewarding specialty woodworking projects — it combines precise joinery, decorative woodworking, and a functional result that’s used every day. These six builds cover wall clocks, mantel clocks, and a decorative gear clock using a purchased quartz mechanism or a mechanical wooden gear train.
Ted’s Woodworking has complete wooden clock plans with mechanism installation guides and numbering templates. Browse Ted’s plans →
Step 1: Build a Simple Round Wall Clock
Goal: A 12-inch round wall clock from a single walnut or maple disc.
Cut a 12-inch circle from ¾-inch walnut using a circle-cutting jig on the router (or jigsaw + drum sander). Sand the face to 220-grit. Apply Danish oil — 3 coats. Drill a ⅜-inch center hole through the face for the clock shaft. Mark the 12 hour positions: divide the face into 12 equal sections (every 30°) using a compass and protractor. Add hour markers: ½-inch brass escutcheon pins tapped into pre-drilled pilot holes, or routed dots, or laser-engraved numbers. Install the clock mechanism from the back — the shaft threads through the center hole and the hands clip onto the shaft from the front. Add a sawtooth hanger on the back.
Milestone: Hour markers positioned at exactly 30° intervals (test with a protractor before installing the mechanism).
Step 2: Build a Live-Edge Slab Clock
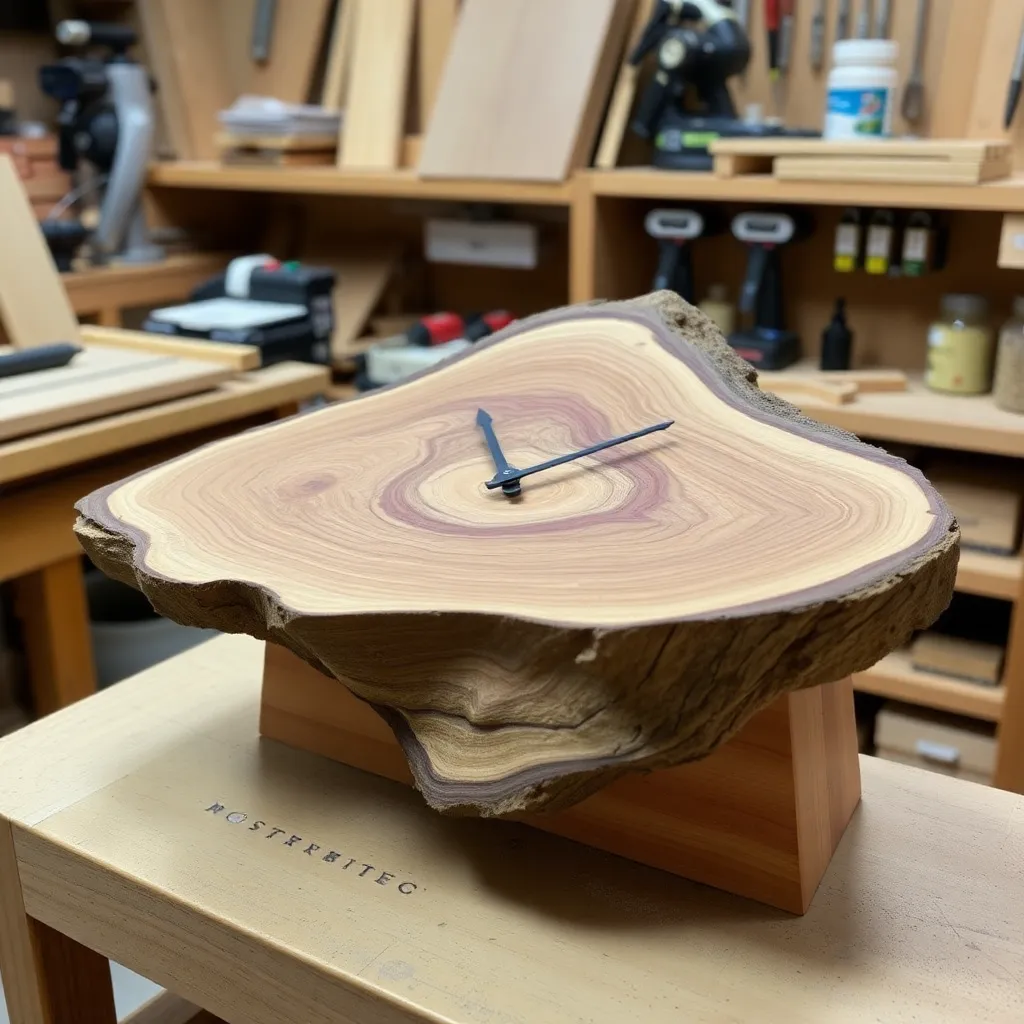
Goal: A clock face from a live-edge wood slice — the most visually dramatic clock build.
Source a wood slice (cross-section cut from a small log, showing the full ring pattern) 10–14 inches in diameter. These are available from lumber dealers or can be cut from a green log and dried for 6–12 months (or kiln-dried). Sand flat on both faces. Fill any bark voids with clear or black epoxy. Drill the center hole. Apply Danish oil. The ring pattern of the wood is the visual interest — no numbers are needed. Install the clock mechanism and hands.
Milestone: An epoxy fill that’s completely clear (no bubbles) and flush with the wood face after sanding.
Step 3: Build a Rectangular Frame Clock
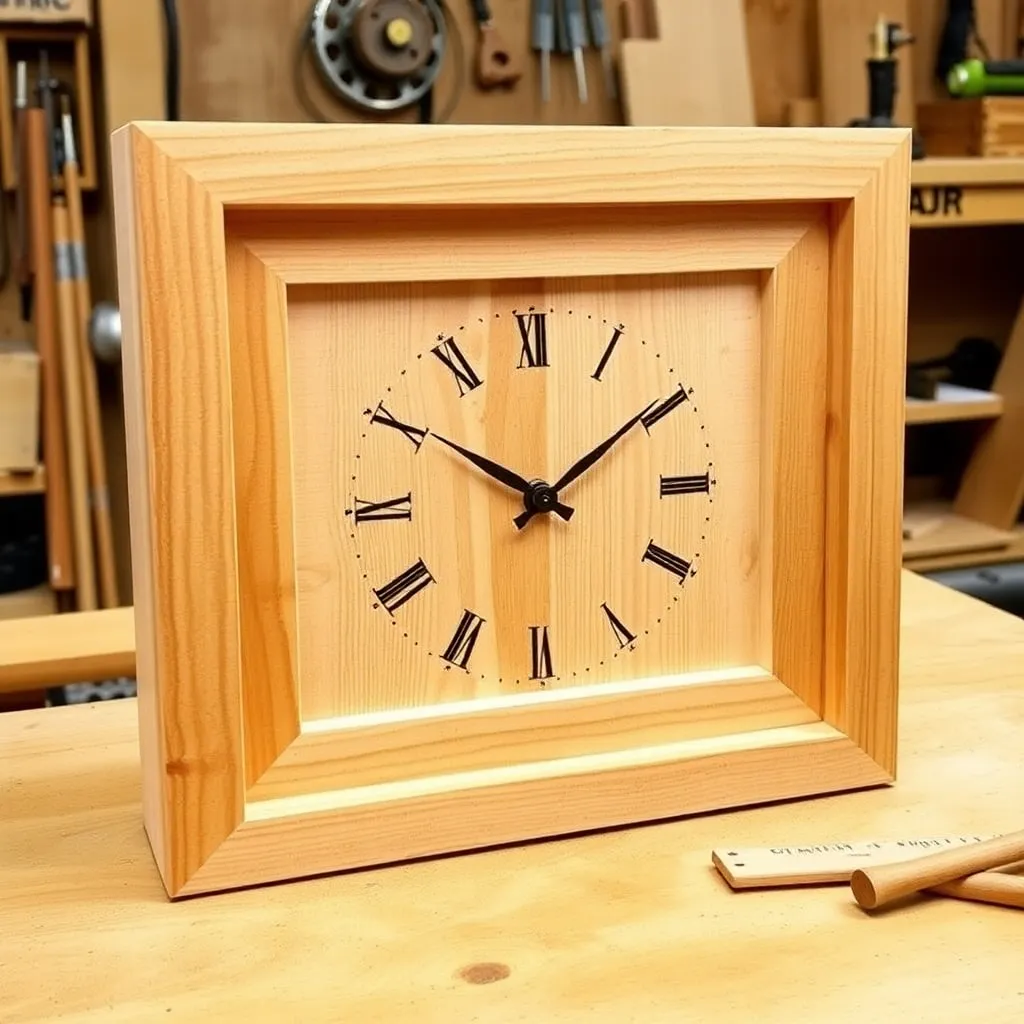
Goal: A 14 × 14-inch square clock with a frame-and-panel face — a more formal aesthetic.
Build a square frame from ¾-inch walnut or cherry with mitered corners (same technique as a picture frame). The clock face is a ¼-inch plywood panel in a rabbet on the back face of the frame. The panel is painted or covered with linen fabric. The hands are visible through the open center of the frame. Install the clock mechanism on the back of the plywood panel, with the shaft projecting through a ¼-inch hole in the panel center and through a matching hole in the frame center.
Milestone: Clock mechanism shaft aligned exactly with the visual center of the frame opening.
Step 4: Build a Mantel Clock
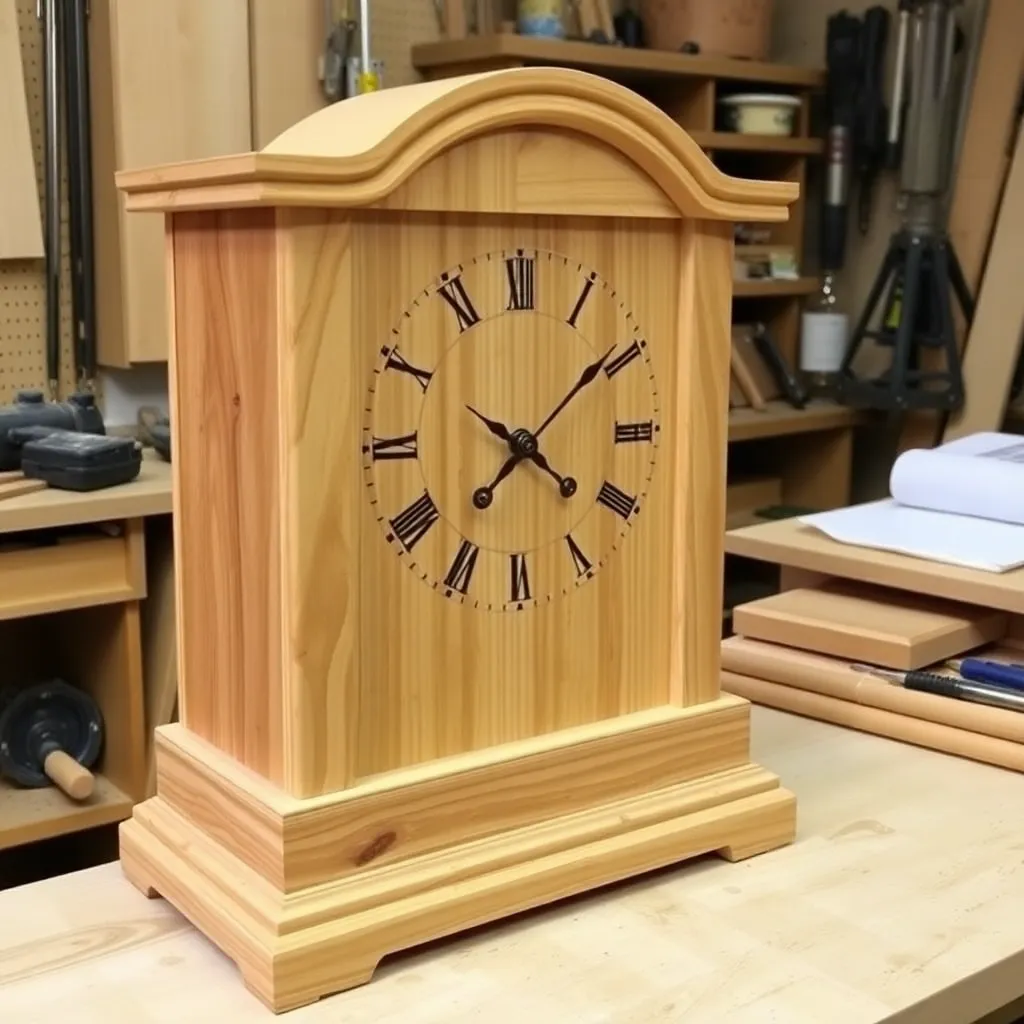
Goal: A 10 × 6 × 4-inch freestanding mantel clock — a box clock with a face insert.
Build a small box from ¾-inch hardwood (sides, top, bottom, back panel). The front opening is the clock face opening — size it to match a purchased clock face insert (available in 3-inch, 4-inch, and 5-inch diameters at craft stores). The insert snaps into the opening from the front and includes the mechanism, dial, and hands as one unit. The box is the decorative case. Add a back panel door (small hinges) for access to battery replacement.
Milestone: The clock insert fits the front opening with a snug friction fit that doesn’t require fasteners.
Step 5: Build a Pendulum Wall Clock
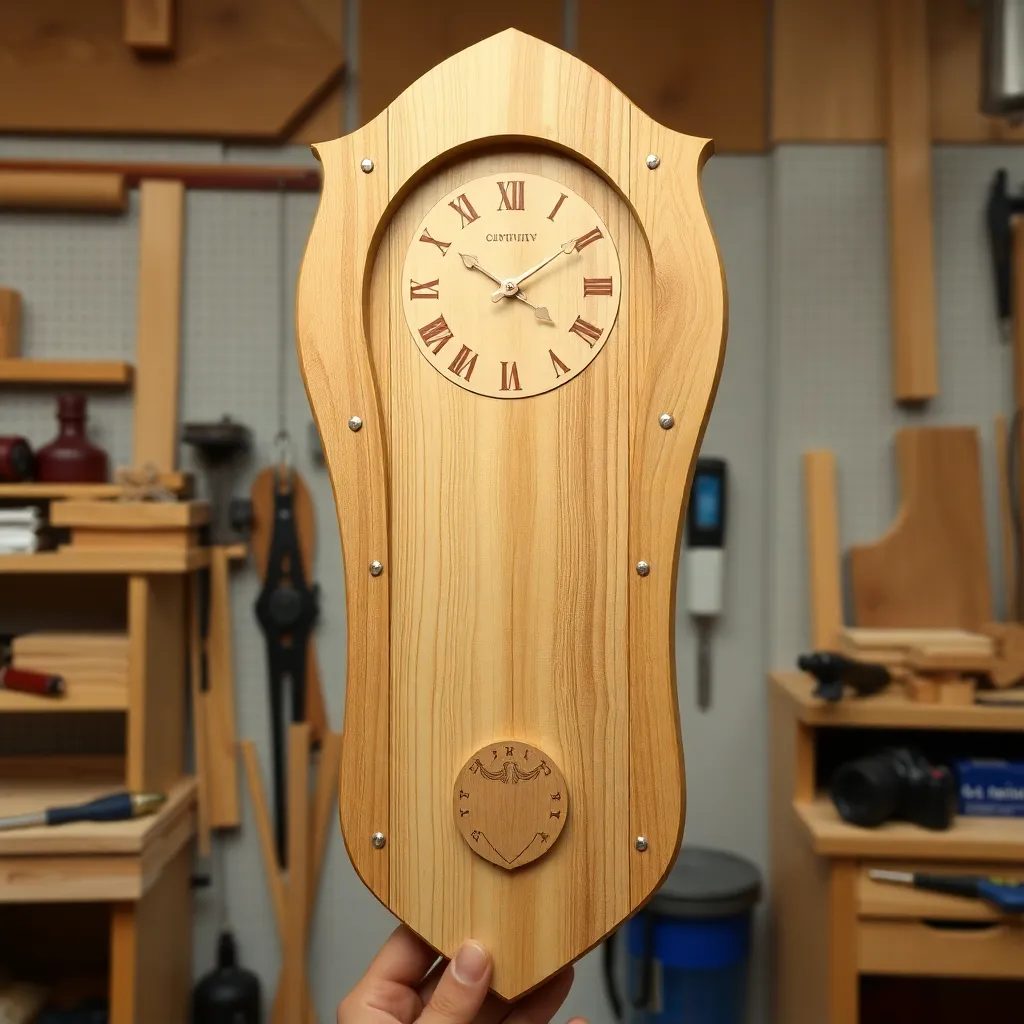
Goal: A 10 × 24-inch pendulum clock with a visible swinging pendulum.
A pendulum clock uses a purchased pendulum clock mechanism (battery-operated, with a pendulum arm that swings through a slot in the case). Build the case: a long narrow box (10 × 24 × 4 inches) from ¾-inch walnut. Cut a vertical slot (1½ inch wide × 18 inches long) in the front panel for the pendulum. The clock face is a 4-inch inset on the front, above the slot. Apply Danish oil. Install the pendulum mechanism per the manufacturer’s instructions. The battery-operated mechanism swings the pendulum and ticks convincingly without a mechanical connection.
Milestone: Pendulum swinging freely through the slot with ¼-inch clearance on each side.
Step 6: Build a Wooden Gear Wall Clock (Decorative)
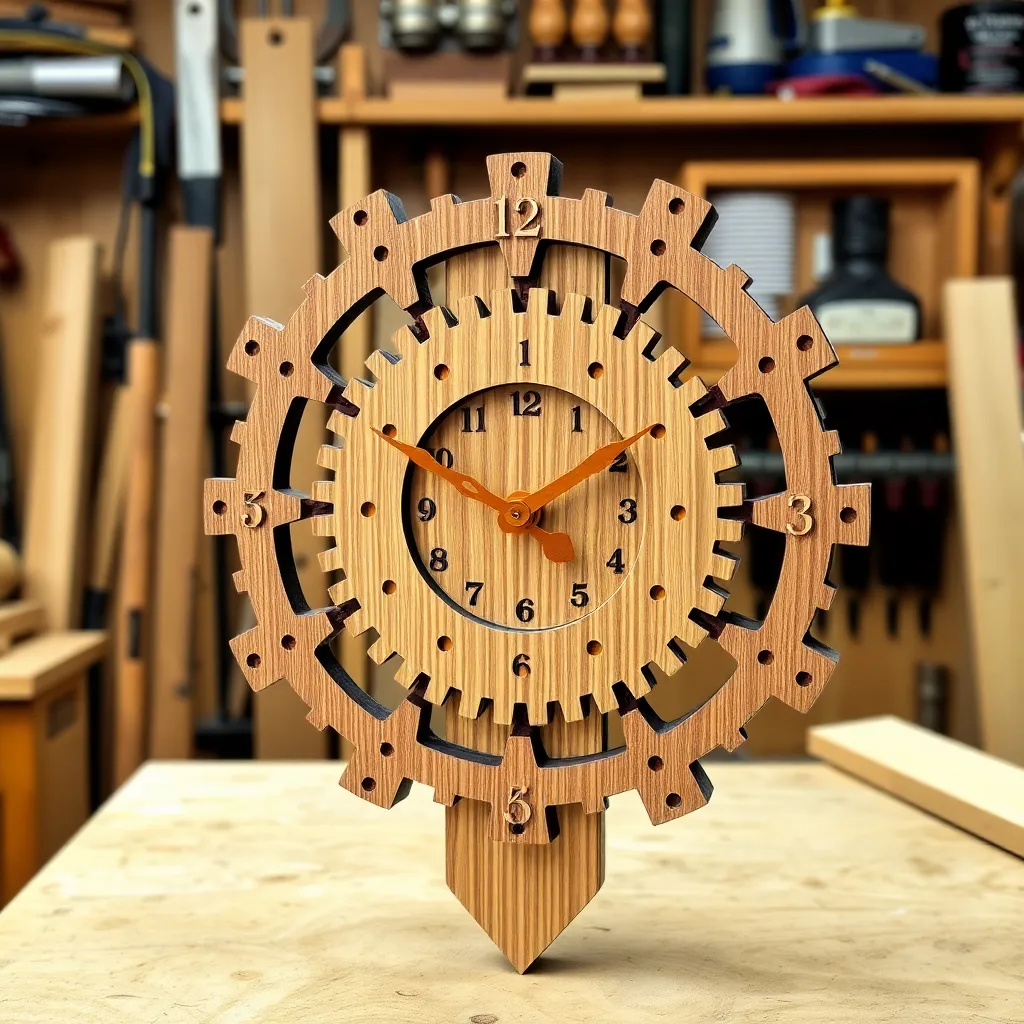
Goal: A 16 × 16-inch wall-mounted gear clock where visible wooden gears display the time — a showpiece build.
A decorative wooden gear clock uses laser-cut or CNC-cut gear wheels to display hours and minutes on visible rotating discs. The gears are driven by a standard quartz clock mechanism. The gear pattern is available as downloadable plans from woodworking sites — the gears are cut from ¼-inch hardwood plywood on a scroll saw or laser cutter.
The gear train is mounted on a backing panel with small axle pegs (¼-inch dowels). Each gear drives the next, and the final large disc (hour display) and small disc (minute display) rotate visibly. The mechanism is visible — there is no case, just the gears on the wall.
Milestone: All gears meshing smoothly with no binding and the hour and minute discs rotating at the correct speed ratio.
Wooden Clock Plans FAQ
What clock mechanism should I use for a wooden clock?
A standard high-torque quartz clock movement (also called a clock insert mechanism) is the universal choice — it’s battery-operated (one AA battery, typically lasting 1–2 years), accurate to within 1 minute per month, and available in multiple shaft lengths to accommodate different wood thicknesses. For standard ¾-inch wood, use a “medium shaft” mechanism (shaft length 3/8 to ½ inch, appropriate for wood 5/16 to ½ inch thick after the clock face surface). For thick wood (1 inch or more), use a “long shaft” or “extra-long shaft” mechanism. High-torque mechanisms are necessary for hands longer than 5 inches — standard mechanisms stall with long hands. Purchase from a craft supply store (Michael’s, Joann) or online for $5–$15.
How do I space the hour markers evenly on a clock face?
Divide the circle into 12 equal sections — each section spans 30° (360° ÷ 12). Method: draw the clock face on paper first. Draw a circle the size of your clock face. Use a protractor to mark points at 0°, 30°, 60°, 90°, 120°, 150°, 180°, 210°, 240°, 270°, 300°, and 330°. Transfer these marks to the actual wood face using a compass set to the clock radius and a center punch. Verify the spacing with a protractor before installing markers or drilling holes. Common error: starting at 12 o’clock (top) with 0° — this is correct. The common mistake is measuring clockwise from 3 o’clock (the math is easier going counterclockwise from 3, but this produces the wrong result).
Can I make a fully mechanical wooden clock without a quartz mechanism?
Yes, but it’s a highly advanced project. A fully mechanical wooden clock uses wooden gear trains, an escapement mechanism, and a pendulum to keep time without any electronics. Plans exist for wooden gear clocks (Clayton Boyer and Brian Law have published wooden clock plans), but the tolerances are extreme (gear teeth must mesh within hundredths of a millimeter) and the clock requires adjustment and regulation to keep accurate time. A mechanical wooden clock is a month-long project for an experienced woodworker with a CNC or laser cutter for the gear profiles. The decorative gear clock in Step 6 (driven by a quartz mechanism) produces a similar visual effect with a fraction of the complexity.
How do I get the center hole exactly centered on a round clock face?
Two reliable methods: (1) Find the center geometrically — draw two diameters across the disc at 90° to each other; the center is where they intersect. Mark with a compass from two points on the perimeter (the intersection of equal-radius arcs is the center). (2) Use a lathe — mount the disc on a faceplate and use the lathe’s center point to mark (and drill) the exact center. For a disc cut with a circle-cutting router jig: the jig’s pivot point is the center — mark that point before removing the disc from the jig and it’s already exact.

“DIY woodworking enthusiast who started with zero experience and a YouTube tutorial.
I build simple, practical projects for my home and share free plans
so other beginners can skip the guesswork.If I can build it, you can too.”