A well-organized closet is a woodworking project, not a purchase — a built-in closet system from plywood costs less than a quarter of what a custom closet company charges and can be tailored to the exact dimensions and contents of the space. These six builds cover the range from a simple shelf-and-rod unit that takes an afternoon to a full walk-in closet with drawer towers, double hanging, and shoe cubbies.
Ted’s Woodworking has complete closet organization plans with layout templates and hardware guides. Browse Ted’s plans →
This guide is part of our complete Woodworking Project Plans resource — covering beginner builds, free plans, gift projects, box builds, picture frames, cutting boards, specialty projects, and closet systems.
Closet Shelf Plans
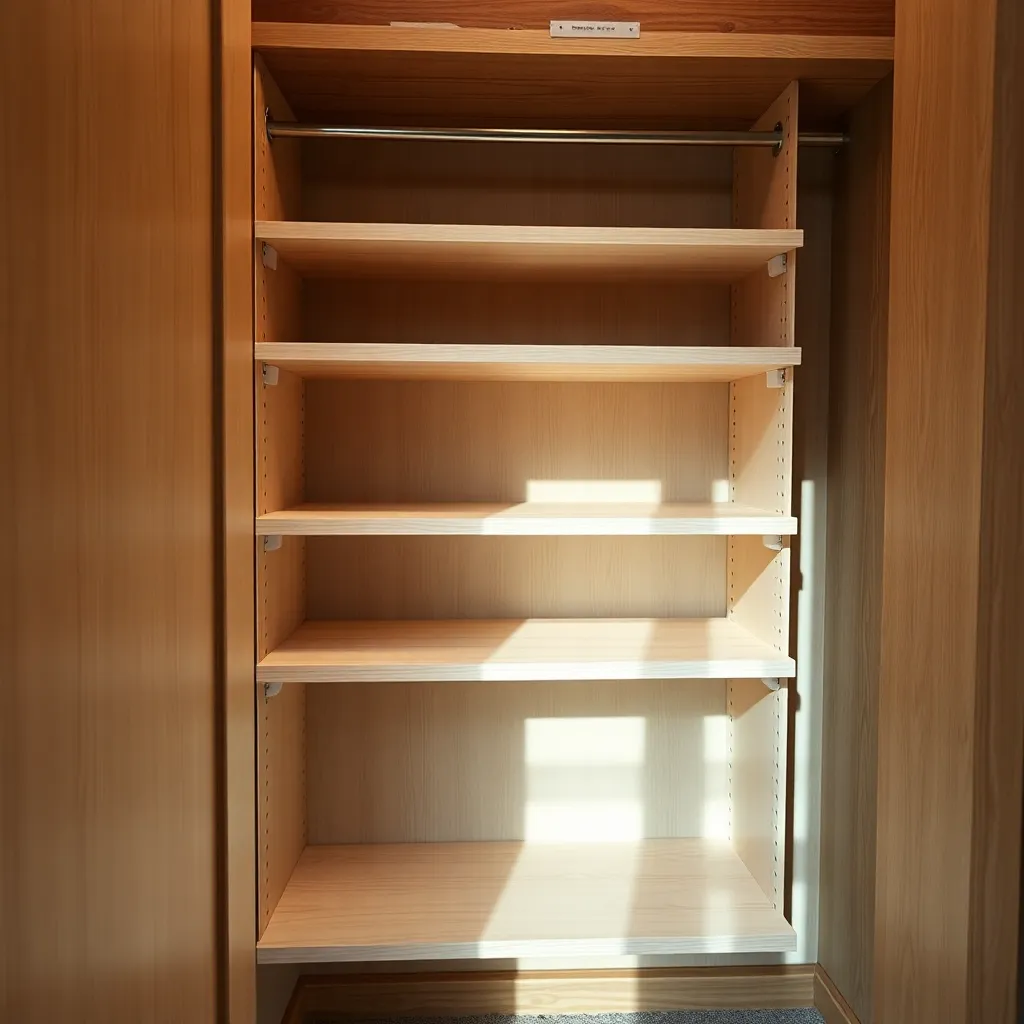
A single shelf with a hanging rod is the foundation of every closet build — it’s the minimum viable upgrade from bare walls. Wood shelves are more stable, more attractive, and easier to customize than wire shelves, and they can be built for under $30 in materials.
What you’ll learn: cutting melamine or plywood to width, installing shelf standards, and mounting a closet rod.
Build notes: use ¾-inch melamine-coated particleboard (the smoothest, most durable shelf material) or ¾-inch birch plywood with iron-on edge banding. Mount metal shelf standards on each side wall (plumb and level). Shelves rest on clips in the standards — fully adjustable. Mount a 1⅜-inch closet rod using rod brackets clipped to the standards. The rod length determines where hanging clothes end and shelves begin.
Closet Organization Ideas
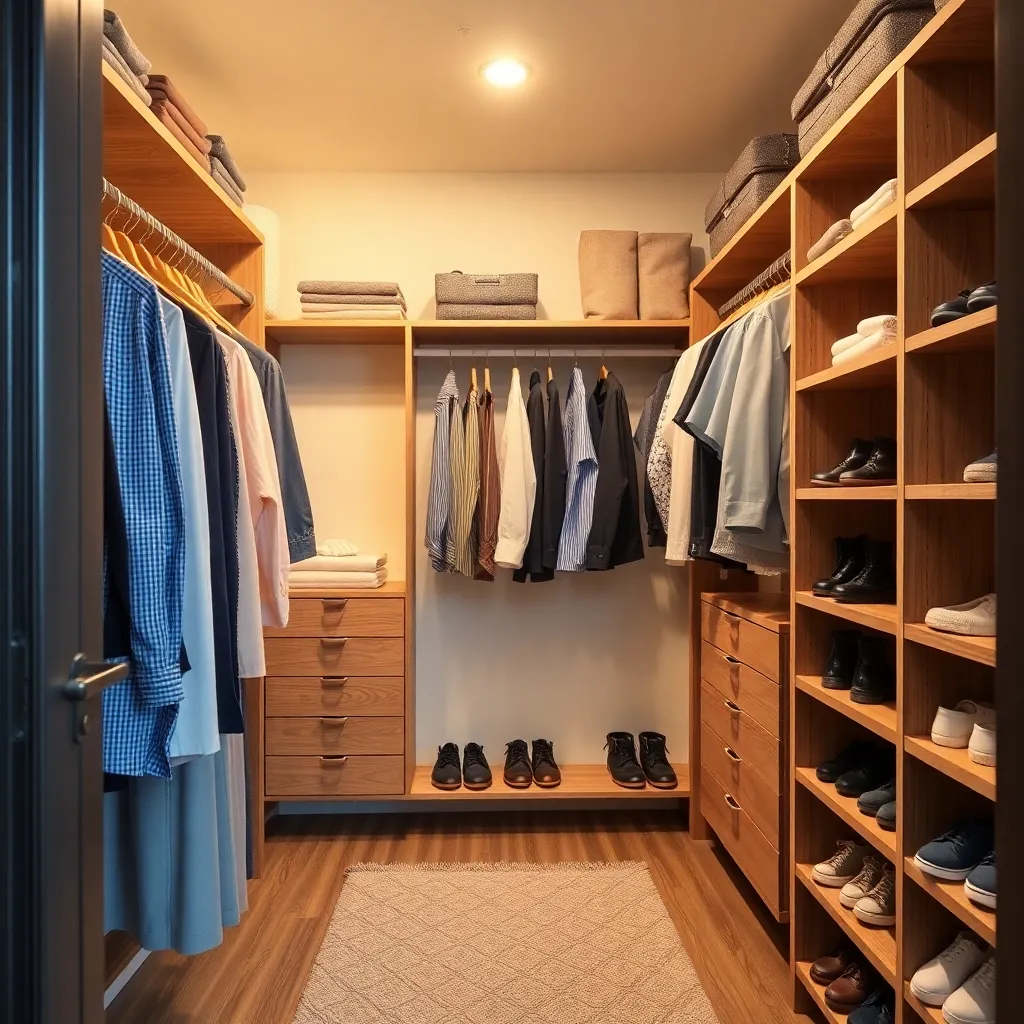
A complete closet organization system combines multiple zones — hanging, shelving, drawers, and shoe storage — into a single coordinated layout. The planning phase is the most important part: drawing the existing closet to scale and mapping each zone before cutting a single board.
What you’ll learn: closet layout planning, zone allocation, and sequencing a multi-unit closet build.
Build notes: standard zone allocations for a typical reach-in closet: double hanging (shirts, jackets) on the left or right third; long hanging (dresses, coats) on one side; shelves above the rod; a drawer tower or cubby unit in the center. Draw the layout on paper at 1 inch = 1 foot scale before purchasing materials. The layout determines the cut list for the entire project.
DIY Closet Systems
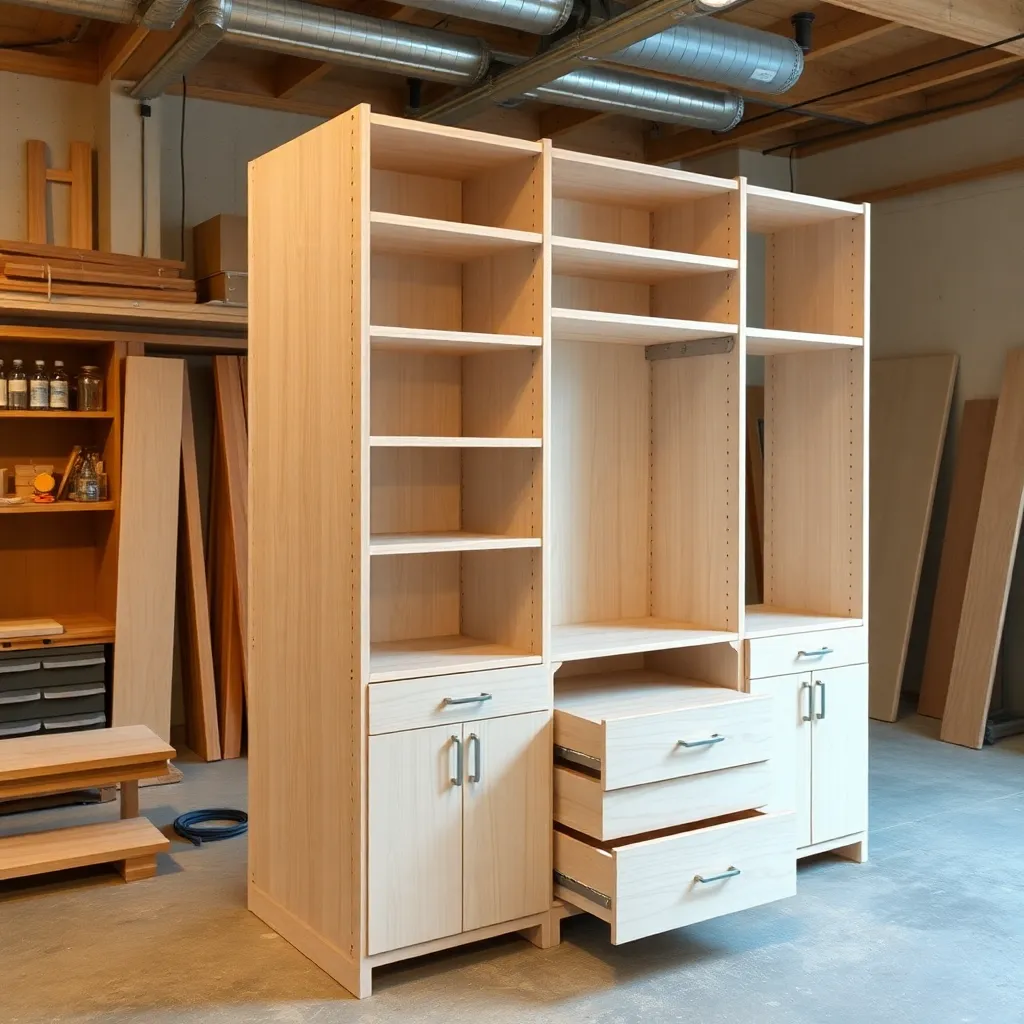
A DIY closet system is a modular approach — individual units (a shelf tower, a drawer tower, a double-hang unit) that combine to fill the closet. Building modular means each unit can be built and installed separately, errors affect only one unit, and the system can be expanded later.
What you’ll learn: building a freestanding closet tower, installing as a system, and scribing to uneven walls.
Build notes: build each unit as a freestanding box from ¾-inch plywood with a plywood back panel. Units sit on a ¾-inch plywood base (toe kick). Screw units together at the top and bottom. The assembled system sits against the wall and is secured with two screws through the back panel into wall studs — no need to secure every unit individually.
DIY Closet Organizer
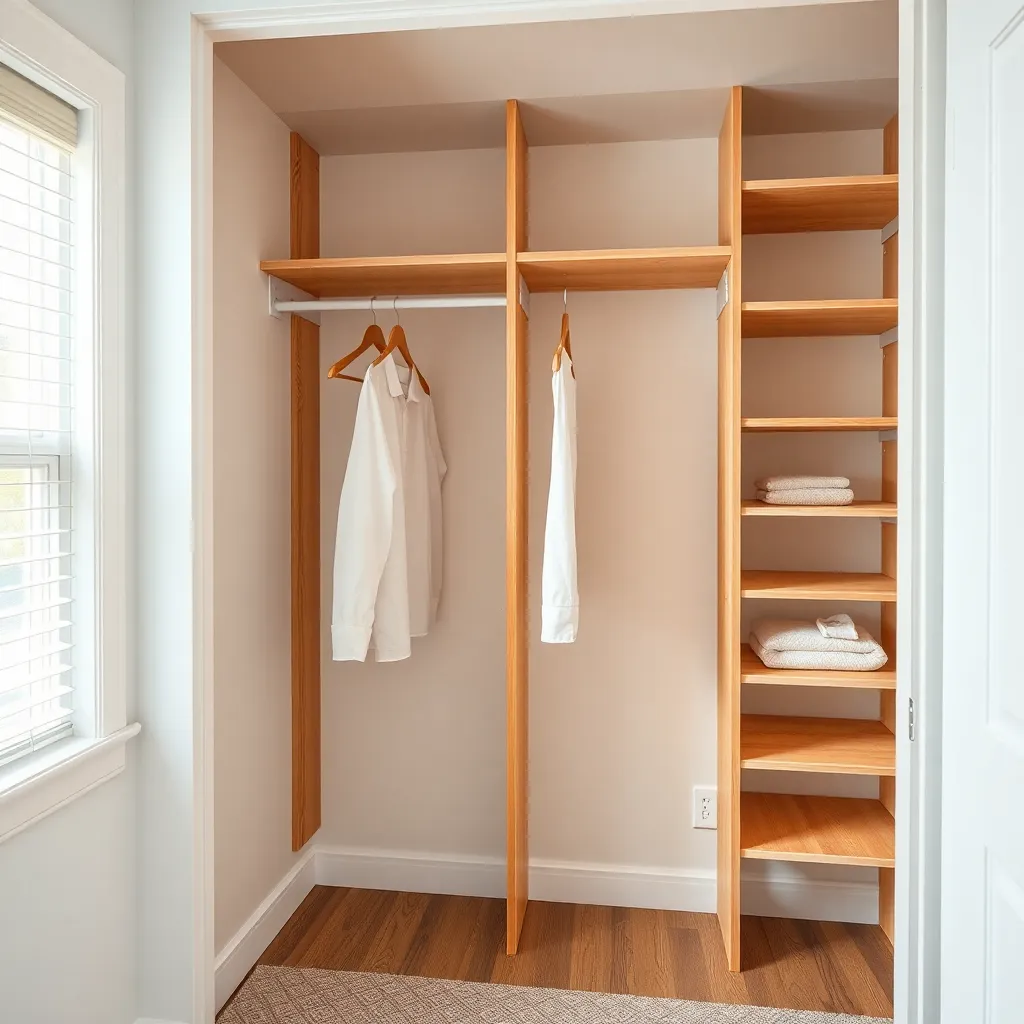
A DIY closet organizer is a single wall-to-wall unit — a continuous shelf/hanging system that spans the full closet width. Unlike a modular system, it’s built in place rather than as separate boxes. This approach produces a cleaner look (no gaps between units) but requires more precision.
What you’ll learn: installing a ledger board for shelf support, cutting shelves to fit between walls, and managing out-of-square closets.
Build notes: start with a horizontal ledger board (¾ × 3½-inch pine) screwed to the back wall at the desired shelf height. Shelves rest on the ledger and on cleats on the side walls. Vertical dividers drop from the top shelf to the floor, creating zones. A continuous hanging rod (or multiple shorter rods) spans each zone.
Do It Yourself Closet Organizer
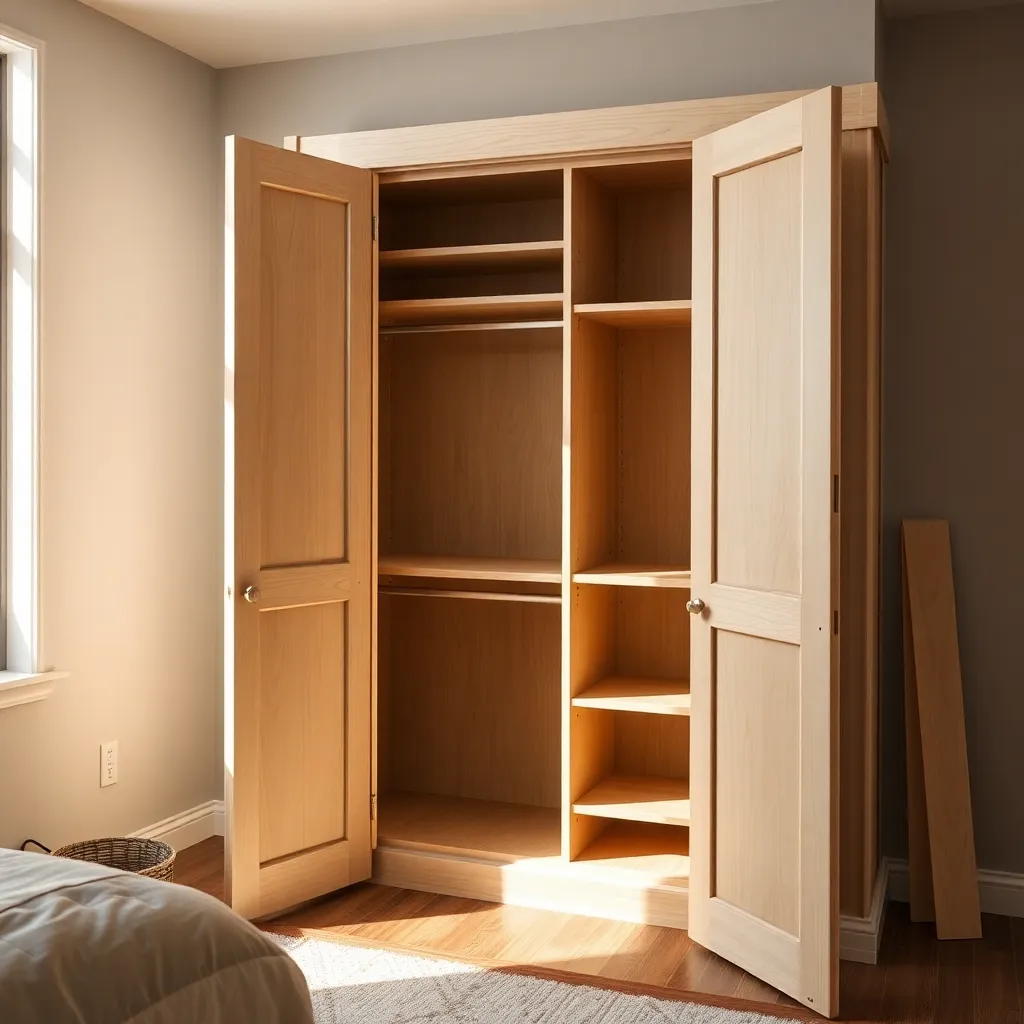
A complete do-it-yourself closet organizer covers every detail of planning, purchasing, cutting, and installing — from measuring the rough opening to the final coat of paint. This is the comprehensive guide for someone building their first closet system from scratch.
What you’ll learn: every step of a complete closet build, including how to handle common obstacles (outlets, light fixtures, angled ceilings).
Build notes: the two most common obstacles: (1) a light fixture in the ceiling — plan the top shelf position to clear the light; (2) an outlet or switch on the side wall — notch the shelf to clear it or reposition the outlet (an electrical task, not woodworking). Angled closet ceilings (under stairs) require scribing the top shelf to the angle — use a bevel gauge to capture the angle and transfer it to the shelf.
Under-Stair Storage Plans
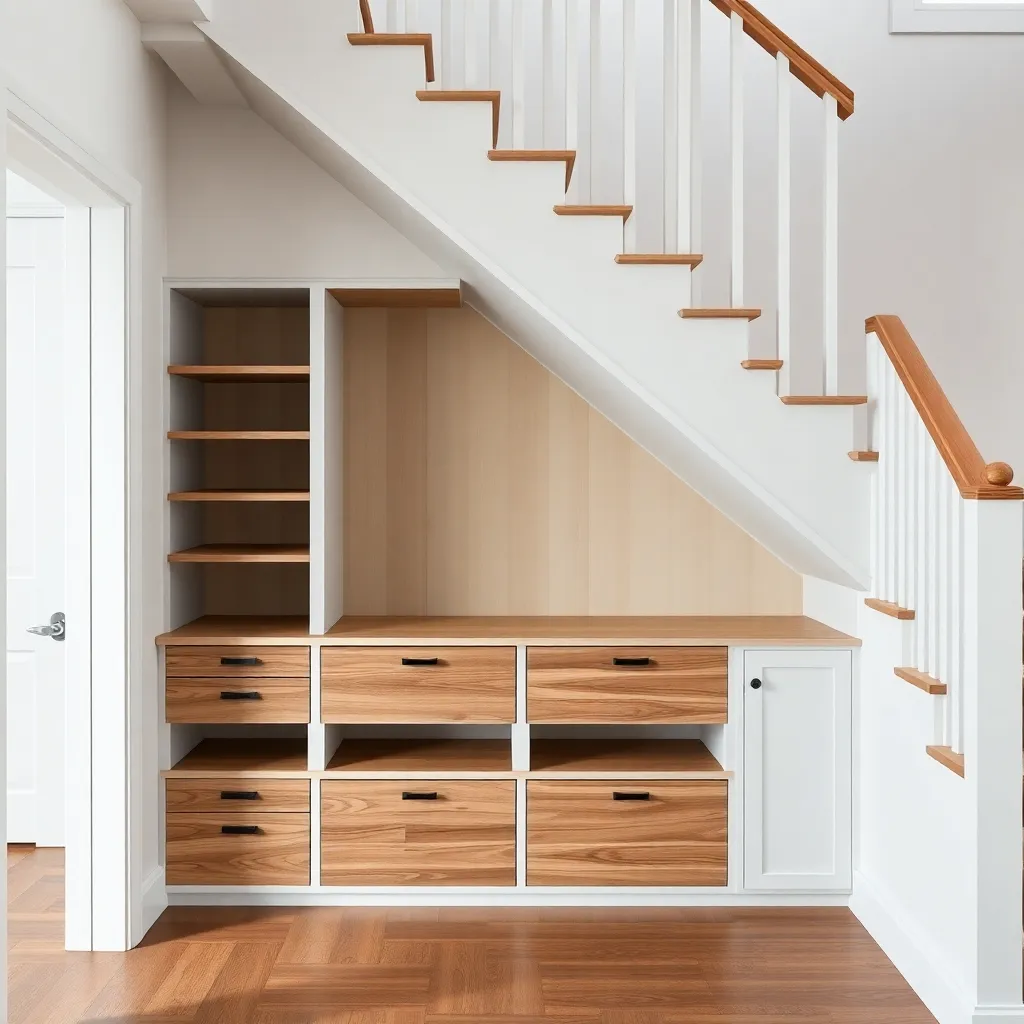
The space under a staircase is one of the most underutilized areas in a home — it’s often just drywall and darkness. Converting it to built-in storage requires custom carpentry because the angled ceiling means no two shelf heights are the same, but the result is a significant storage gain from otherwise wasted space.
What you’ll learn: building to an angled ceiling, custom-fitting shelves to an irregular space, and adding a door to the under-stair opening.
Build notes: measure the under-stair space at multiple points (every 12 inches horizontally) to capture the stair angle. Build a series of vertical dividers at consistent intervals — each divider is a different height, cut to match the stair angle at its position. Shelves span between the dividers at a consistent height (even though the dividers vary in height). Add a door (standard hollow-core door trimmed to the opening) with a hinge and magnetic catch.
Closet Organization Quick Reference
| Project | Material | Skill Level | Build Time | Best For |
|---|---|---|---|---|
| Closet Shelf | Melamine board | Beginner | 2 hours | Single shelf + rod |
| Organization System | Plywood | Intermediate | 1 day | Full closet layout |
| Modular System | Plywood boxes | Intermediate | 2 days | Expandable builds |
| In-Place Organizer | Plywood | Intermediate | 1 day | Clean continuous look |
| Complete Organizer | Plywood + hardware | Intermediate | 2 days | First-time full build |
| Under-Stair Storage | Plywood | Advanced | 2–3 days | Stair space conversion |
Closet Organization FAQ
What material is best for DIY closet shelves?
¾-inch melamine-coated particleboard is the industry standard — it’s the material every professional closet company uses. It’s dimensionally stable (doesn’t warp like solid wood in a closed closet), has a smooth easy-clean surface, and doesn’t need painting. The edge requires iron-on melamine edge banding (iron on, trim with a utility knife) to match the surface. For a painted finish: ¾-inch birch plywood takes paint better than particleboard (no grain telegraph-through, no edge swelling from paint). For a natural wood finish: ¾-inch maple or birch plywood.
How deep should closet shelves be?
For a reach-in closet: 12 inches deep for folded items and shoes; 16 inches deep for the rod shelf (to keep hanging clothes from touching the back wall). For a walk-in closet: the same depths apply, but the hanging sections are typically 24 inches deep on each side with a center aisle. The standard shelf width for a typical reach-in closet is the full closet width minus ¼ inch on each side (to allow the shelf to slide past the wall surface without binding). For shelves over 36 inches wide: add a center support (a vertical divider) to prevent sagging.
How do I level shelves in an out-of-square closet?
Every closet wall is slightly out of plumb. Use a level, not the wall, to set shelf height. Install the first shelf standard plumb (checked with a 4-foot level). Install the second standard at the same height measurement from the floor, then verify level by placing a level across shelf clips at both standards — adjust as needed. For a ledger-board system: mark the ledger height level across the full wall width using a laser level or a chalk line snapped from a measured point on each wall. A ⅛-inch level error over 6 feet is barely visible; a ¼-inch error is noticeable.
Do I need to find studs to install closet shelves?
Yes for heavy-duty closet systems. Closet shelves loaded with clothing and shoes can weigh 50–200 lbs — this weight must transfer to wall studs, not just drywall. Standard stud spacing is 16 inches on center. Use a stud finder to locate studs and mark them lightly in pencil above the shelf height (the marks will be hidden). For shelf standards: each standard needs at least two screws into studs. For a ledger board: a screw into a stud every 16 inches. Toggle bolts or drywall anchors are acceptable only for lightweight shelves (books, light accessories) — never for loaded clothing rods.

“DIY woodworking enthusiast who started with zero experience and a YouTube tutorial.
I build simple, practical projects for my home and share free plans
so other beginners can skip the guesswork.If I can build it, you can too.”